[ad_1]
Pixel phones are known for their excellent cameras and computational photography. But AI improvements aren’t exclusive to general shots. Google’s algorithmic magic also makes interesting features like astrophotography mode possible. Shooting in astrophotography mode isn’t as easy as picking a mode and shooting, though. It’s a bit of a hidden feature, so we’re creating this tutorial for shooting astrophotography photos and time-lapses on Pixel phones.
Read more: Here’s what Google’s astrophotography can do
QUICK ANSWER
You can shoot astrophotography photos and time-lapses by launching the Camera app and going to Night Sight. Make sure the phone is completely still and the subject is dark. After a few seconds, the Moon shutter button should turn into a Stars shutter button. This means astrophotography mode is on. Shoot the image, make sure the phone doesn’t move in the process, and you’ll get an excellent astrophotography photo.
Astrophotography mode should be enabled by default. If you accidentally turned it off, go to Camera > Night Sight > Settings and set Astrophotography to Auto.
Astrophotography time-lapses are made automatically when you shoot an astrophotography photo. You just need to make sure the feature is enabled. Go to Camera > Settings > More Settings > Advanced and make sure Enable time lapse for astrophotography is toggled on.
JUMP TO KEY SECTIONS
Editor’s note: All instructions in this tutorial were assembled using a Google Pixel 7 running Android 13. Keep in mind things might be a bit different depending on your device and its software version.
Supported devices
Rita El Khoury / Android Authority
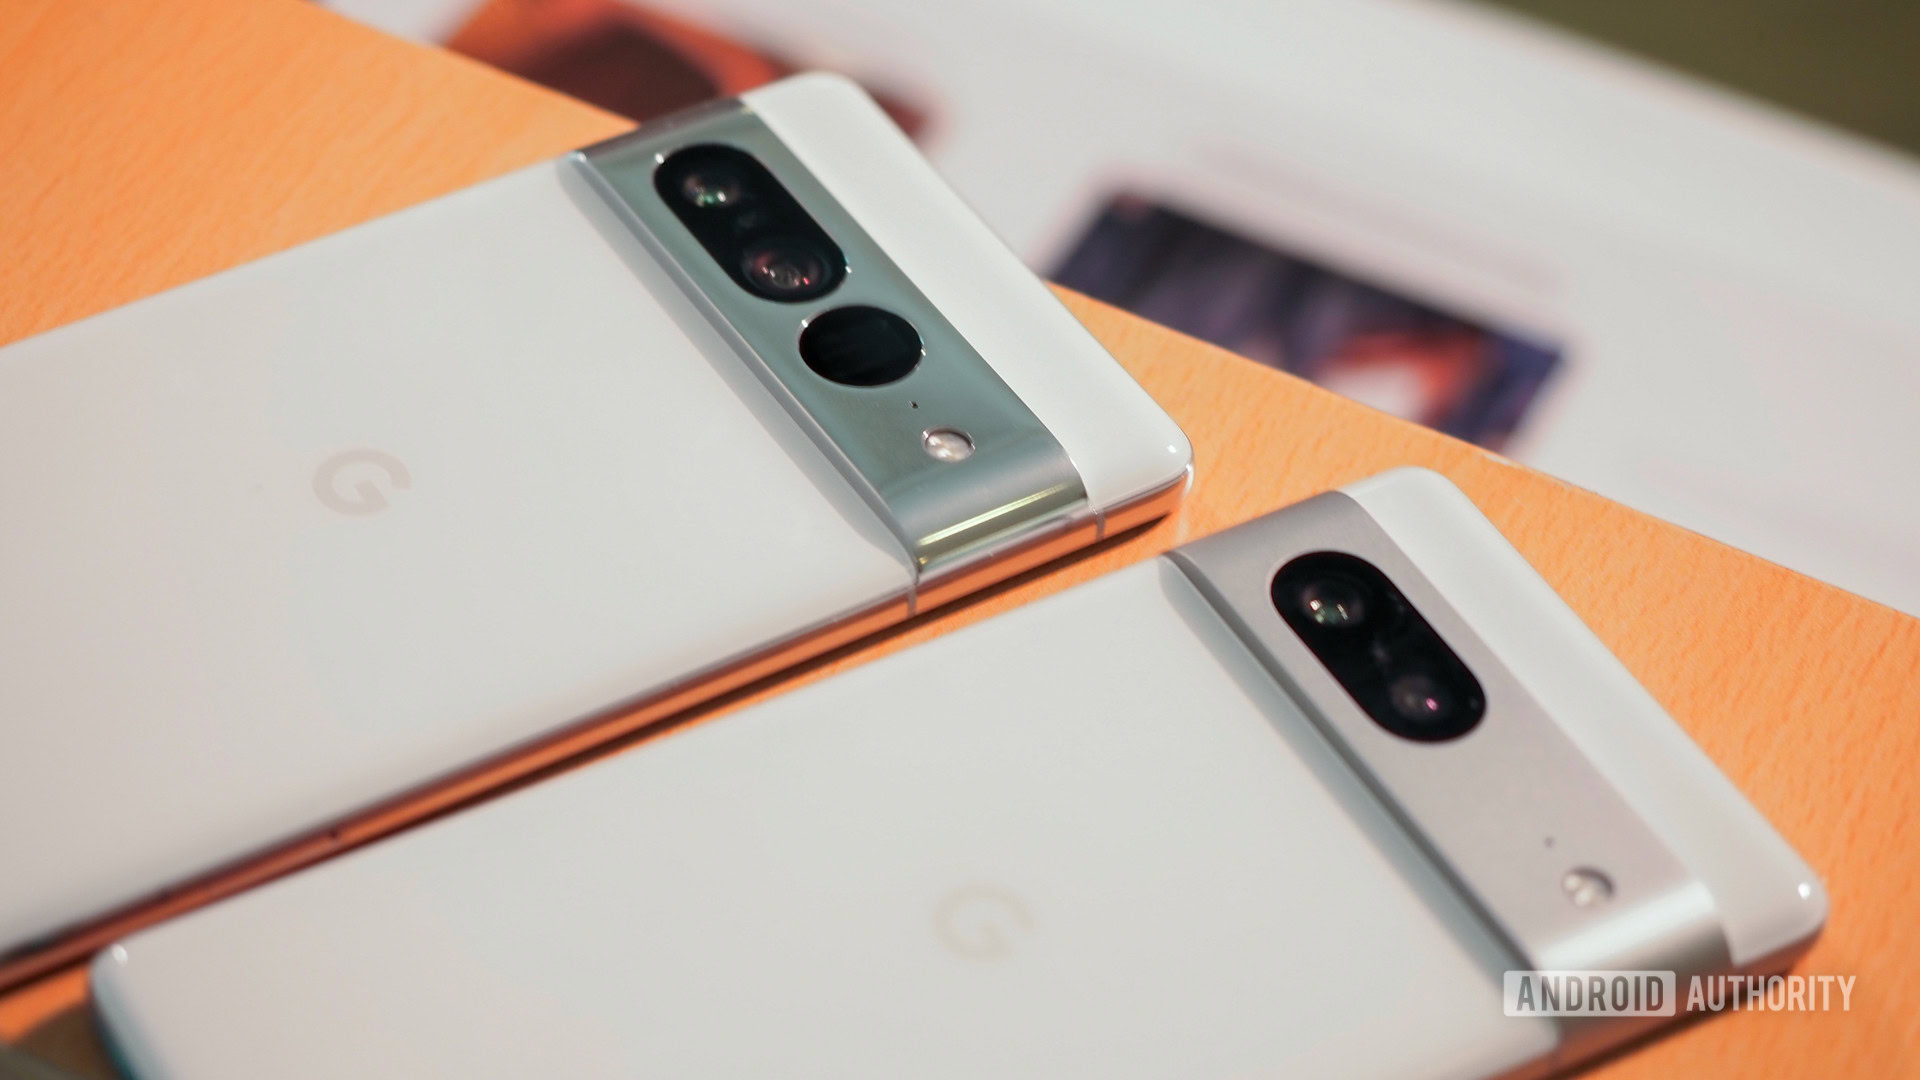
Astrophotography photo shooting is available on Pixel 3 or newer Google phones. Additionally, Pixel 5a with 5G and newer devices can only use astrophotography mode using 1x or greater zoom settings. On the other hand, astrophotography time-lapses are supported by Pixel 4 or newer Google phones.
Enable Astrophotography mode in the settings
Astrophotography mode is a bit of a hidden feature. You can’t just tap on the shooting modes and pick it. This is why you should enable the feature before you drive off to the mountains.
How to enable Astrophotography mode:
- Open the Camera app.
- Go into Night Sight mode.
- Tap on the Settings arrow down button on the top of the screen.
- Make sure the Astrophotography option is set to Auto.
- If, for any reason, you want to disable the feature, you can do that here too.
How to shoot in astrophotography mode
Edgar Cervantes / Android Authority
Now that you’re sure your phone is ready to shoot in astrophotography mode, go ahead and give it a test.
Shooting in astrophotography mode:
- Go to a dark area with a nice sky view, preferably away from city lights. It also works on photos without a sky showing, though. It’s pretty much an enhanced night mode.
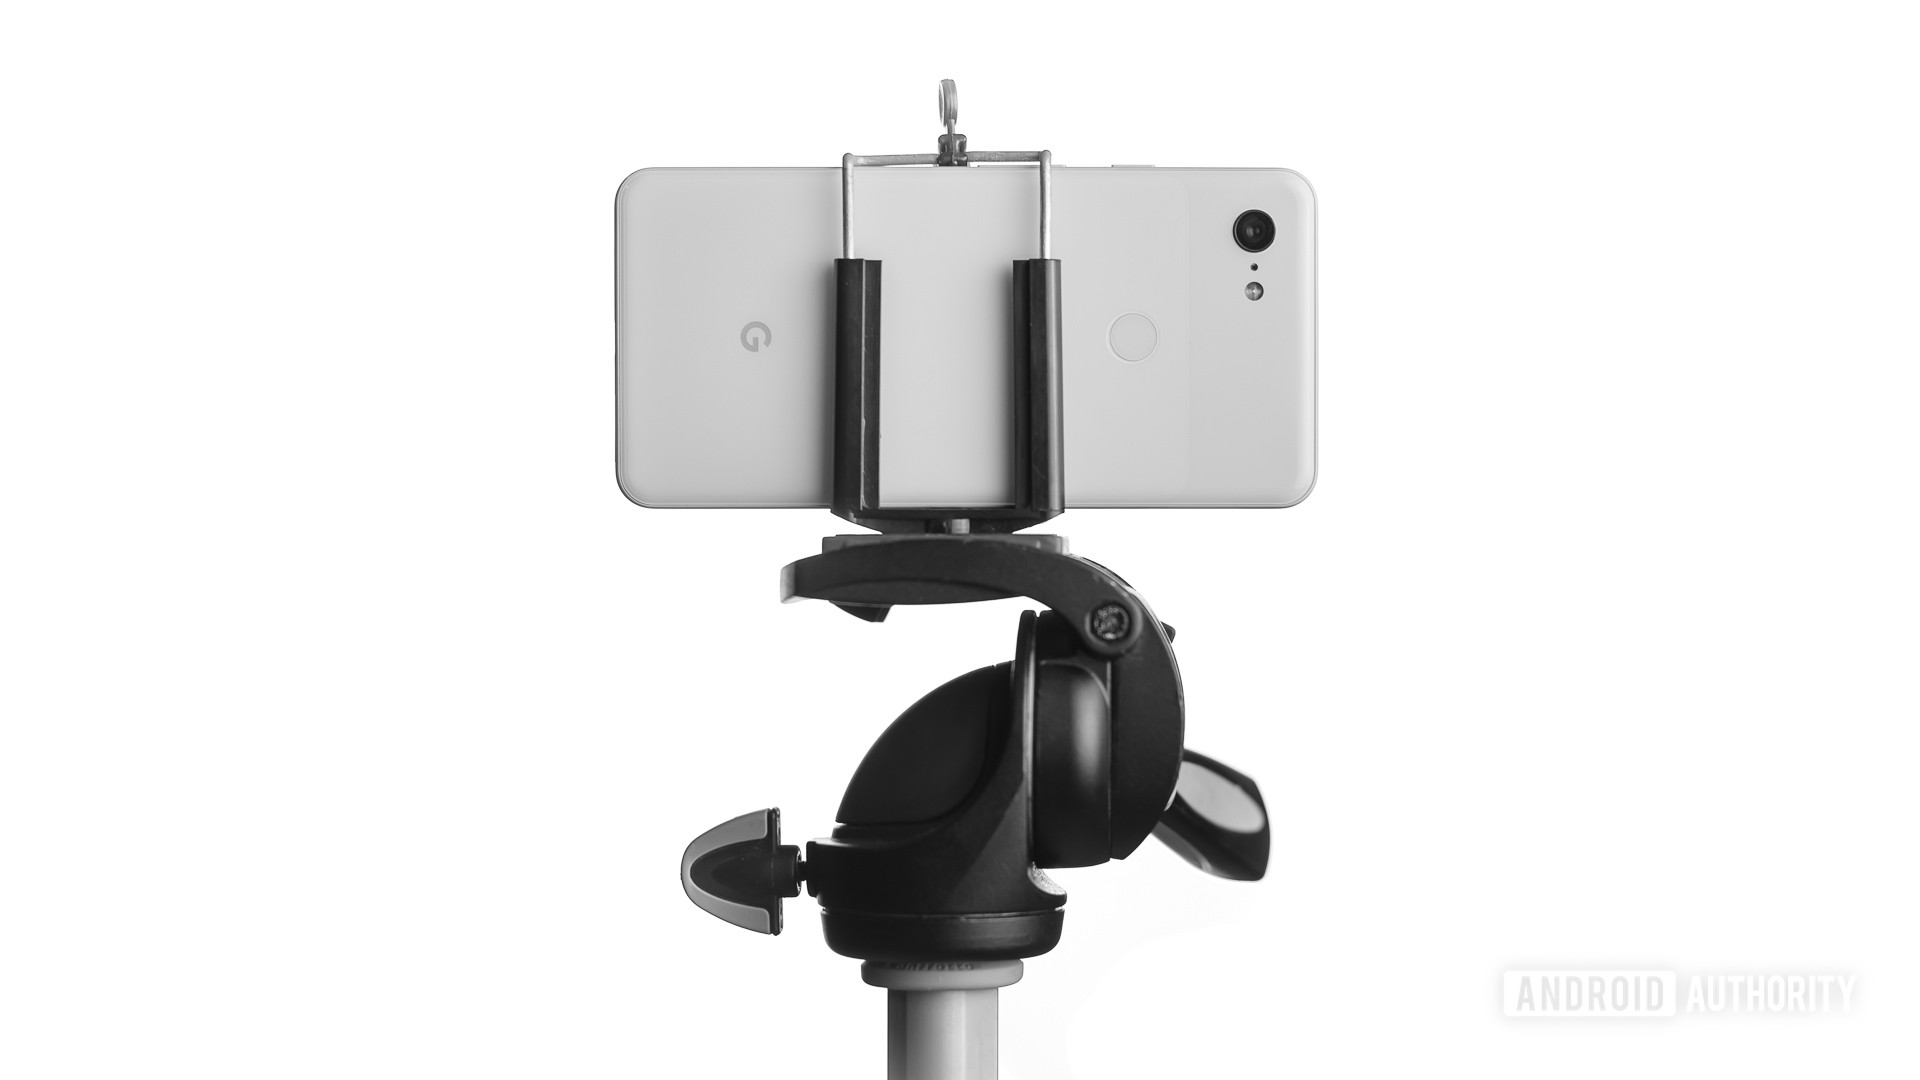
- Prop your phone up in a way that it doesn’t move. You can use a tripod, or lean the phone against anything.
- Open the Camera app.
- Go into Night Sight mode.
- Leave the phone still.
- After a few seconds, the Moon shutter button will change into a Stars shutter button. This signifies a switch to astrophotography mode.
- Tap on the Stars shutter button, and the phone will start shooting the astrophotography
How to get astrophotography time-lapse:
- Shoot a photo in astrophotography mode using a Pixel 4 or newer.
- The phone will automatically capture a time-lapse of the night sky when shooting in astrophotography mode. You can find it in the Photos app.
- You can disable automatic time-lapse output by going to Camera > Settings > More Settings > Advanced and toggle off Enable time lapse for astrophotography.
Ways to improve your astrophotography photos

Dhruv Bhutani / Android Authority
OK, so now you know how to shoot in astrophotography mode. Using the feature and taking a good photo are two completely different things, though. Let’s give you some tips to get the best possible results when using your Pixel phone to shoot astrophotography images.
Use a timer or remote shutter
Astrophotography mode shoots a series of long exposure images, so any slight movements will degrade the final result. You need the phone to stay as still as possible from beginning to end. This is why we don’t recommend actually tapping on the shutter button when shooting in astrophotography mode.
If you don’t have a remote shutter, at least set a timer. Go to Camera > Night Sight > Settings > Timer and select either a three-second or 10-second timer. You can also use Wear OS smartwatches as shutter releases, or purchase a shutter remote. The CamKix Camera Shutter Release is a good option that will get the job done at a very affordable price point.
Consider getting a tripod!

Edgar Cervantes / Android Authority
We know tripods can get pricey, and are cumbersome to carry around. These are usually tools only very serious photographers use, but we can tell you a tripod will make a huge difference. While leaning a phone against something works, it doesn’t offer the flexibility a tripod will. With a tripod, you can move the phone lower, or higher, and pan the head as you wish. We have a dedicated post with our favorite tripods. It comes with all kinds of options, from portable tripods to heavy-duty ones, so there’s something for everyone in there. If all you care about is smartphone tripods, though, we also have a list of the best phone tripods around.
You’ll also want a smartphone tripod adapter. There are plenty of them on Amazon, but if you want a recommendation, I like this Manfrotto one.
Grab a power bank
Rita El Khoury / Android Authority
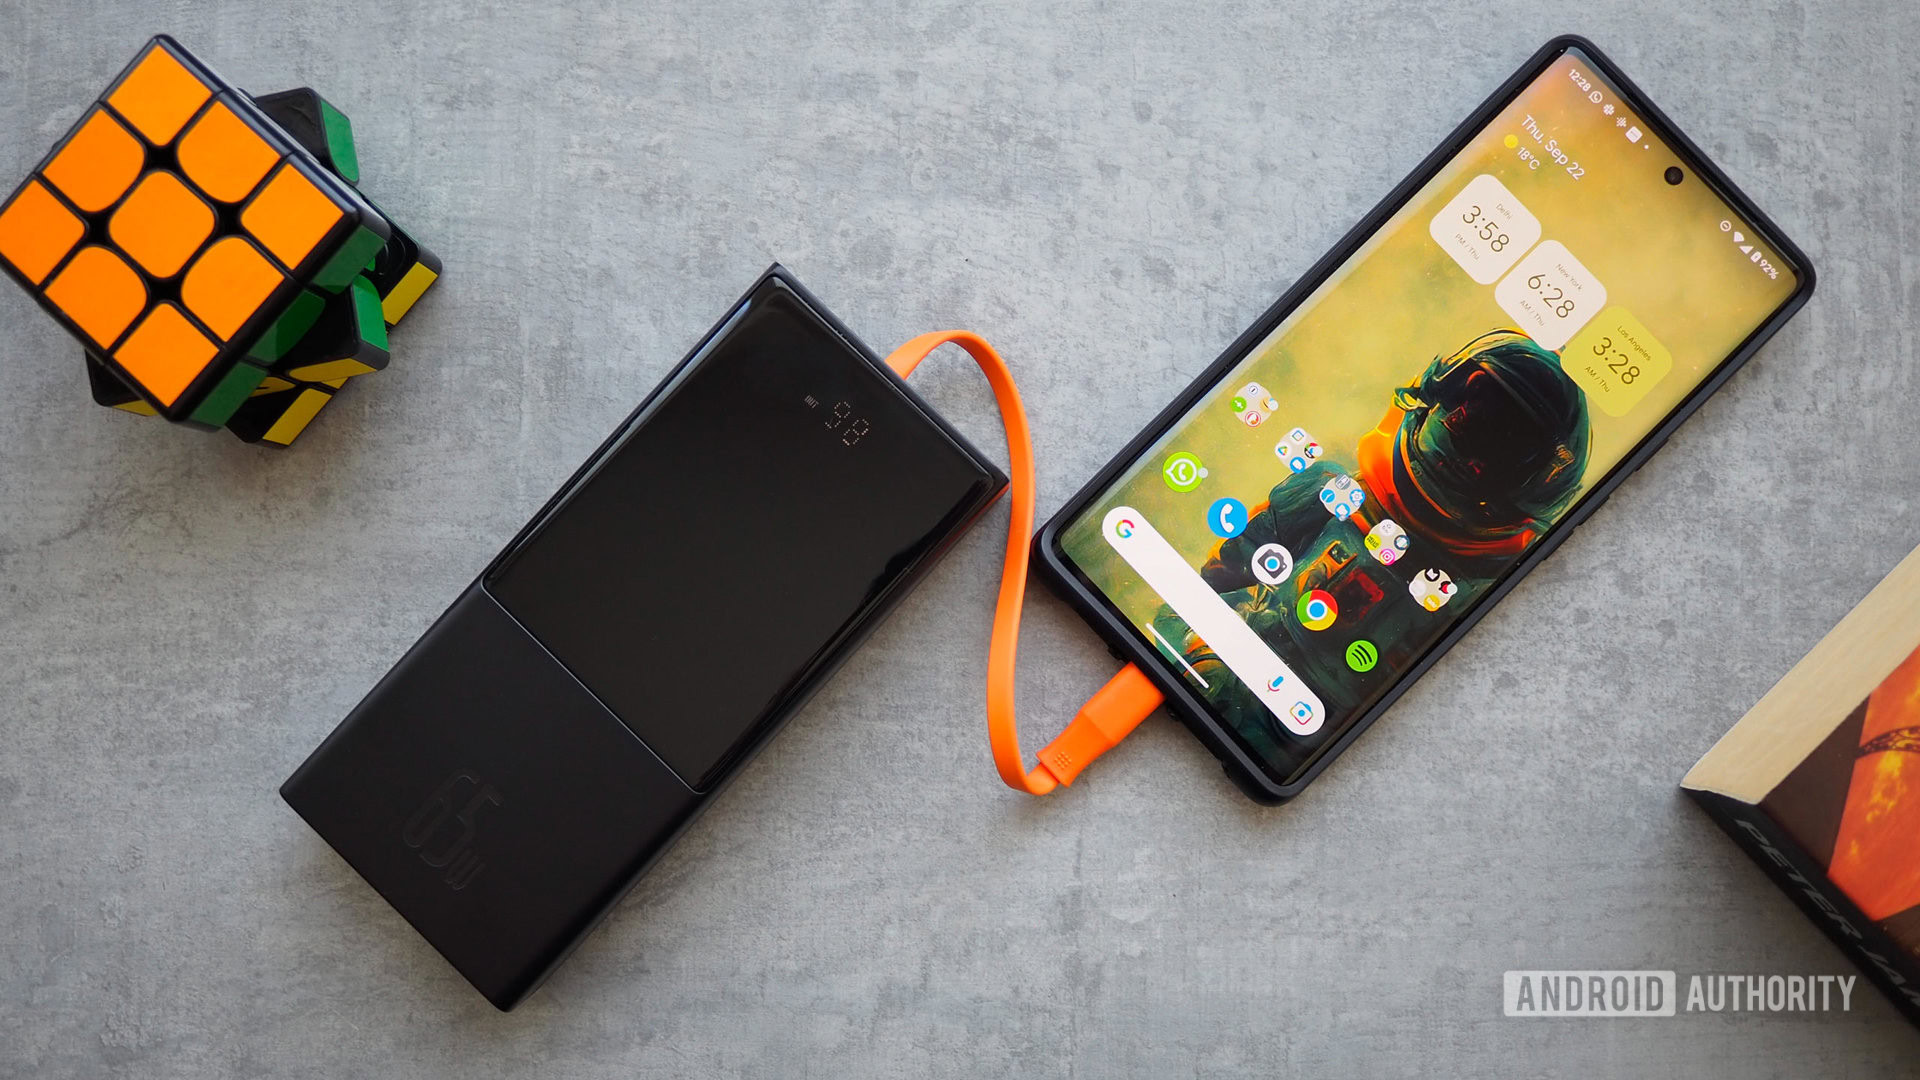
Shooting photos for multiple minutes is a sure way to ensure your phone dies quickly. This is no good news, especially if you’re out in the wild, away from the city, and the convenient outlets it offers. You’ll need a good portable battery. Check out our list of the best portable batteries to find a good one.
Finding the right conditions
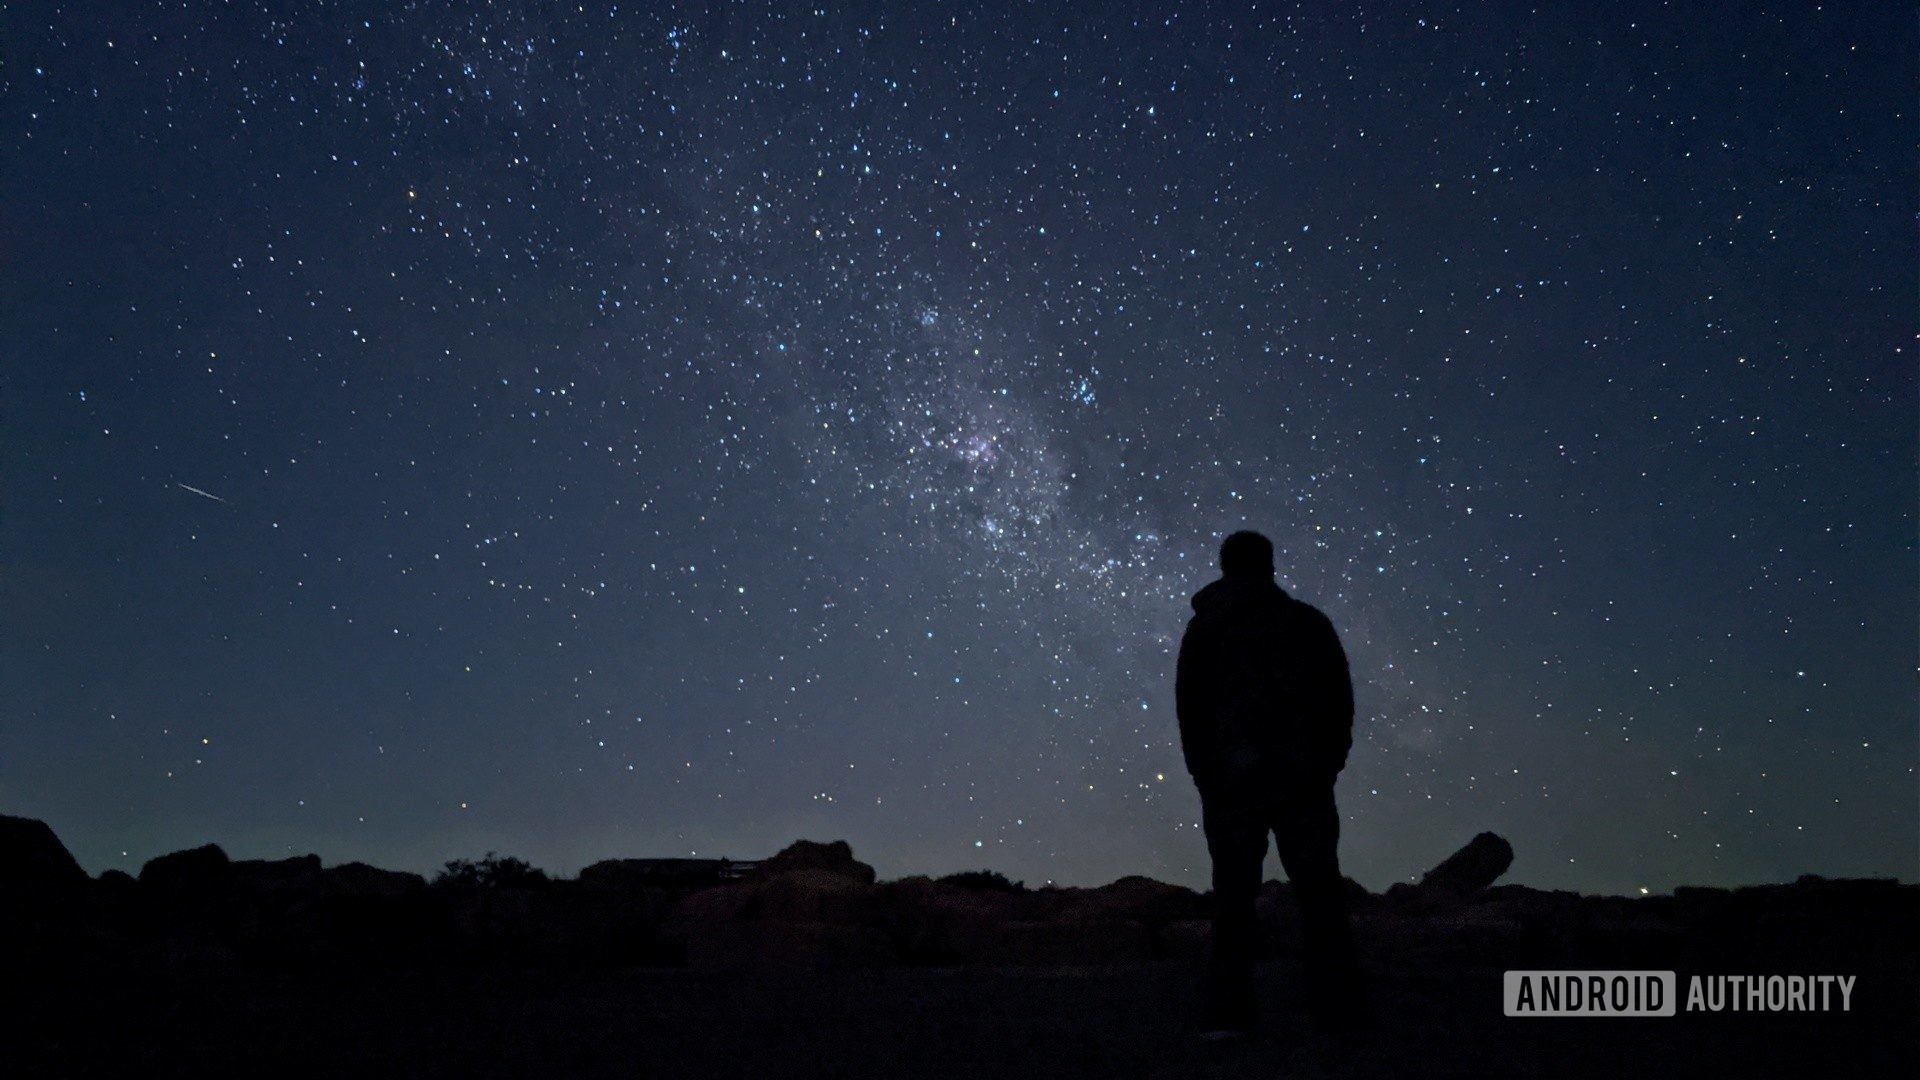
Any kind of photography requires patience, but this is especially the case with astrophotography. Way too many factors can ruin your starry images. If you’re investing time into the shoot, and going out into nature, you must ensure all odds are on your side.
For starters, you want a clear sky. Of course, any weather app can help you with that. You’ll also want as little light pollution as possible, so get as far away from city lights as you can. At the very least, make sure the lights are not visible in the frame. Google’s computational photography can handle lights without overexposing them, but it still helps to keep surroundings as dark as possible. Don’t close your mind either, though. Sometimes objects can add personality to a shot. You can choose to leave some light sources, such as interesting buildings.
If you really want to go all out, you can use apps like Sky Map or Stellarium Mobile to tell where stars are. These aren’t always visible to the naked eye.
Edit the photo or video a bit, maybe?
Edgar Cervantes / Android Authority
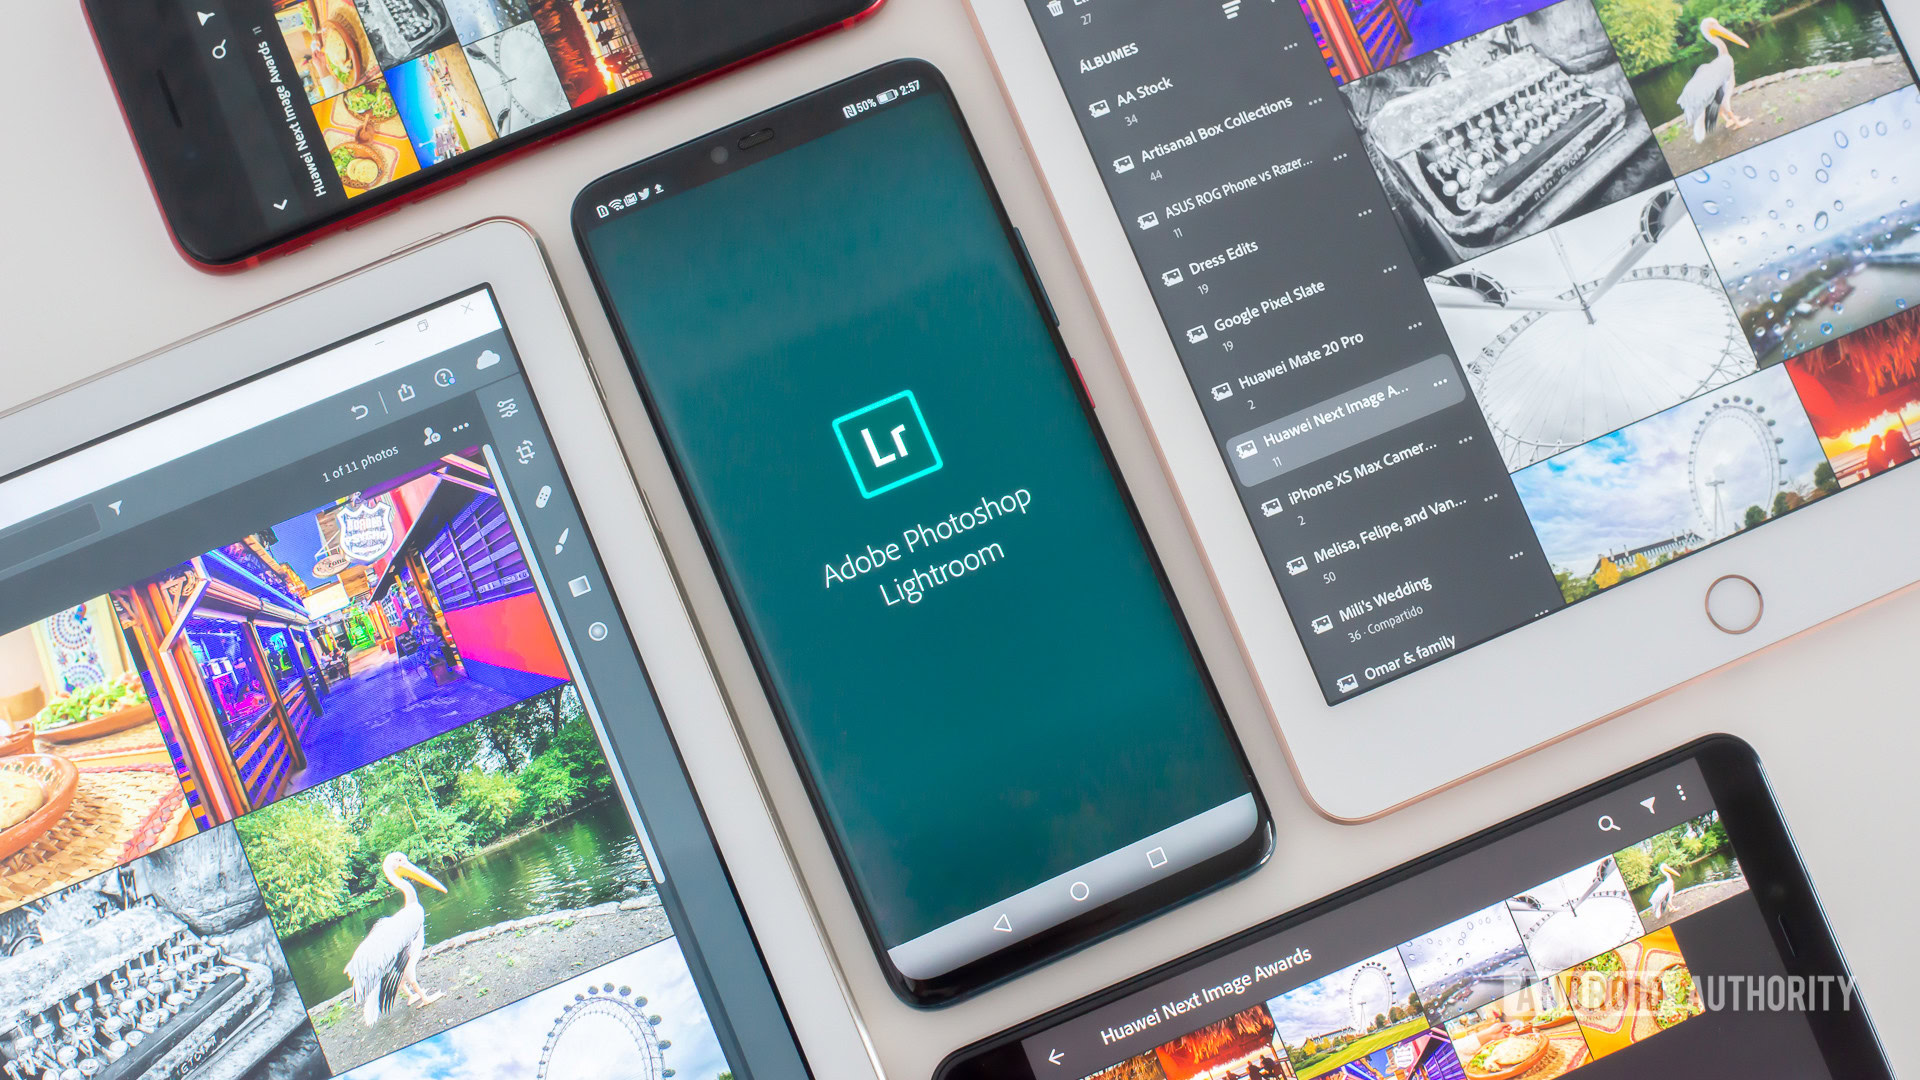
Any photographer will tell you shooting a good image is only half the battle. You’ll need to develop or edit it to bring out the best in it. We have excellent guides for editing photos using Lightroom and Snapseed, so check them out and try enhancing your astrophotography shots.
FAQs
This mode essentially works as an enhanced night mode. It shoots multiple long-exposure images, stitches them together, and uses machine learning to process the image and bring out all possible detail while keeping quality as good as possible.
You can shoot in astrophotography mode using Pixel 3 or newer Pixel phones.
Not really. For starters, the Pixel device won’t activate astrophotography mode if it notices any movement. You would need to be so still that the phone believes it’s not being handheld.
Astrophotography mode is part of Night Sight. You can find the settings and options in that section.
[ad_2]
