[ad_1]
© Provided by MUO
Whether you’re a new photographer or a seasoned pro, you may have heard some of the rules and formulas photographers must follow to get perfect pictures. Most of these rules are time-tested; some have been used since the basic camera days. So, knowing them can be handy in a variety of situations.
Following this set of rules can help you confidently use your camera and improve your composition. From the famous rule of thirds to the lesser-known rule of vanishing point, let’s explore some of them to elevate your photography.
1. The Rule of Thirds
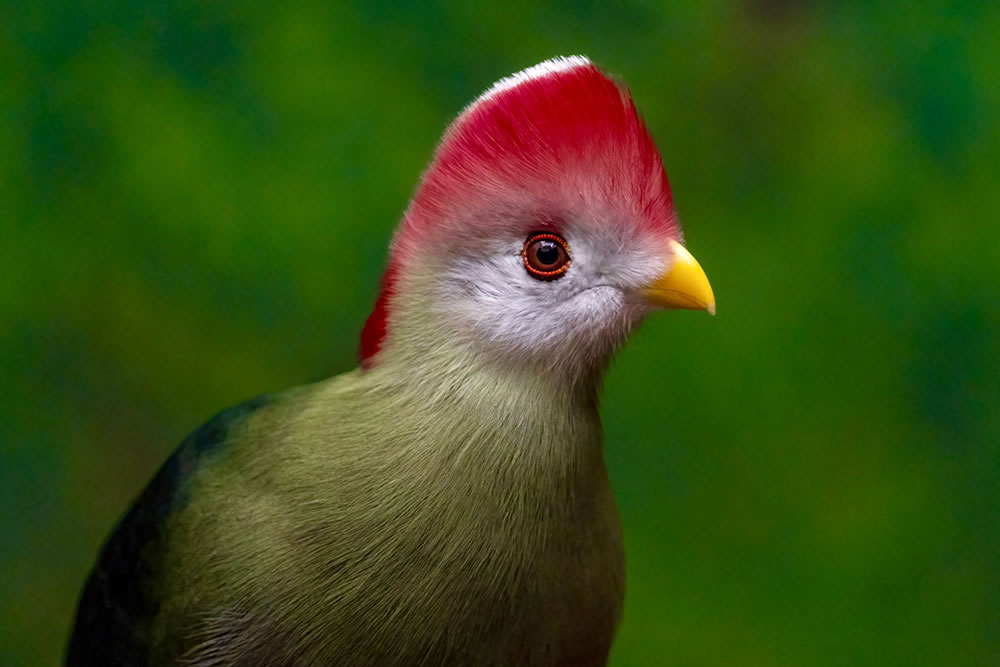
If there is one simple rule that can instantly make your photos look more elegant, it is the rule of thirds. You may have heard it many times before, and it is popular because it works for any type of photography. Portraits, wildlife, or landscapes—this rule will never let you down.
The rule tells you to separate your frame into three sections and place the subject away from the center. Switching on the grid lines in your camera will help you see where to position the subject.
2. The Reciprocal Rule
Want to take sharp photos? Then, remember the reciprocal rule, which states you should use the focal length of your lens as the denominator of the shutter speed to avoid camera shake. For example, if you’re using a 50mm lens, you should use a shutter speed of 1/50 or higher to get sharp photos.
This is a general guideline more than a rule, but it is easy to remember and use. Instead of following a trial-and-error method, you have a reference point for your shutter speed.
3. Sunny 16
According to the Sunny 16 rule, on sunny days, you can set the shutter speed as the reciprocal of your ISO when using the aperture f/16. For instance, when shooting at an aperture of f/16 and ISO 200 under sunlight, you can set the shutter speed to 1/200 for correct exposure.
Shooting in manual mode can be daunting for beginner photographers. So, this is an excellent rule to follow until you get the hang of controlling all three parameters of the exposure triangle.
4. Looney 11
If you’re an intermediate photographer trying your hands at astrophotography, Looney 11 is the rule for you. It is similar to the Sunny 16 rule but is for nighttime moon photography. On dark, clear nights, when you photograph the moon at an aperture of f/11, the shutter speed can be the inverse of the ISO.
Let’s say you’re photographing the moon at f/11 and ISO 100. Your shutter speed can be 1/100th of a second. Of course, this is not a hard-and-fast rule. Taking amazing astrophotos requires specific gear, complex editing, and, most of all, a nice place with dark skies away from any light pollution.
5. The 500 and 600 Rules
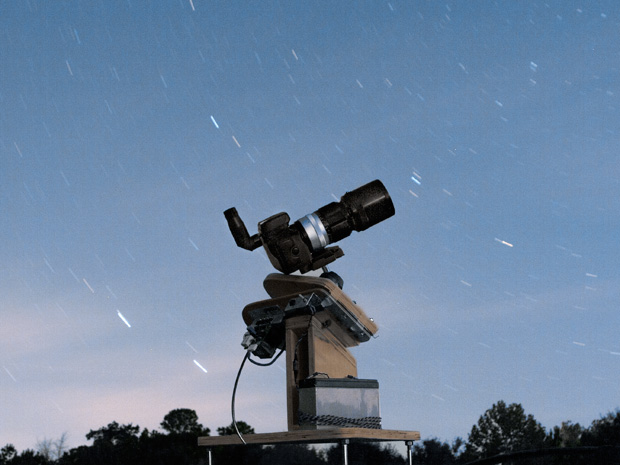
The 500 and 600 rules are specifically for astrophotographers to avoid star trails. Astrophotographers use a shutter speed in seconds to let more light into the camera. But, when the exposure is long, you get a new phenomenon in your night photos—star trails.
The earth is constantly rotating, and though we may not feel it, it makes the stars look like dashes instead of pinpoint dots. The 500 rule gives you the maximum shutter speed for your camera and lens combo to keep the stars sharp.
Shutter speed = 500 / (focal length of your lens x camera’s crop factor)
The equation looks like this with a Nikon APS-C sensor camera and 50mm f/1.8 lens:
Shutter speed = 500 / (50 x 1.5)
You can use the resulting shutter speed of 6.6 seconds to avoid blurry stars. Remember, Canon cameras have a crop factor of 1.6.
The 600 rule is similar to the 500 one—just use 600 instead of 500. Use the 500 rule for beginner cameras and the 600 rule for high-resolution cameras.
6. The NPF Rule
The problem with using the 500 and 600 rules is that they are entirely accurate. So, astrophotographers have another complex rule to get sharp stars. Called the NPF rule, it is more accurate for calculating the shutter speed for night skies. The N stands for aperture, P for pixel density, and F for the focal length of your lens. Pixel pitch or density is the distance between the pixels in your camera’s sensor.
Shutter speed = ((35 x aperture) + (30 x pixel pitch)) / focal length
Pixel pitch = (width of the sensor / long side image dimension) x 1000
So, let’s calculate the pixel pitch for the Nikon D810, which has a 35.9 x 24mm sensor size with an image size of 7360 x 4912:
Pixel pitch = (35.9 / 7360) x 1000
We can assume we are using the same lens as above, the 50mm f/1.8:
Shutter speed = ((35 x 1.8) + (30 x 4.9)) / 50
According to the NPF rule, the maximum shutter speed we can use is 4.2 seconds.
7. The Golden Ratio Rule
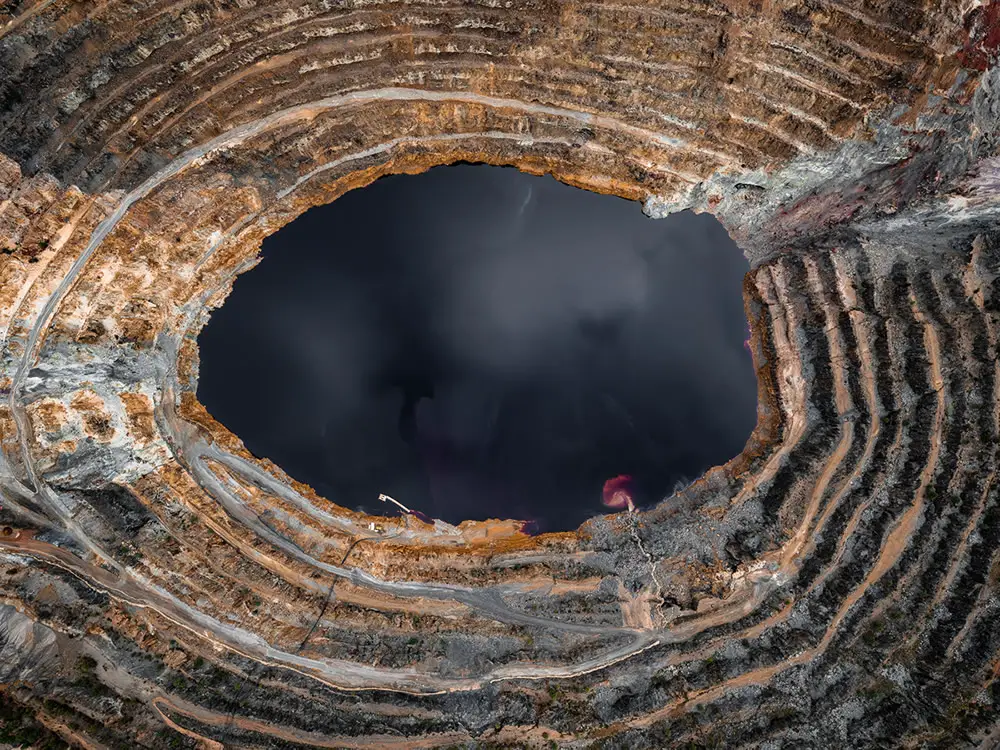
This is truly a golden rule that is not easy to master. It can be hard to compose images using the Golden Ratio, so practicing often is crucial to getting comfortable with it. The easiest way is to look for naturally spiral and curved elements and compose your pictures based on that.
See our detailed explanation of the golden ratio in photography to understand the math behind it.
8. The 60-30-10 Color Rule
A rule meant initially for artists and interior designers, photographers too can use this rule to get incredible pictures. The idea is to have 60% main color, 30% secondary color, and 10% accent color in your photos.
Using colors this way will help your photos look pleasing to the eyes instead of cluttered. Try this lesser-known compositional rule to see the difference in your photos.
9. The Rule of Vanishing Point
A vanishing point is where two parallel lines converge and vanish. For example, imagine the parallel lines of a train track or a wooden bridge. Artists use this technique to create depth and add a sense of scale to paintings. Similarly, you can use vanishing points to create powerful compositions.
Placing your subject bang on the vanishing point can make for an exciting photo.
Feel Free to Bend These Rules and Experiment
We recommend incorporating these nine rules and formulas into your photography projects to get professional-looking photos. But remember to use them as guides, and don’t shy from tweaking them to suit your needs.
[ad_2]



 For all latest news, follow The Daily Star’s Google News channel.

