The Goldfield Colorado Star Mine – David Lane Astrophotography

[ad_1]

Victor Colorado Star Mine

Victor Colorado Star Mine

The Victor/Goldfield Colorado Star Mine

Jimmy and I were headed home from out west after 9 days of shooting images. In case you have missed it I really find mining and specifically the buildings and mechanisms to bore holes miles into the ground extremely interesting.

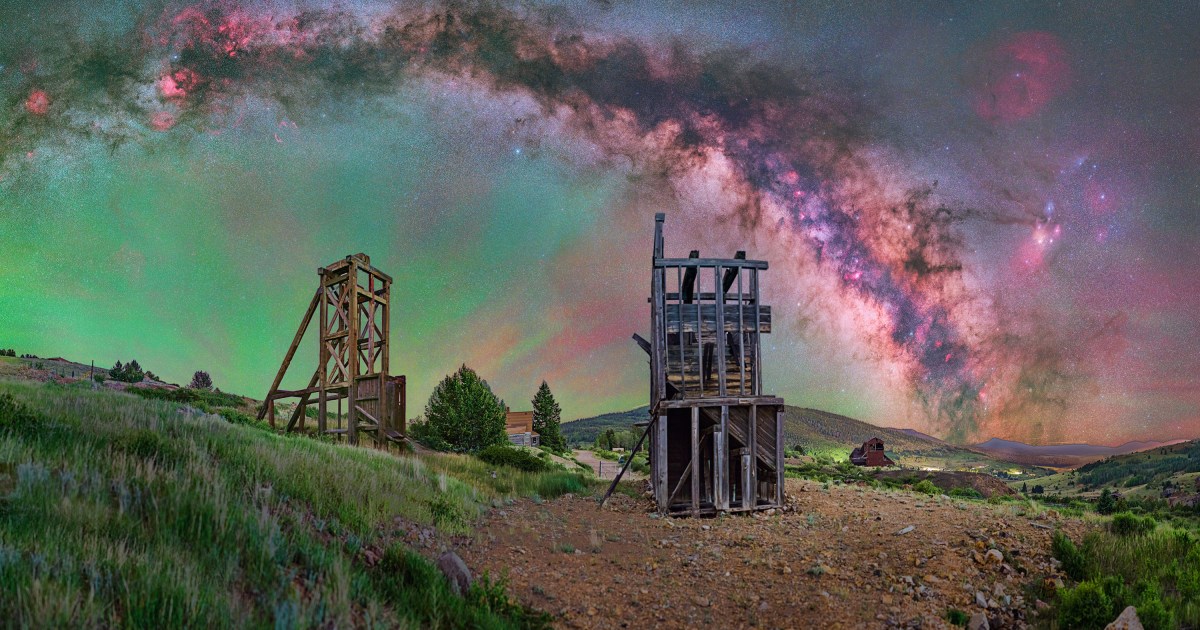
I managed to find this little area with a really cool walking trail through half collapsed building remnants, and just a bit away from the scattered lights of Goldfield a very small town of maybe 20 houses. This area was also behind the hill on the right from Victor Colorado (far right glow.) This was the second to last shot of the night. The first two had happened with a very tiny sliver of a moon still visible on the horizon. By now the moon had slipped behind the hill to the west and a dark night calm night awaited introspection.

If you look really carefully in the center you can see a peek-a-boo shot of Jimmy (my loyal GMC Jimmy) just showing. If you had x-ray eyes you could see not only the fence in front of Jimmy but the KEEP OUT sign as well. Sometimes you just have to do what you have to do to please your Astro-friends!

I was really pleased with how the Milky Way turned out considering that Colorado Springs just to the left edge of the image and distant Pueblo was to the right. Recovering the highlights in this image not only required an excellent Light Pollution Filter but also a lot of astro manipulation to deal with it.

For those that find such things interesting, the two headframes are the Grace Greenwood headframe (left) and the Deadwood headframe (center.) Both were moved here in 2012-2013 by the Cripple Creek & Victor Gold mining company in an effort to preserve the mining heritage of the area.

The Grace Greenwood mine was owned by the Anaconda Mining Company. The development of the mine was begun in1902-03. The company owned 100 acres of land with several mines operated by lessees. Some of the mines included the Half Moon and Kittie M. The Greenwood mine lasted over half a century closing for good in 1959.

The Grace Greenwood gallows frame and hoist house were placed here on the reclaimed Altman Backfill above the Vindicator Valley near the town of Goldfield.

The Deadwood Mine was a quite minor mine but its beautiful headframe remains as a testament to the intense effort to blast through solid rock.

If you ever get the chance to visit Victor Colorado “The City of Mines” it is way worth it. It is amazing how much mining took place here. You can also stop by Cripple Creek as well but in my mind, Victor is the place to wander about and see a virtually untouched original 1900s mining town.

Wandering around these ruined buildings at night was so interesting. The connection to miners and times lost was real and visceral. The hulking buildings forming black silhouettes against the sky whispering their souls to the winds, atop an 11,000-foot mountain for decade after decade alone, awaiting their ultimate fate.

Please Like Comment and Enjoy! This one was tough but I hope you enjoy it.

EXIF: 35 images clipped left for light pollution and a pile of rocks. 55mm f1.6 ISO 8,000 


[ad_2]

A Waterworks Philadelphia Wedding | Andy & Lindsay

[ad_1]

Fb-Button

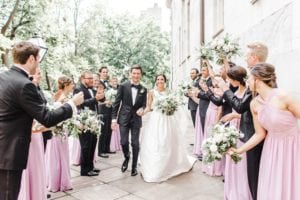
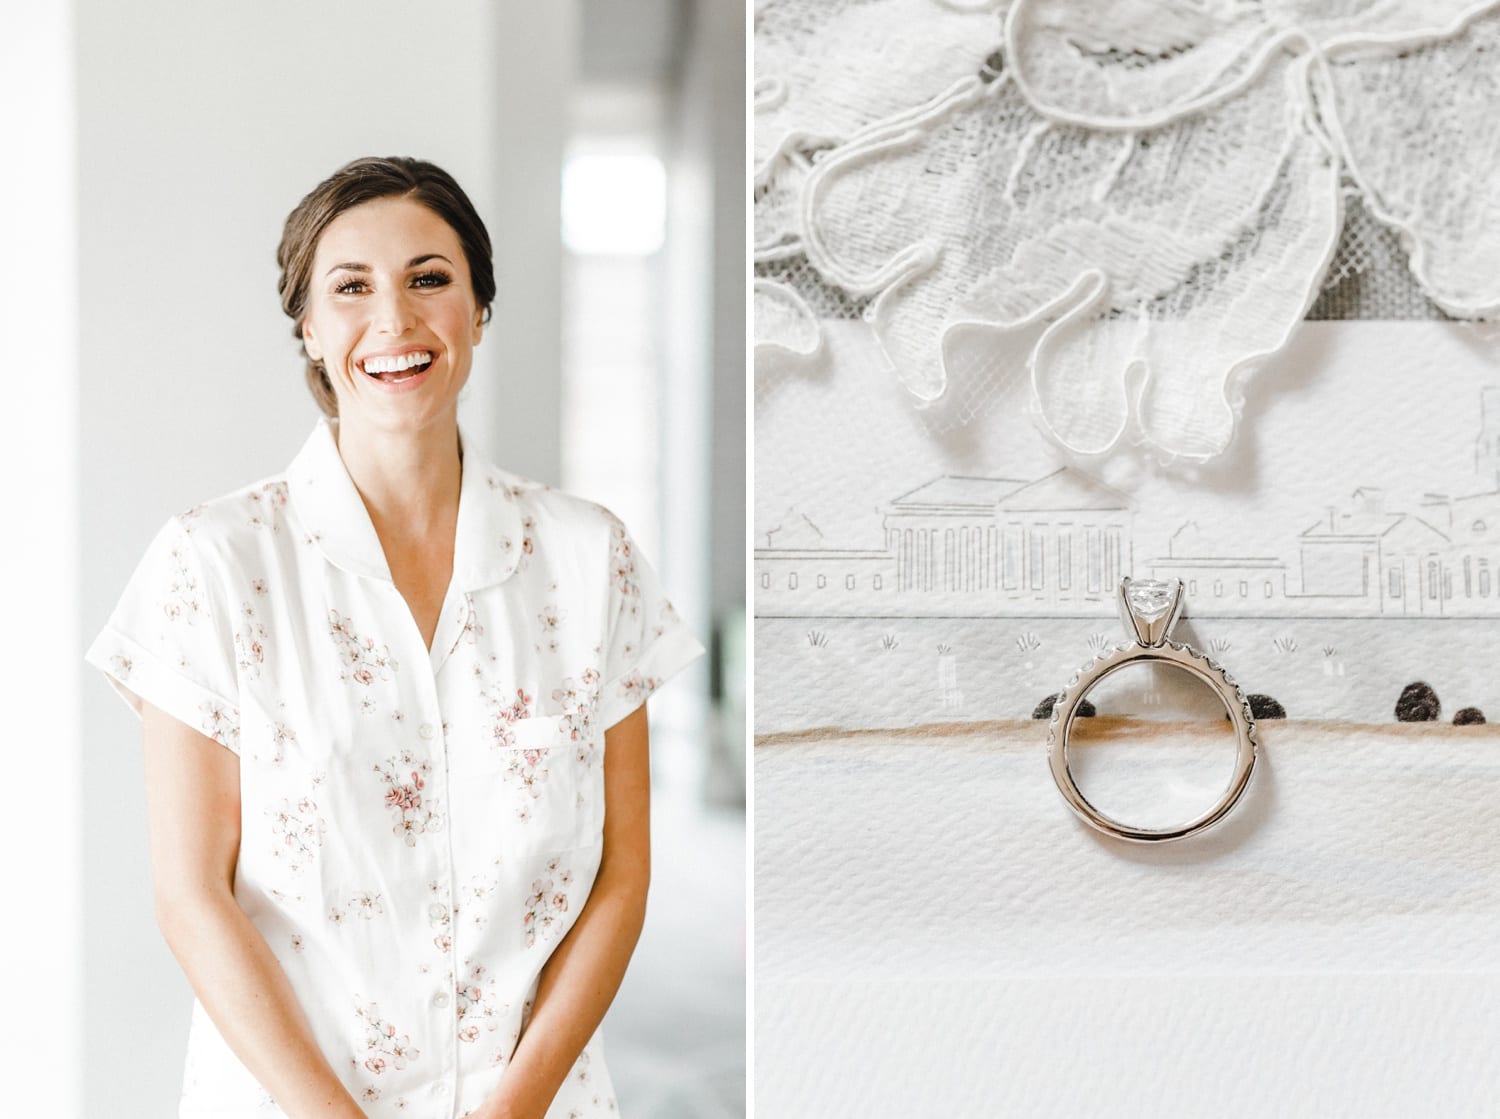
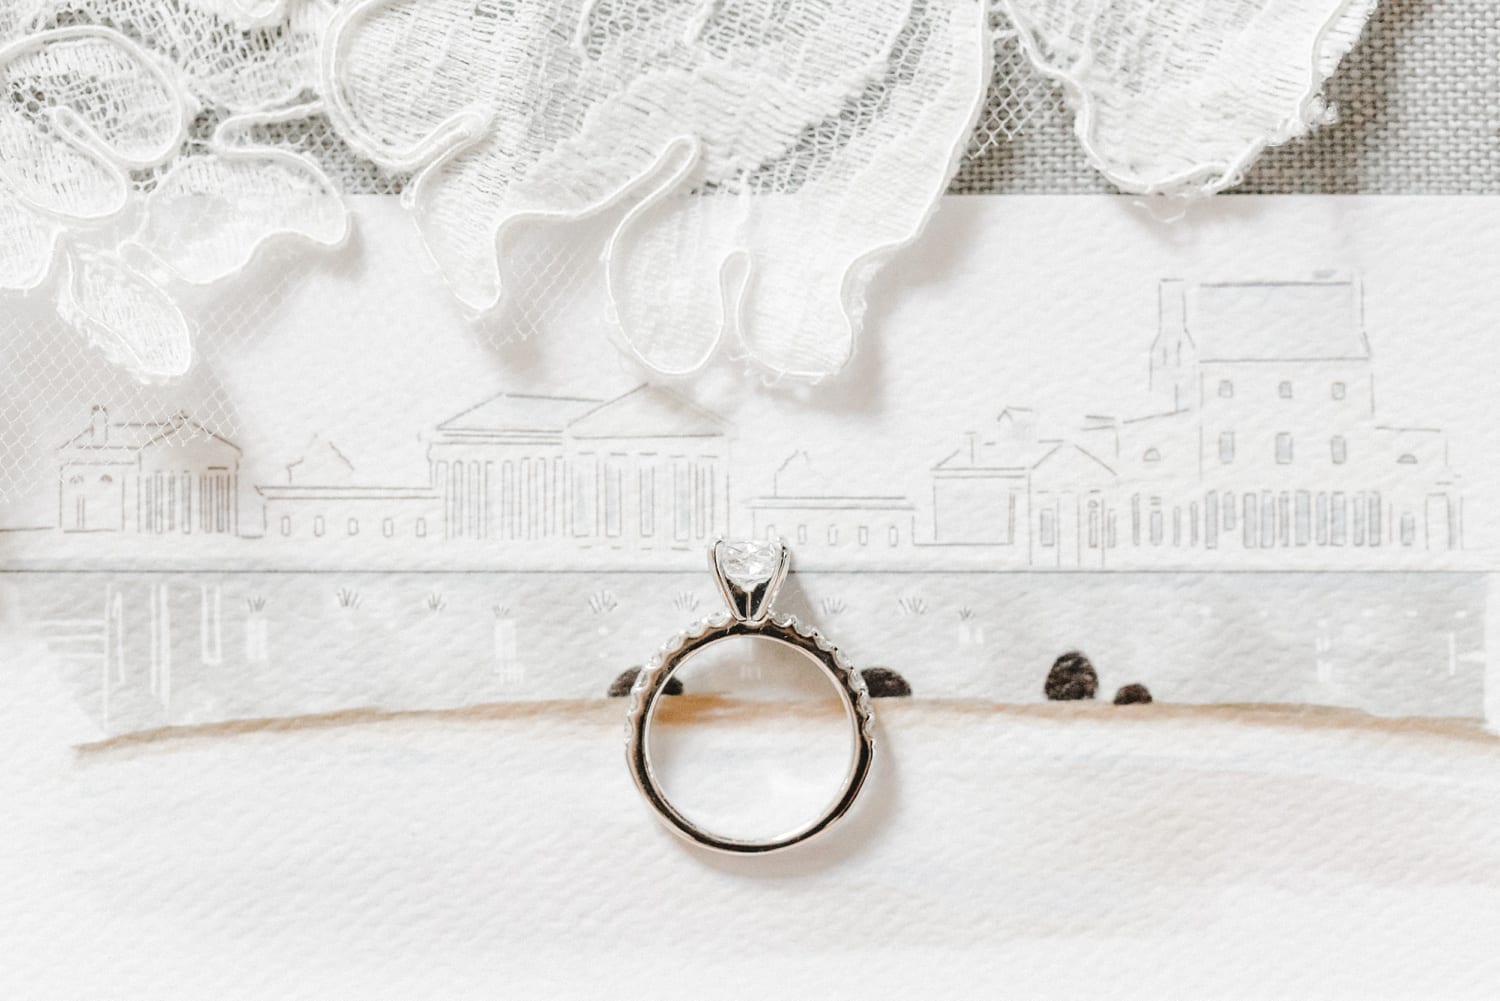
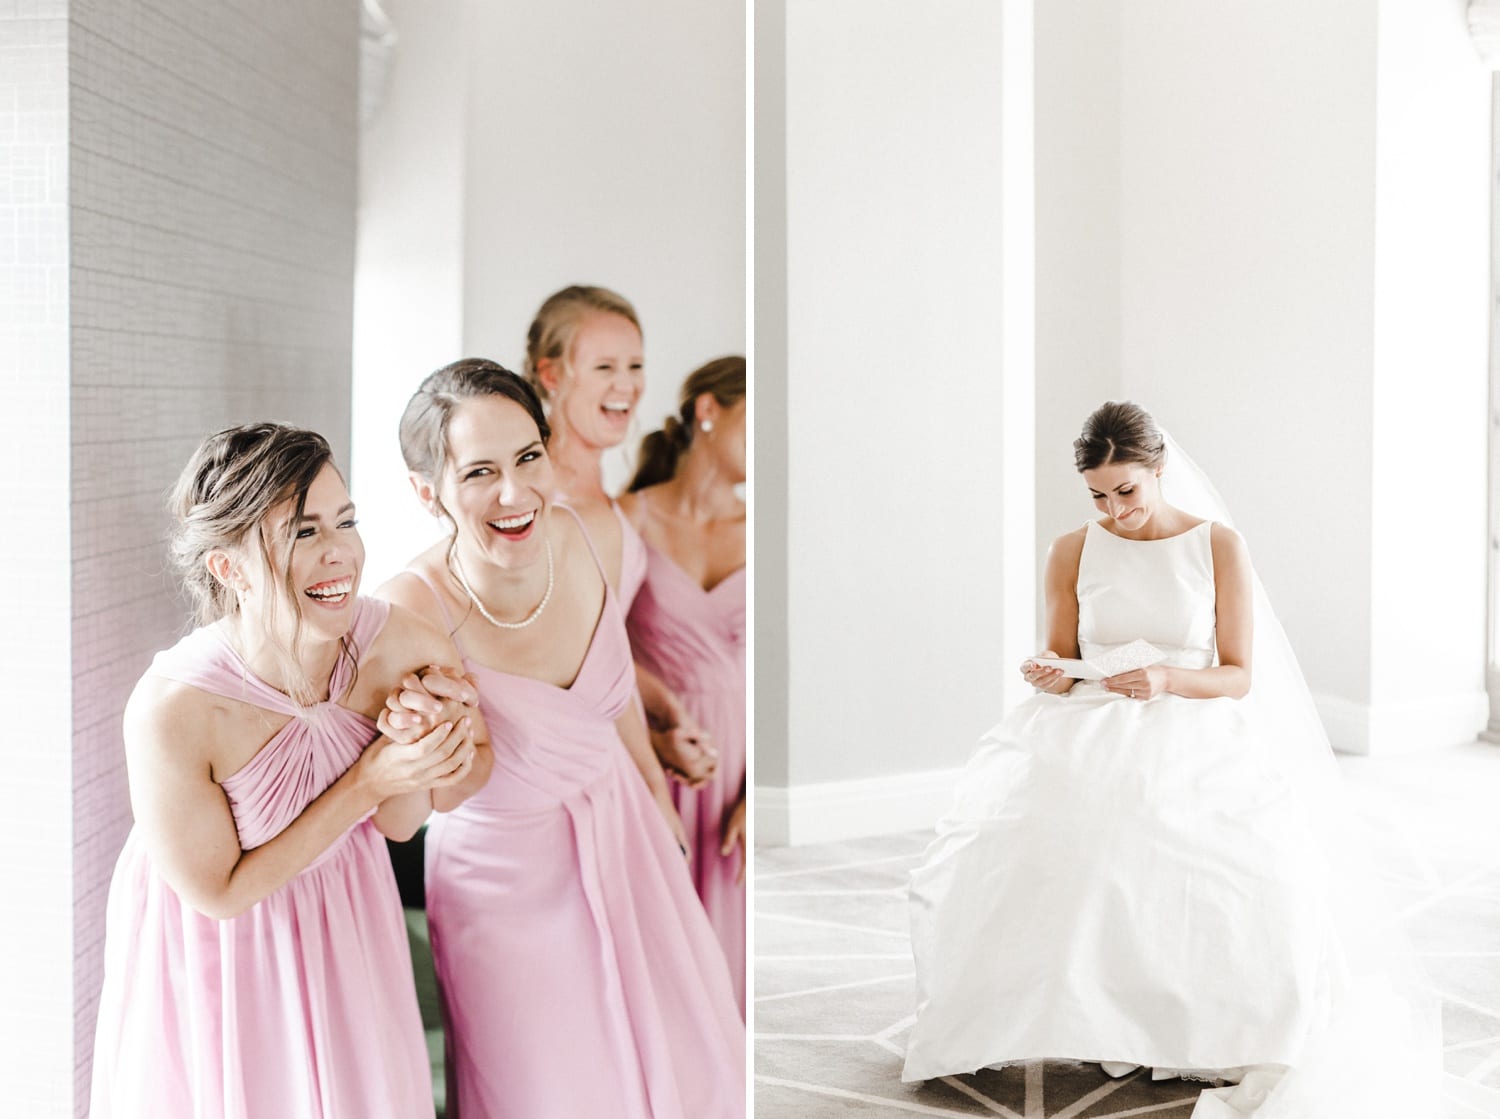
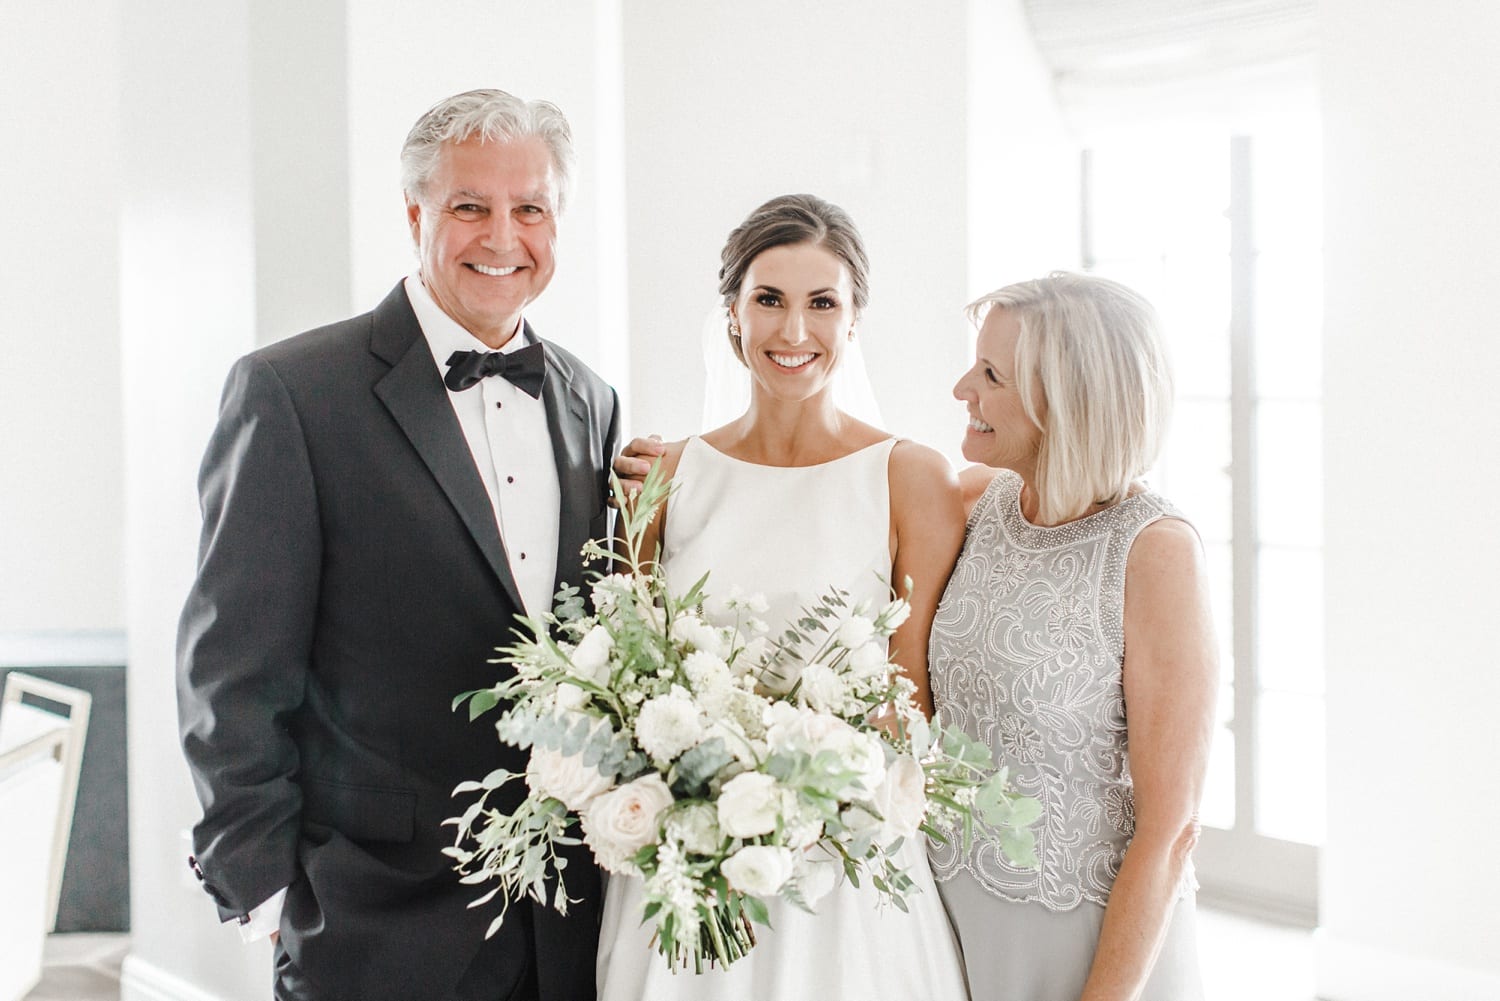
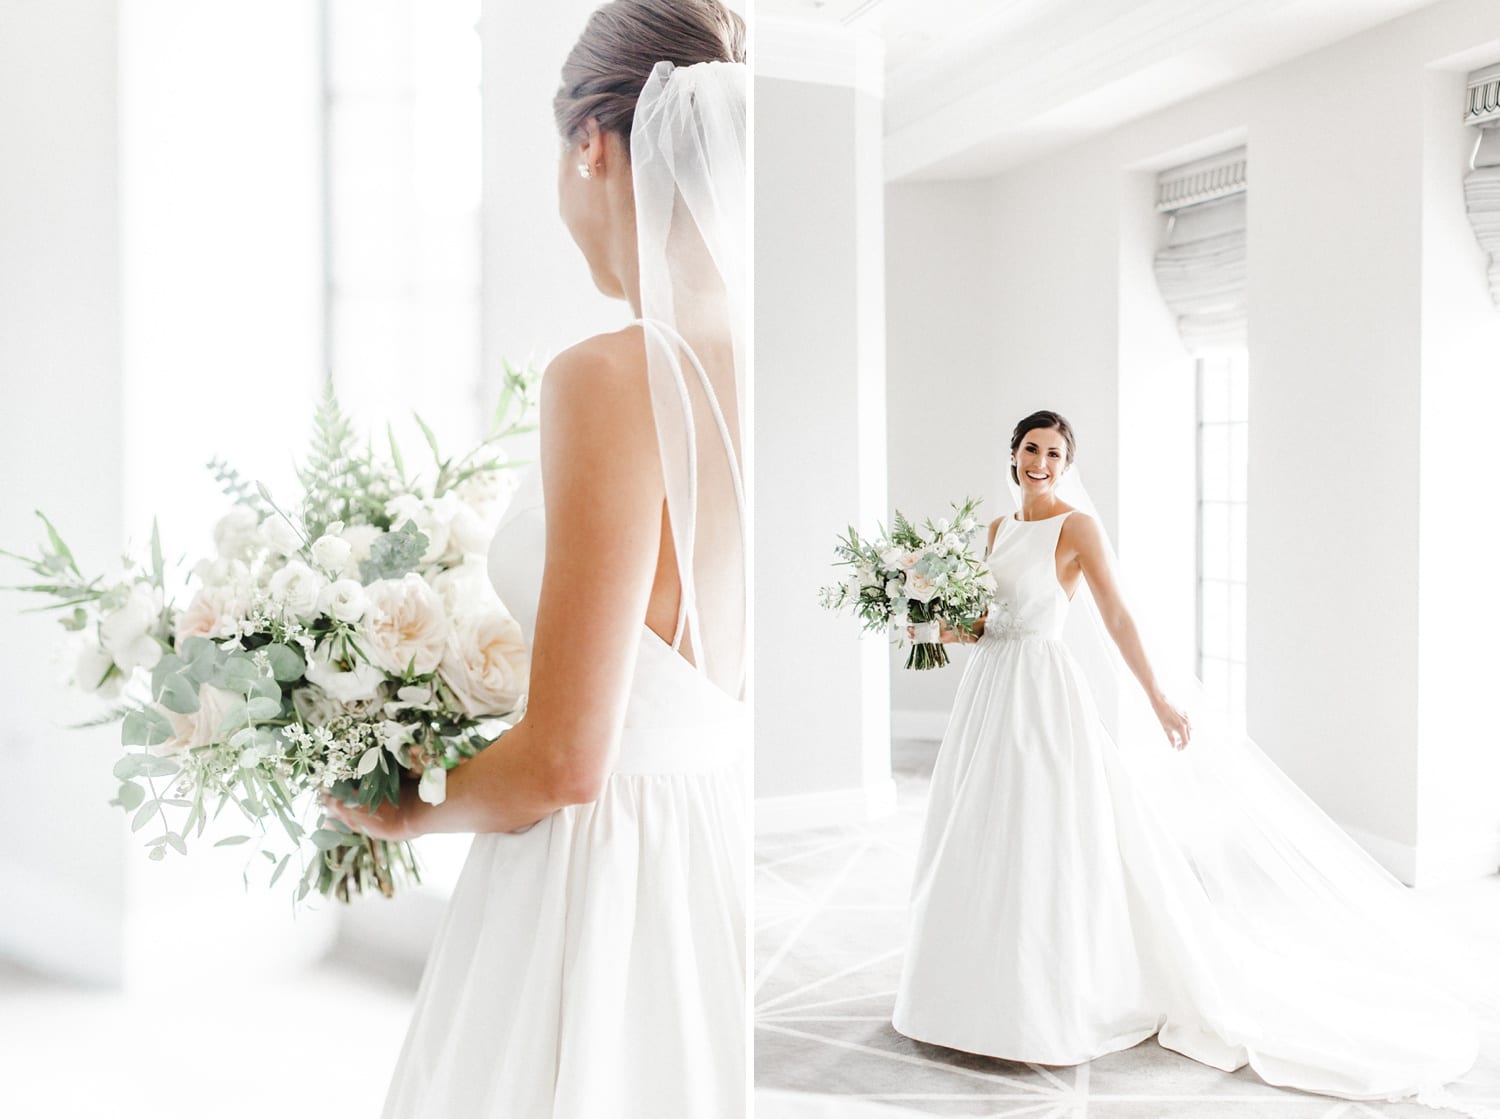
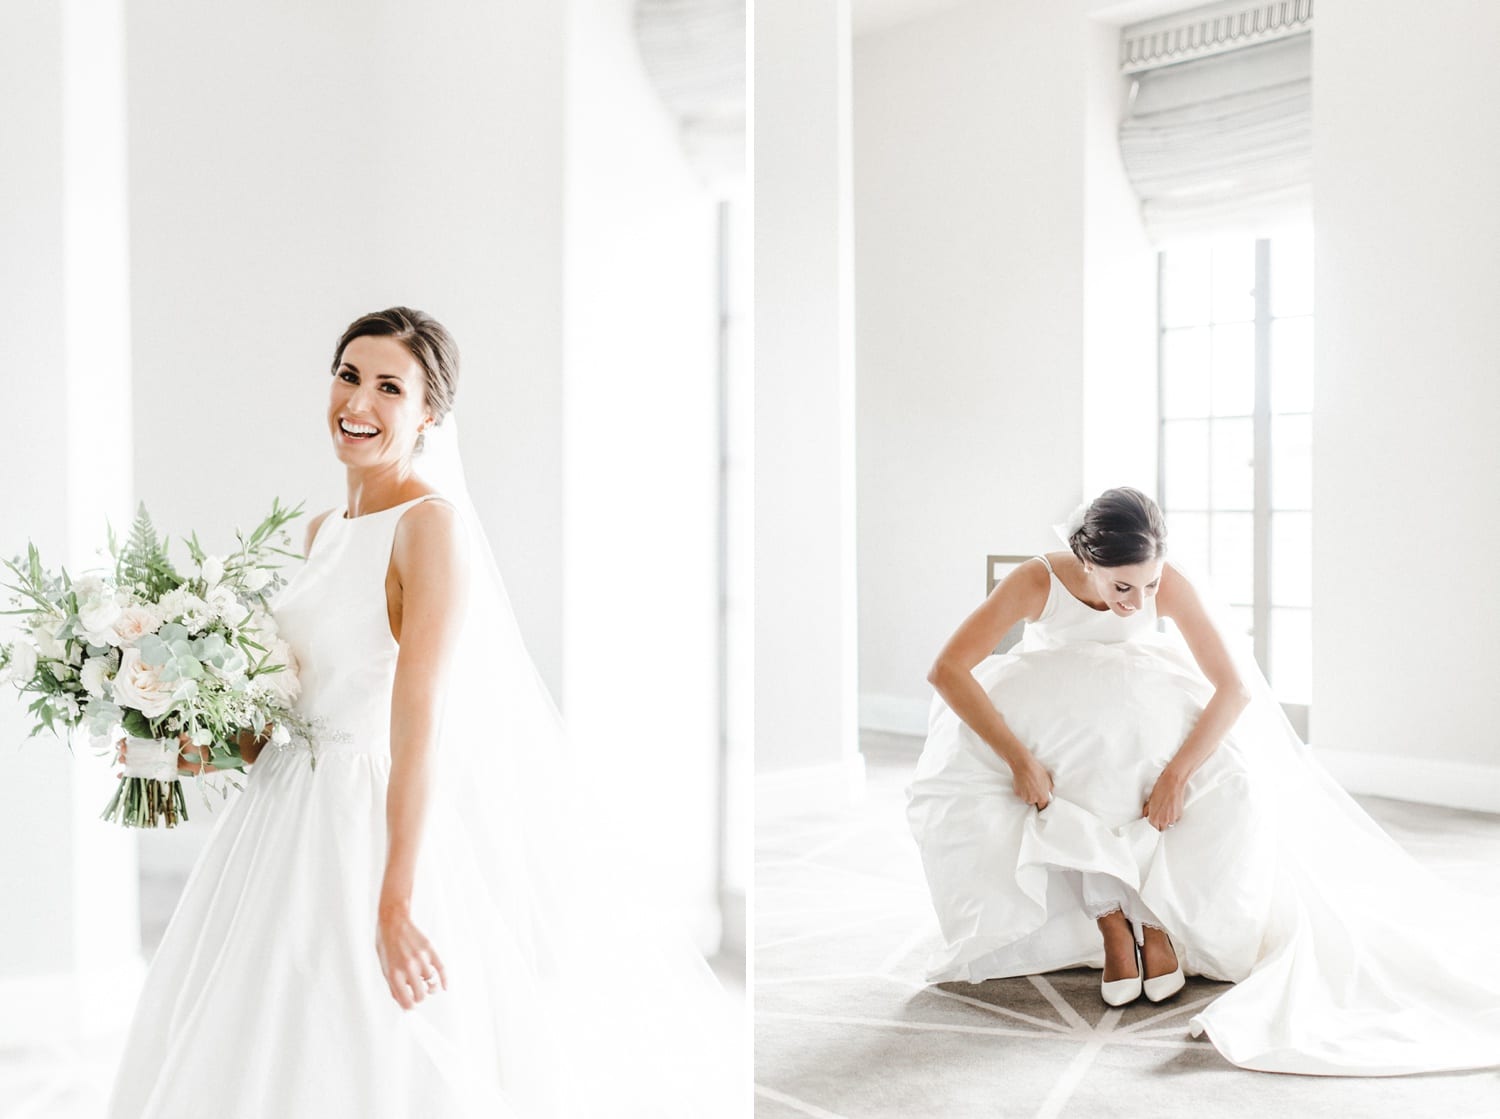
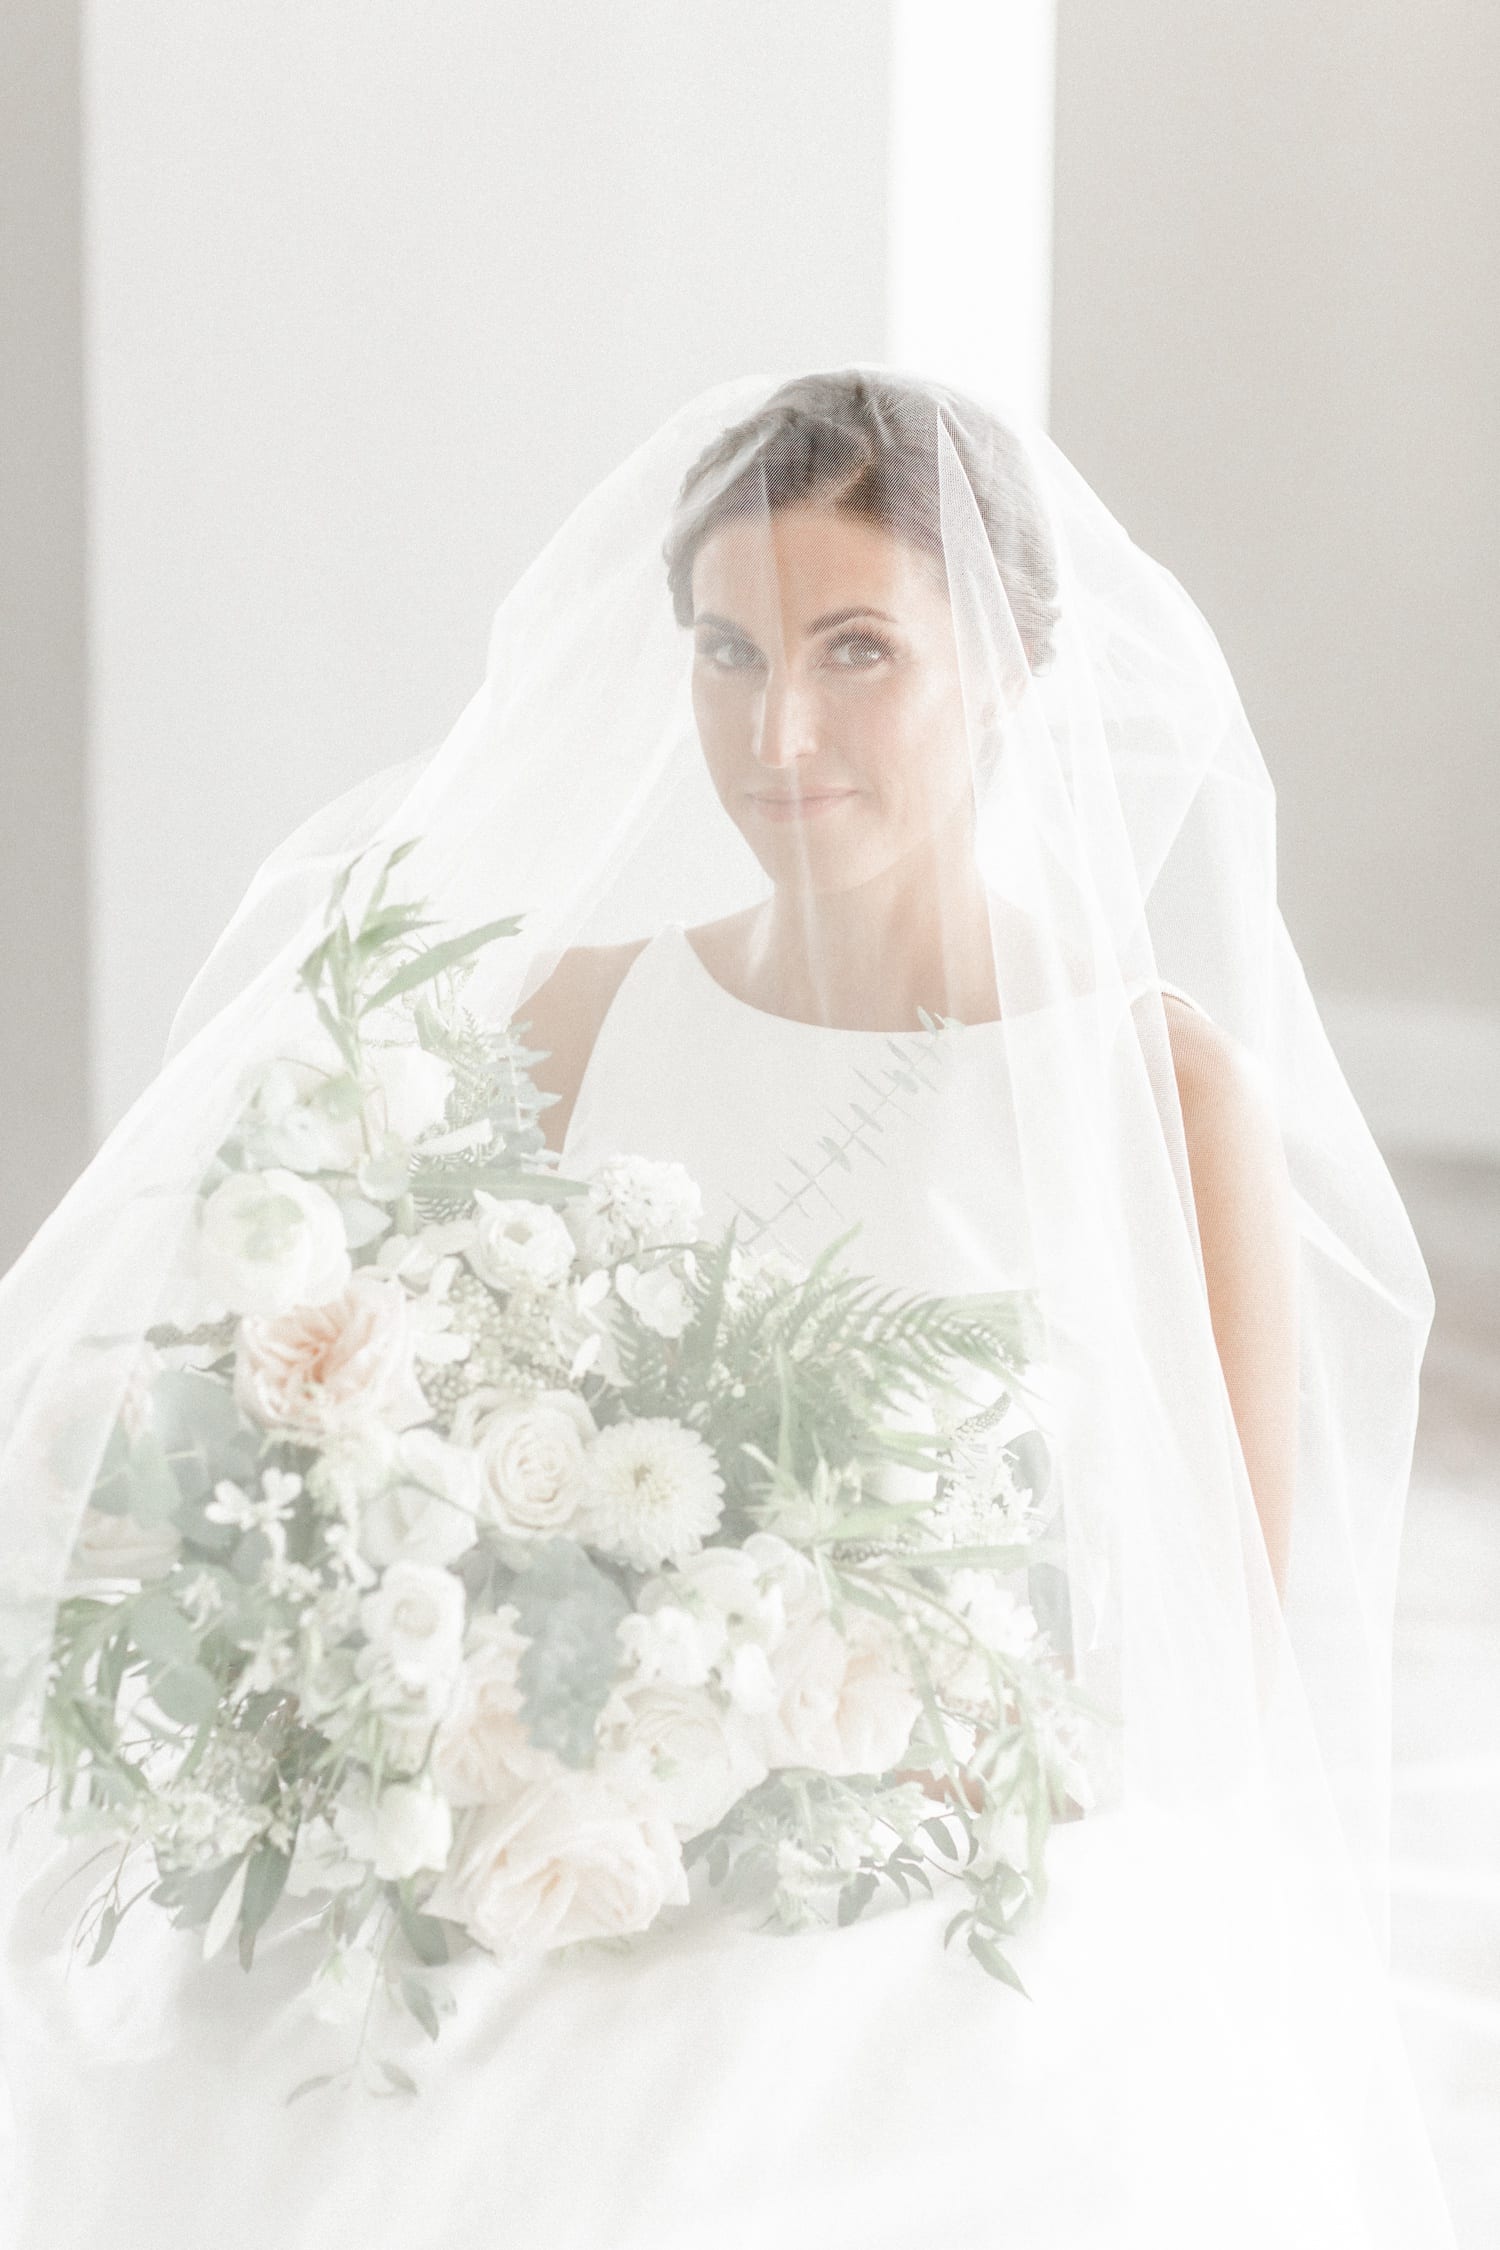
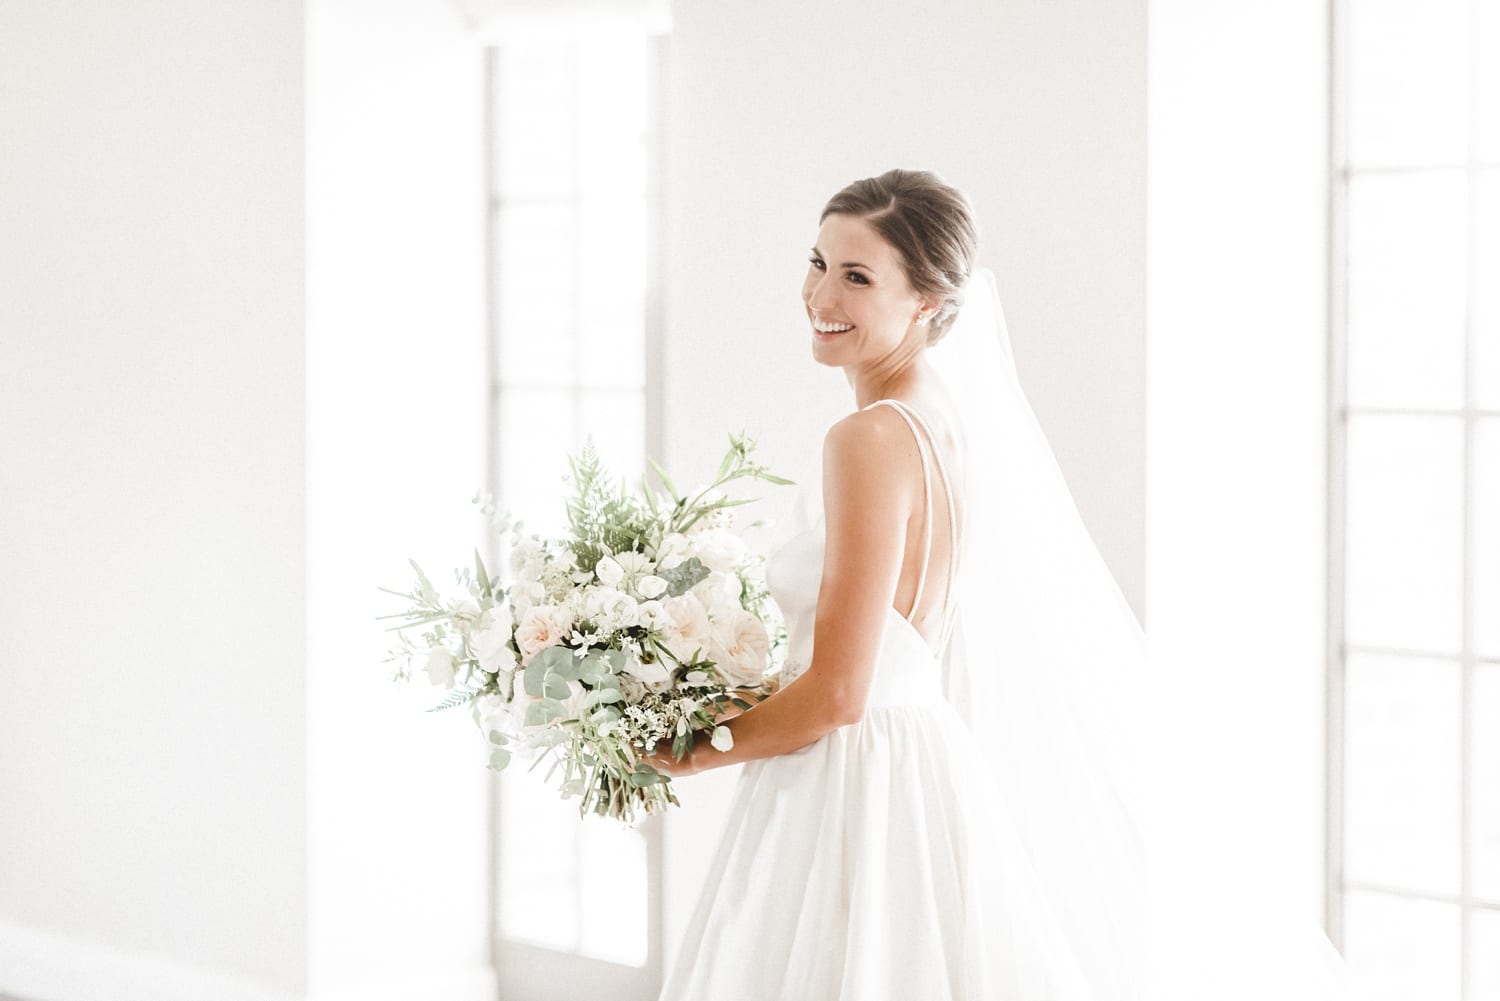
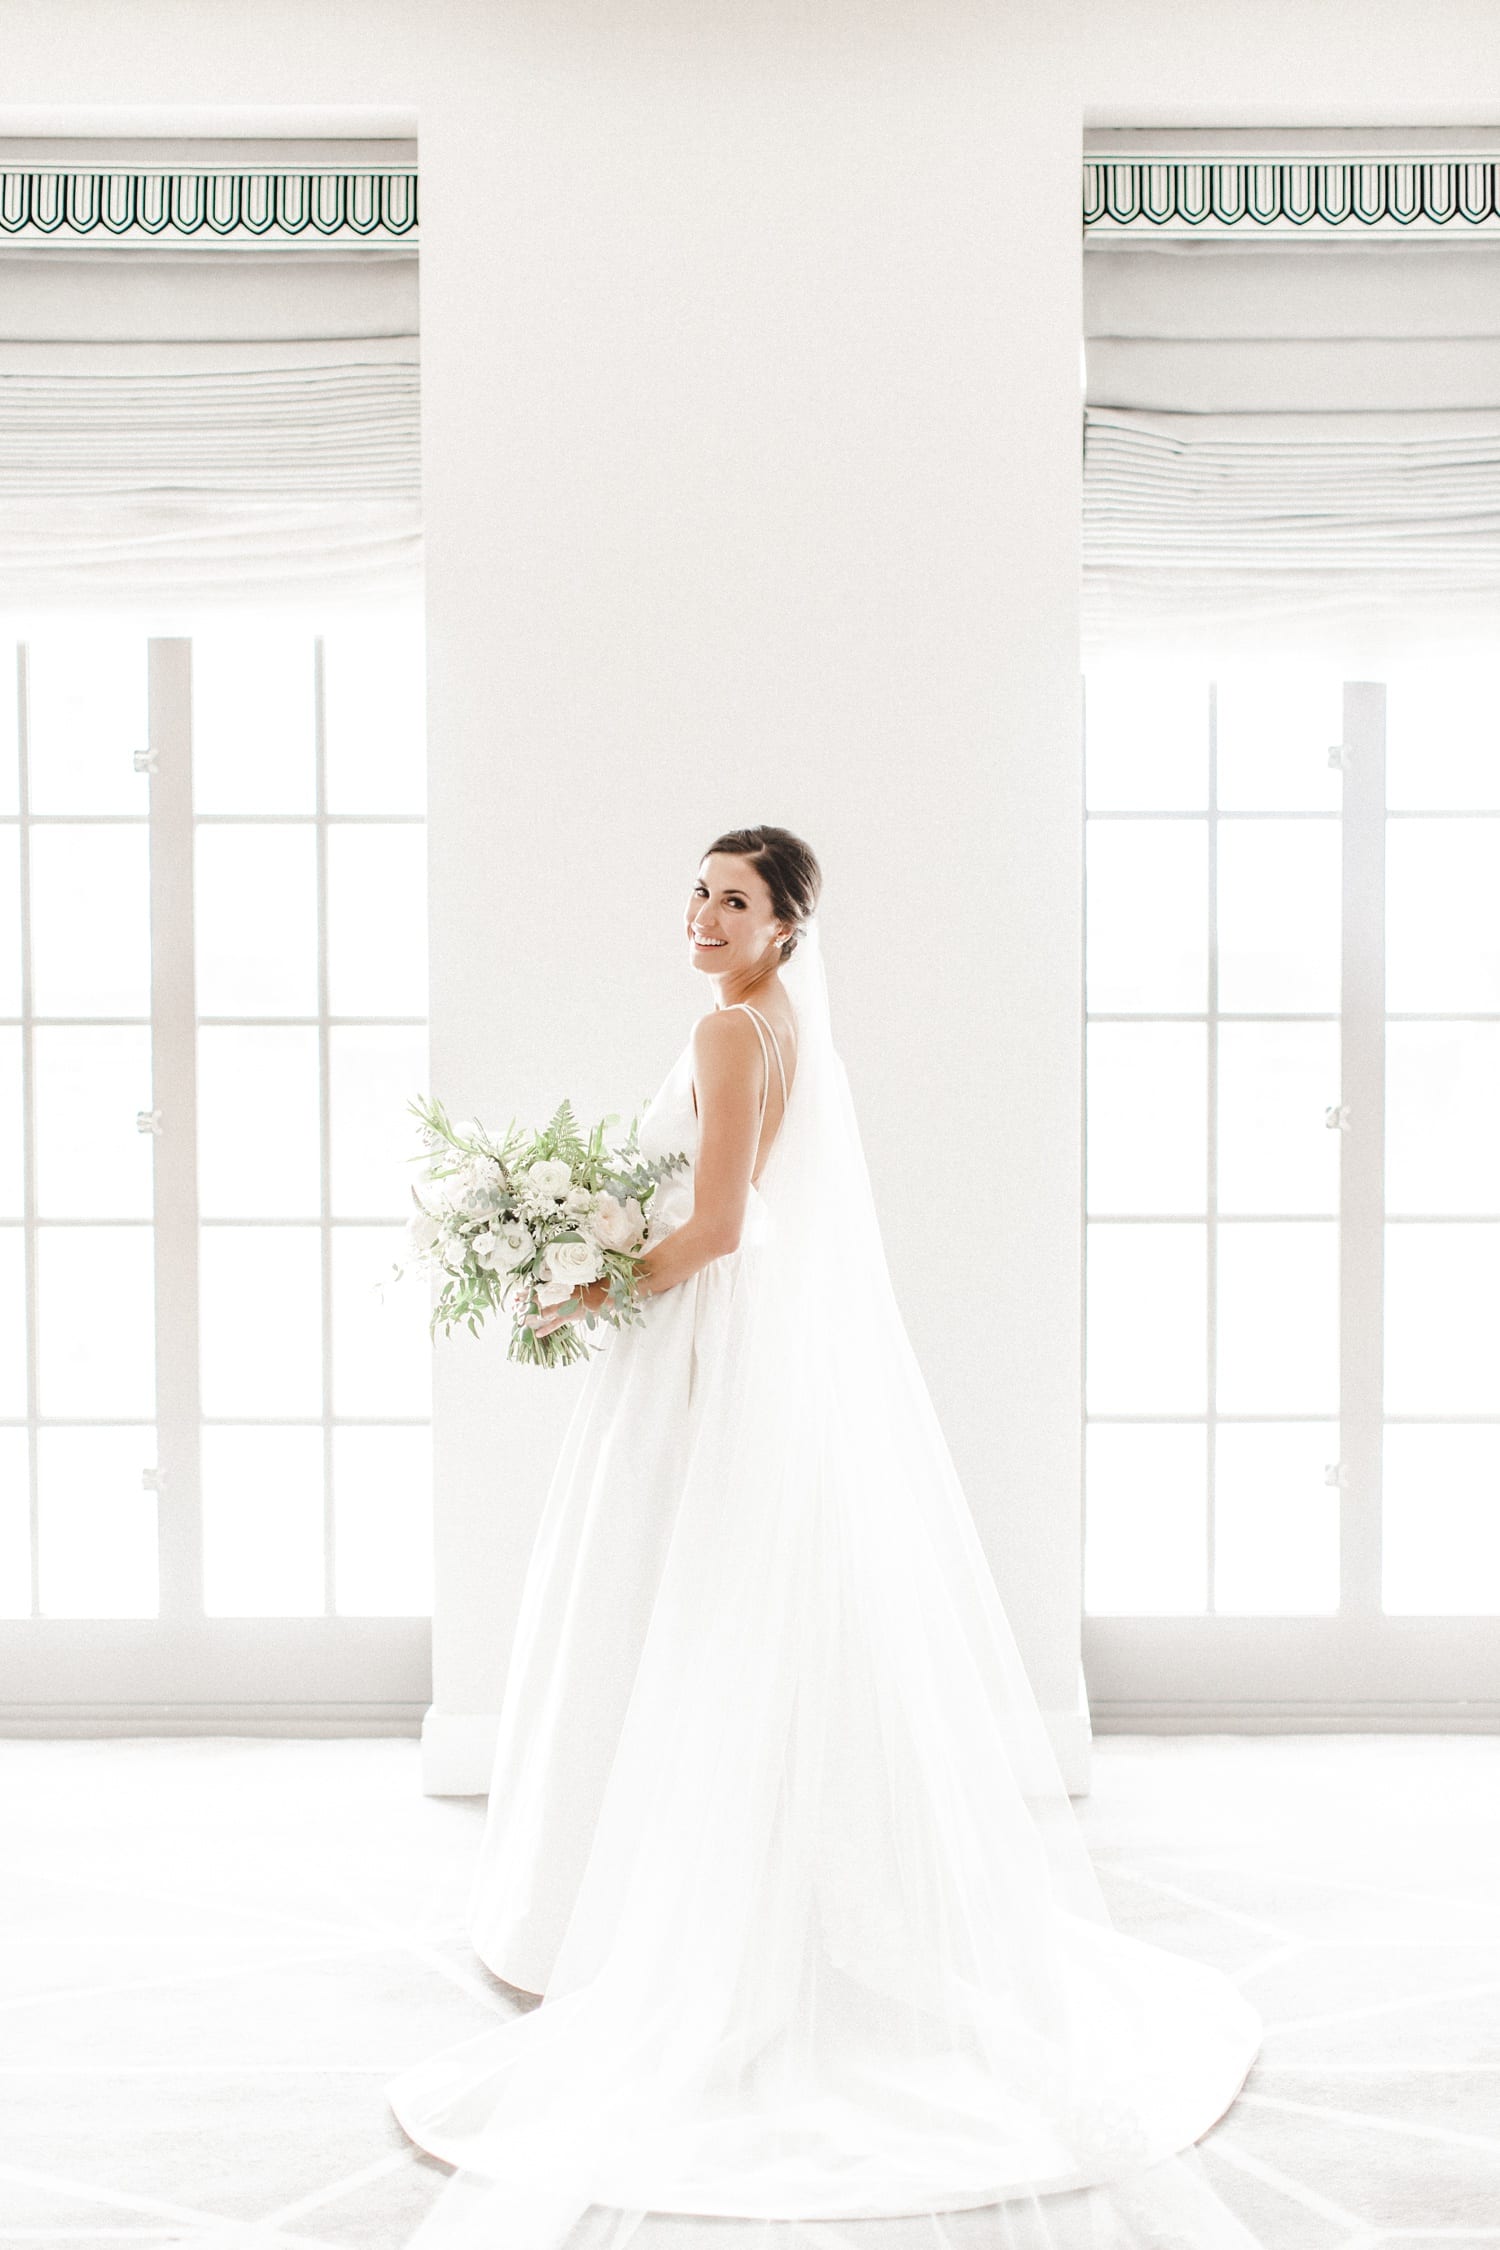
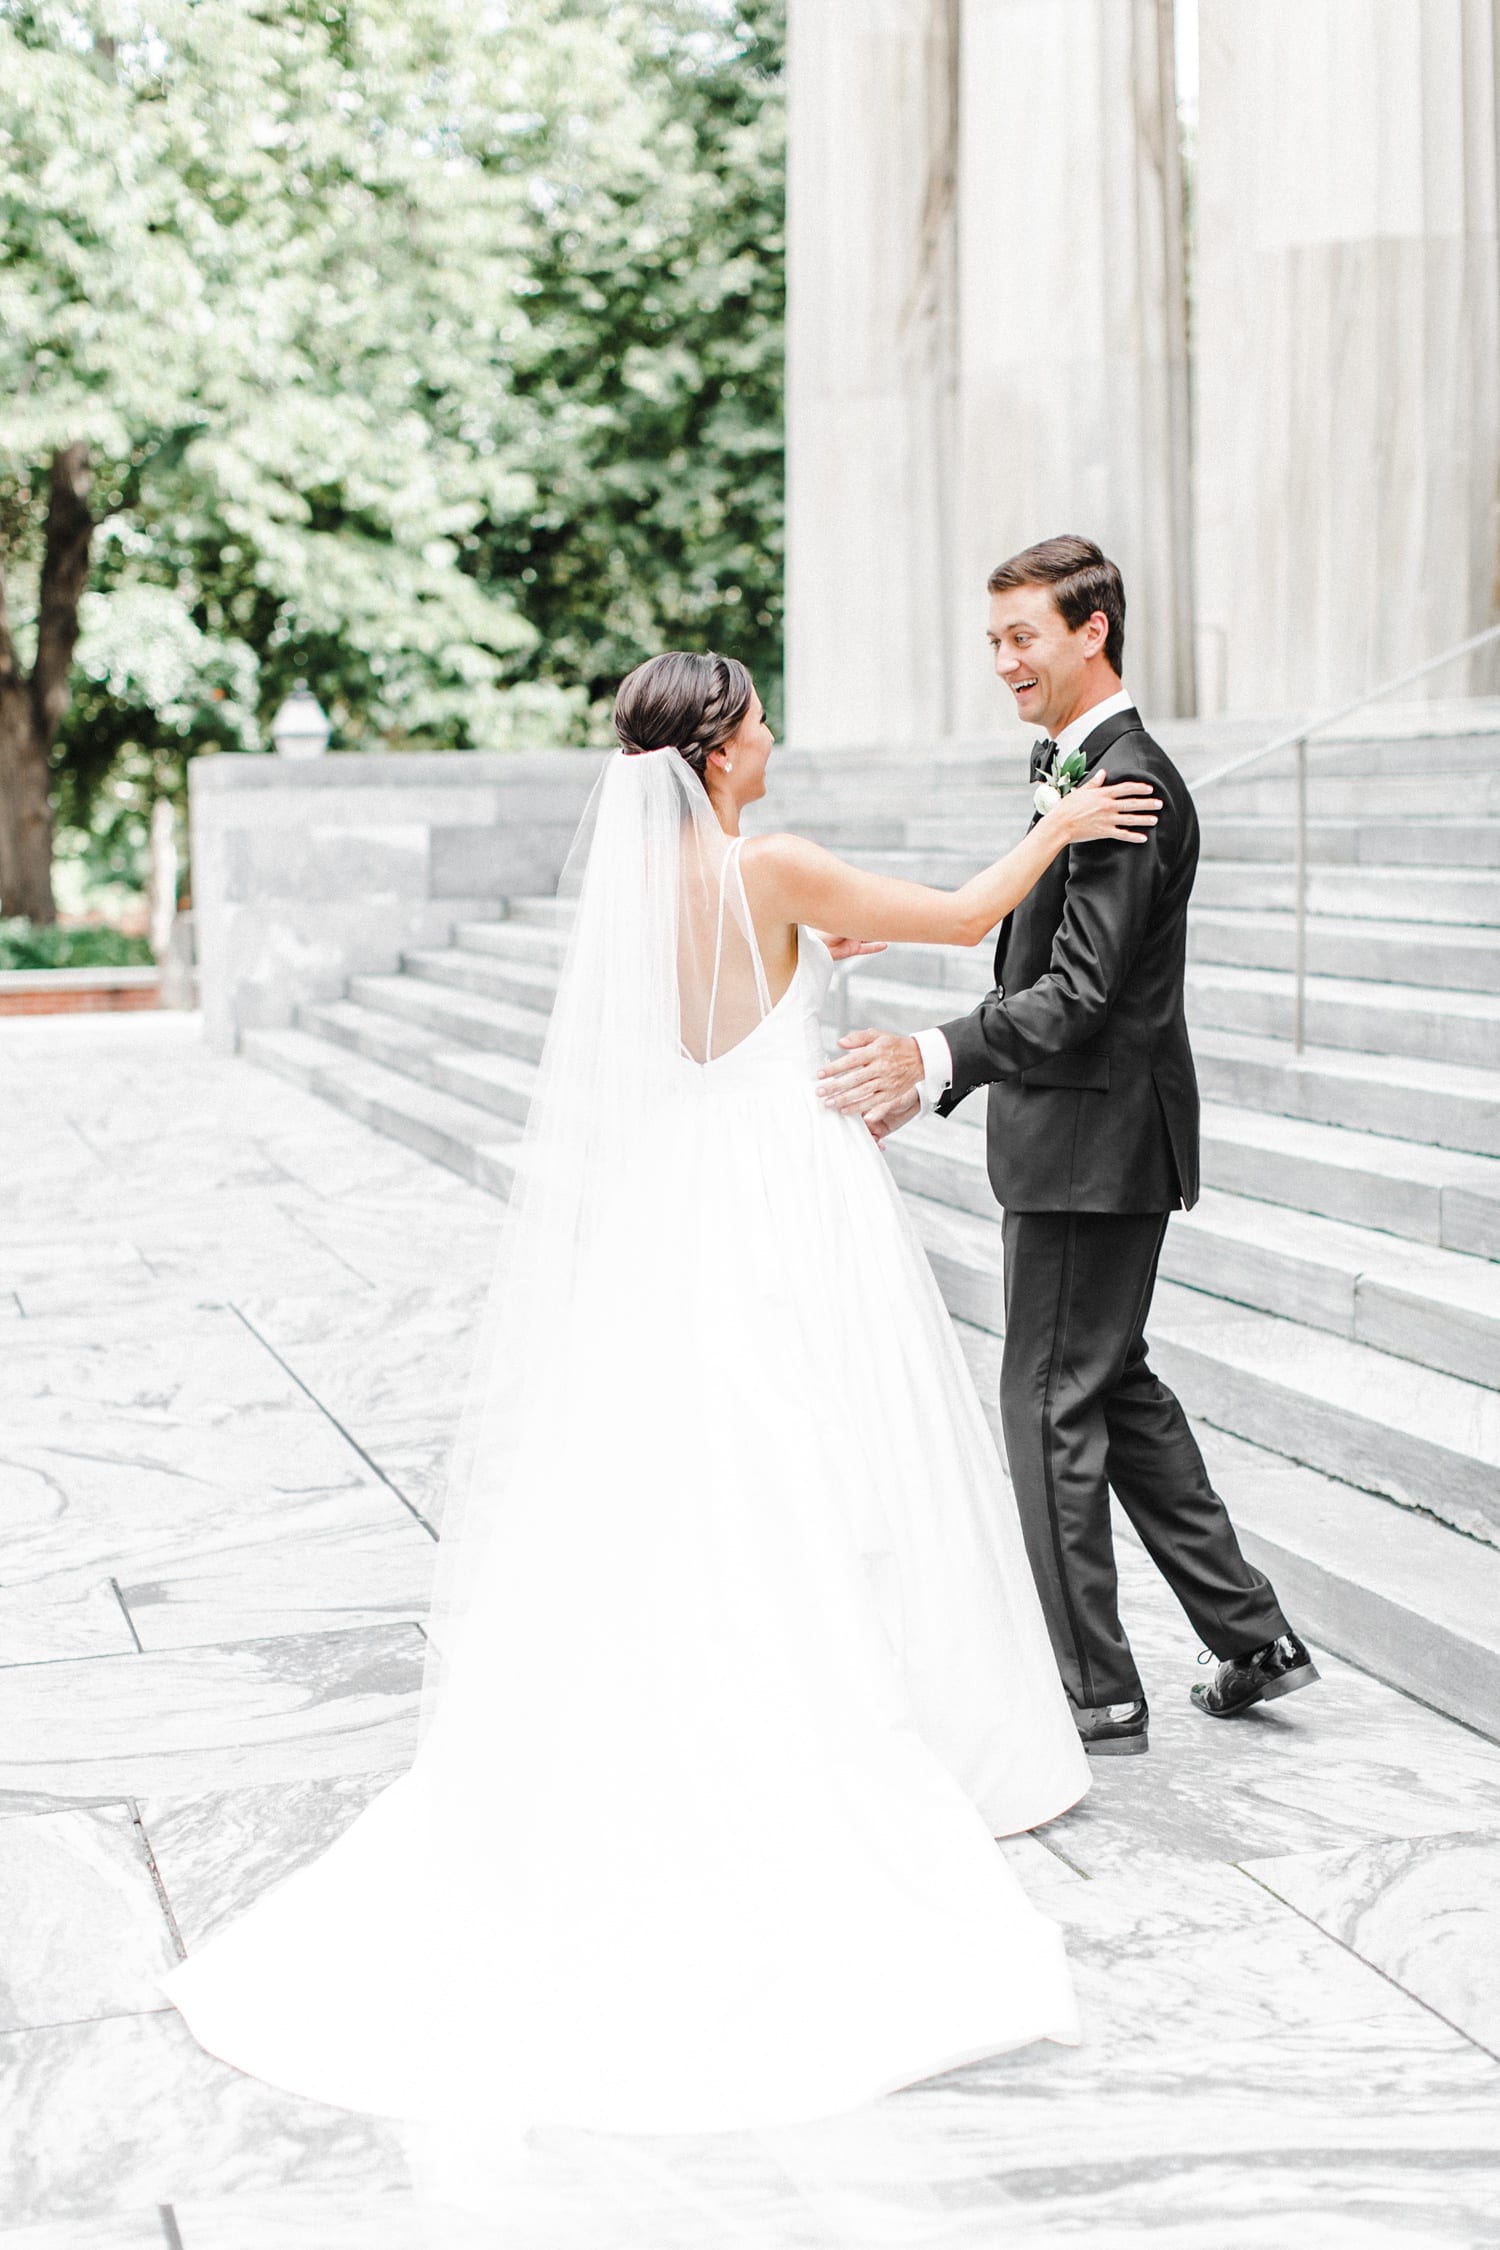
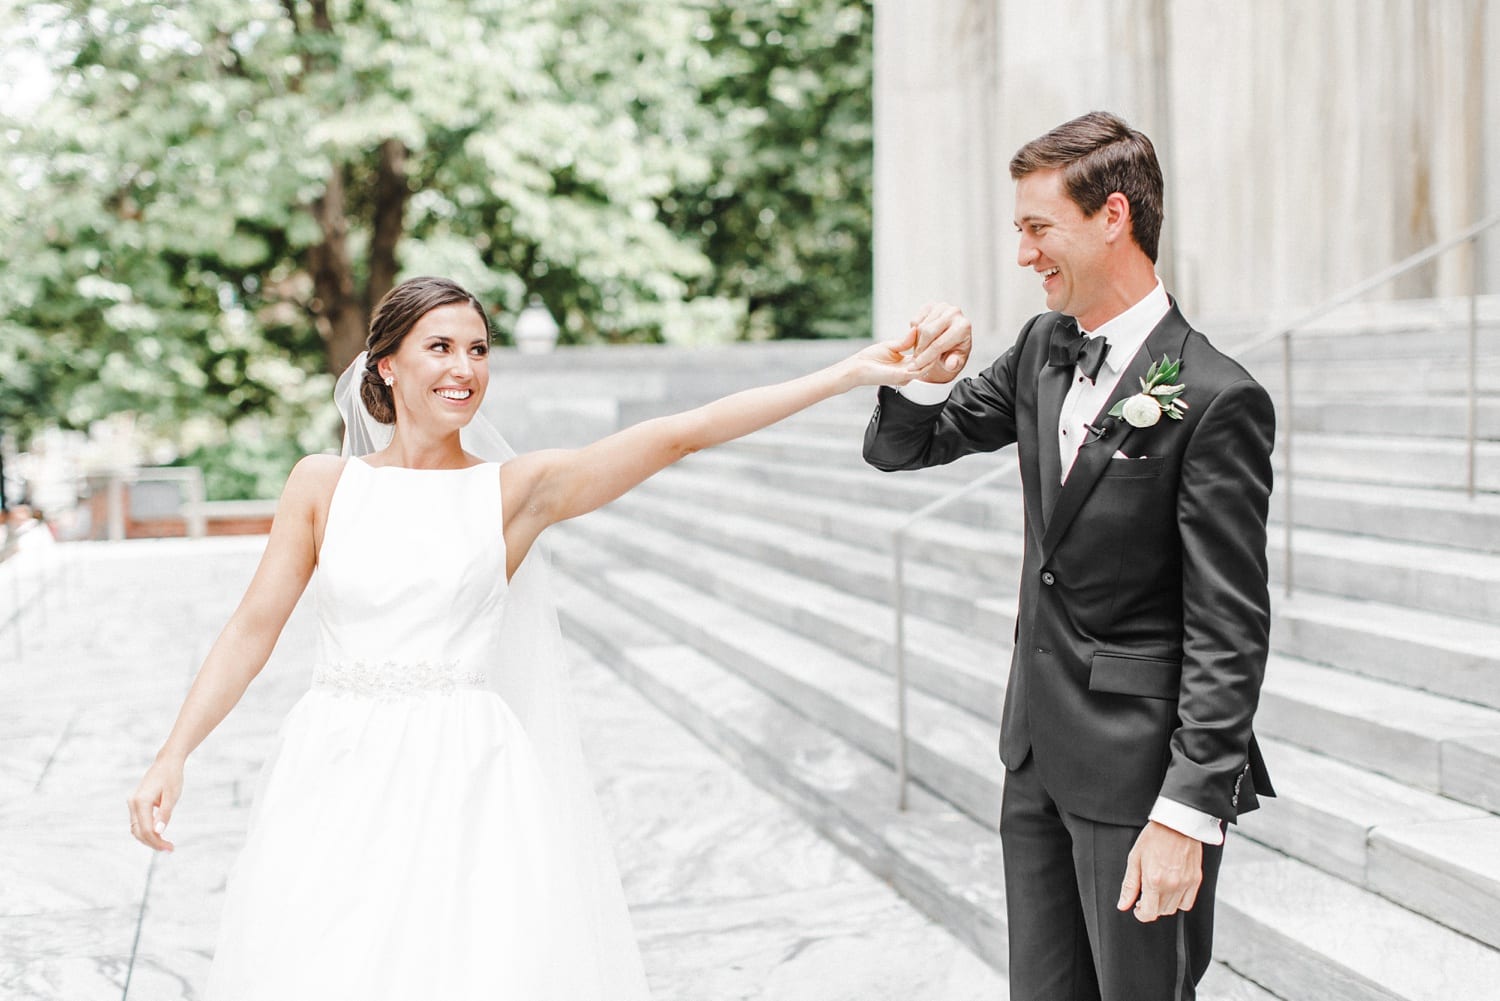
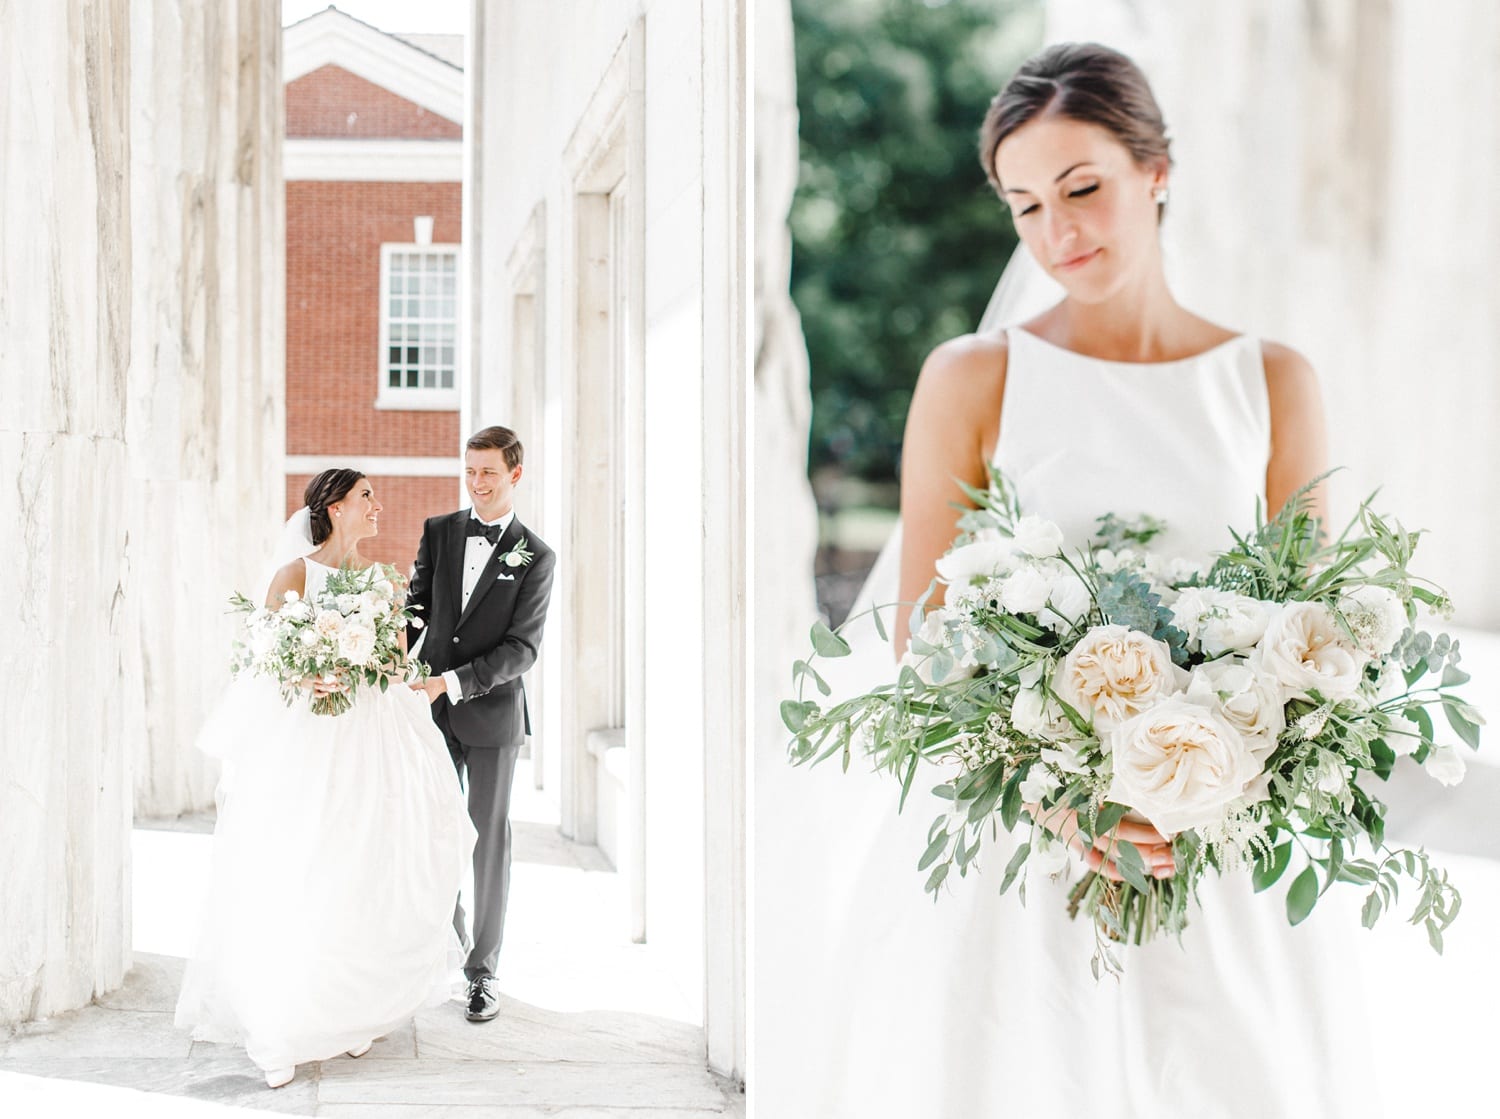
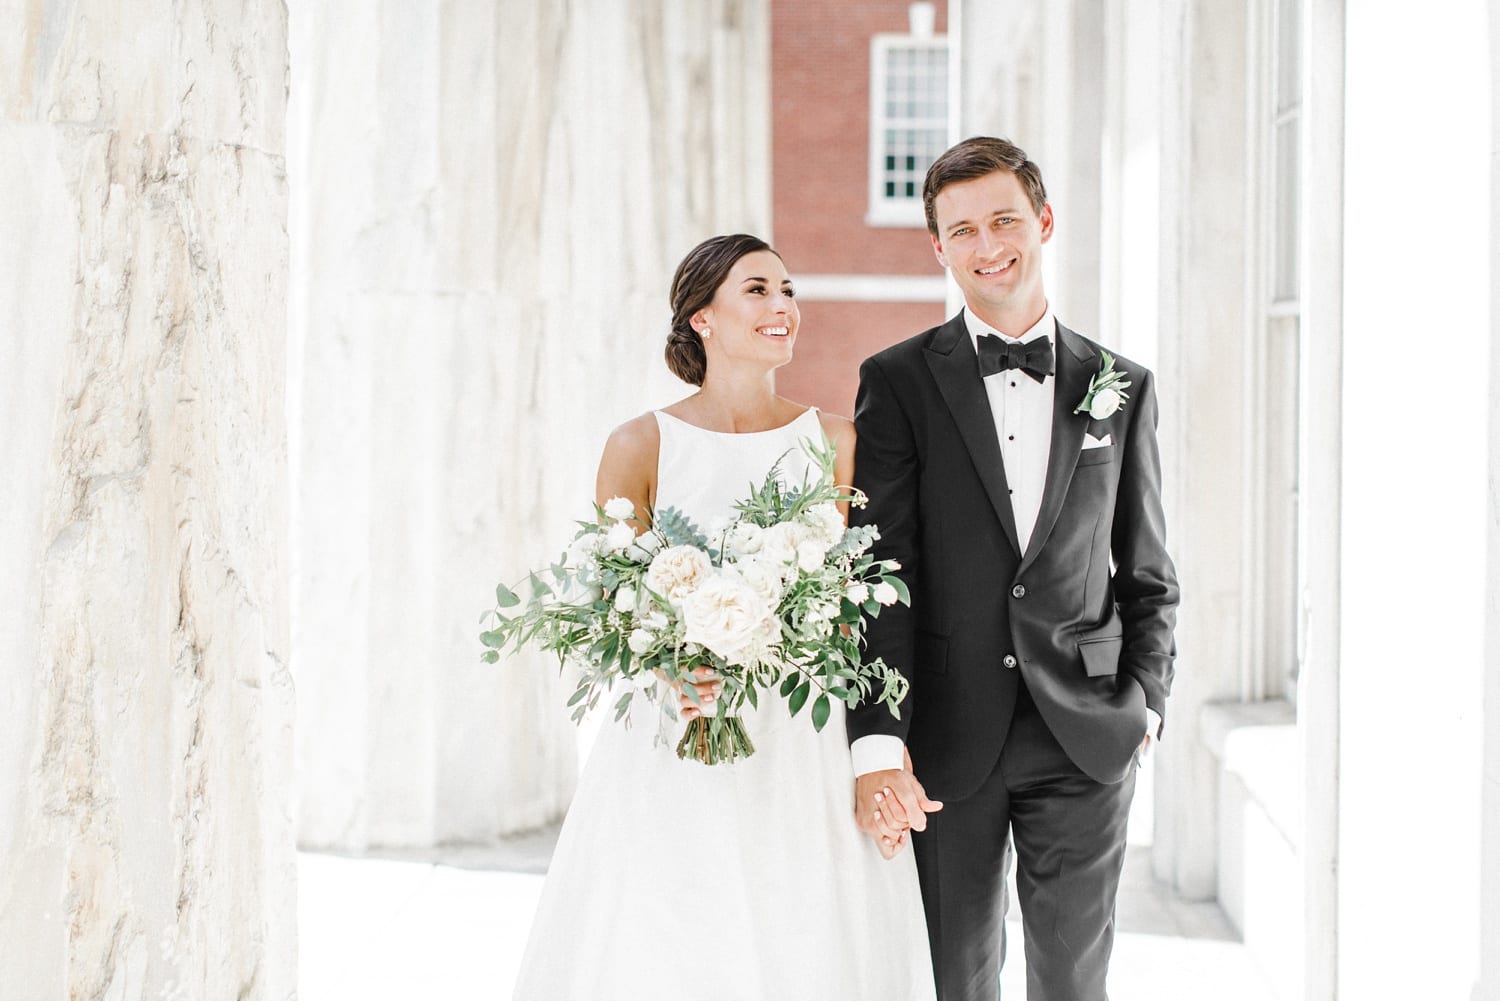
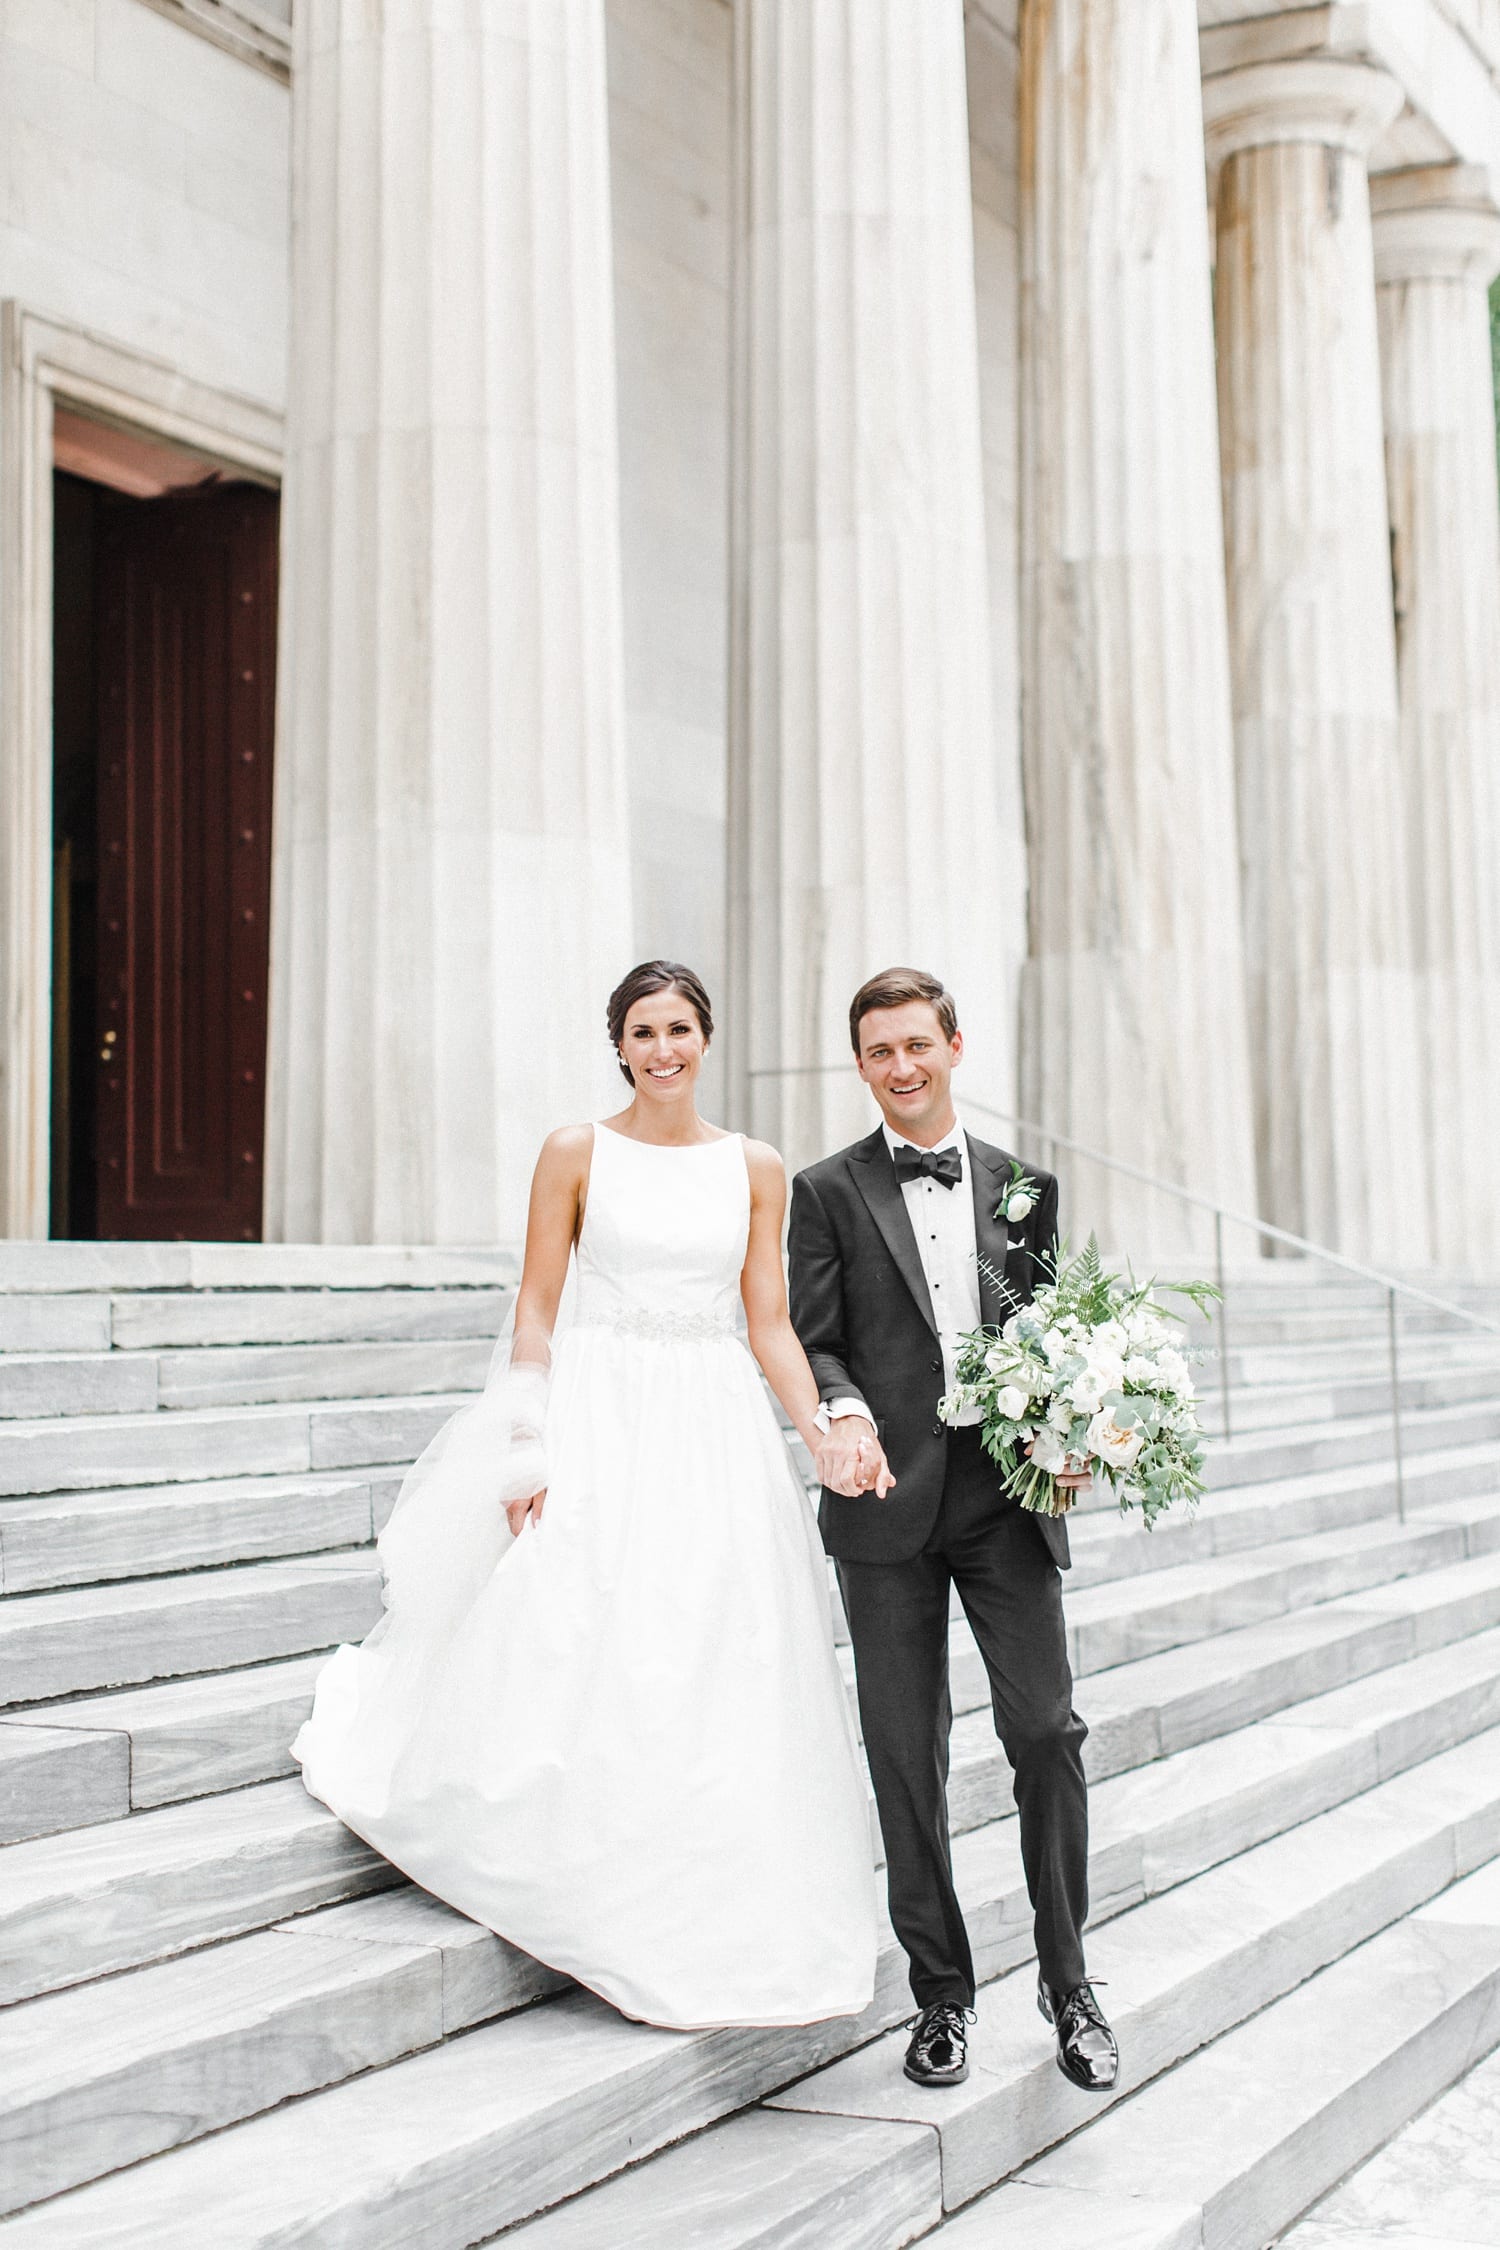
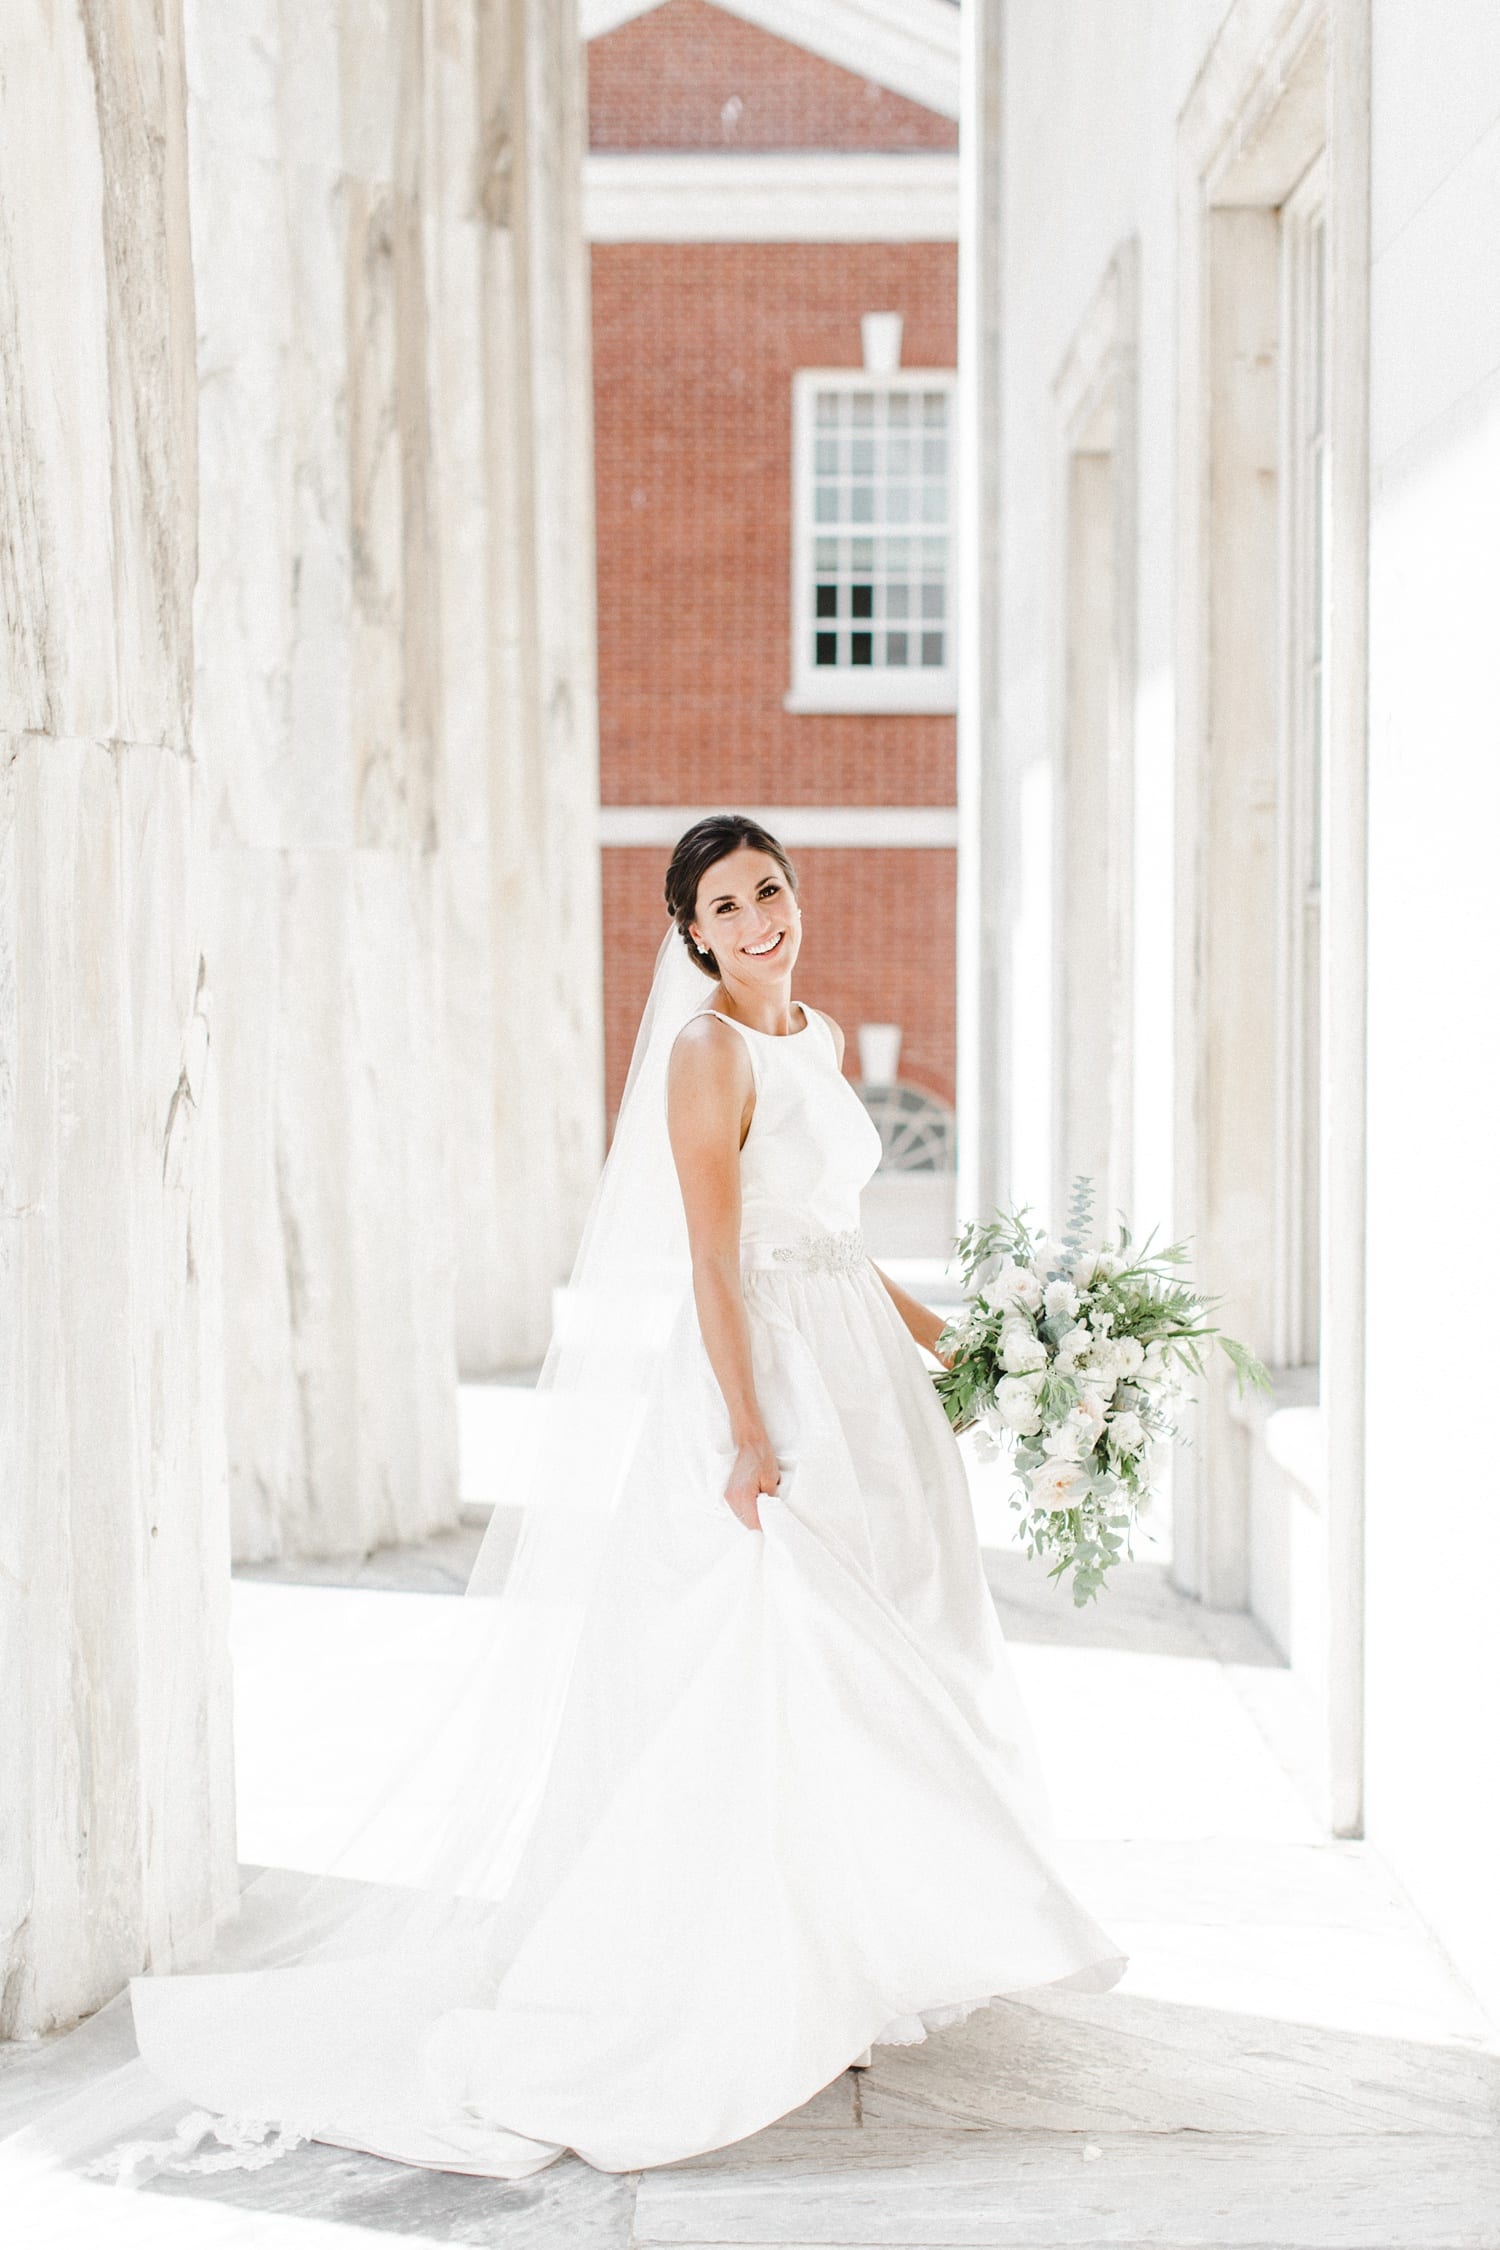
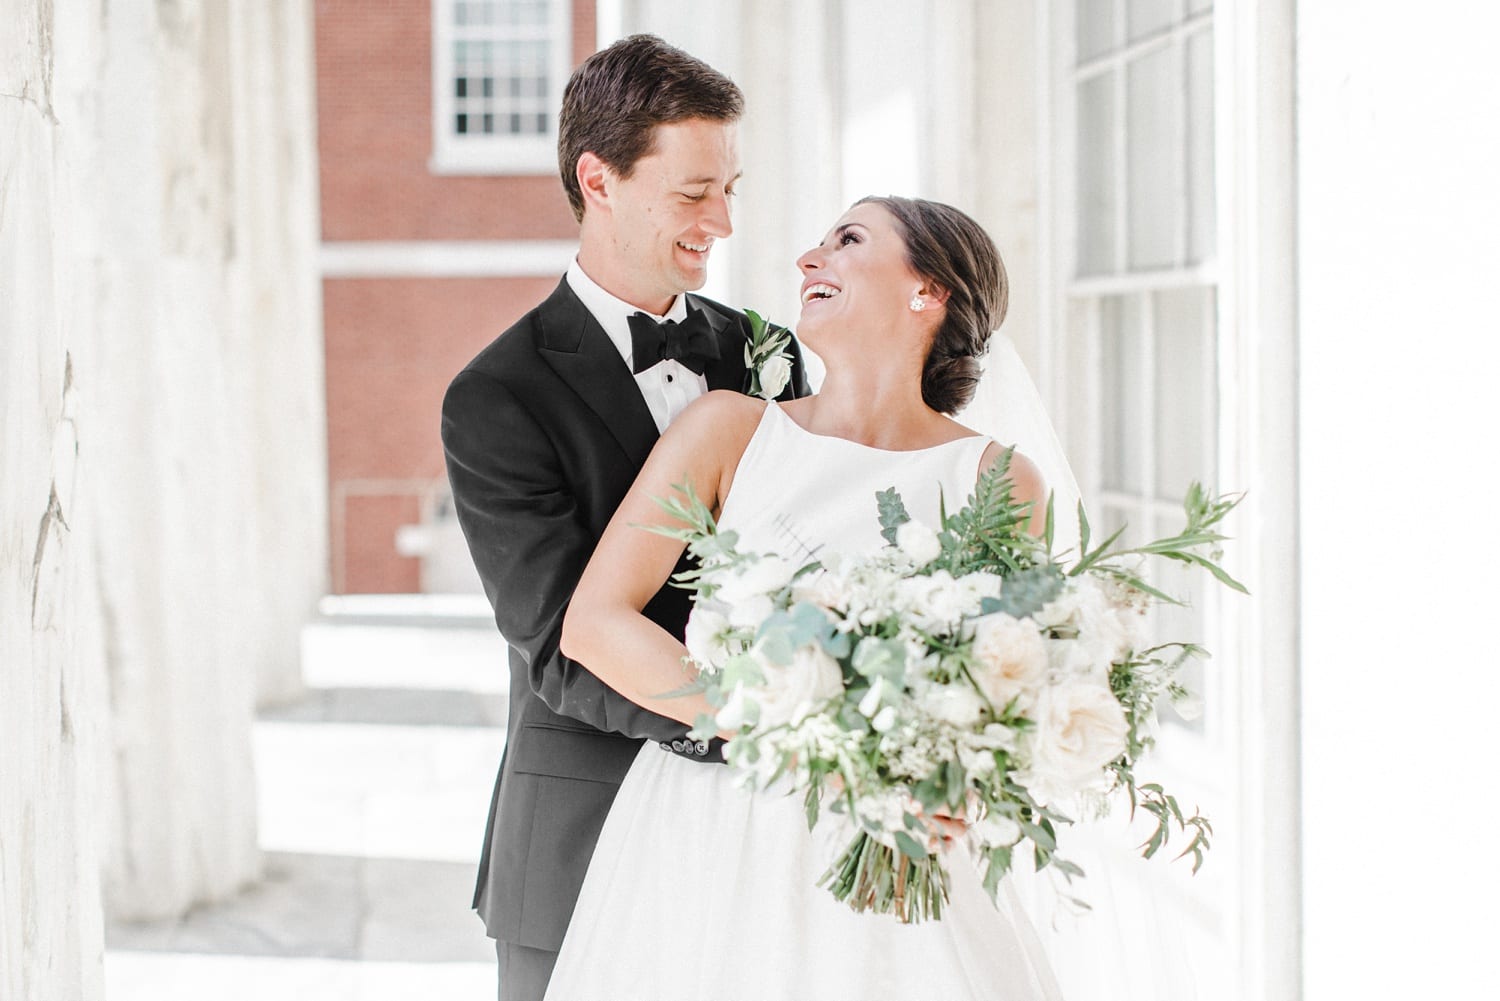
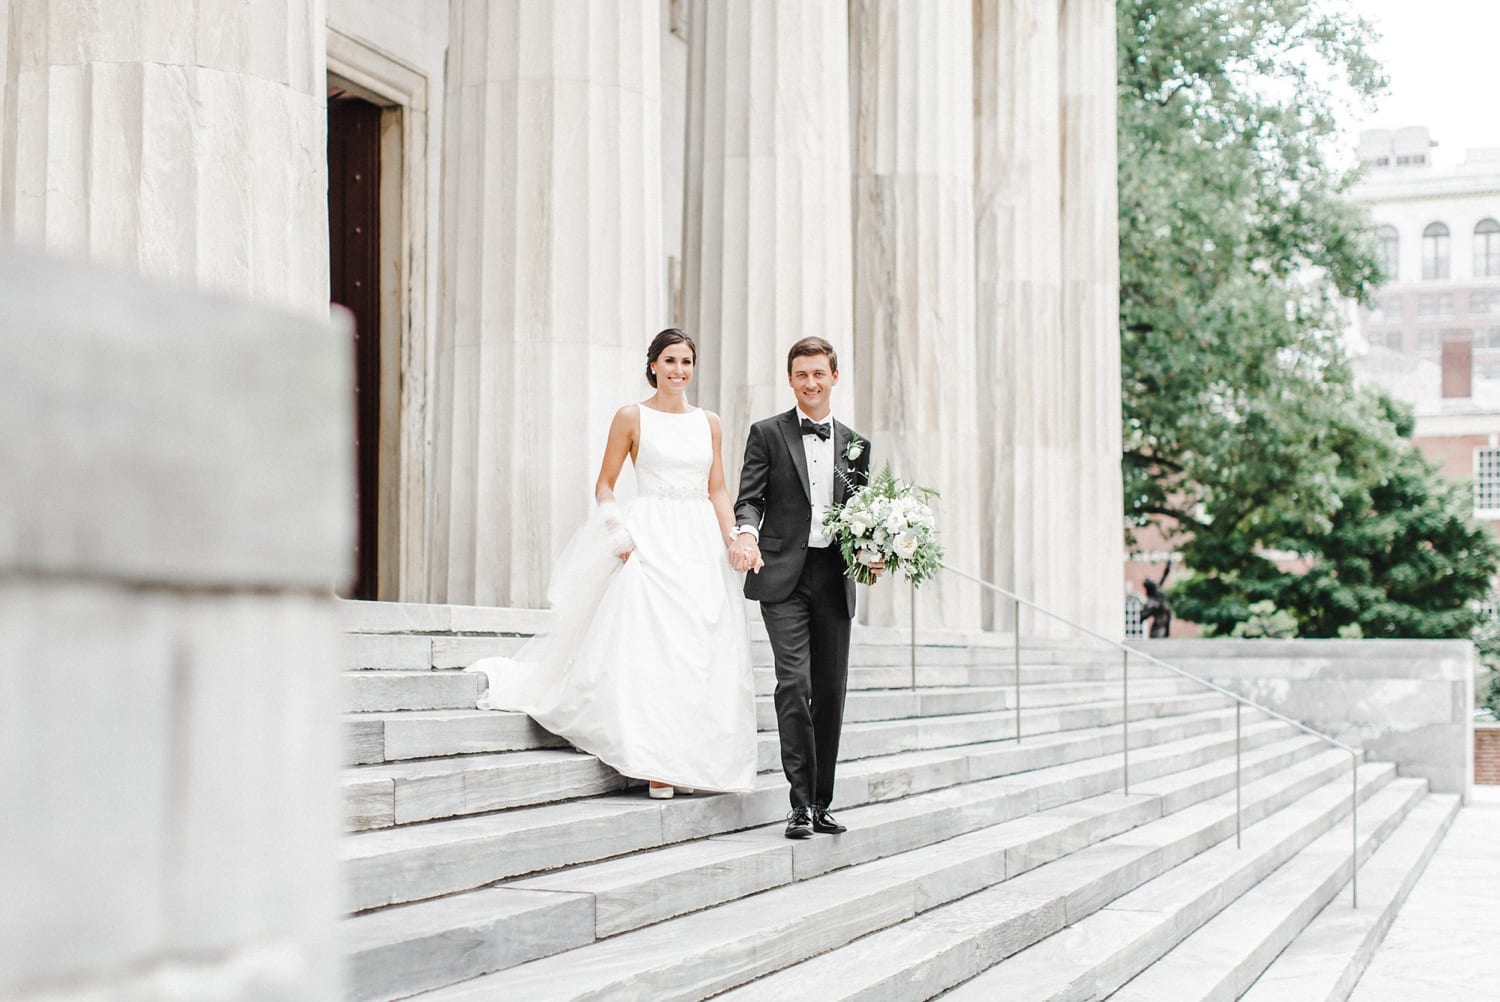
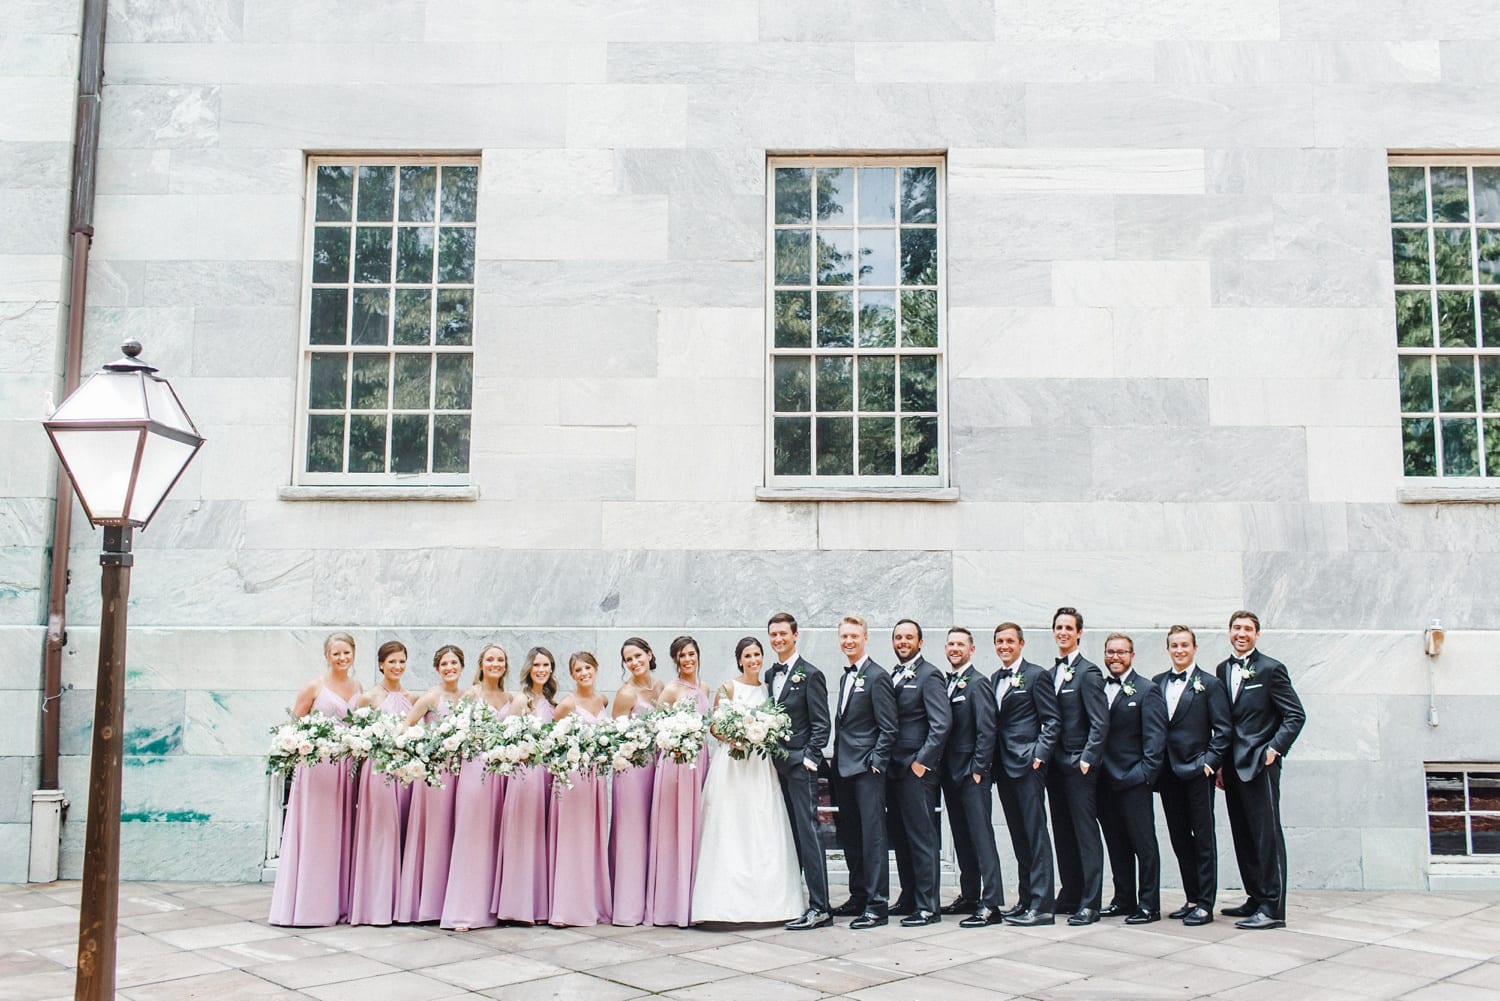
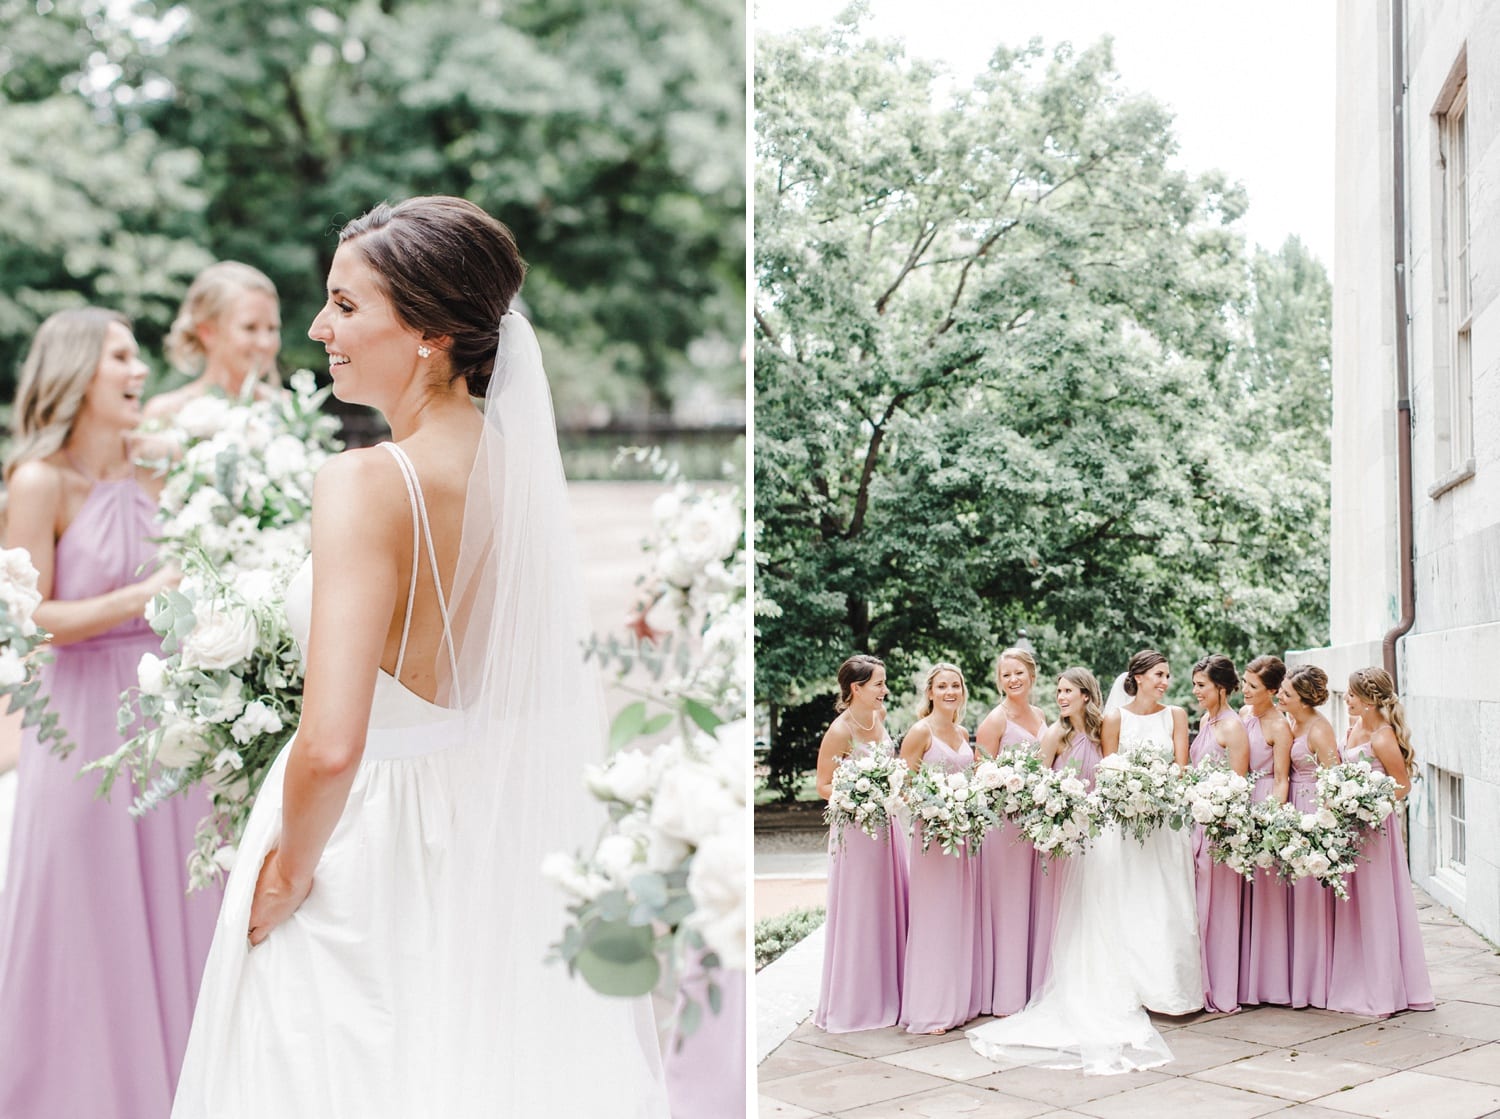
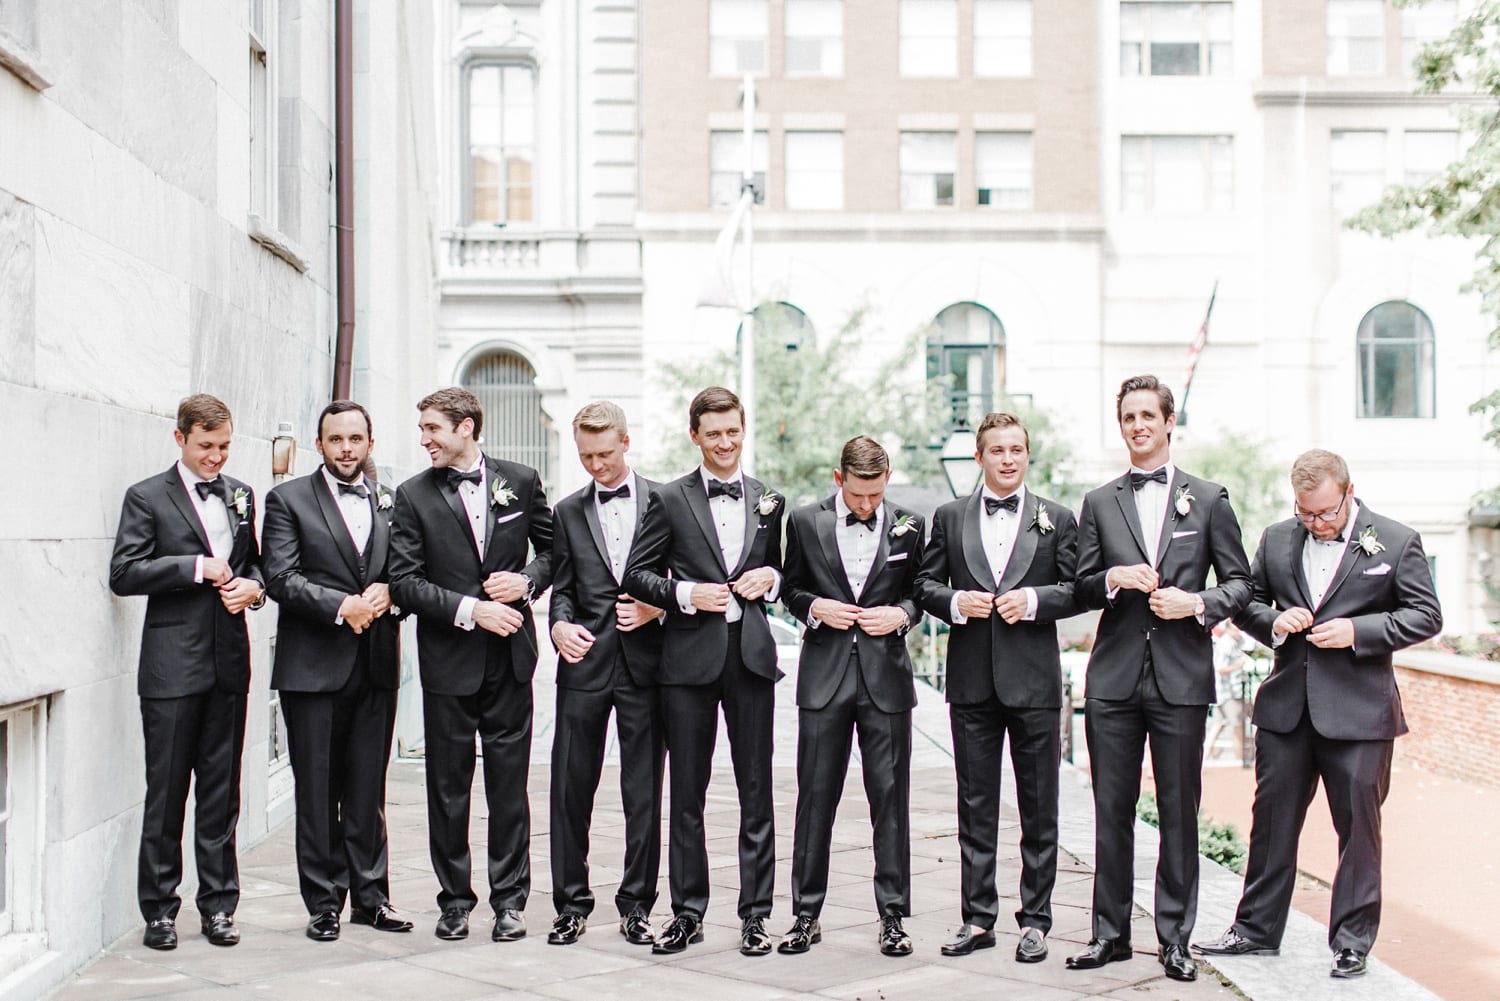
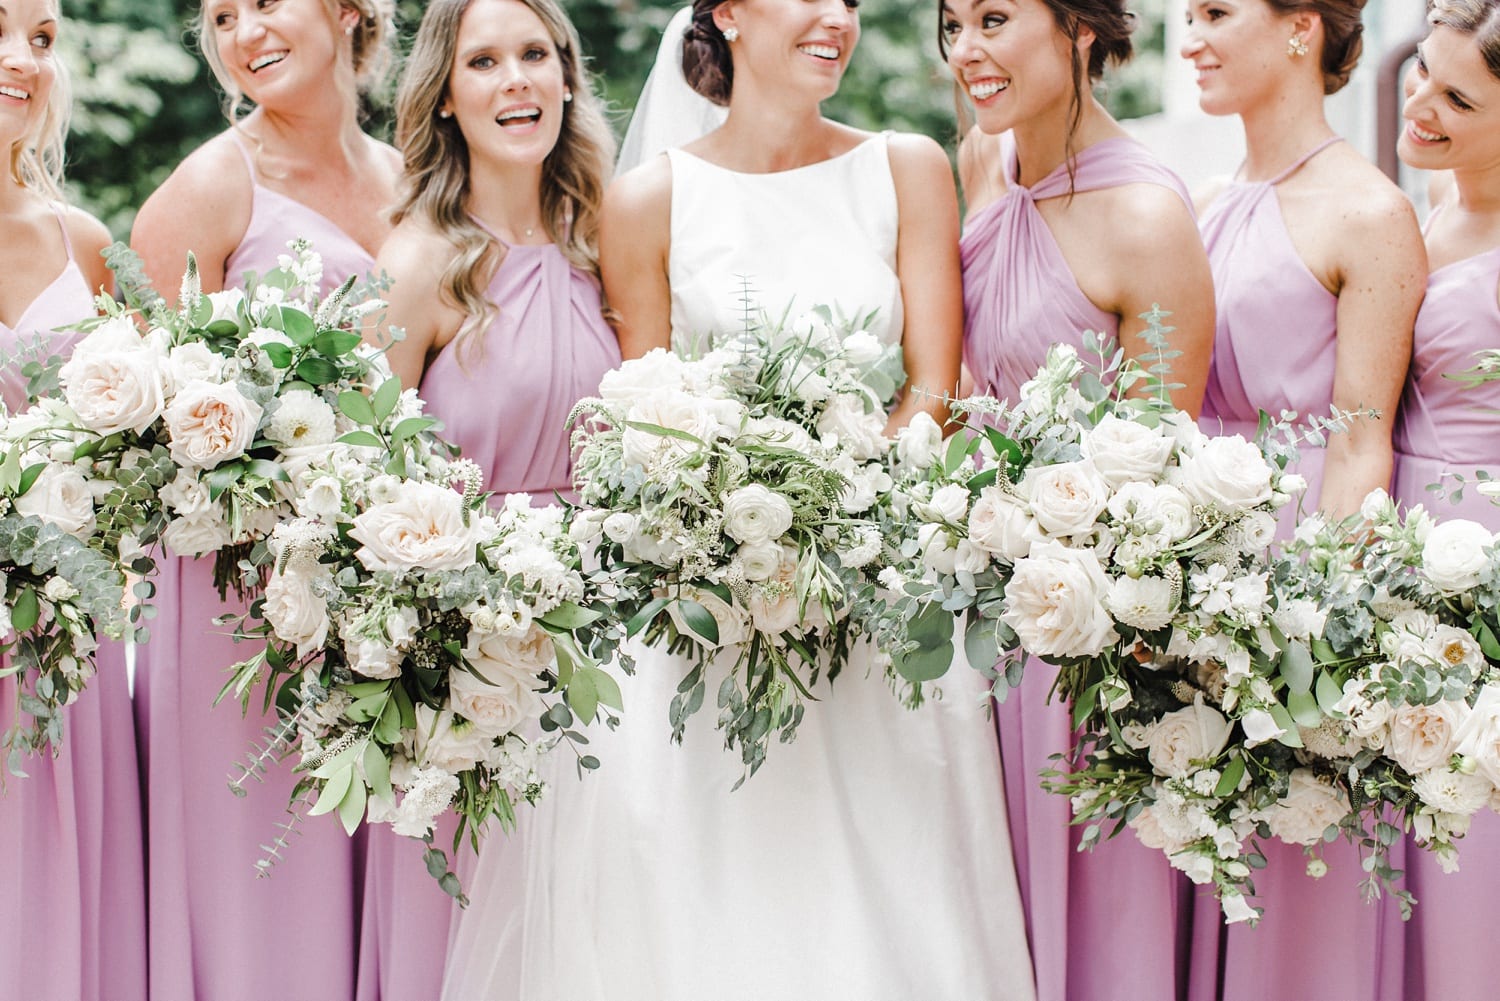
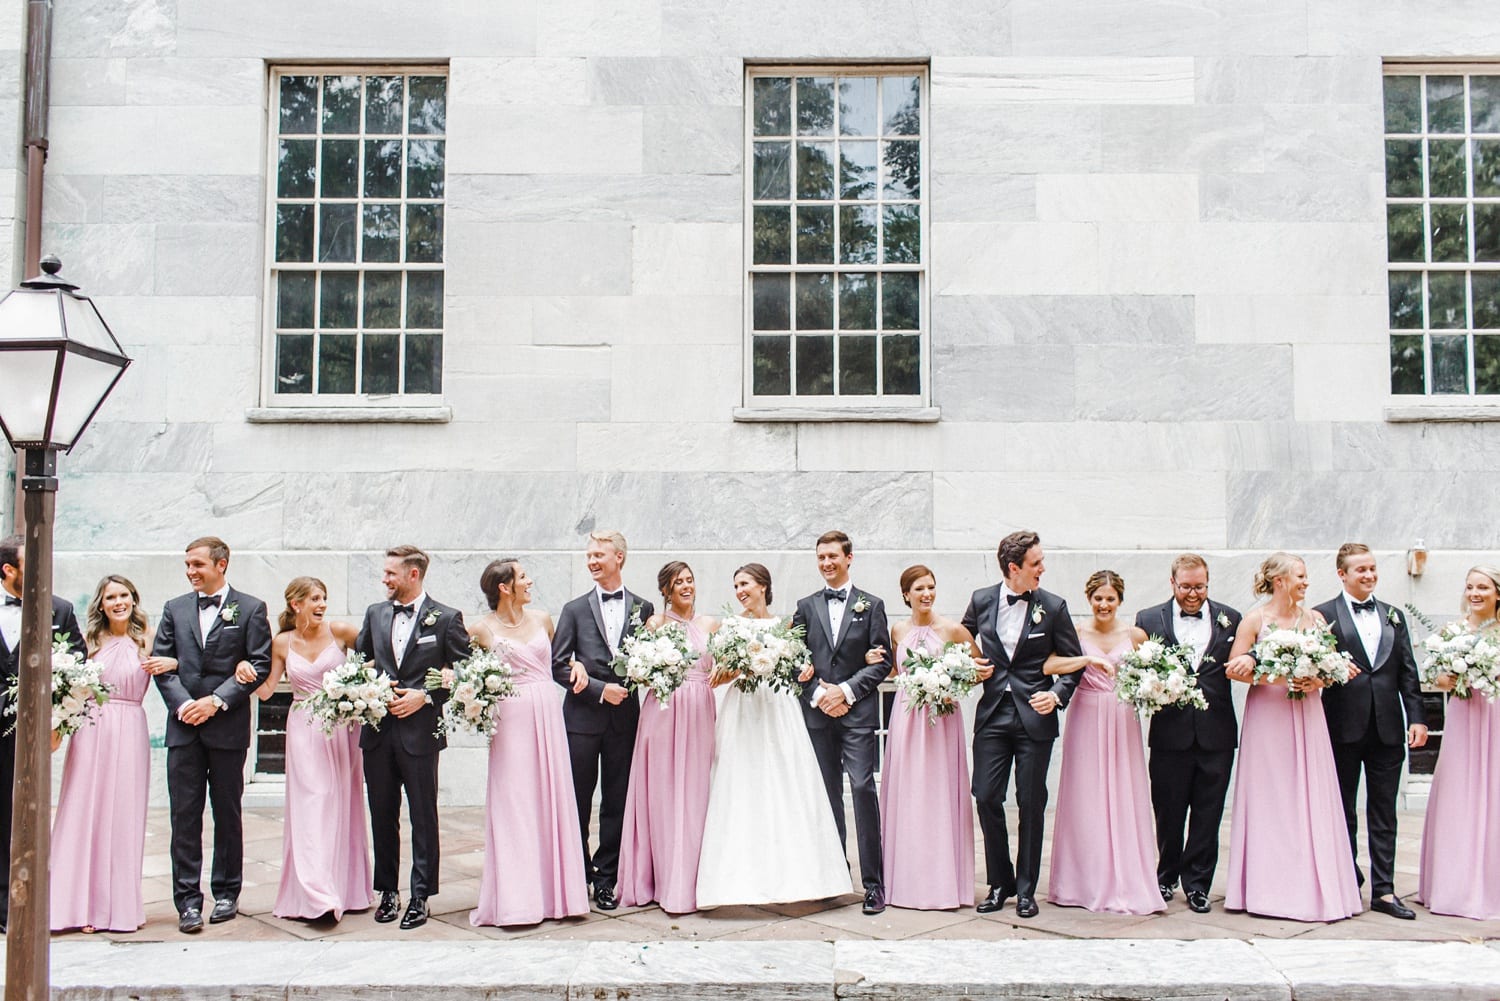
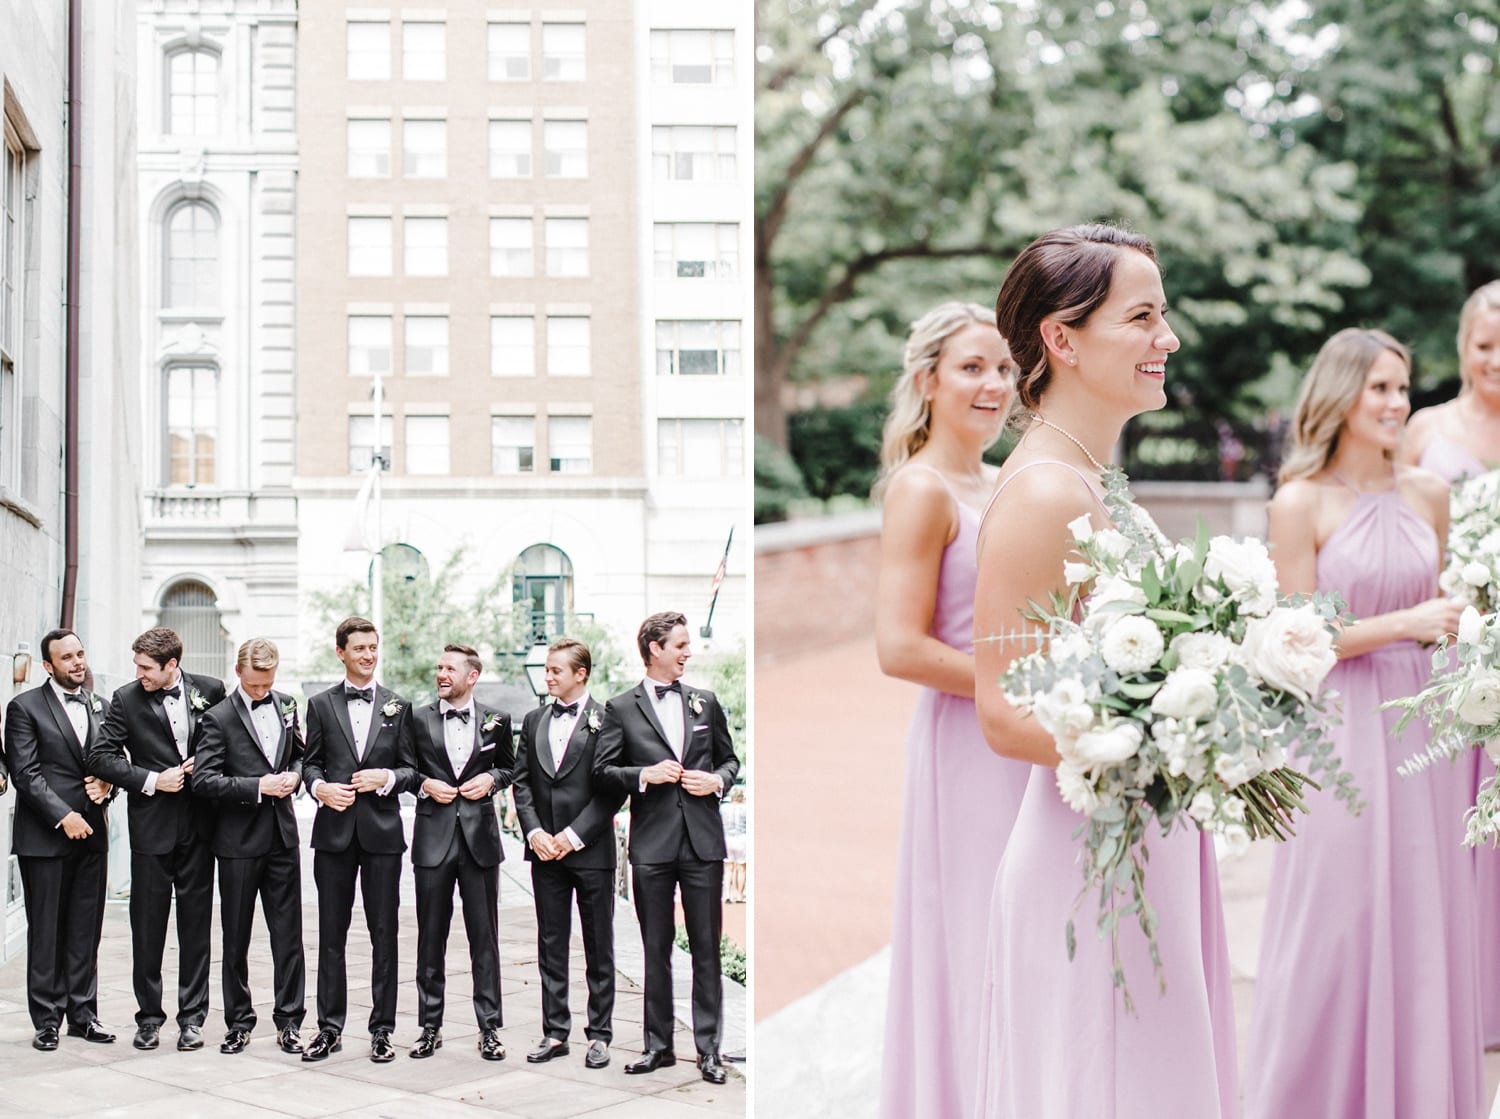
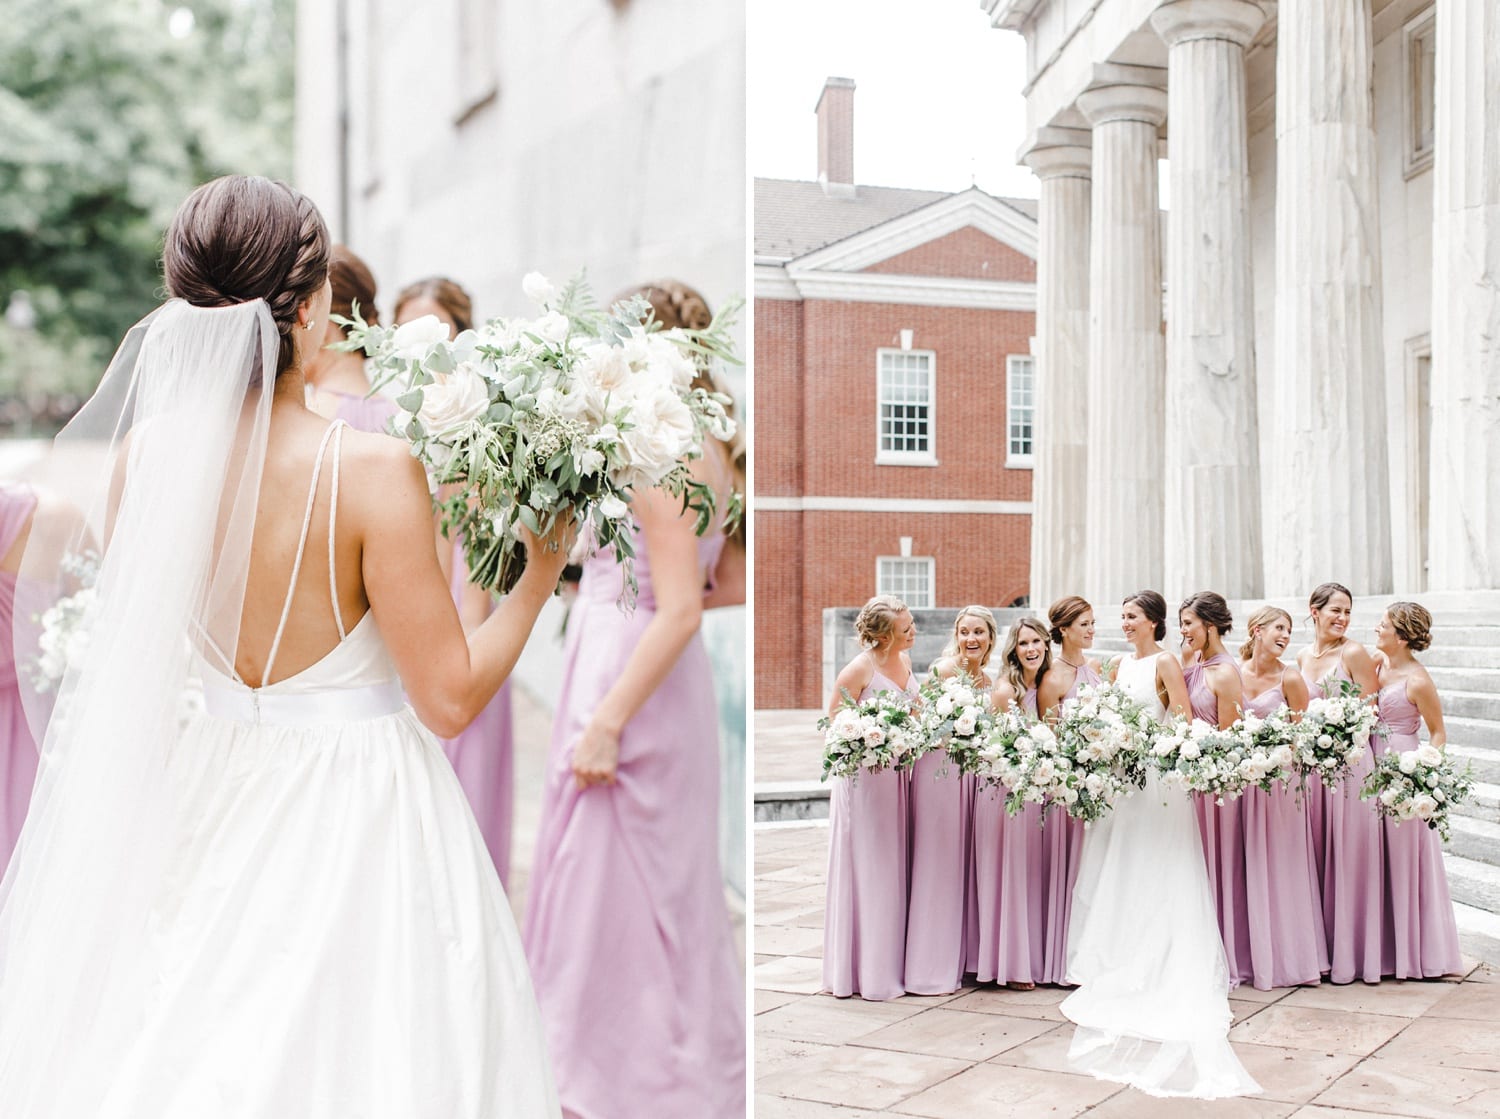
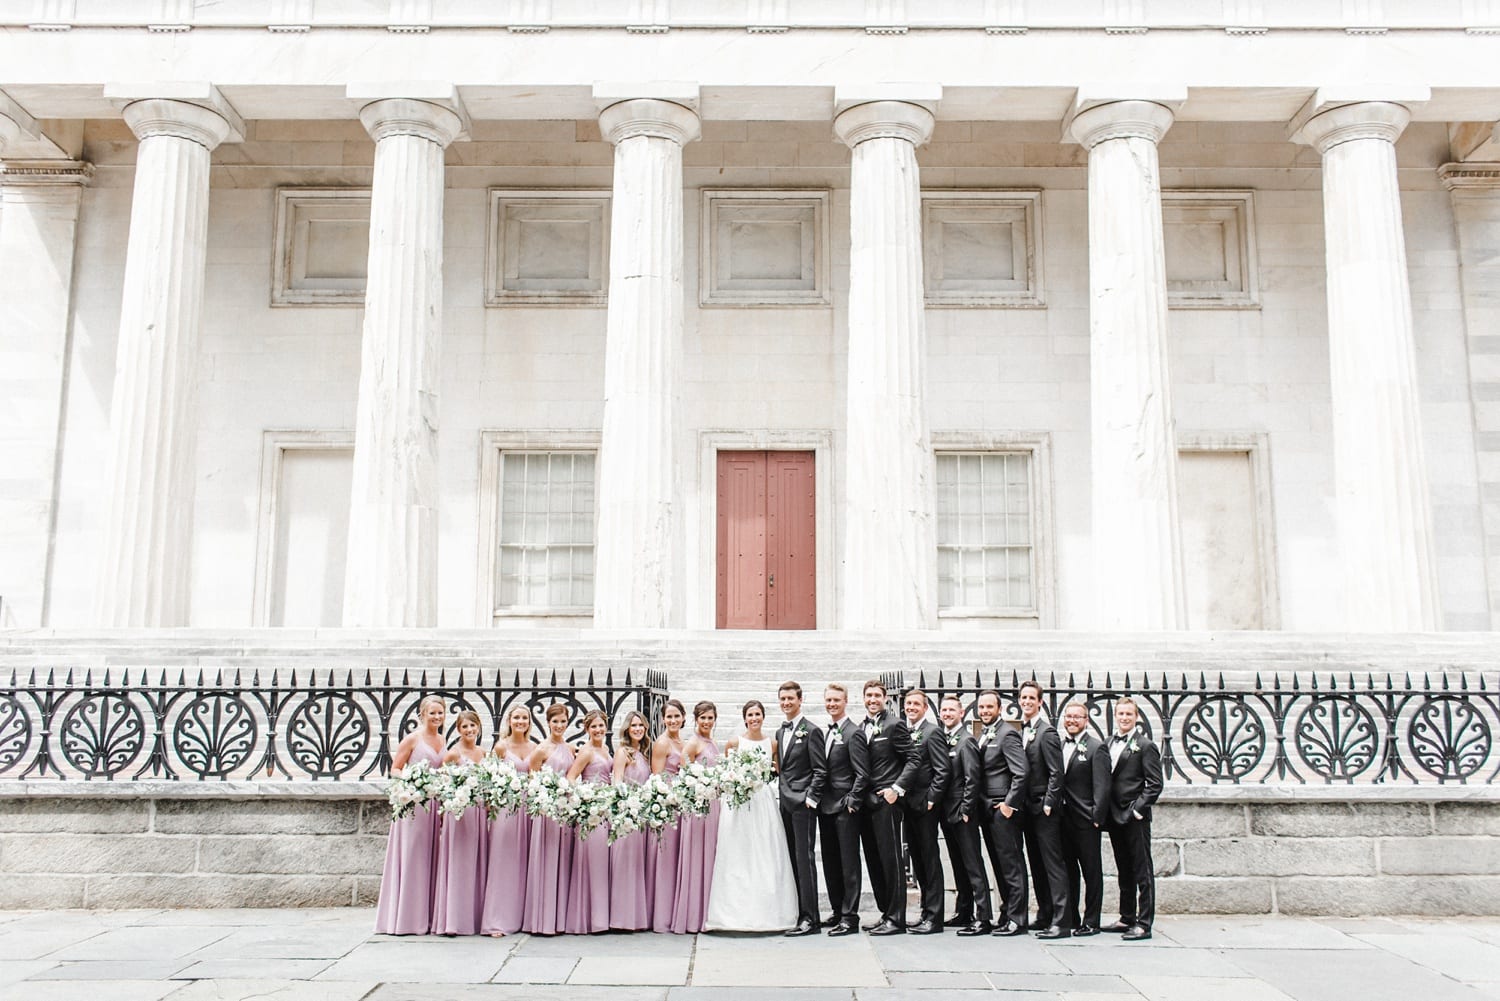
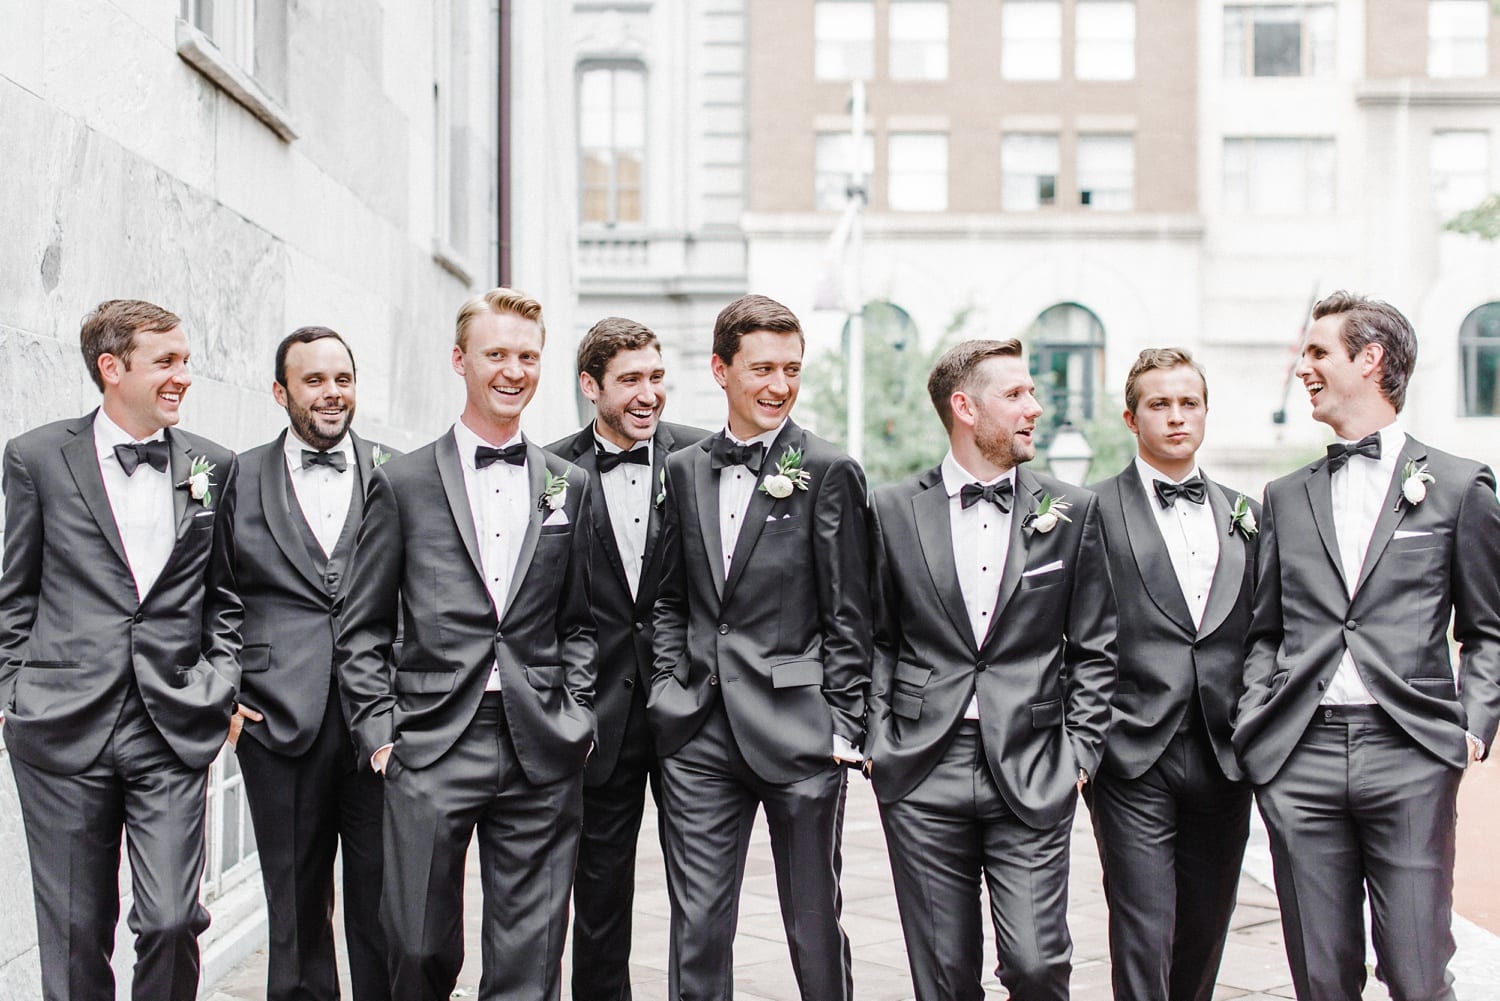
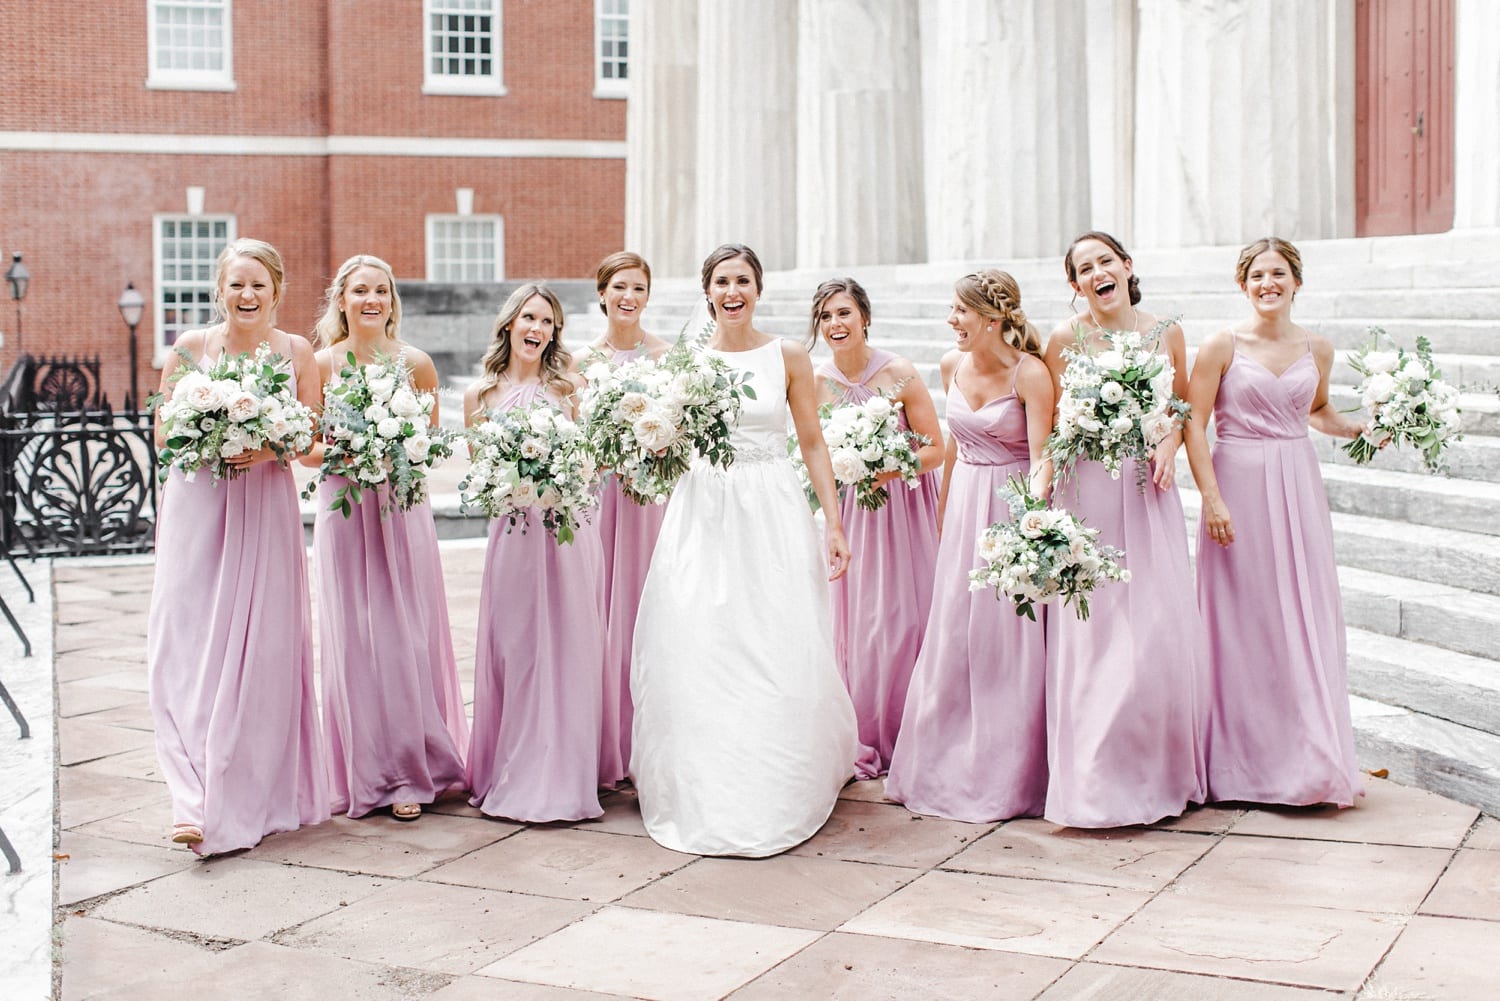
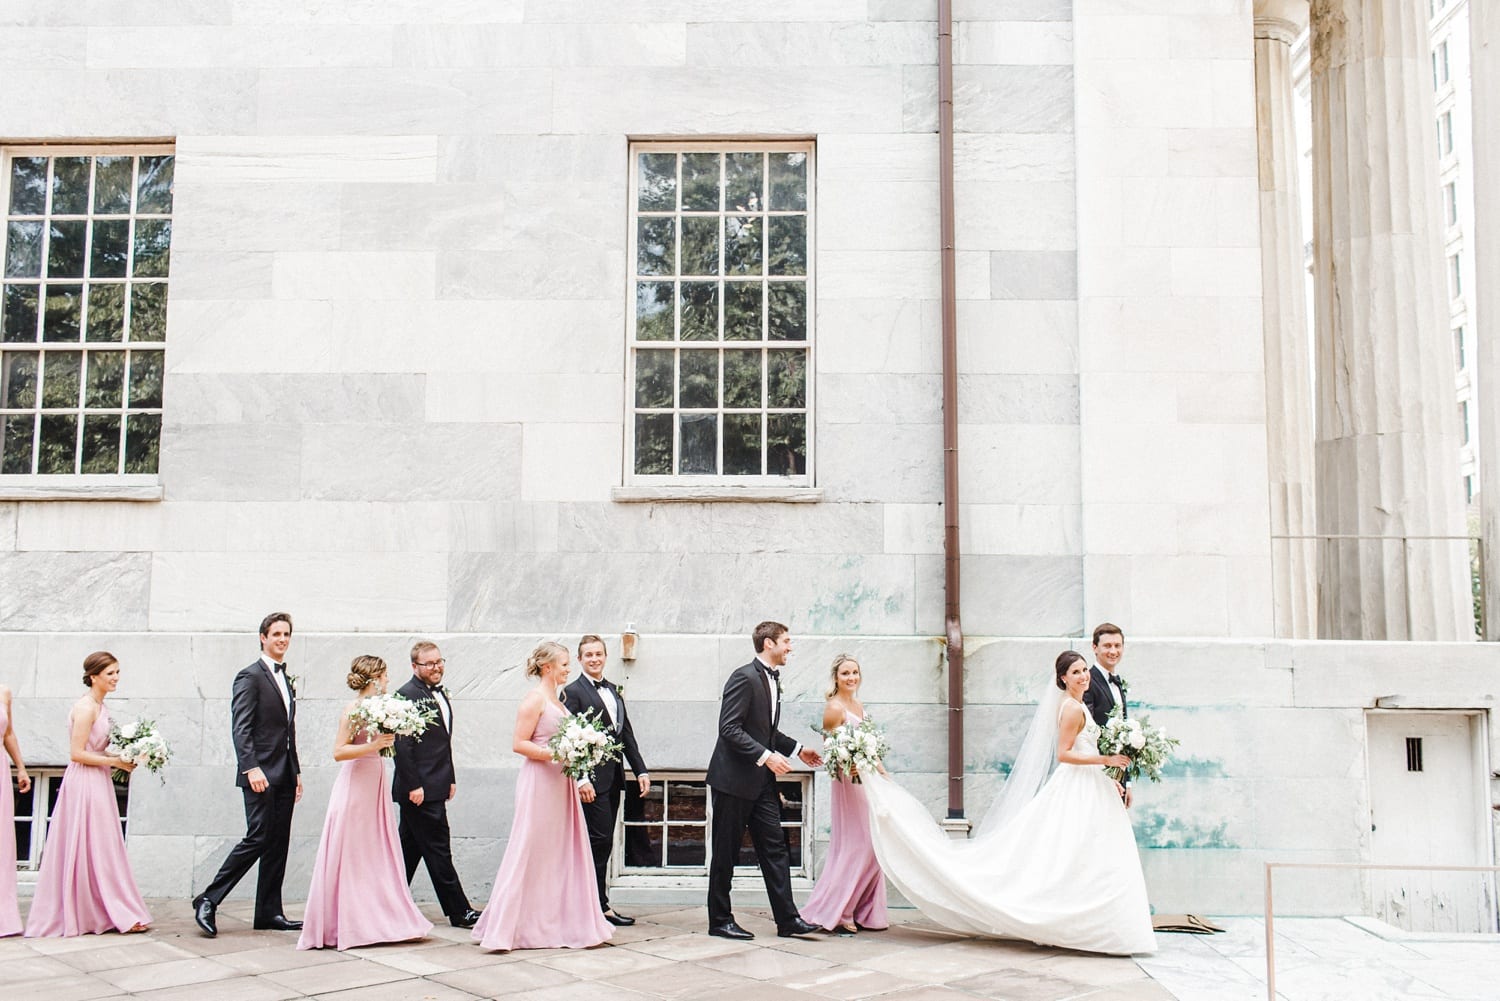
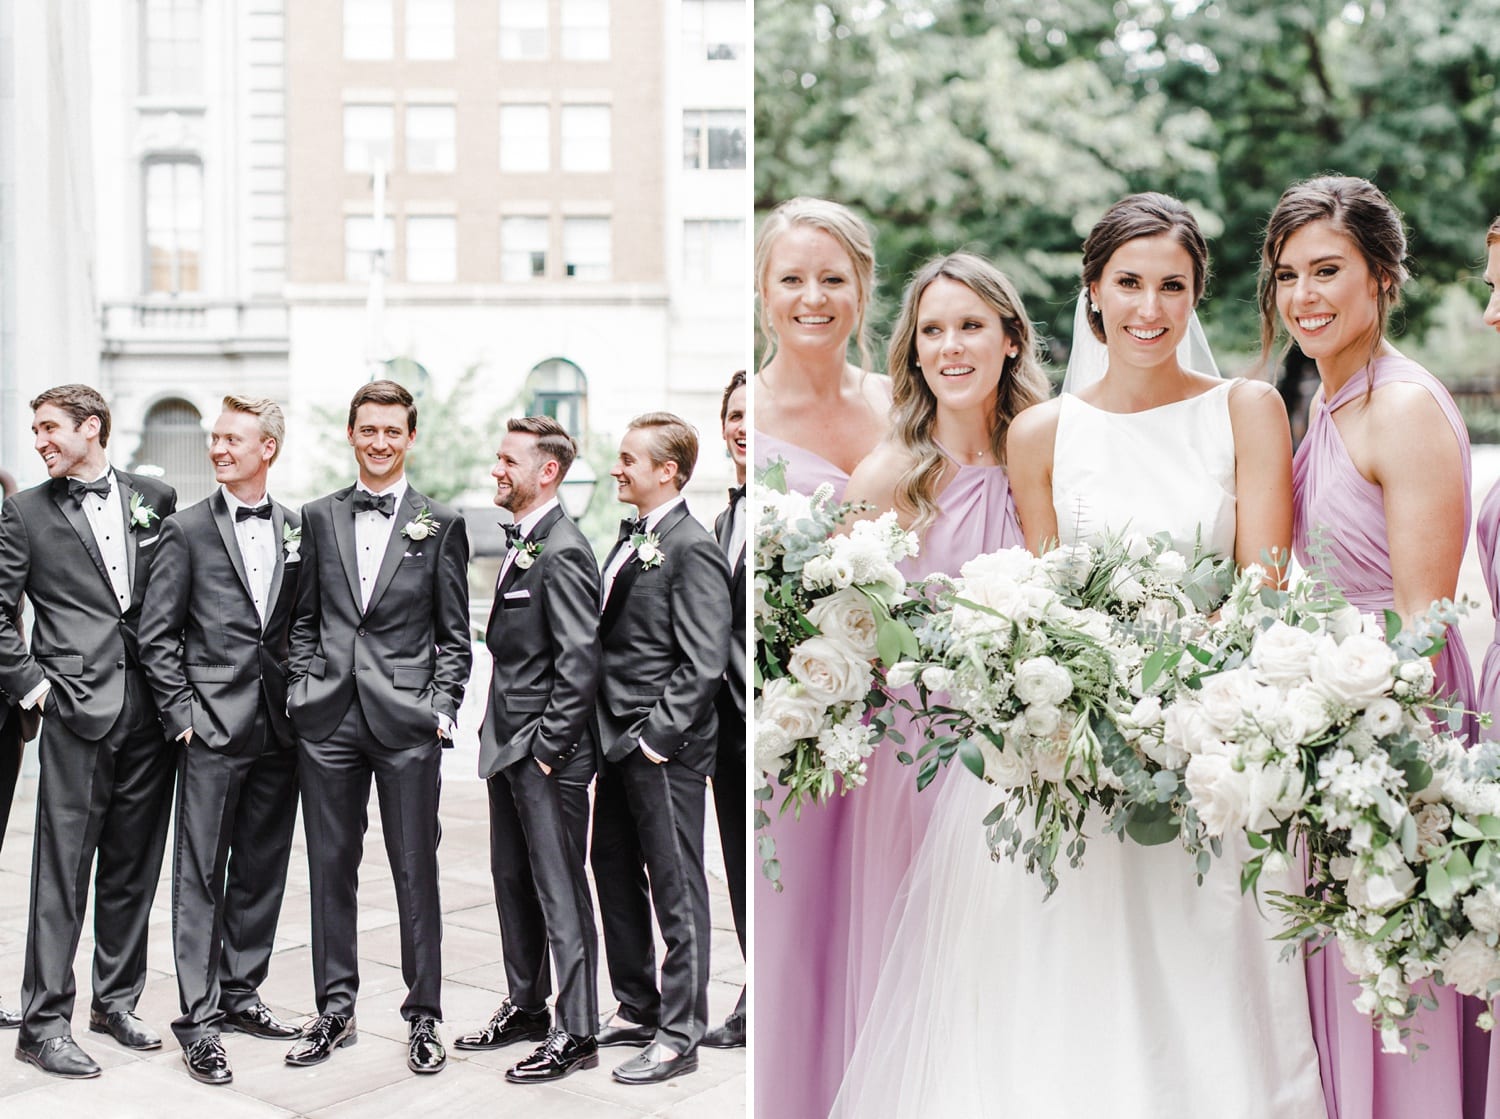
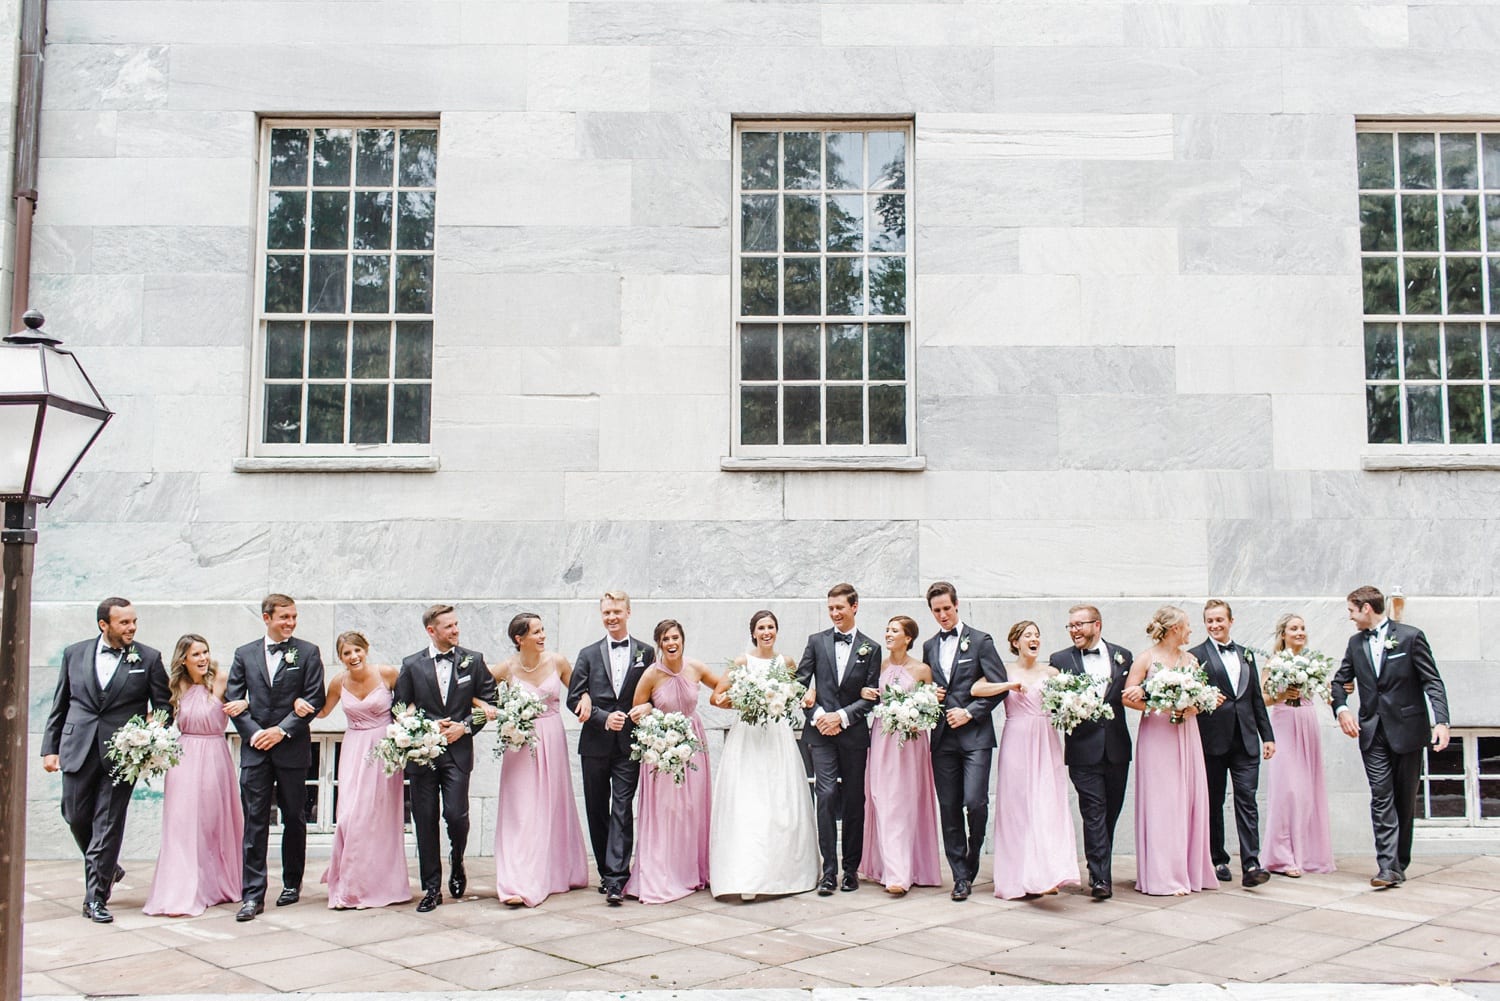
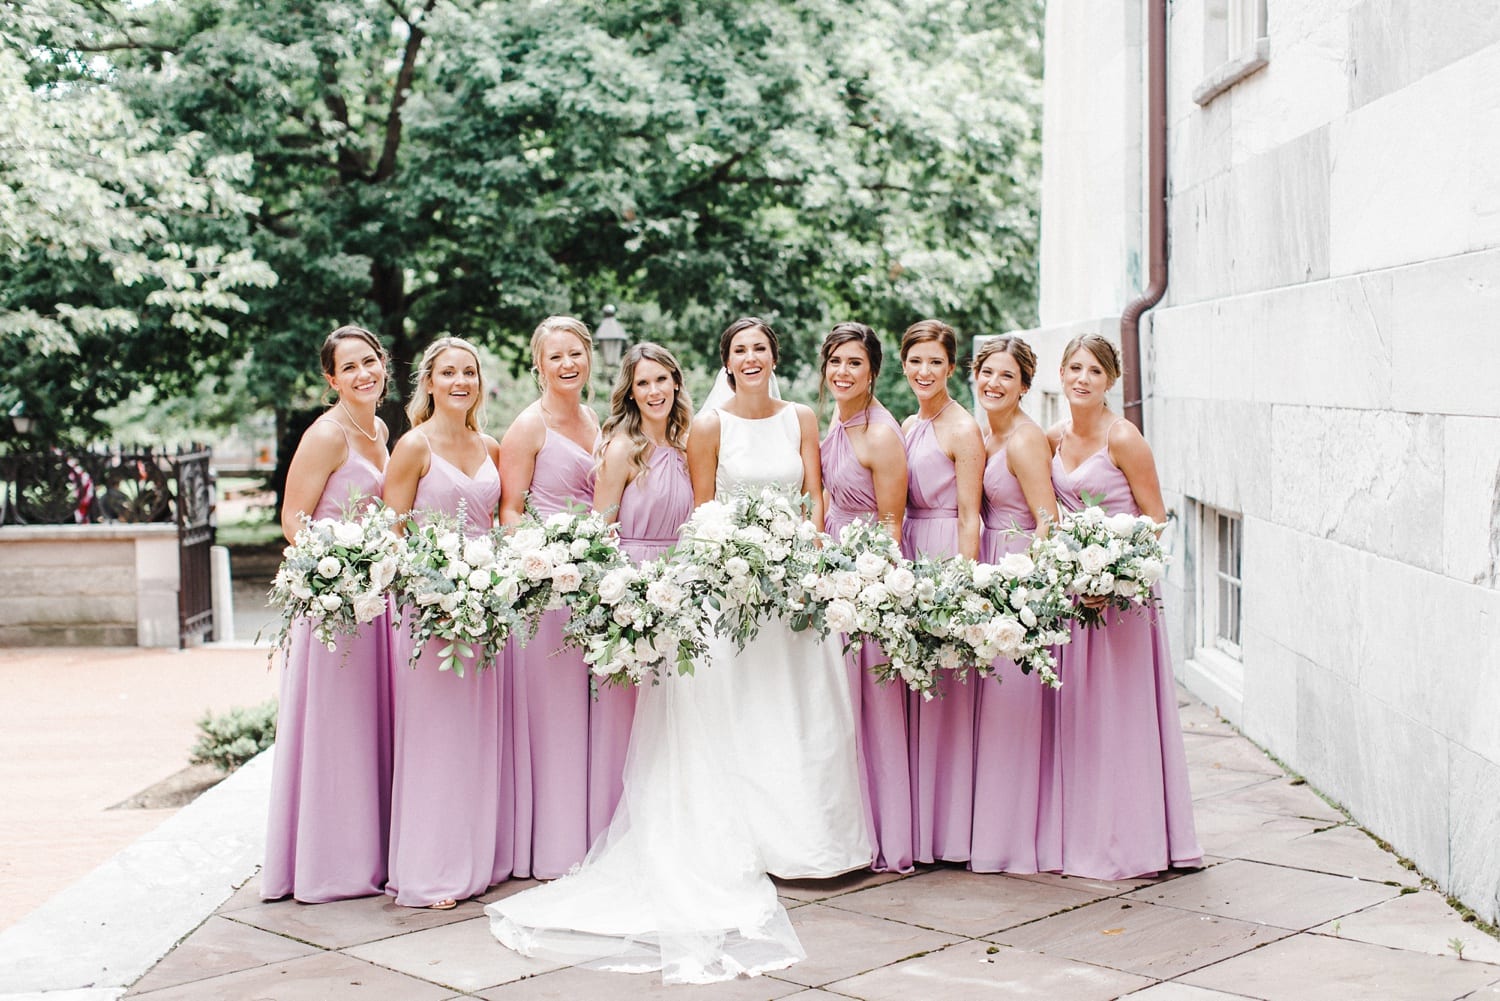
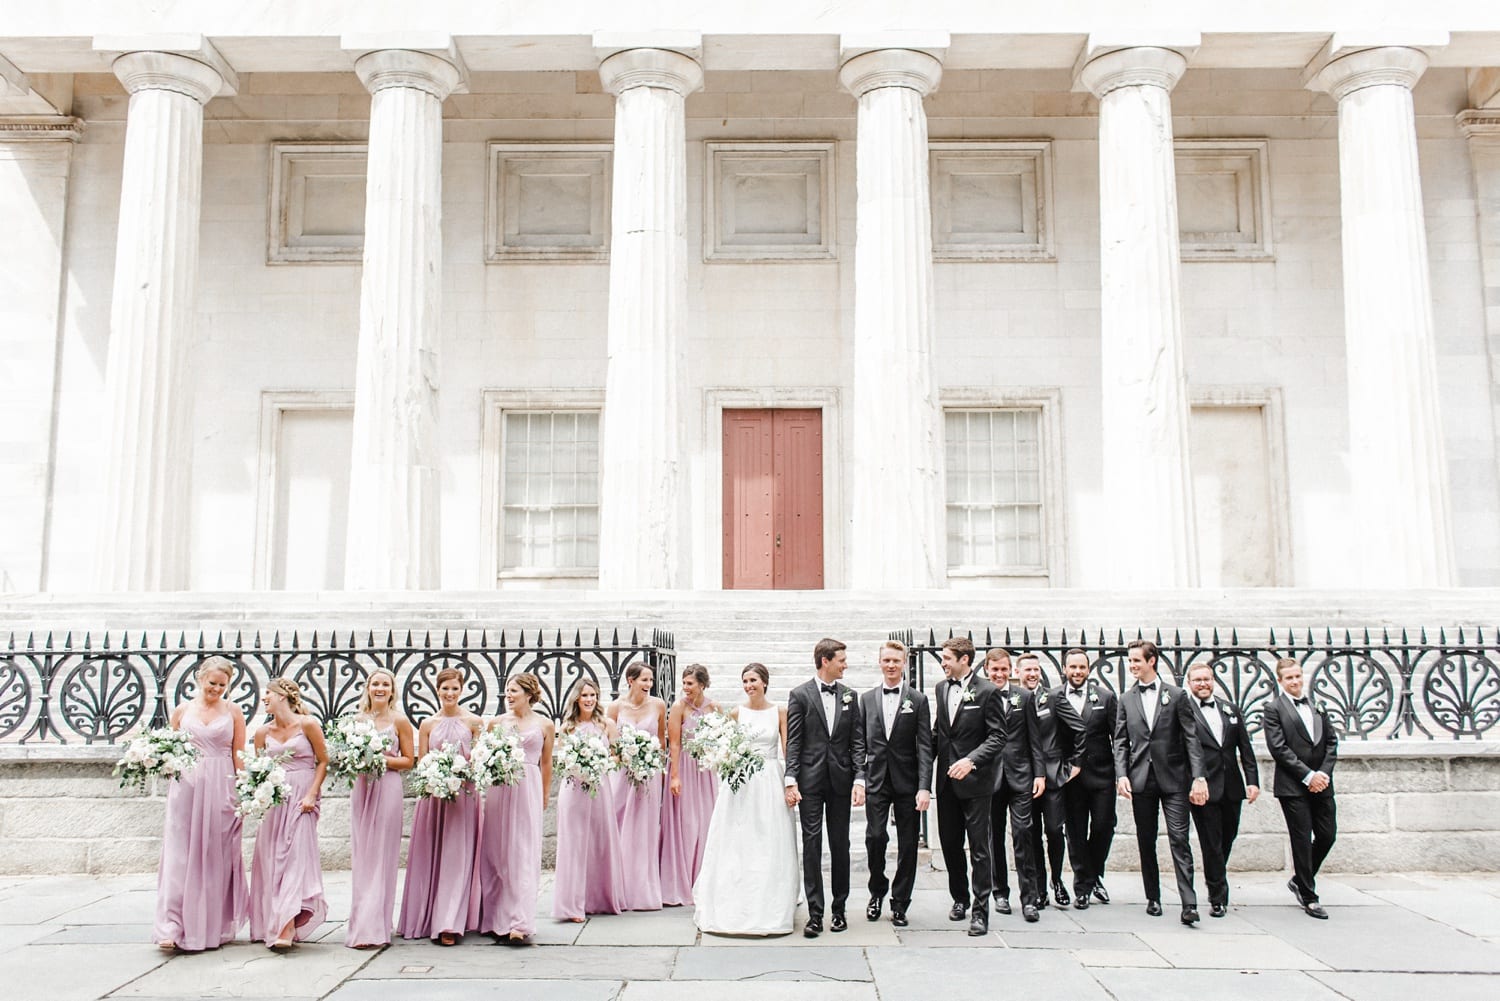
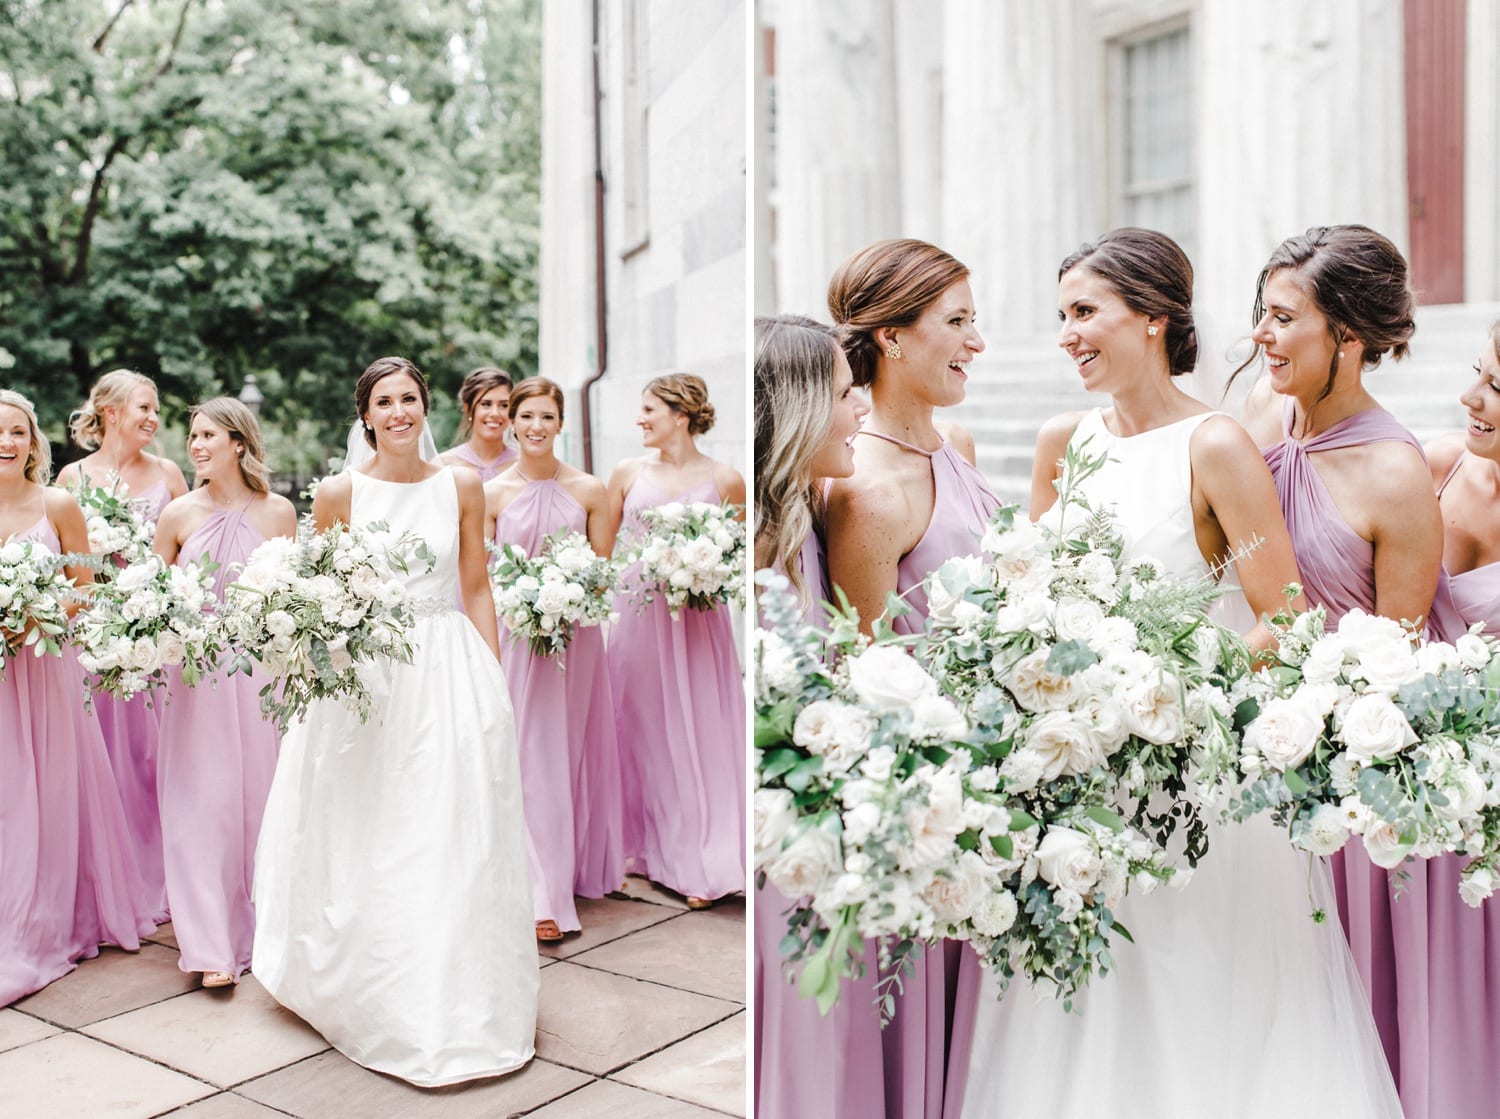
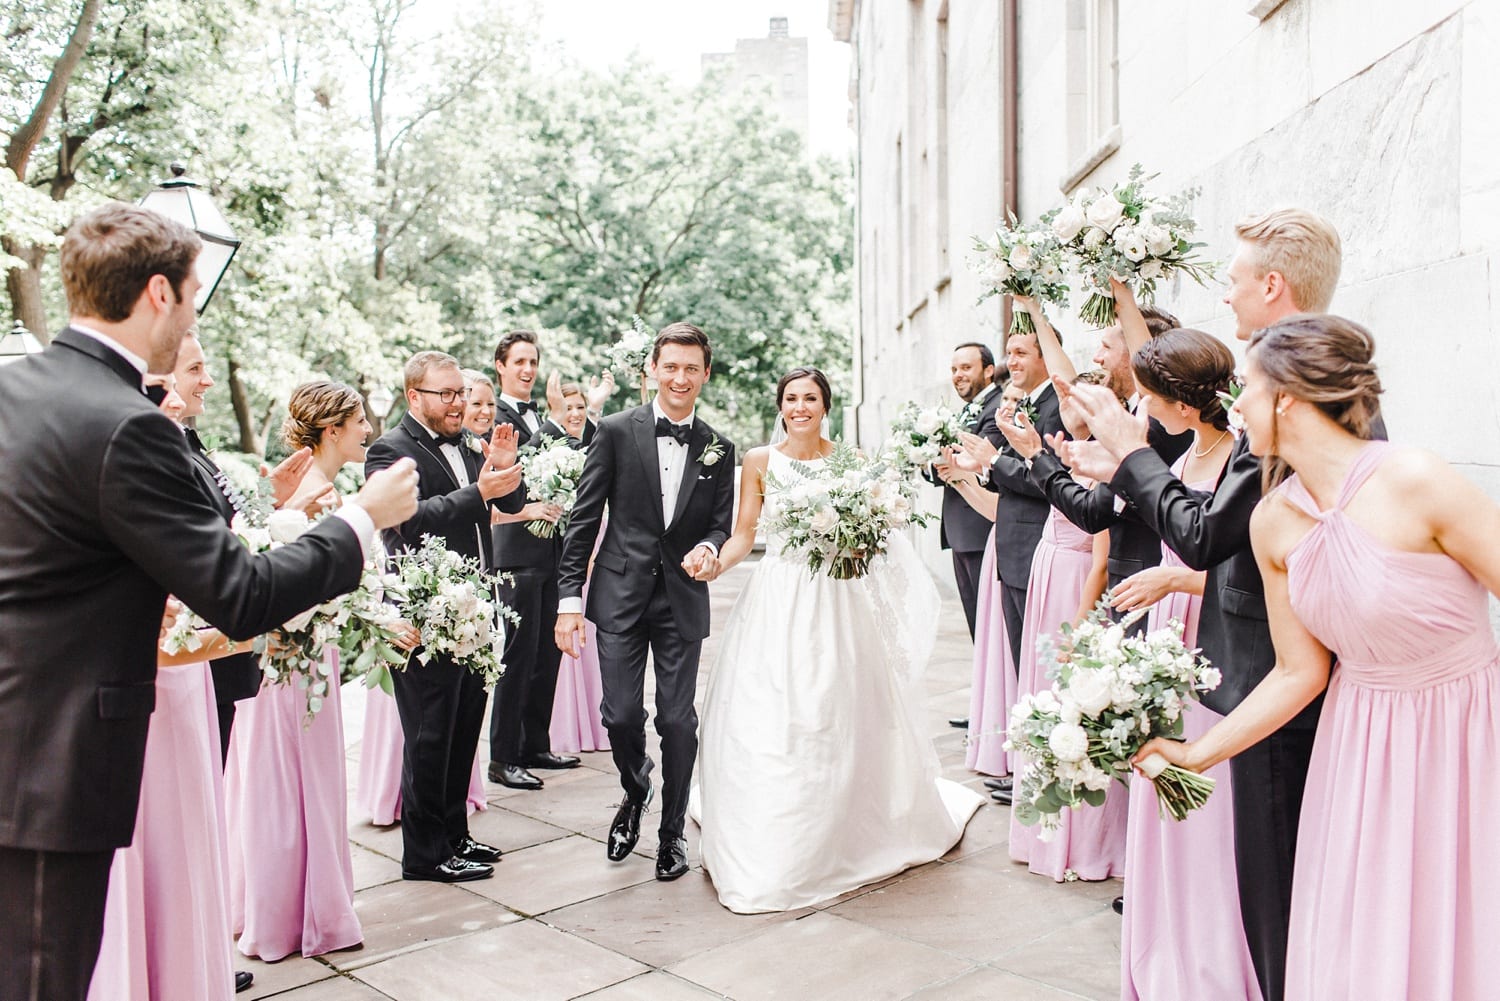
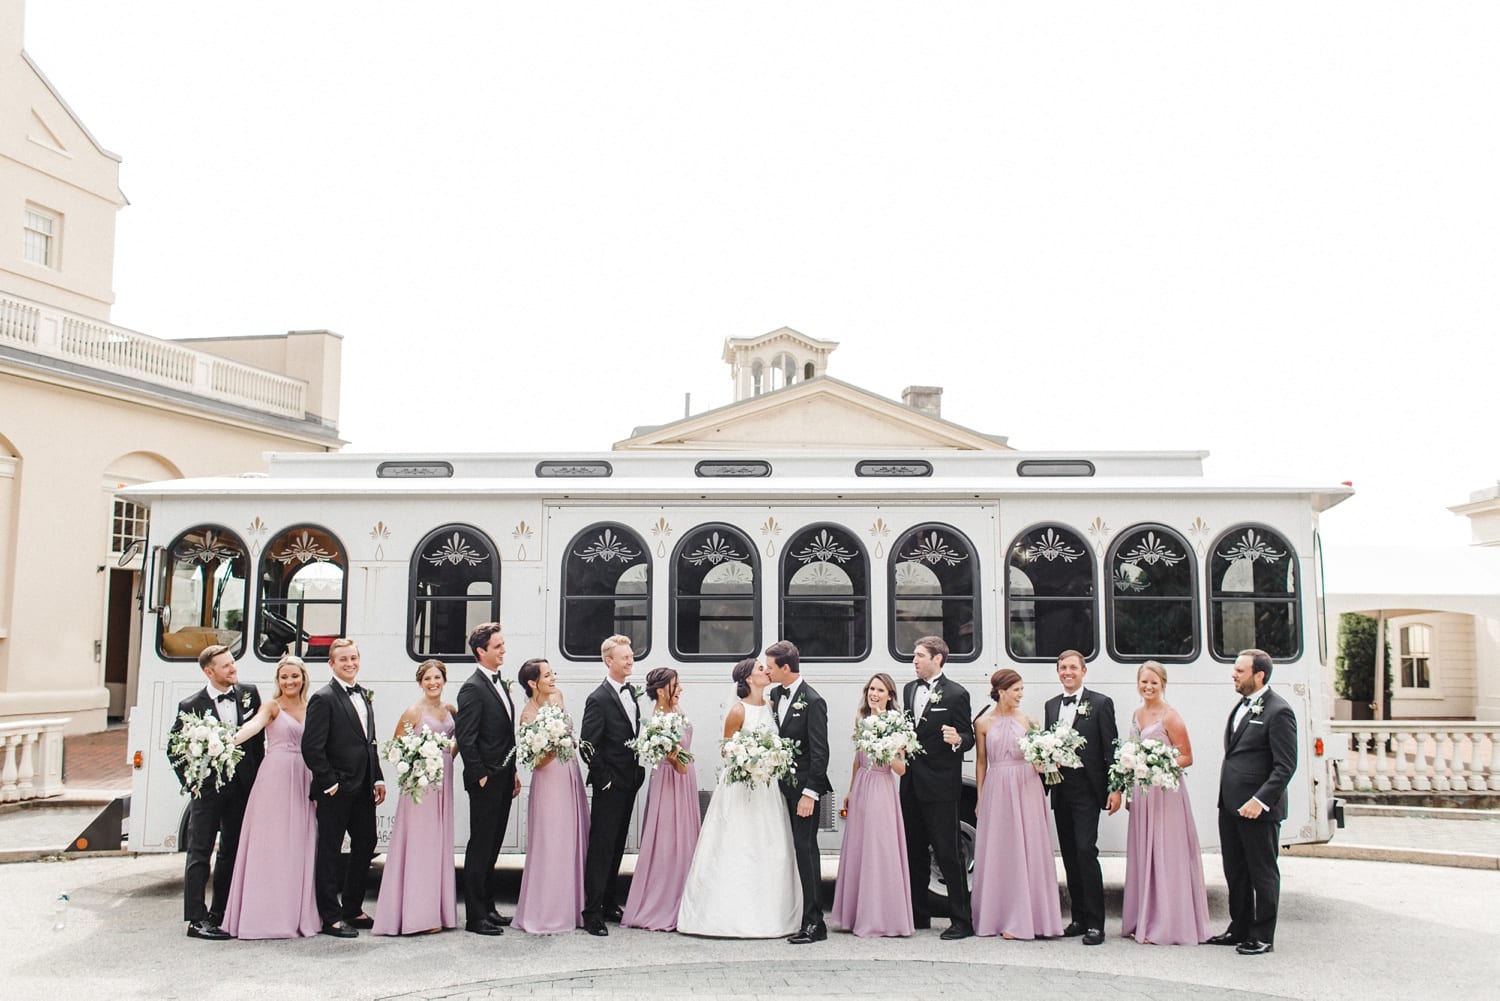
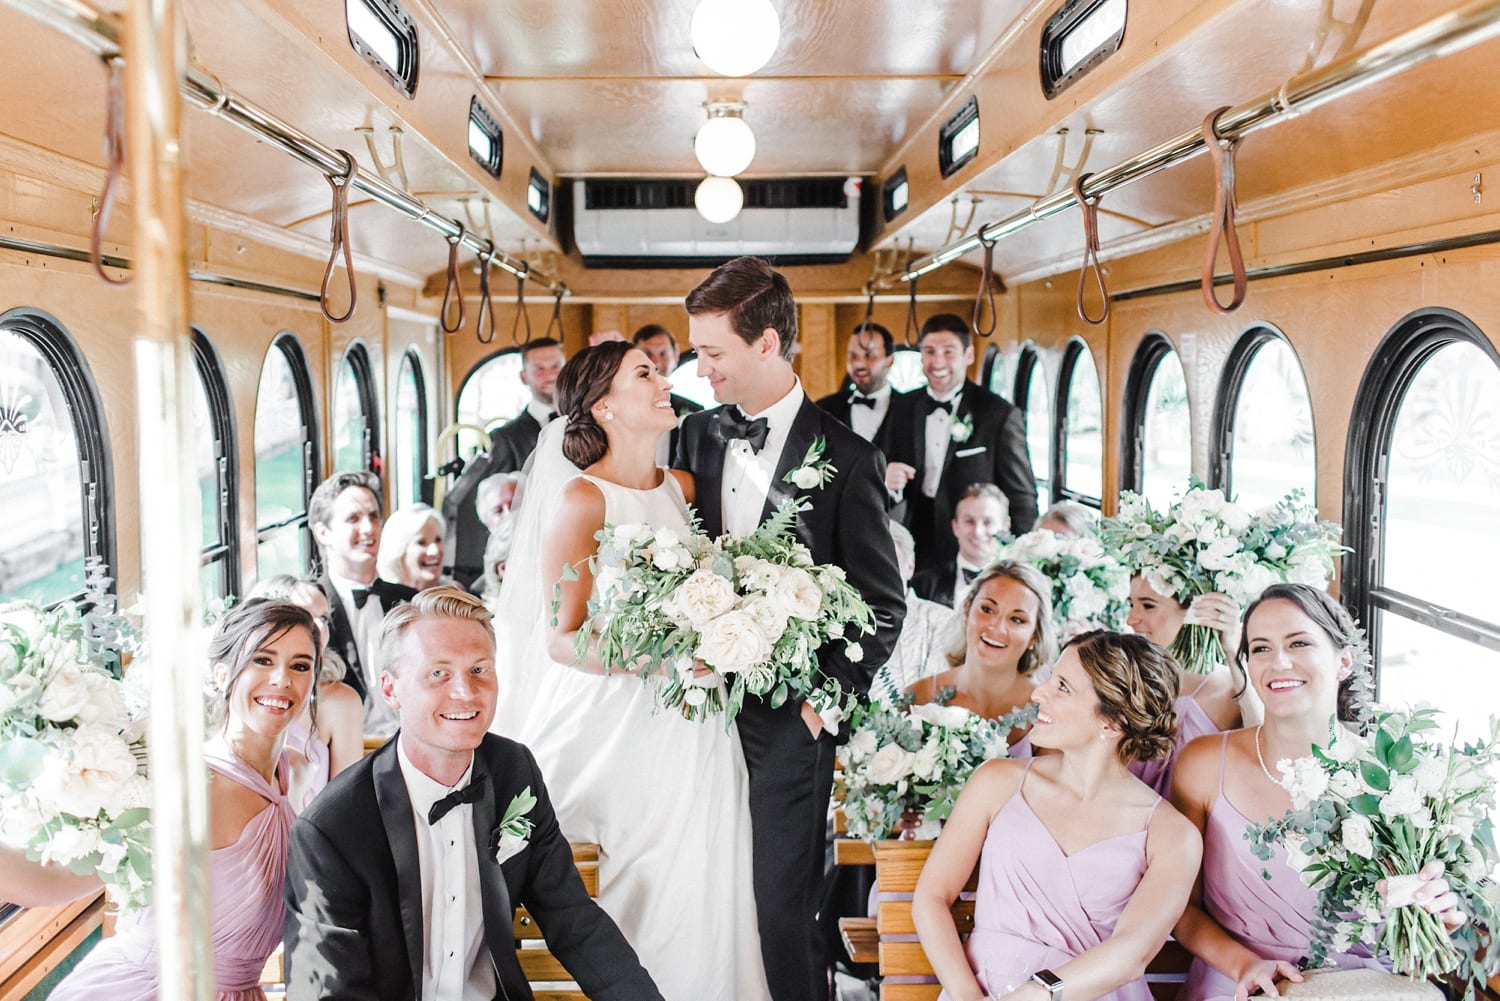
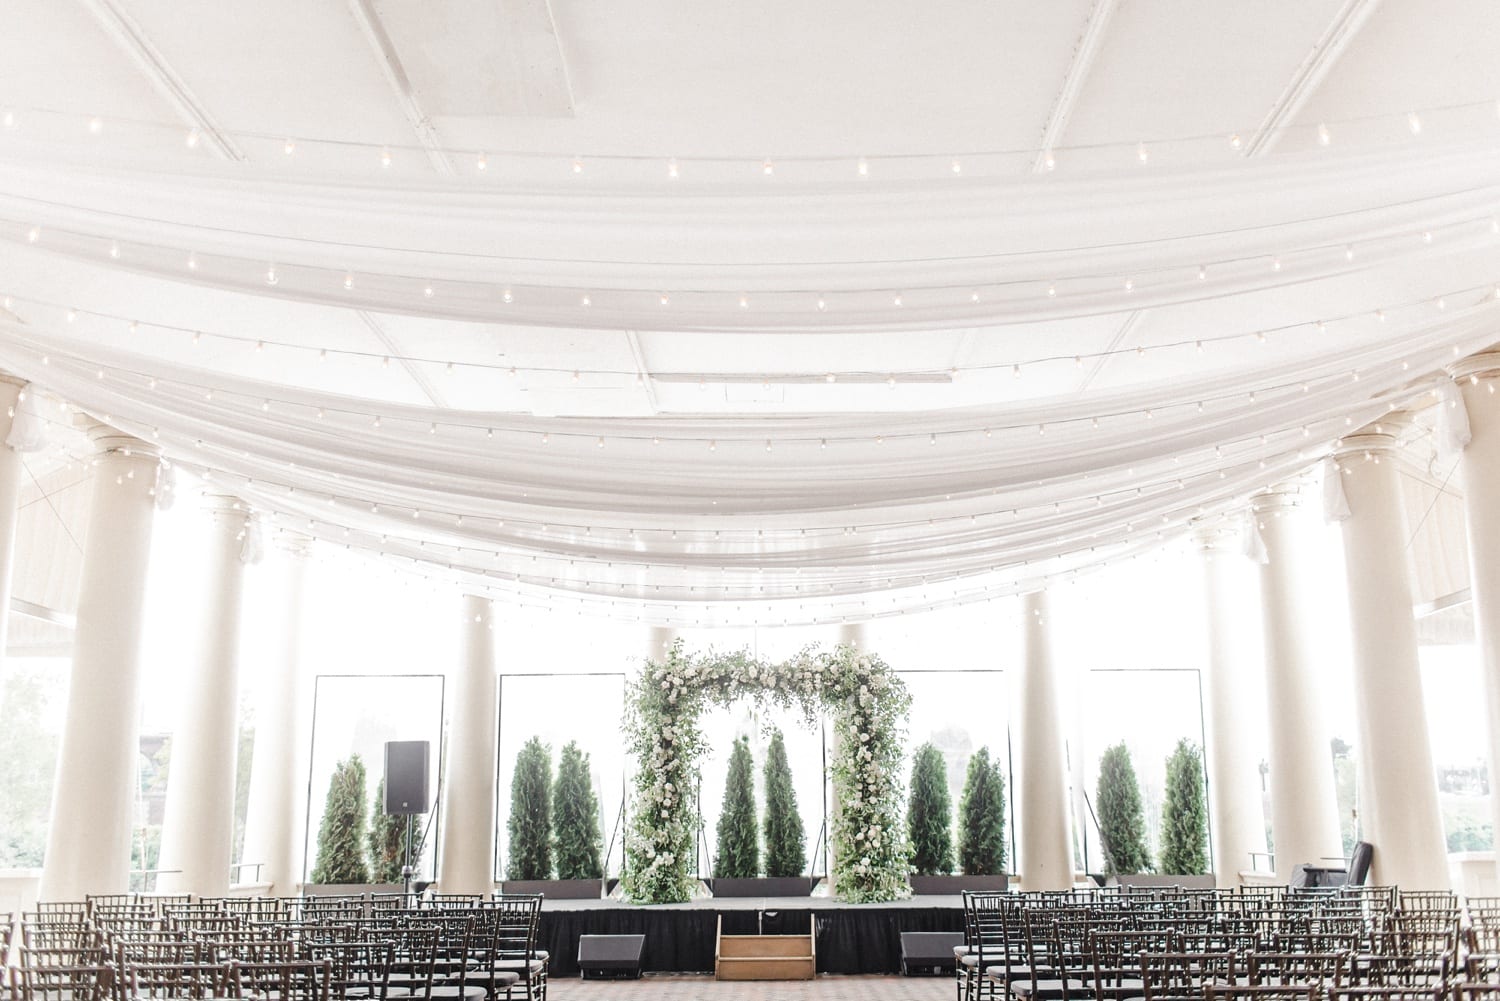
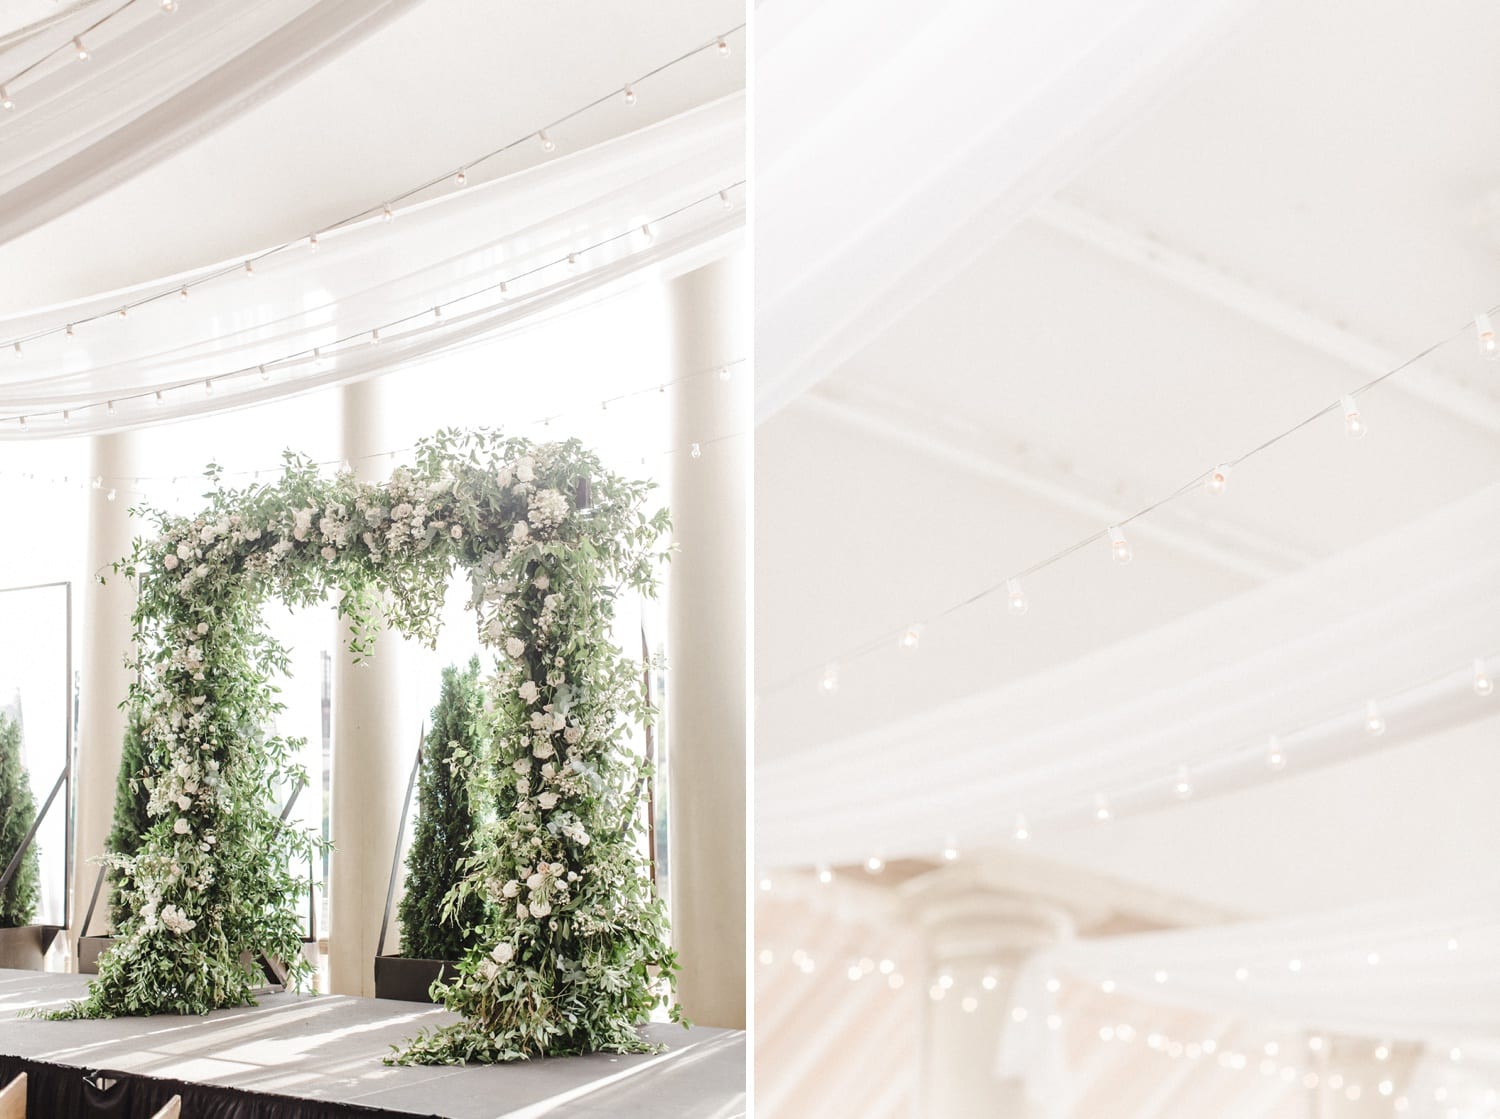
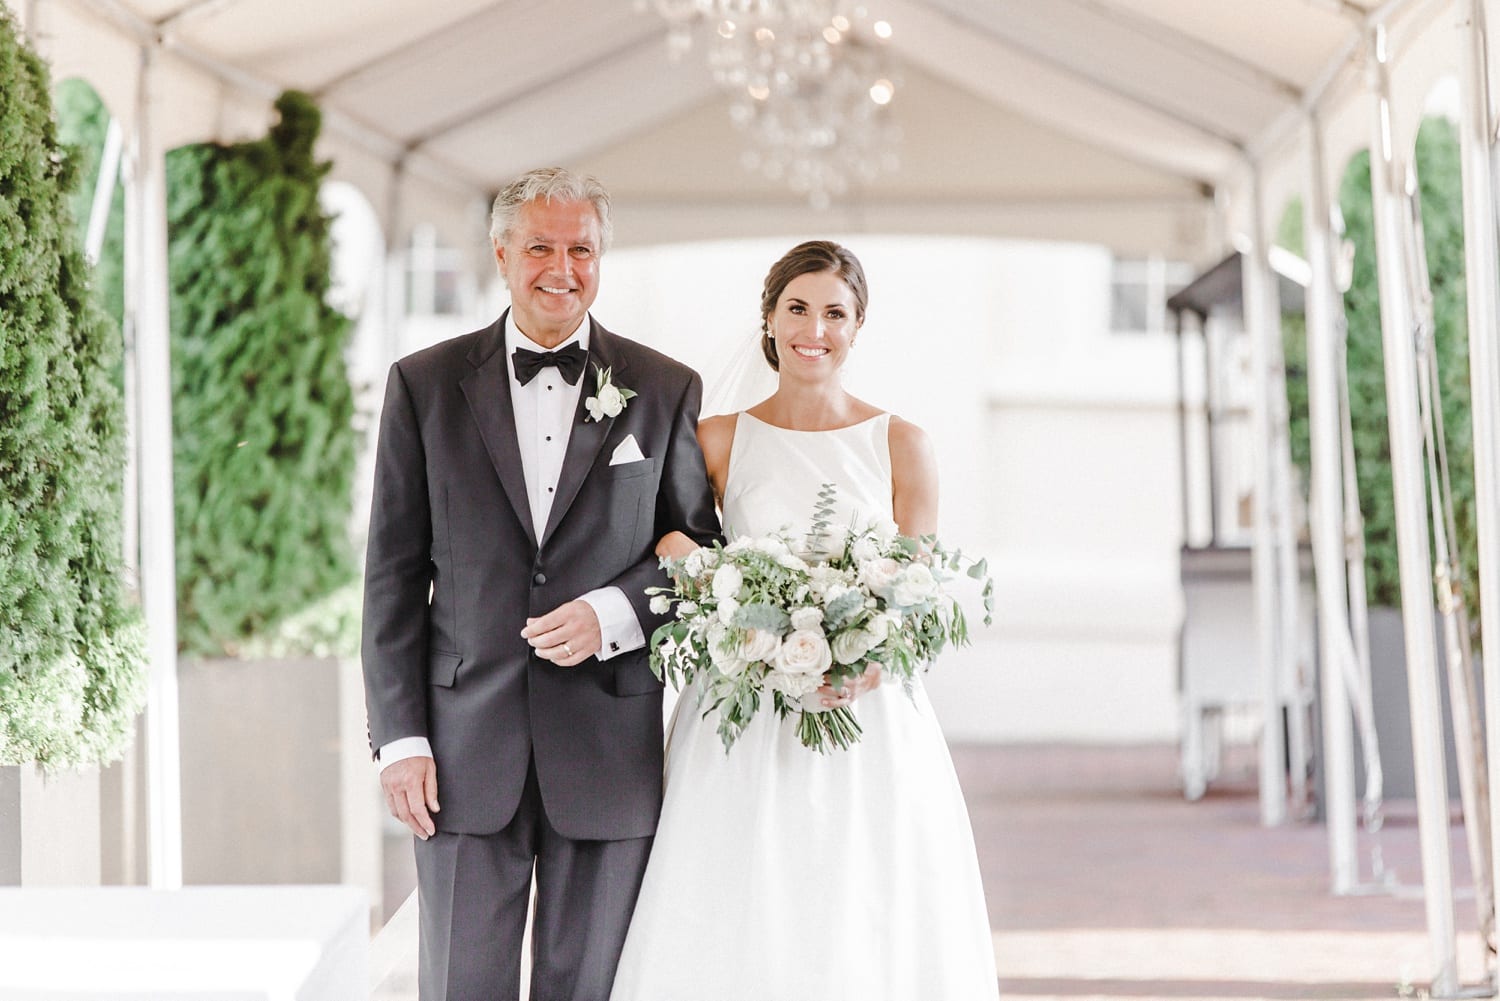
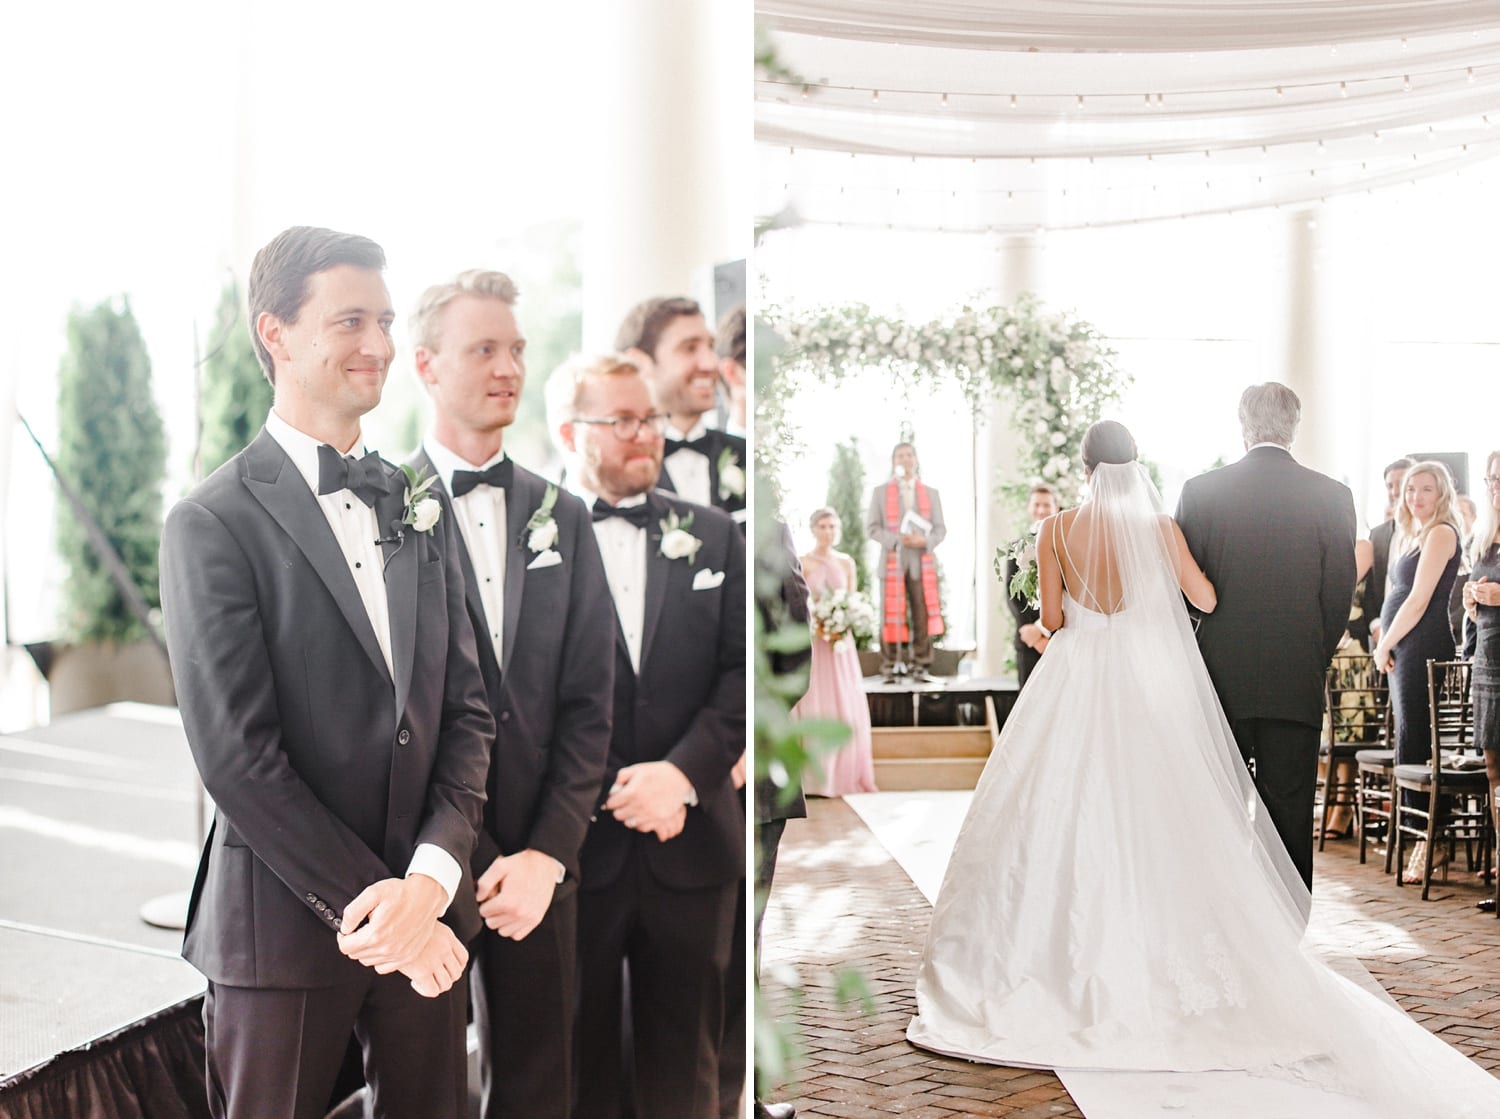
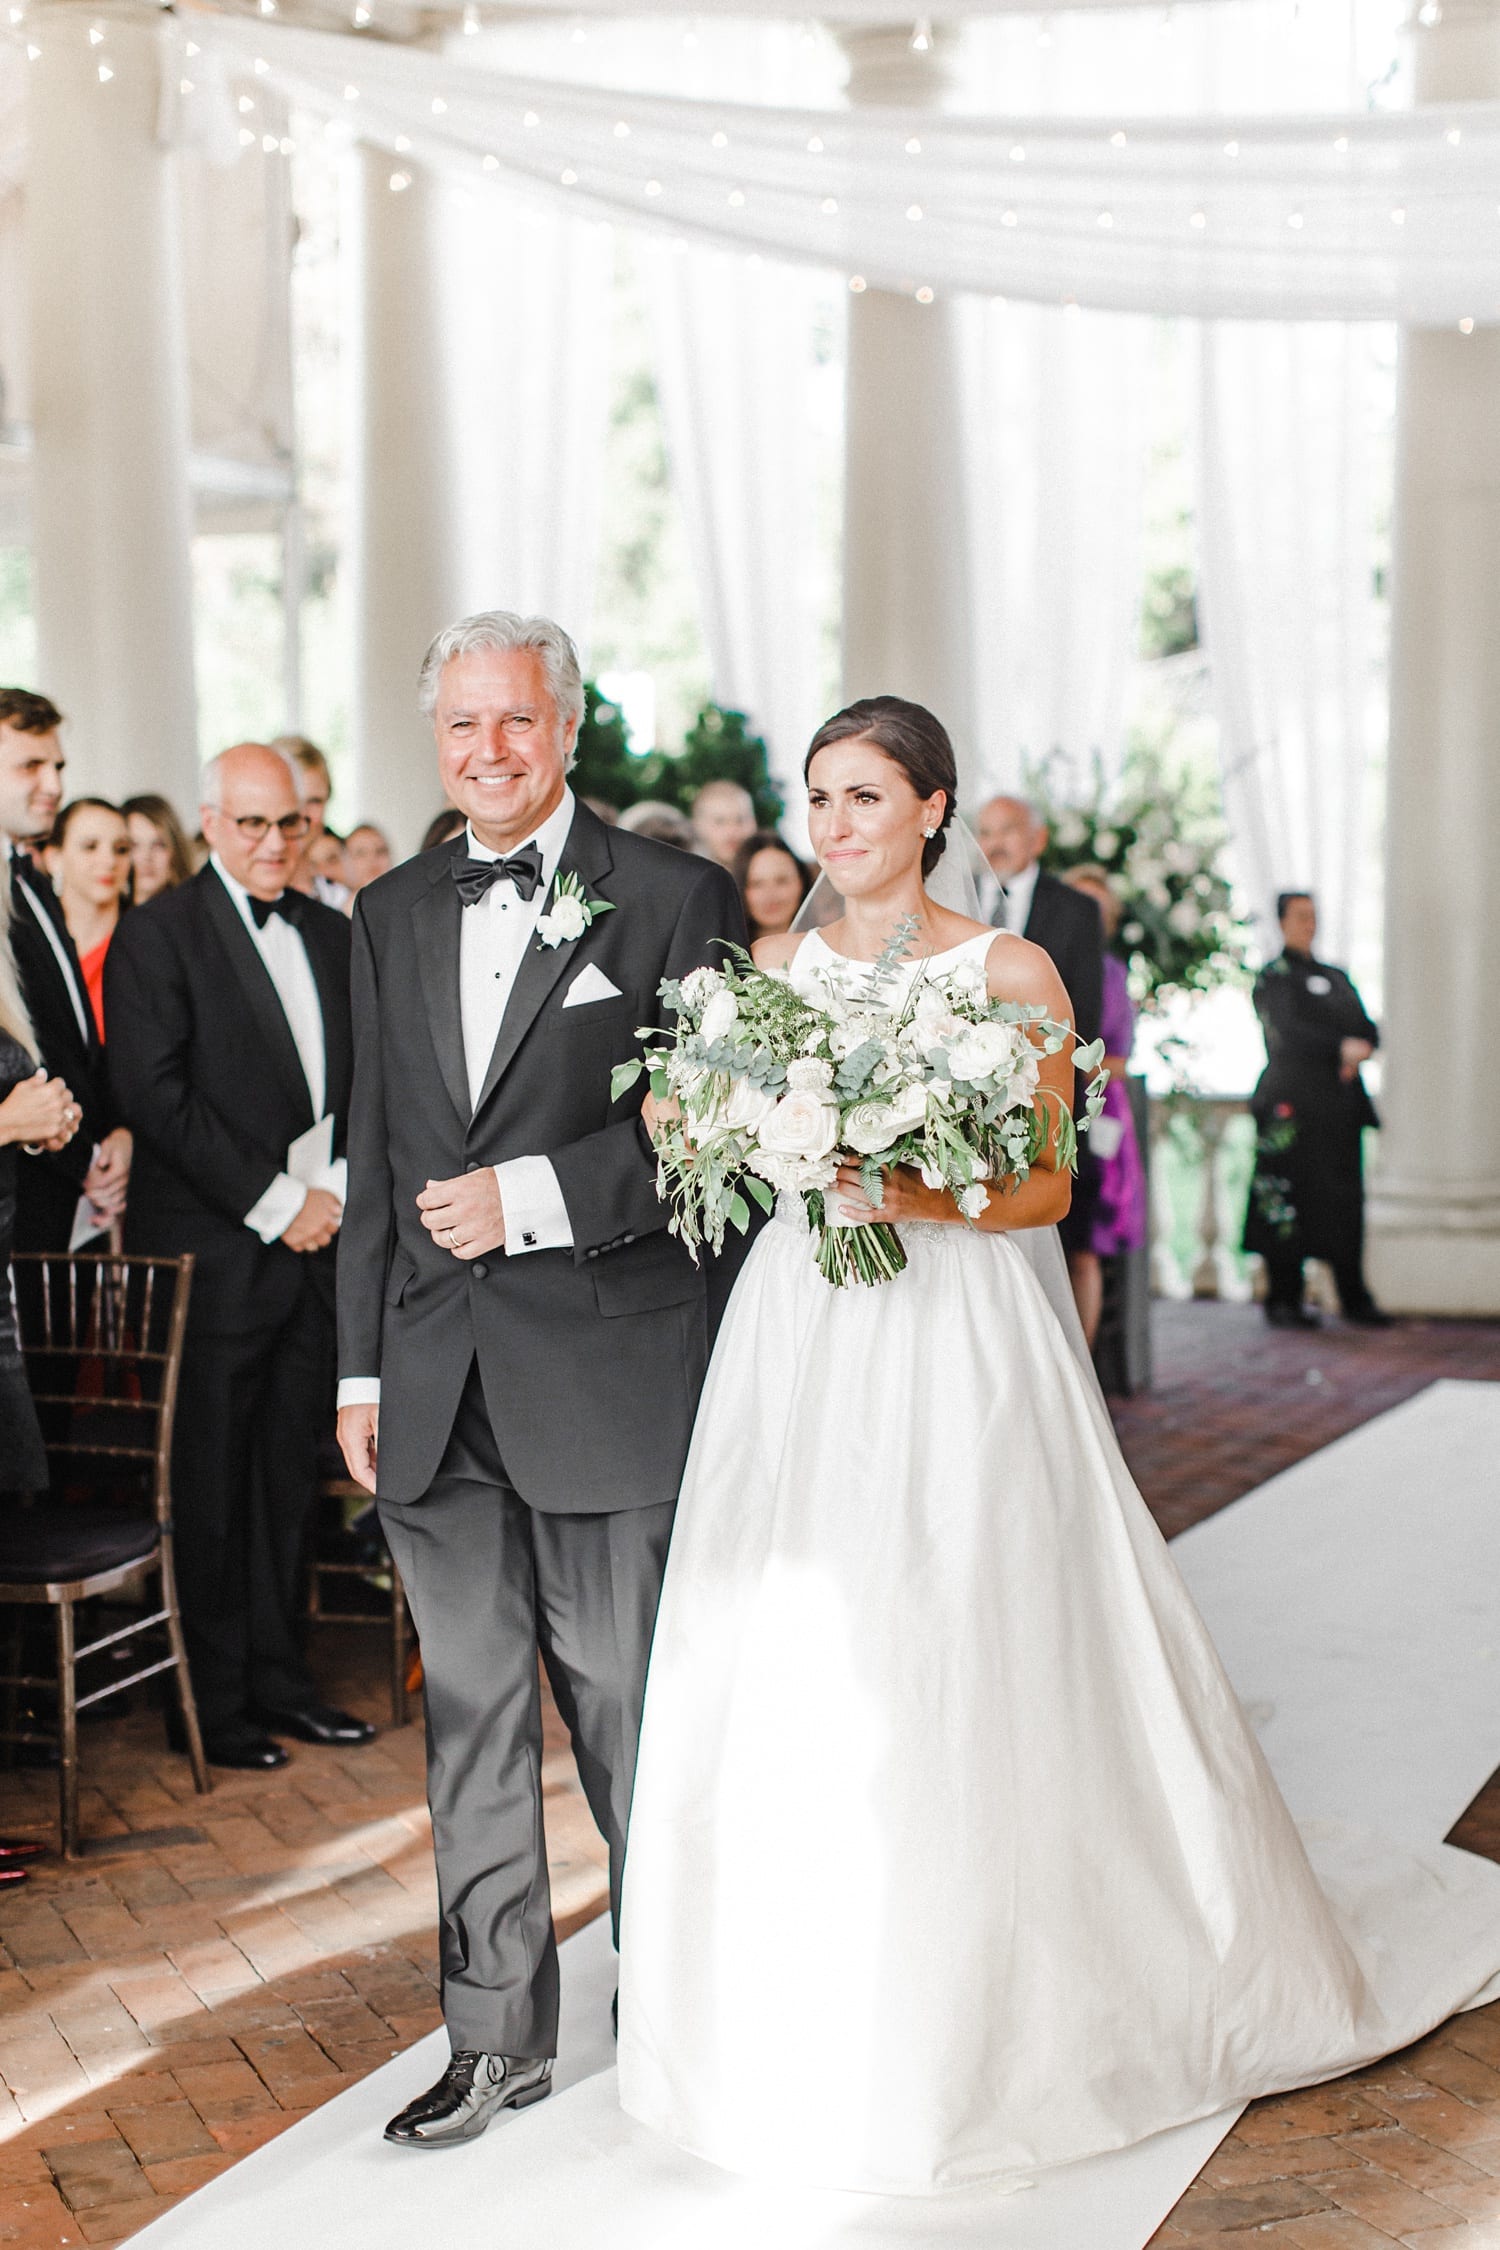
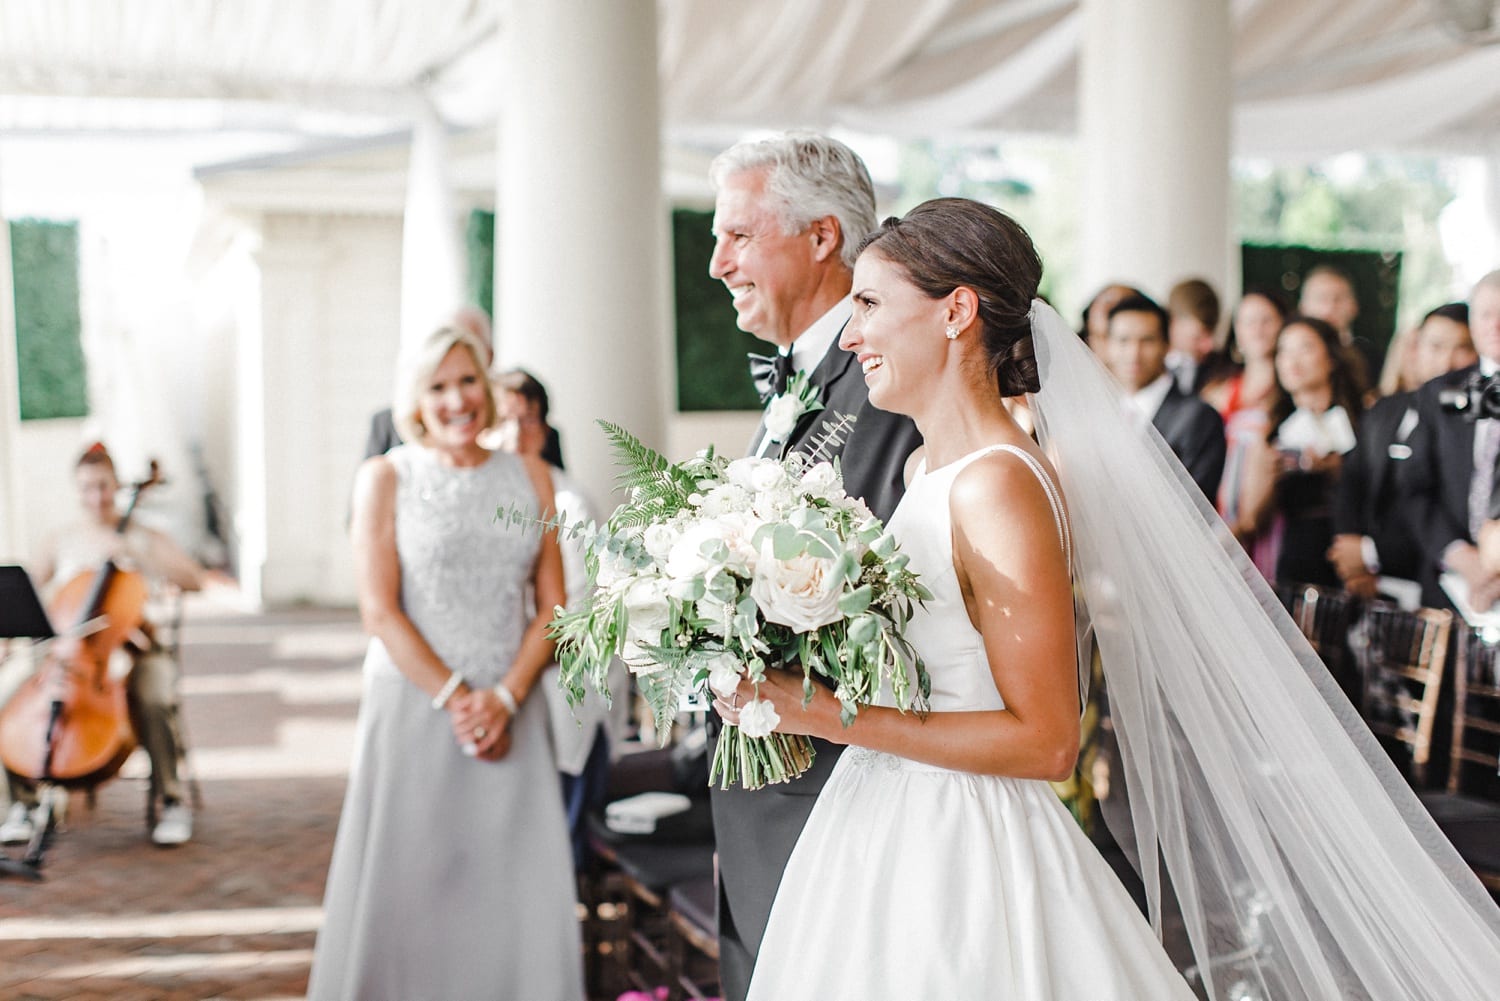
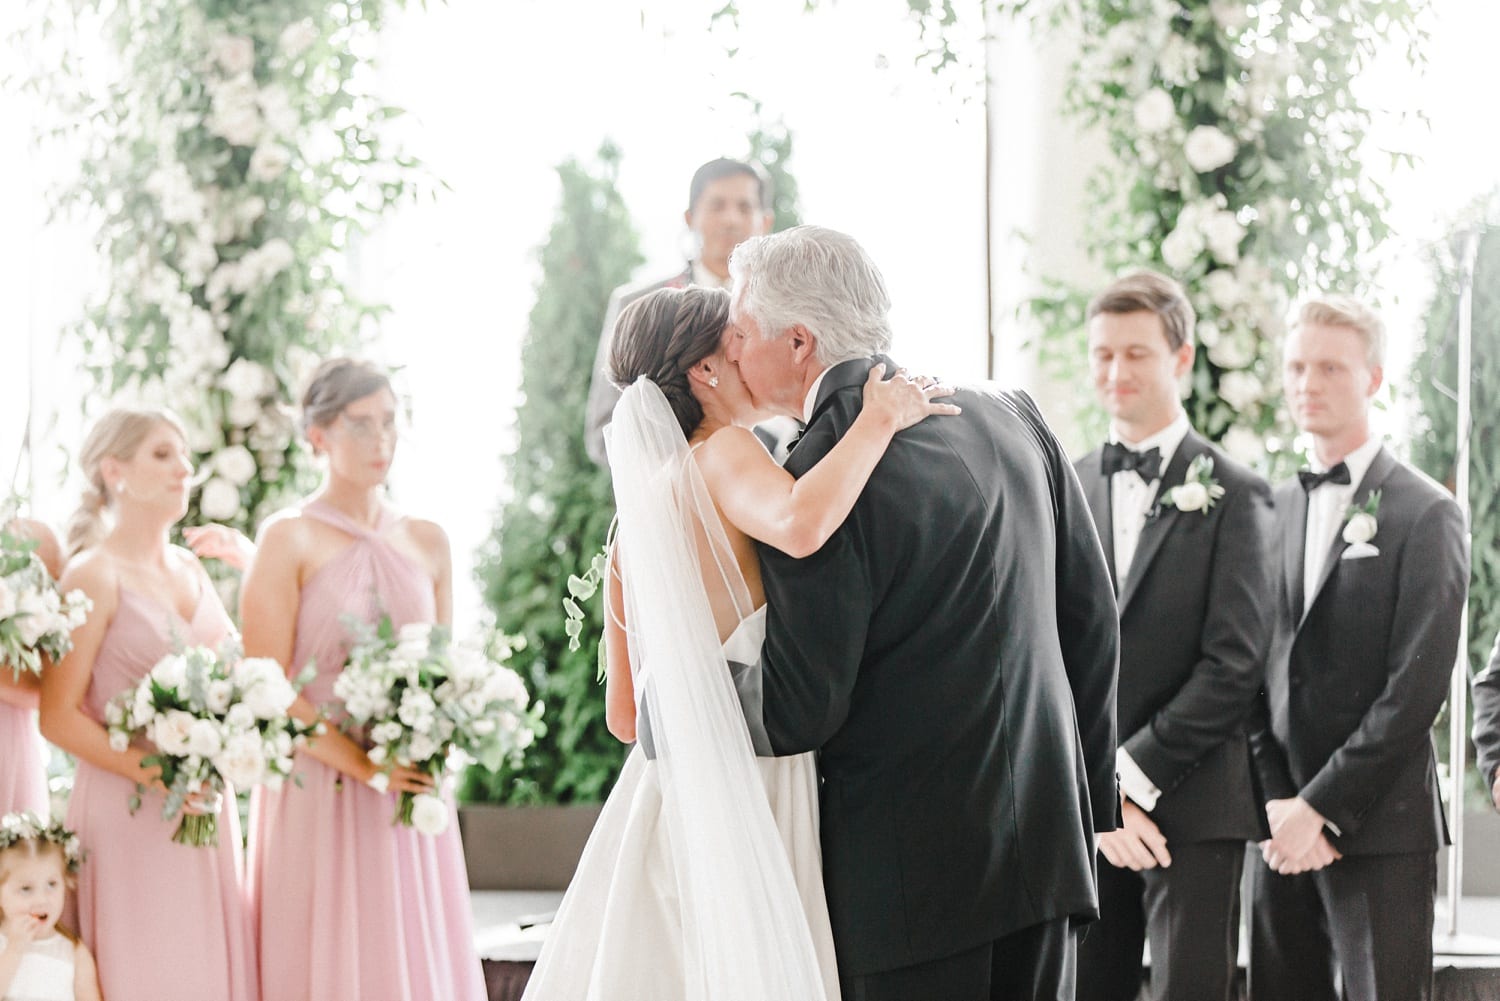
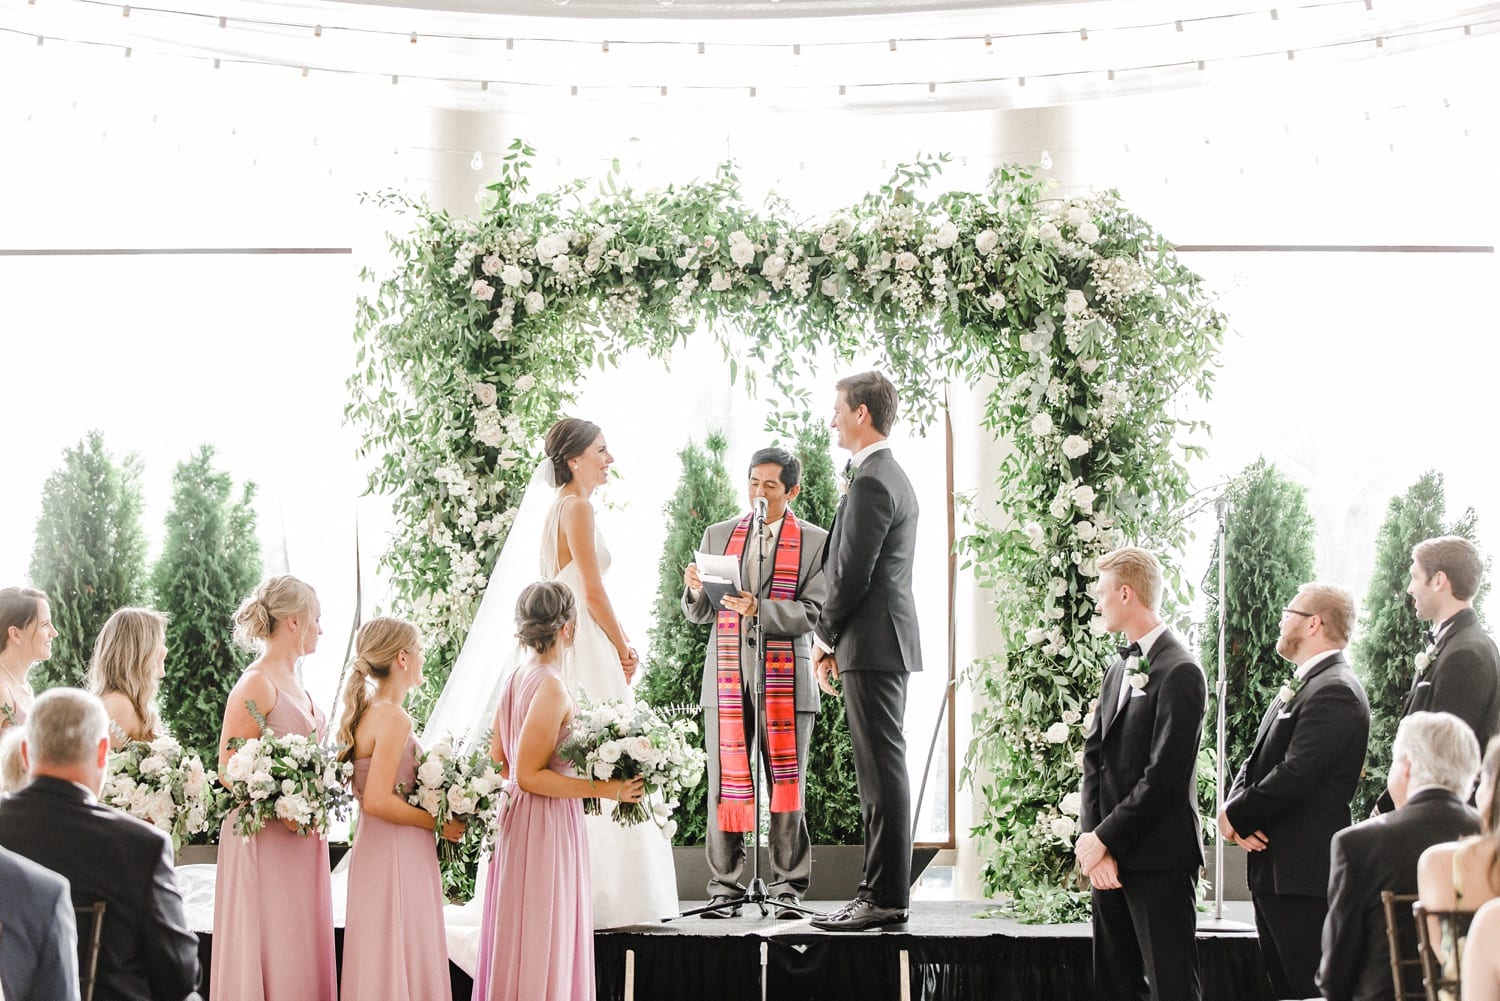
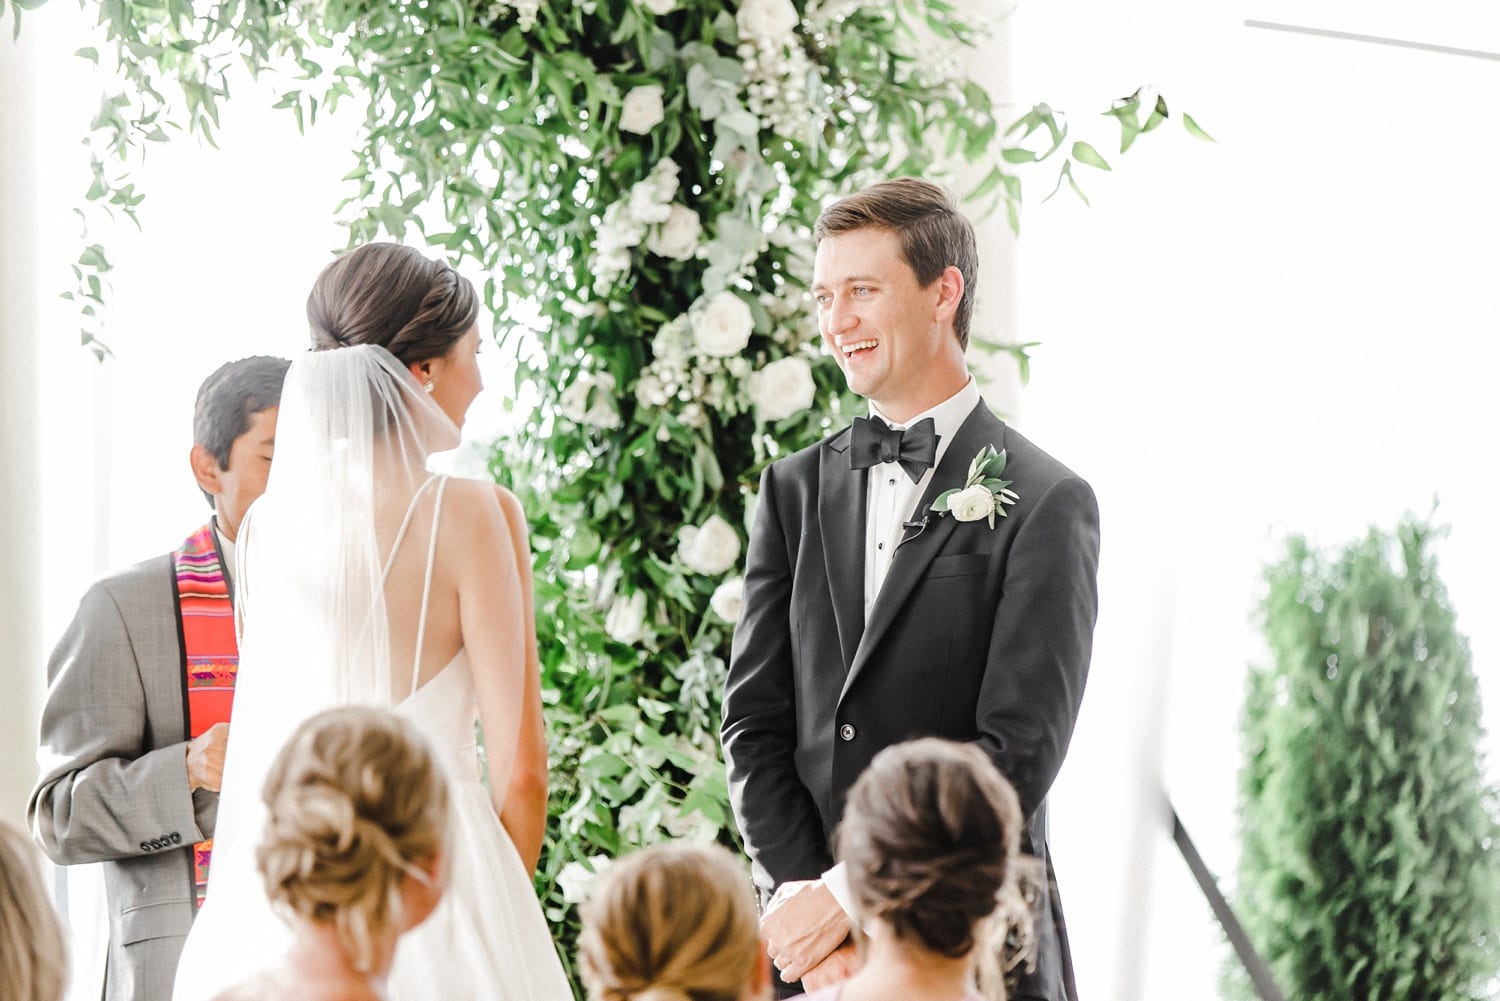
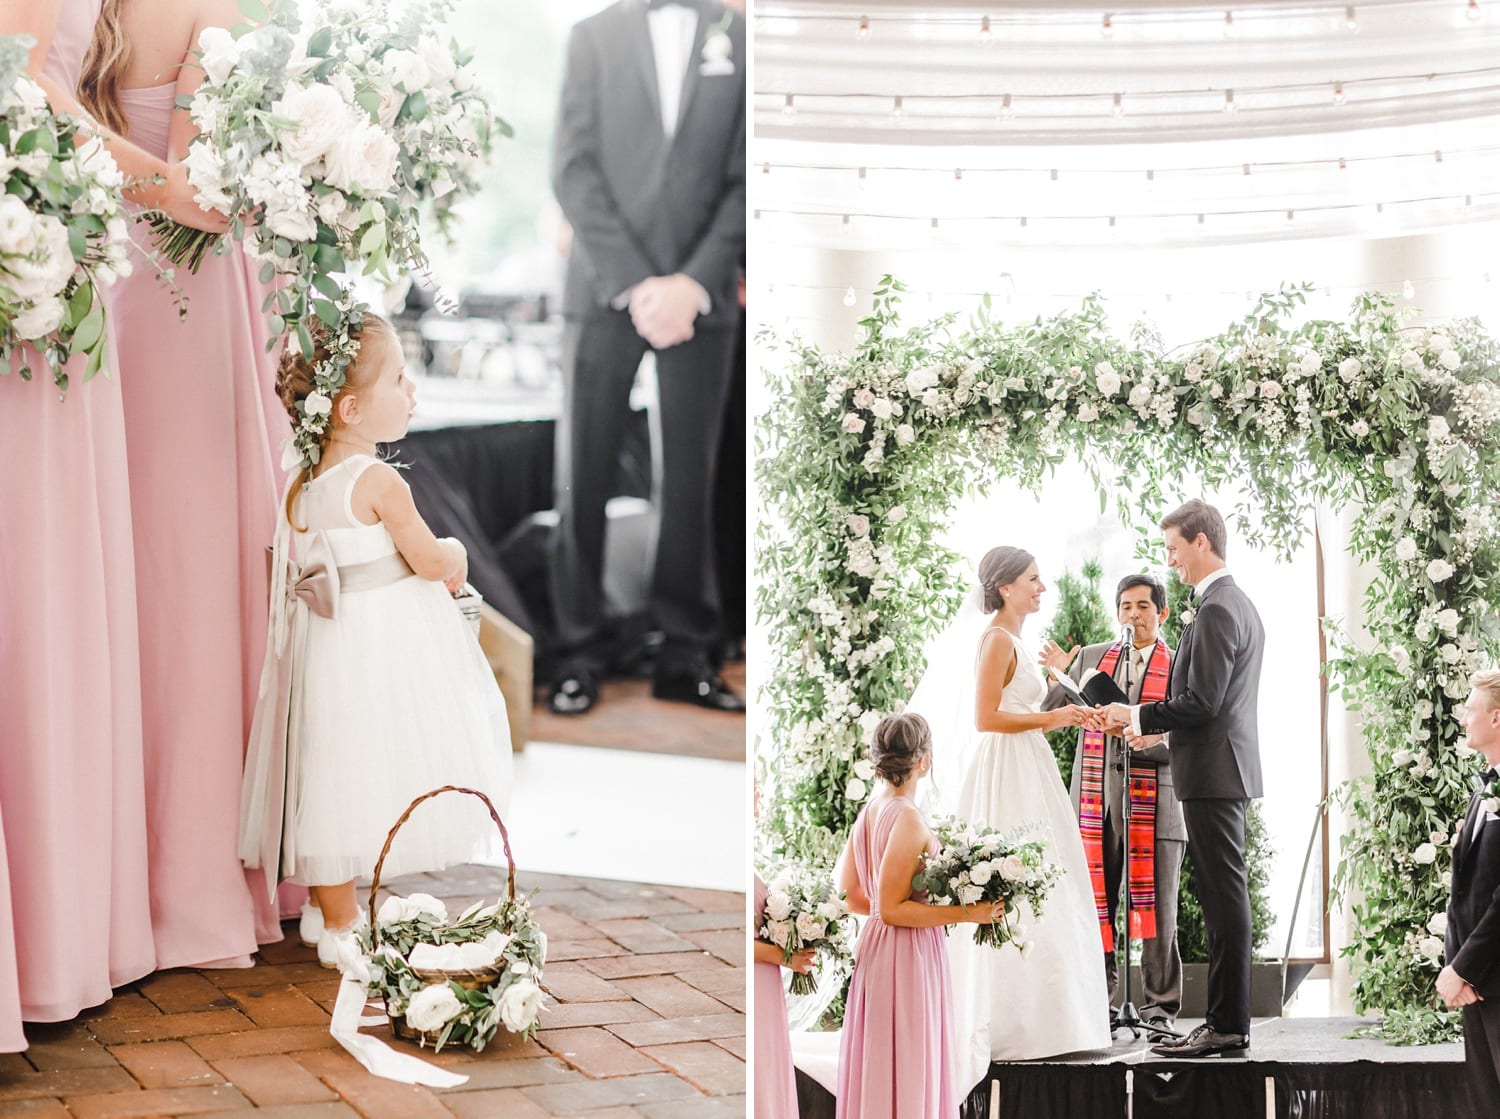
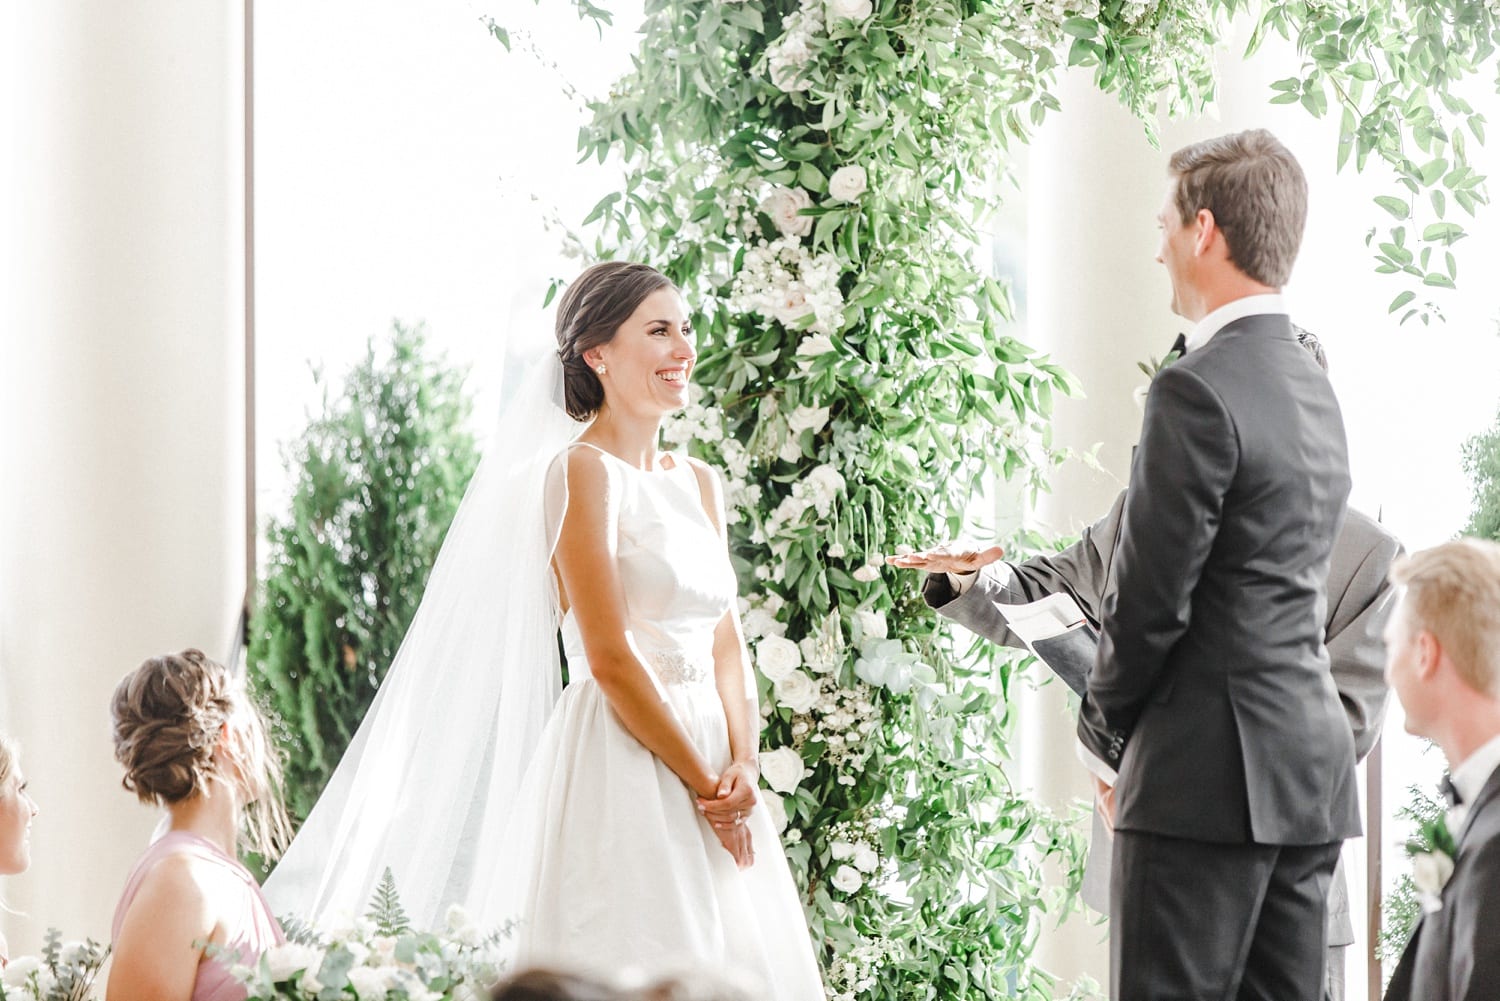
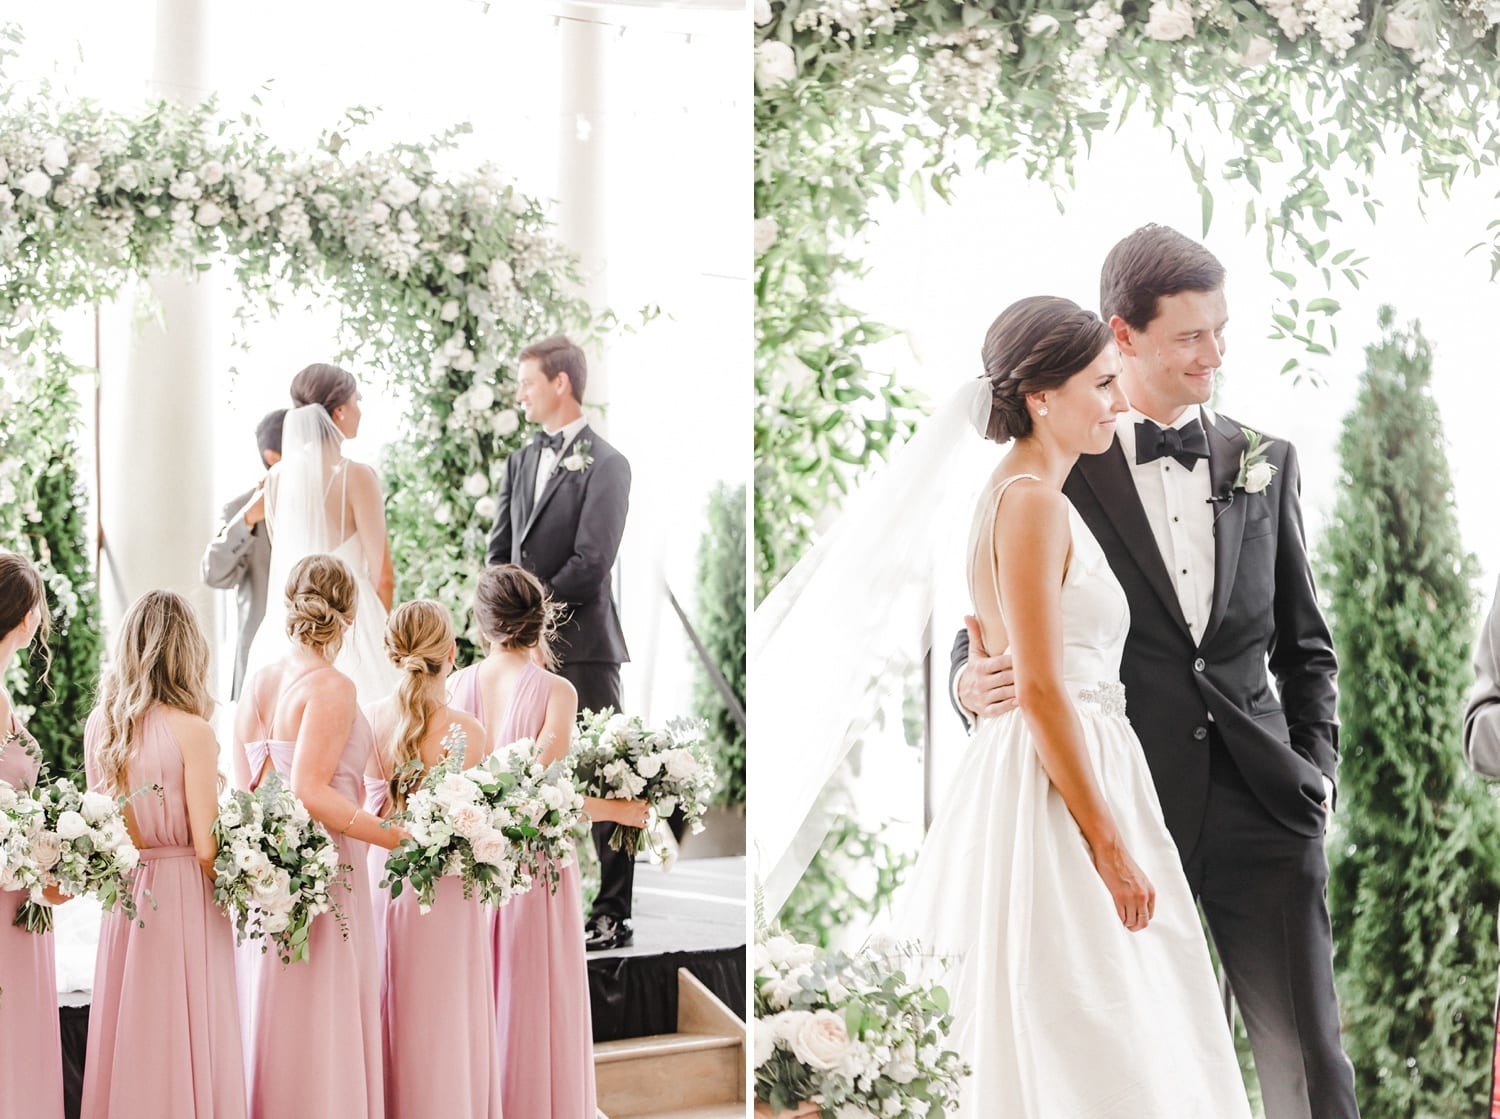
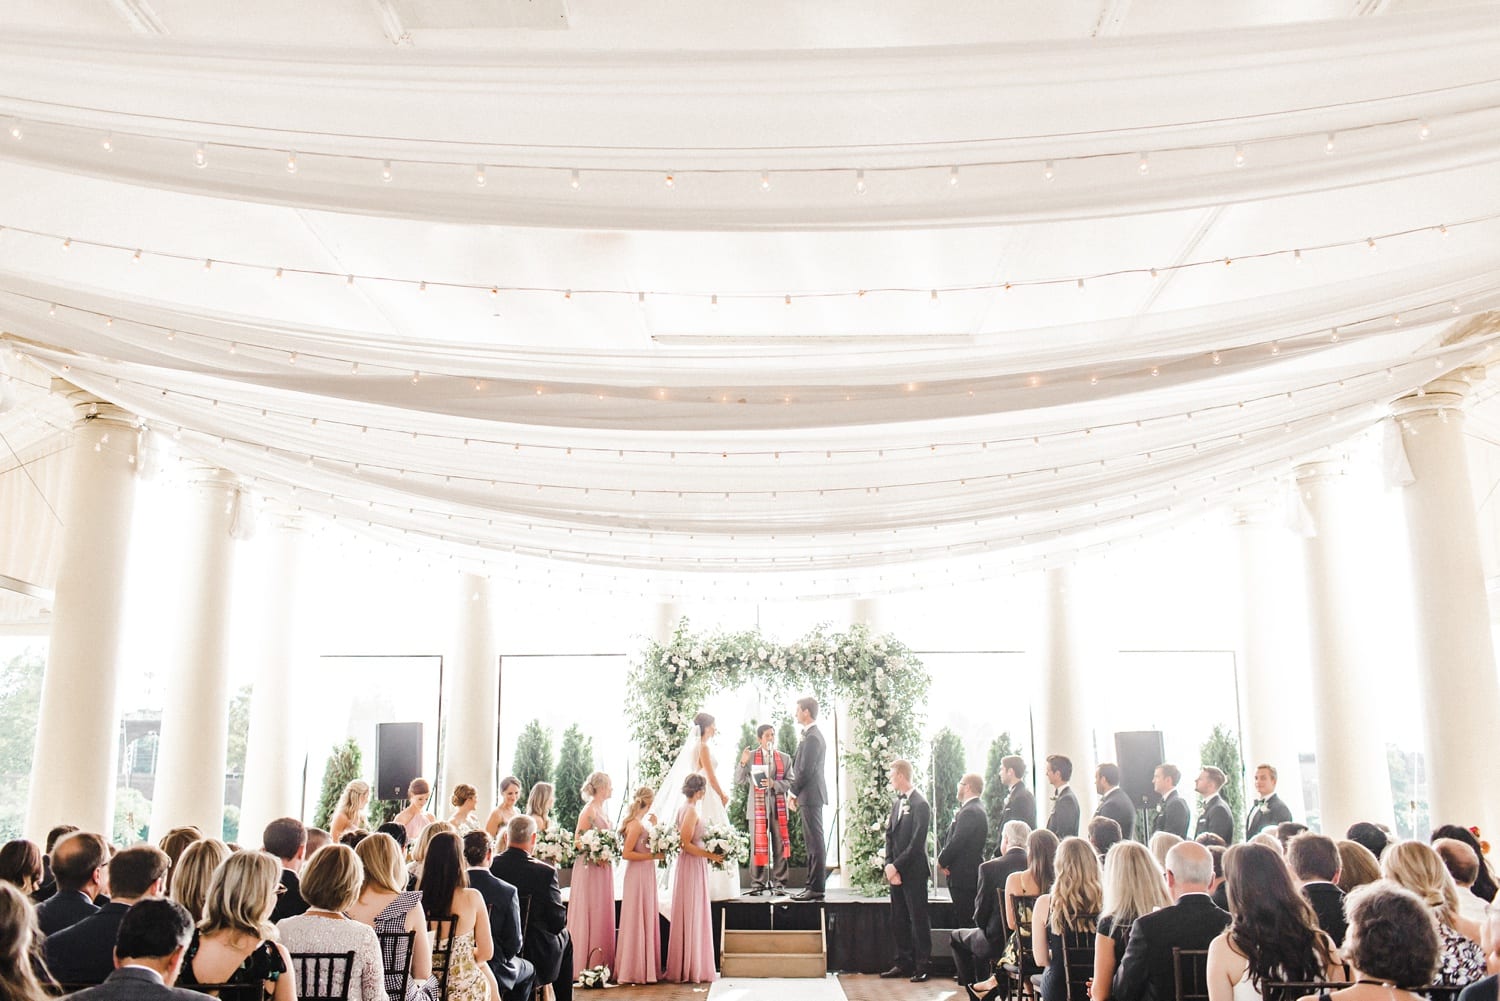
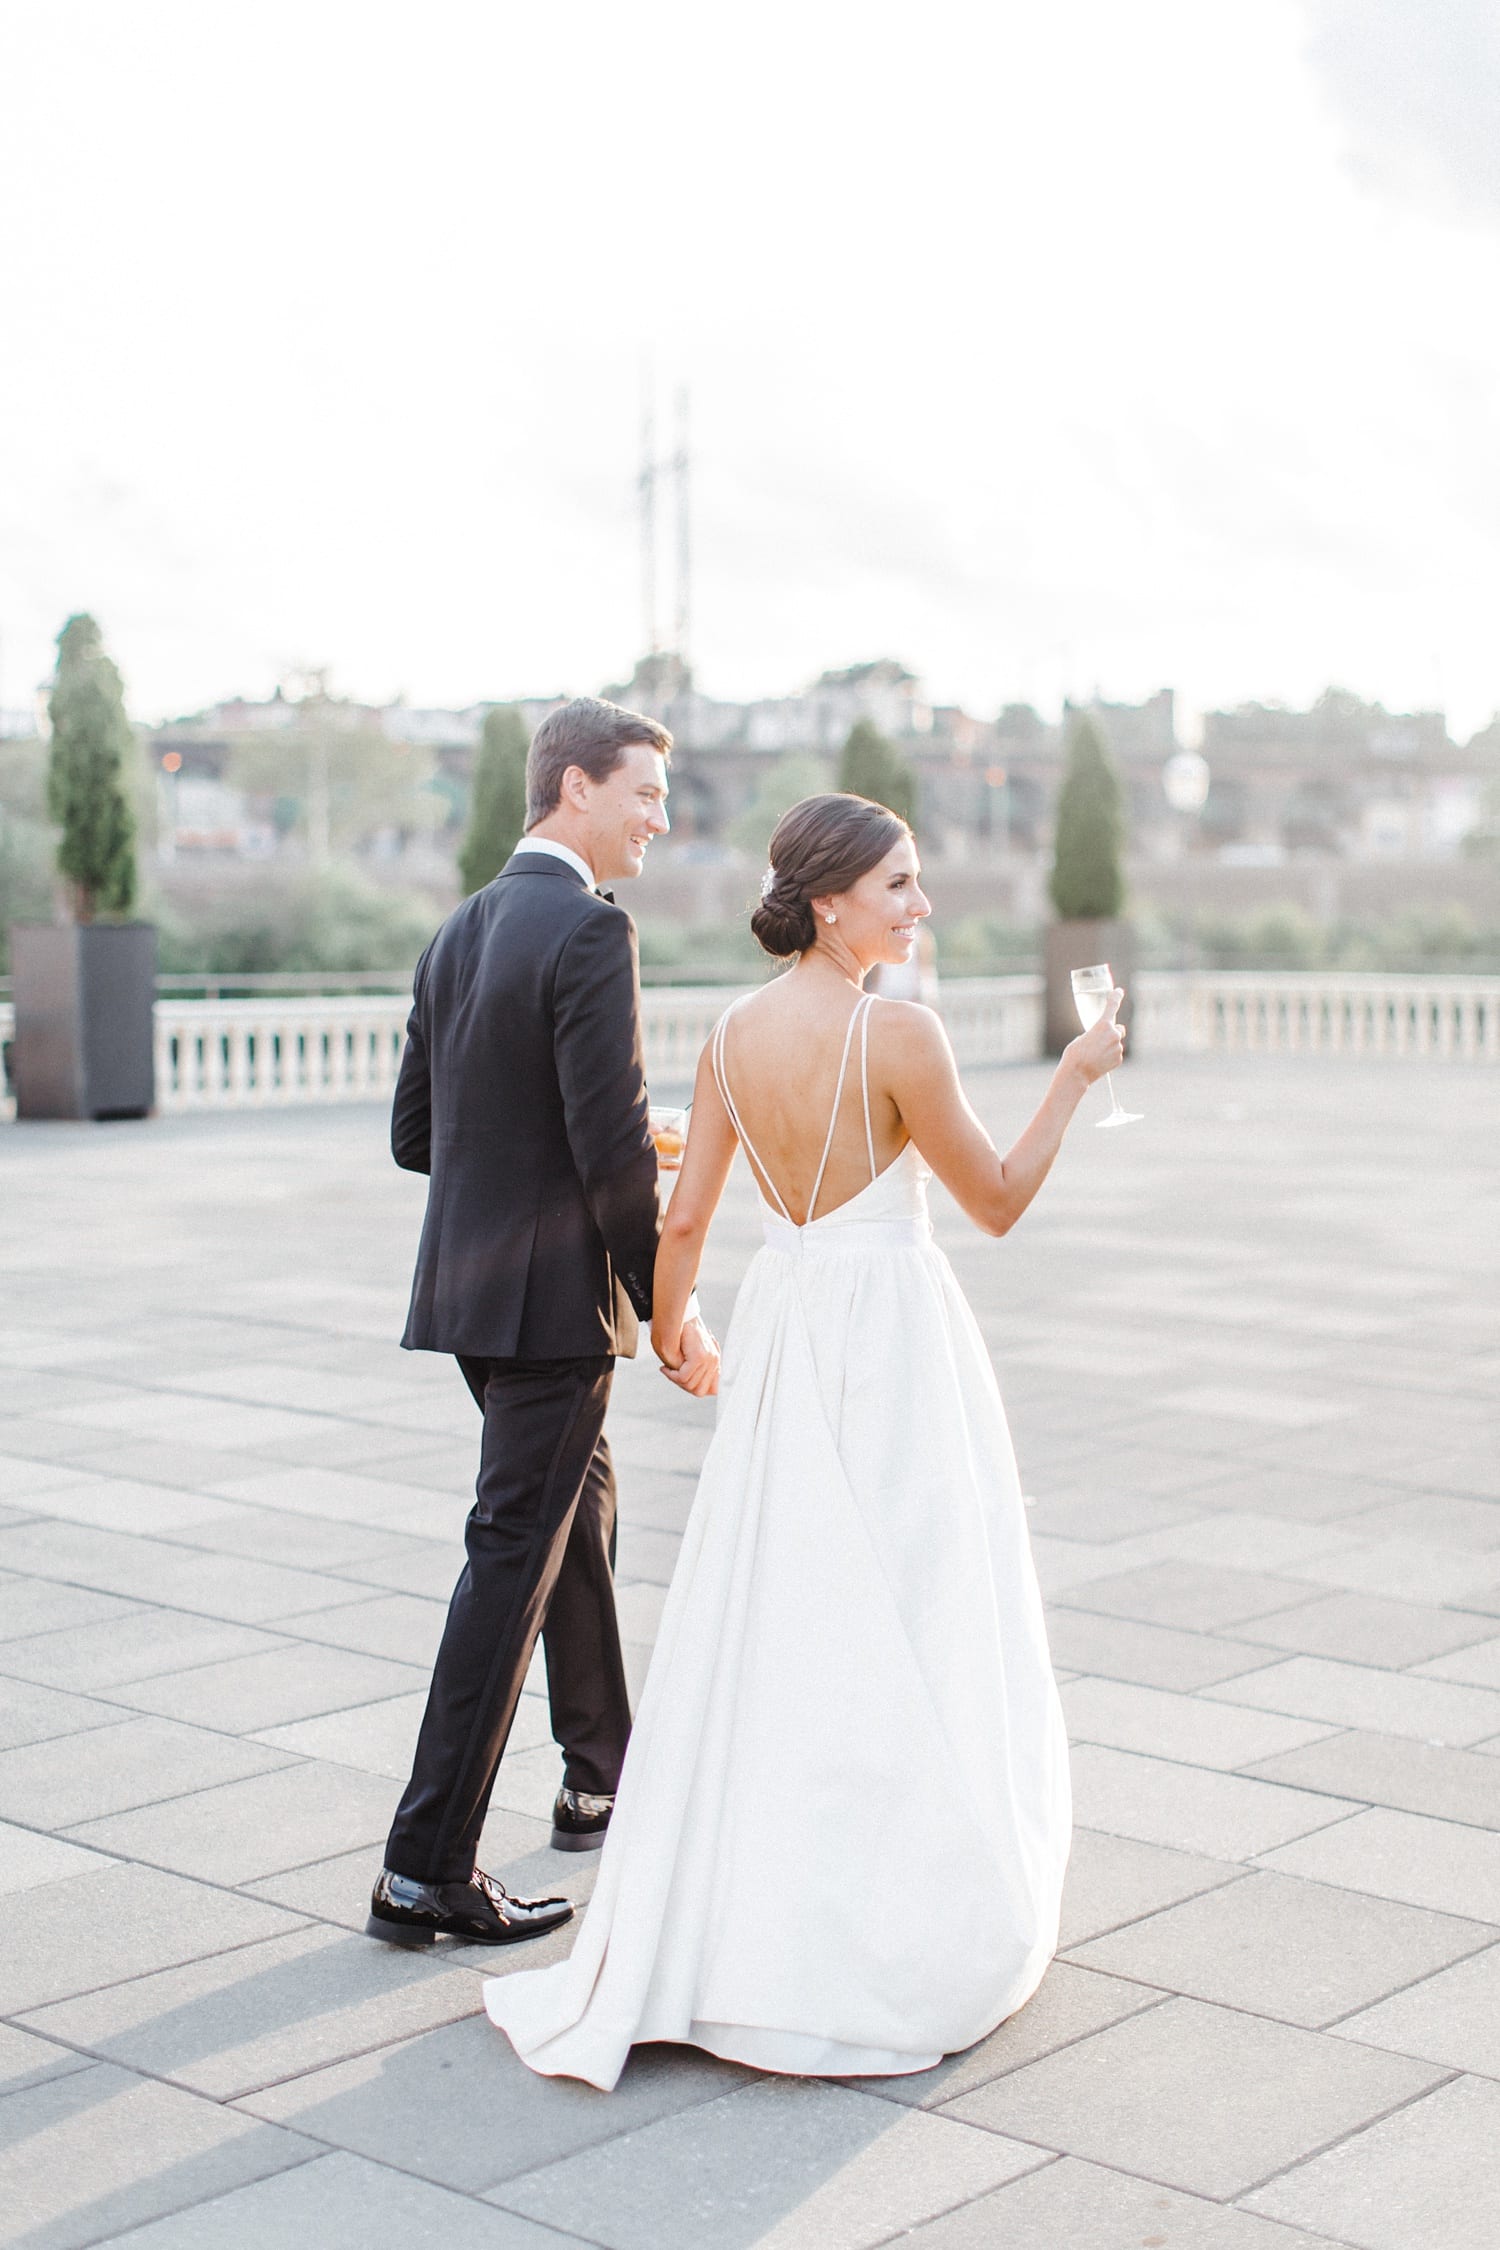
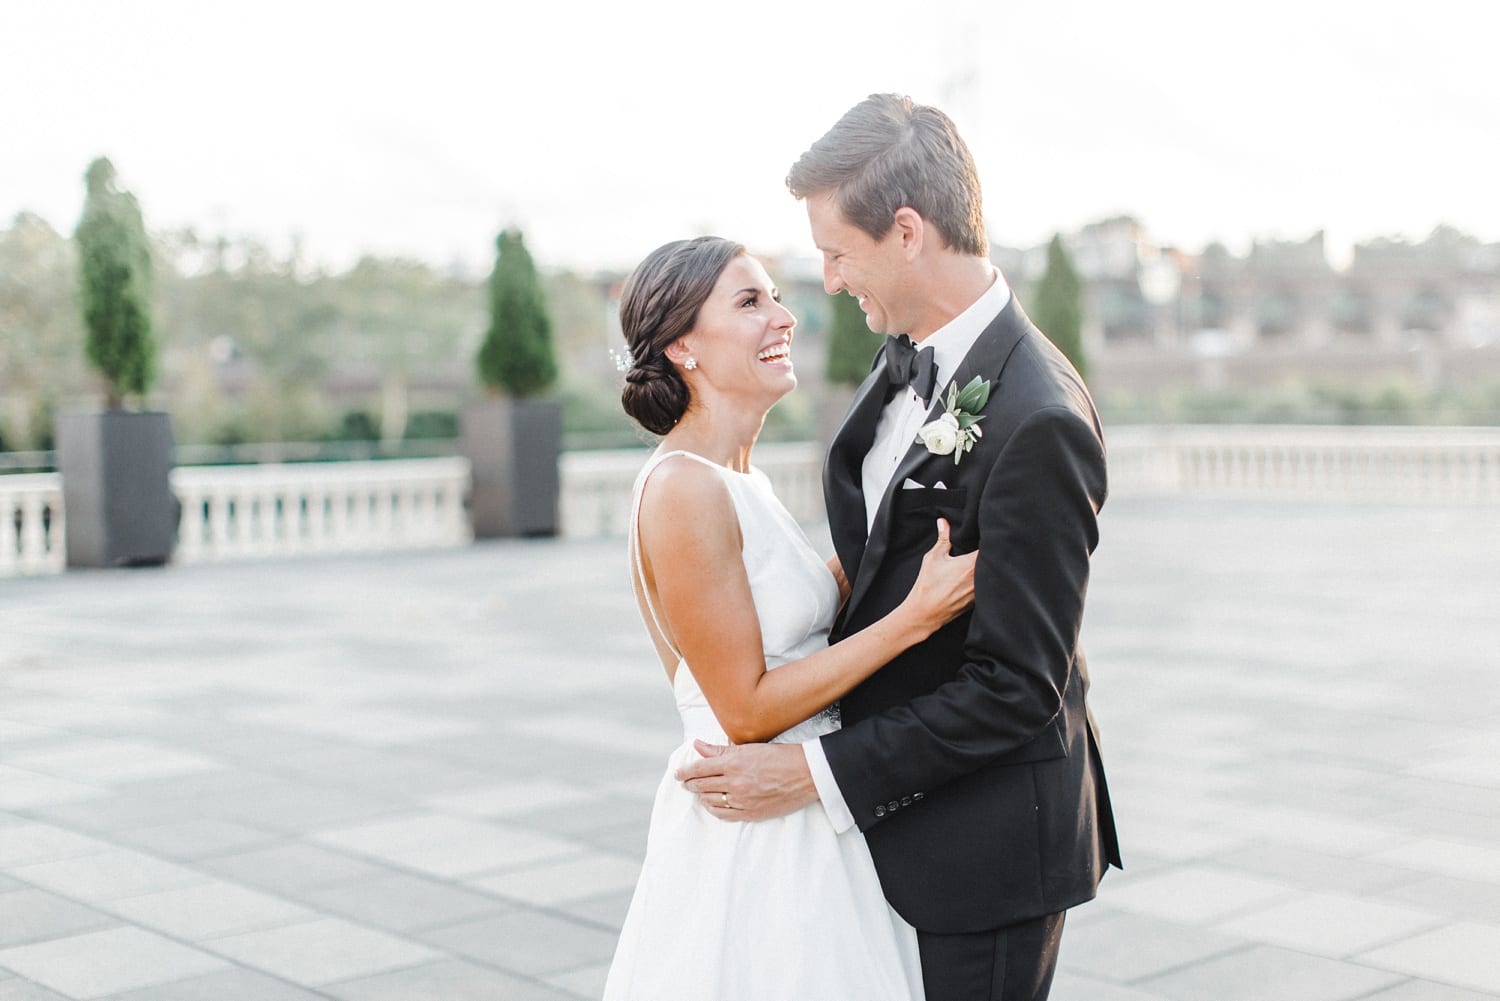
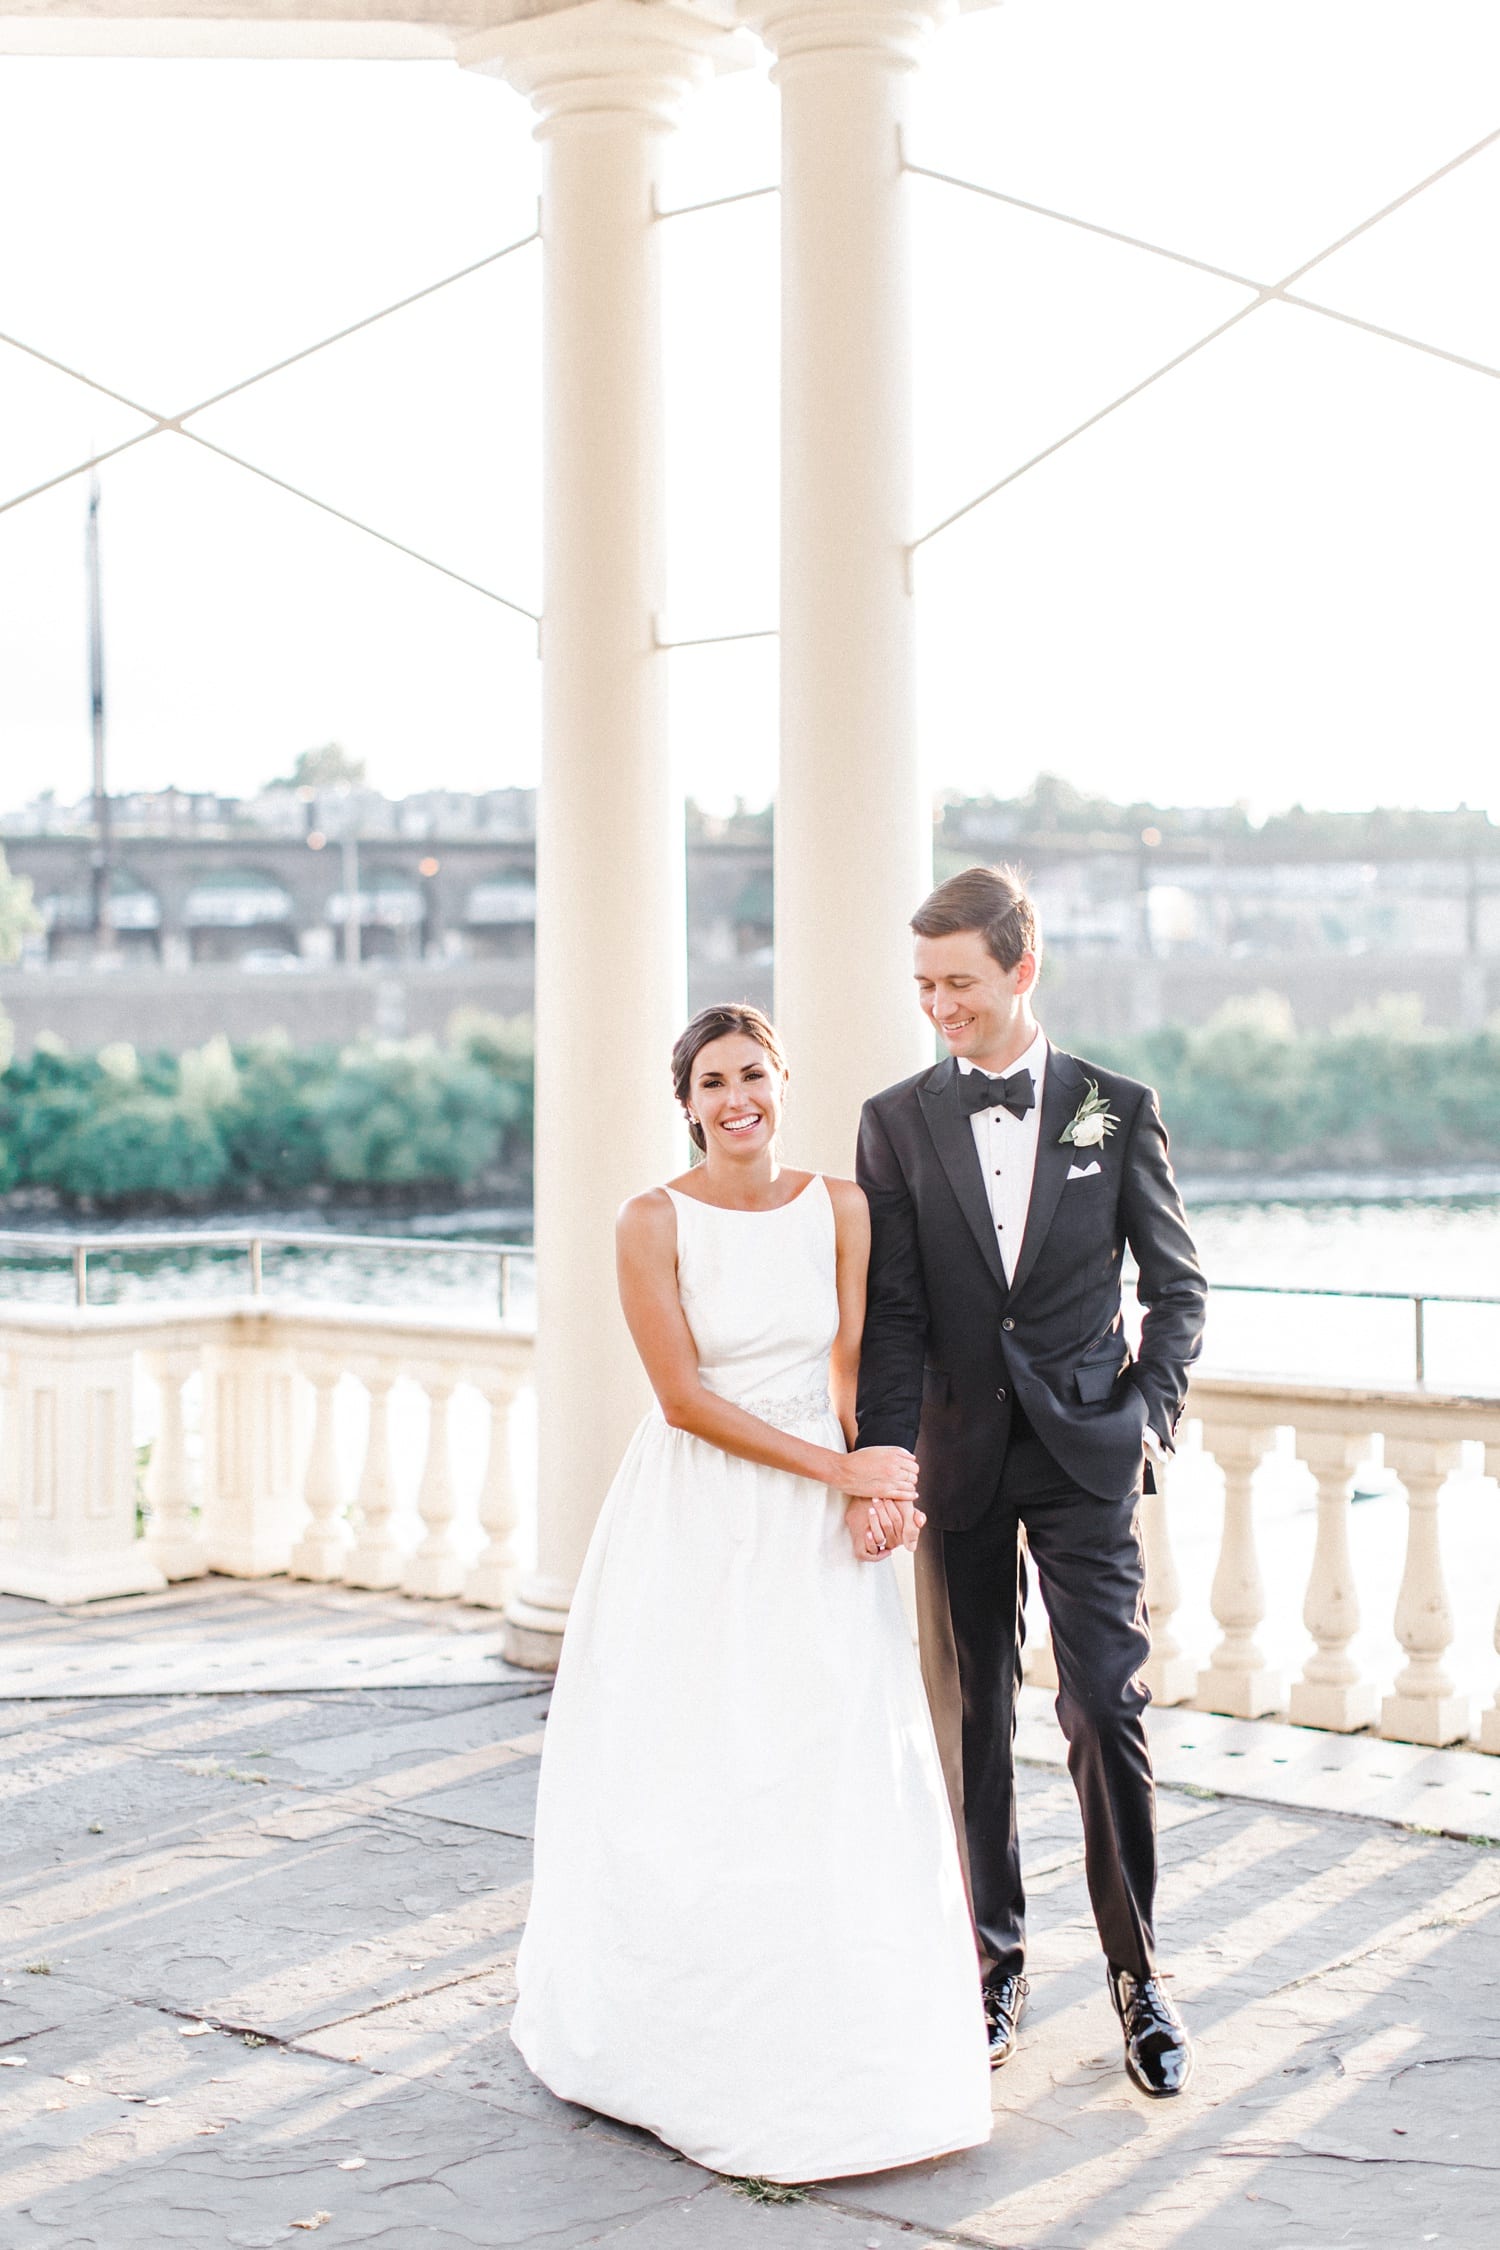
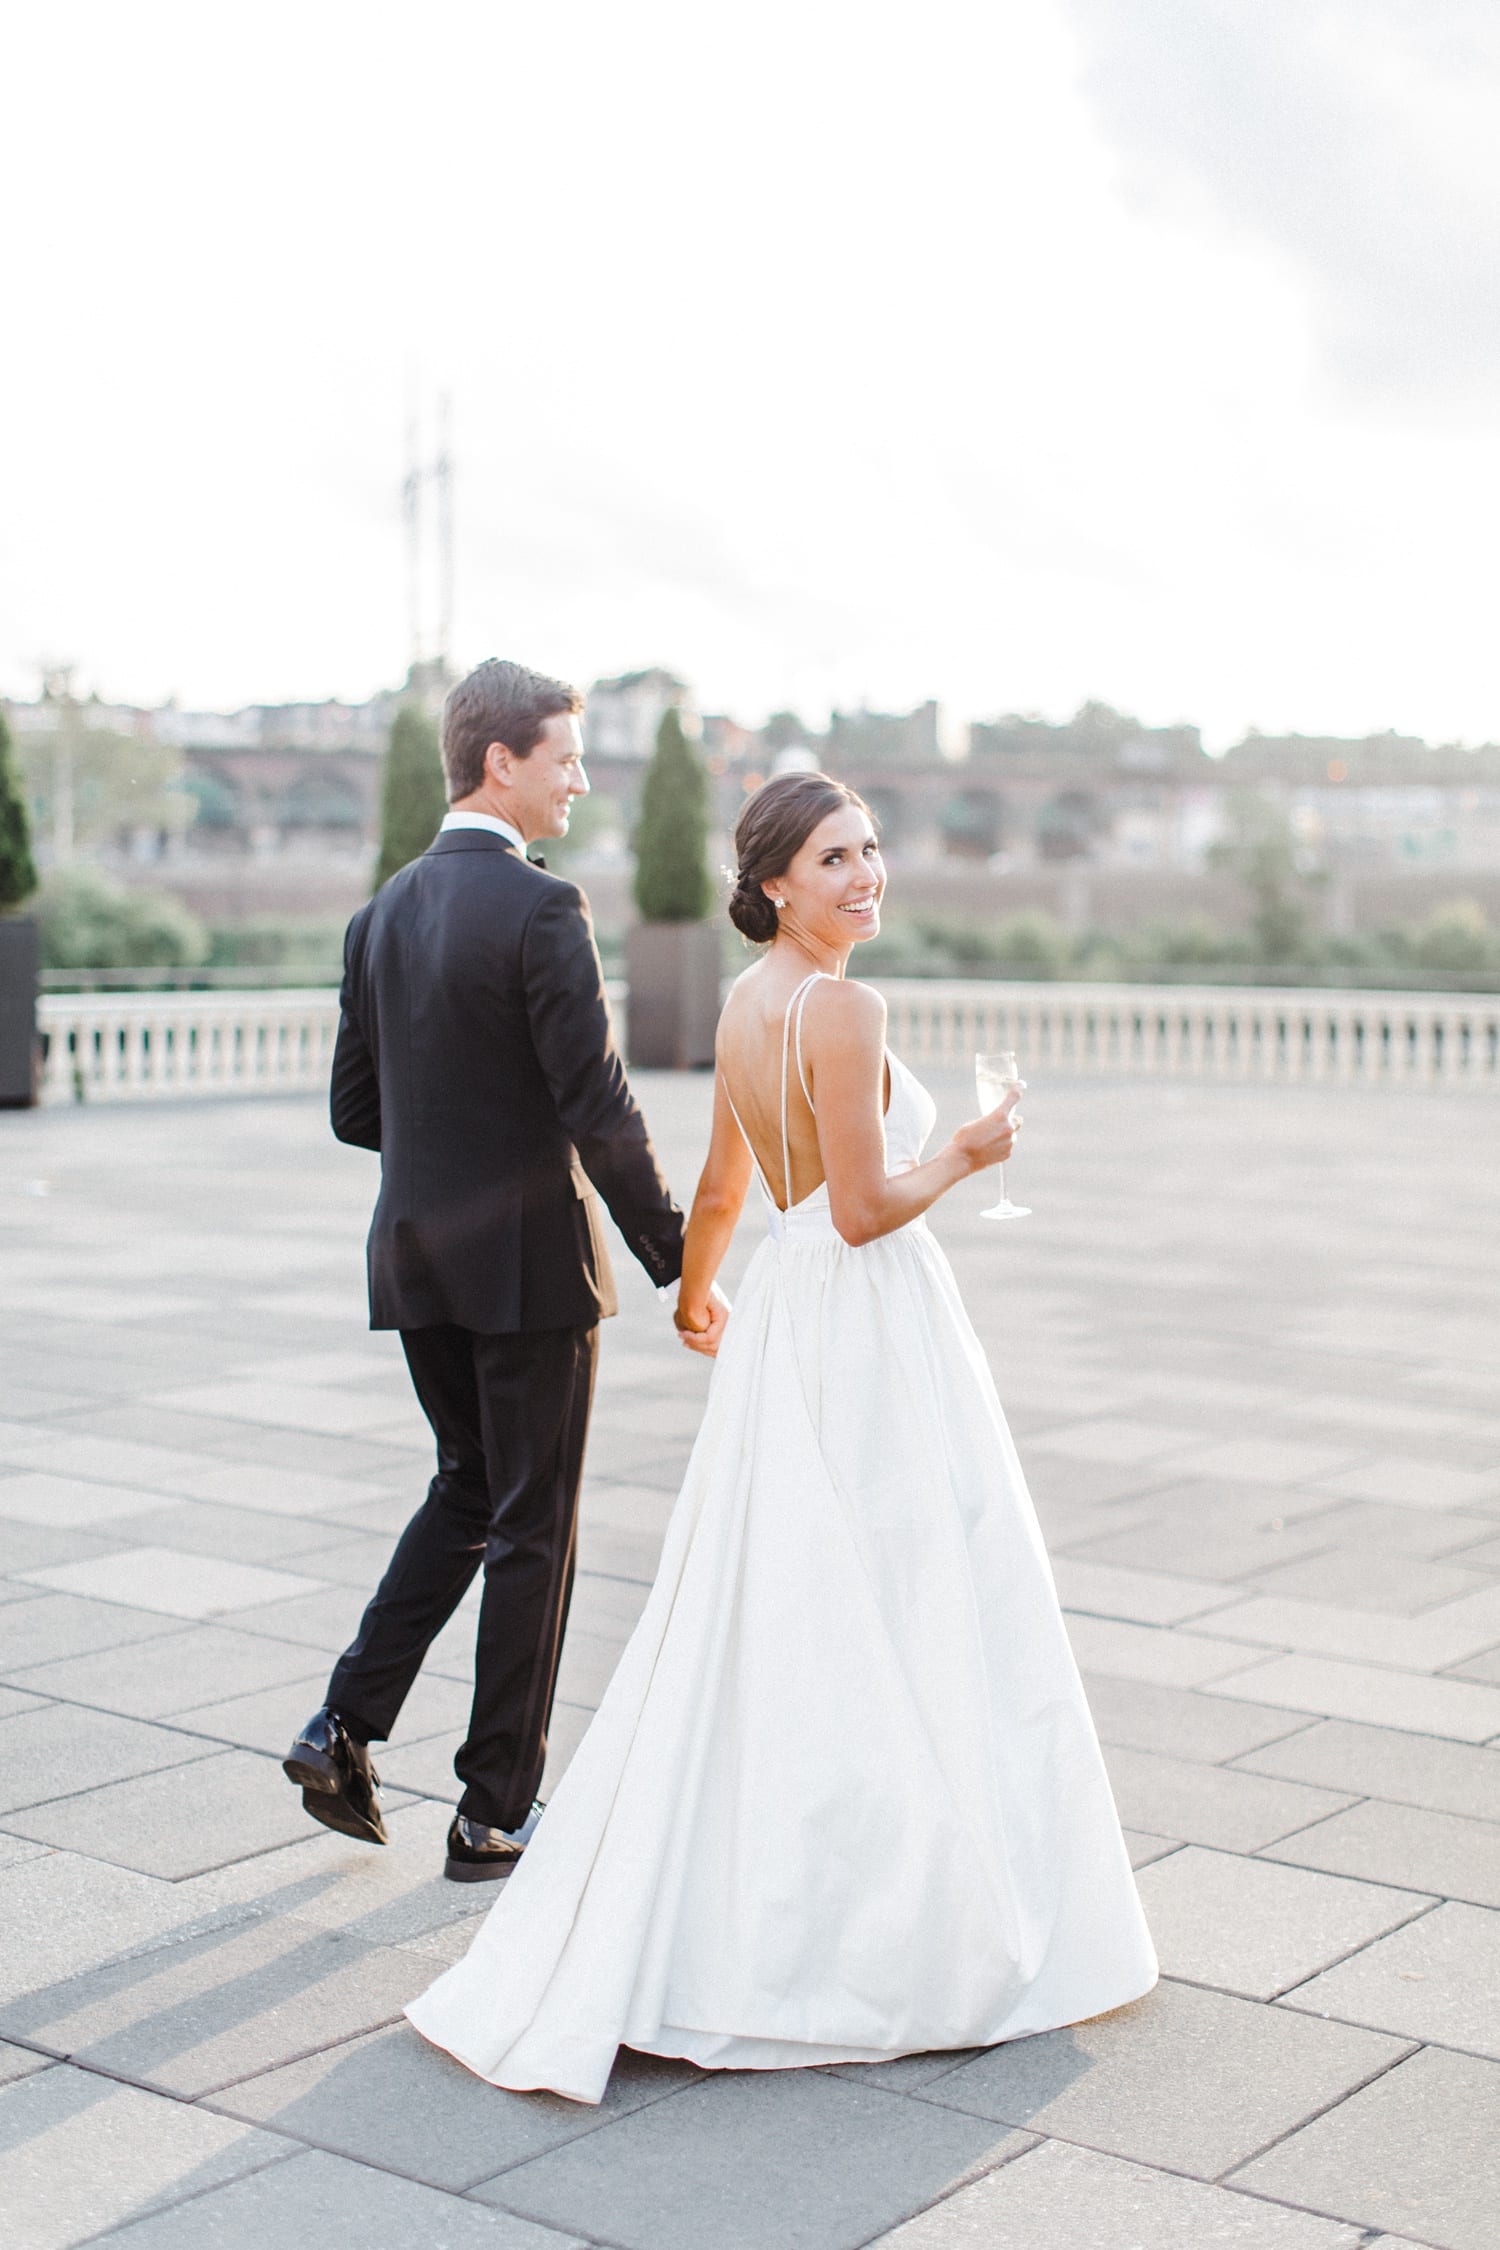
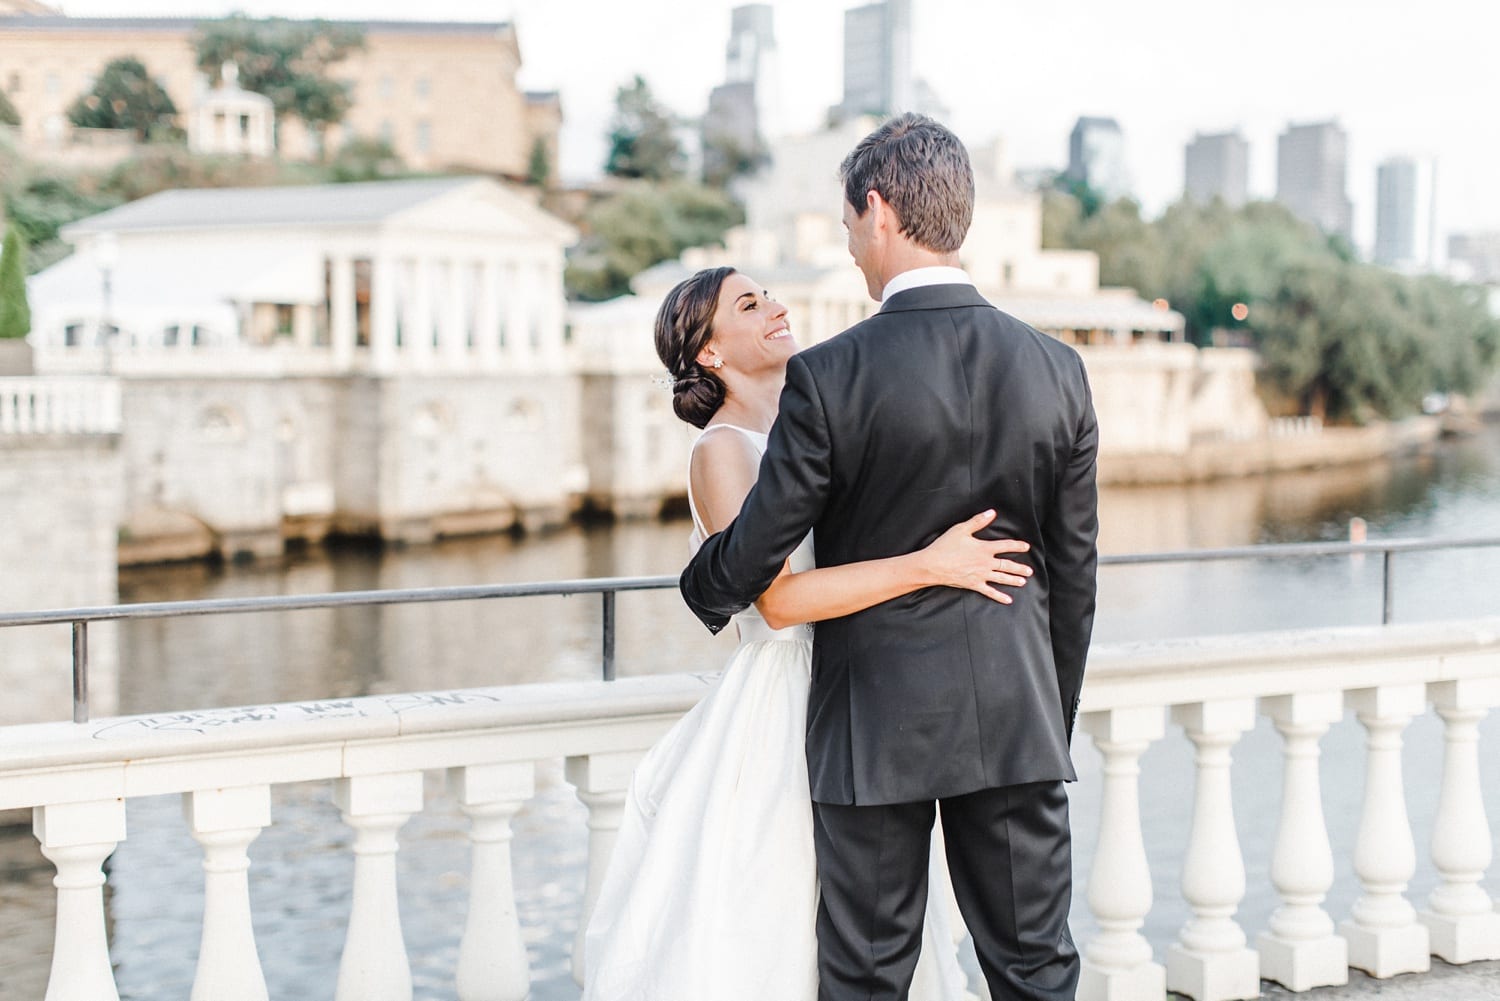
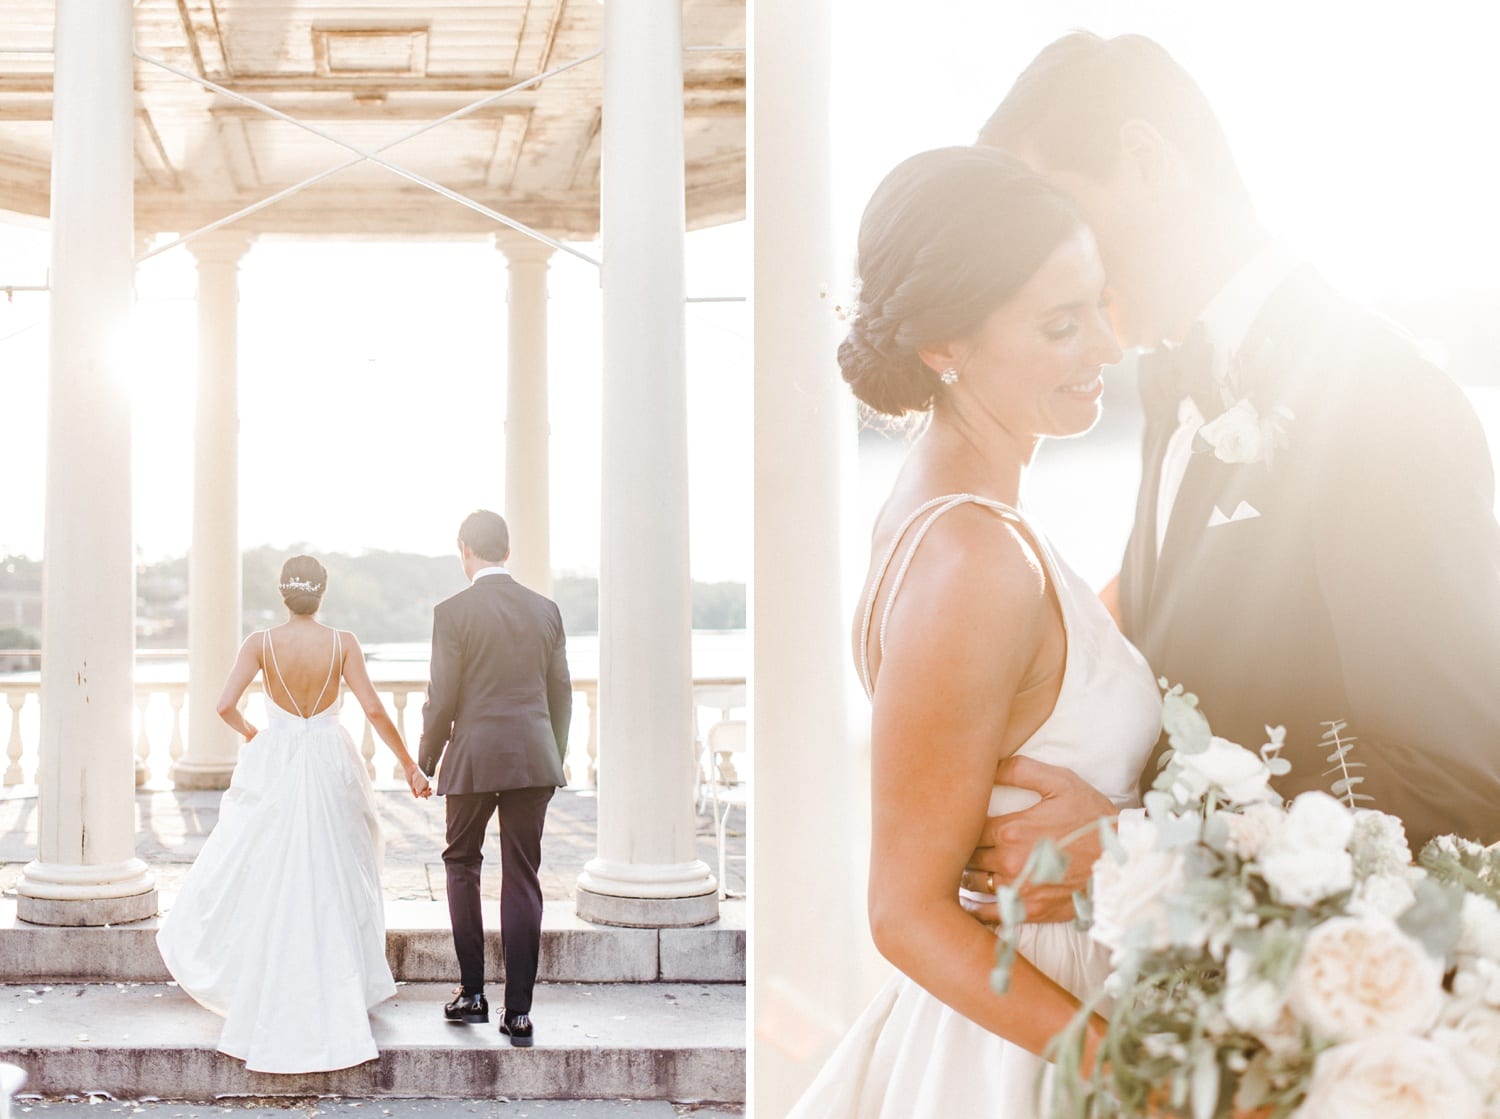
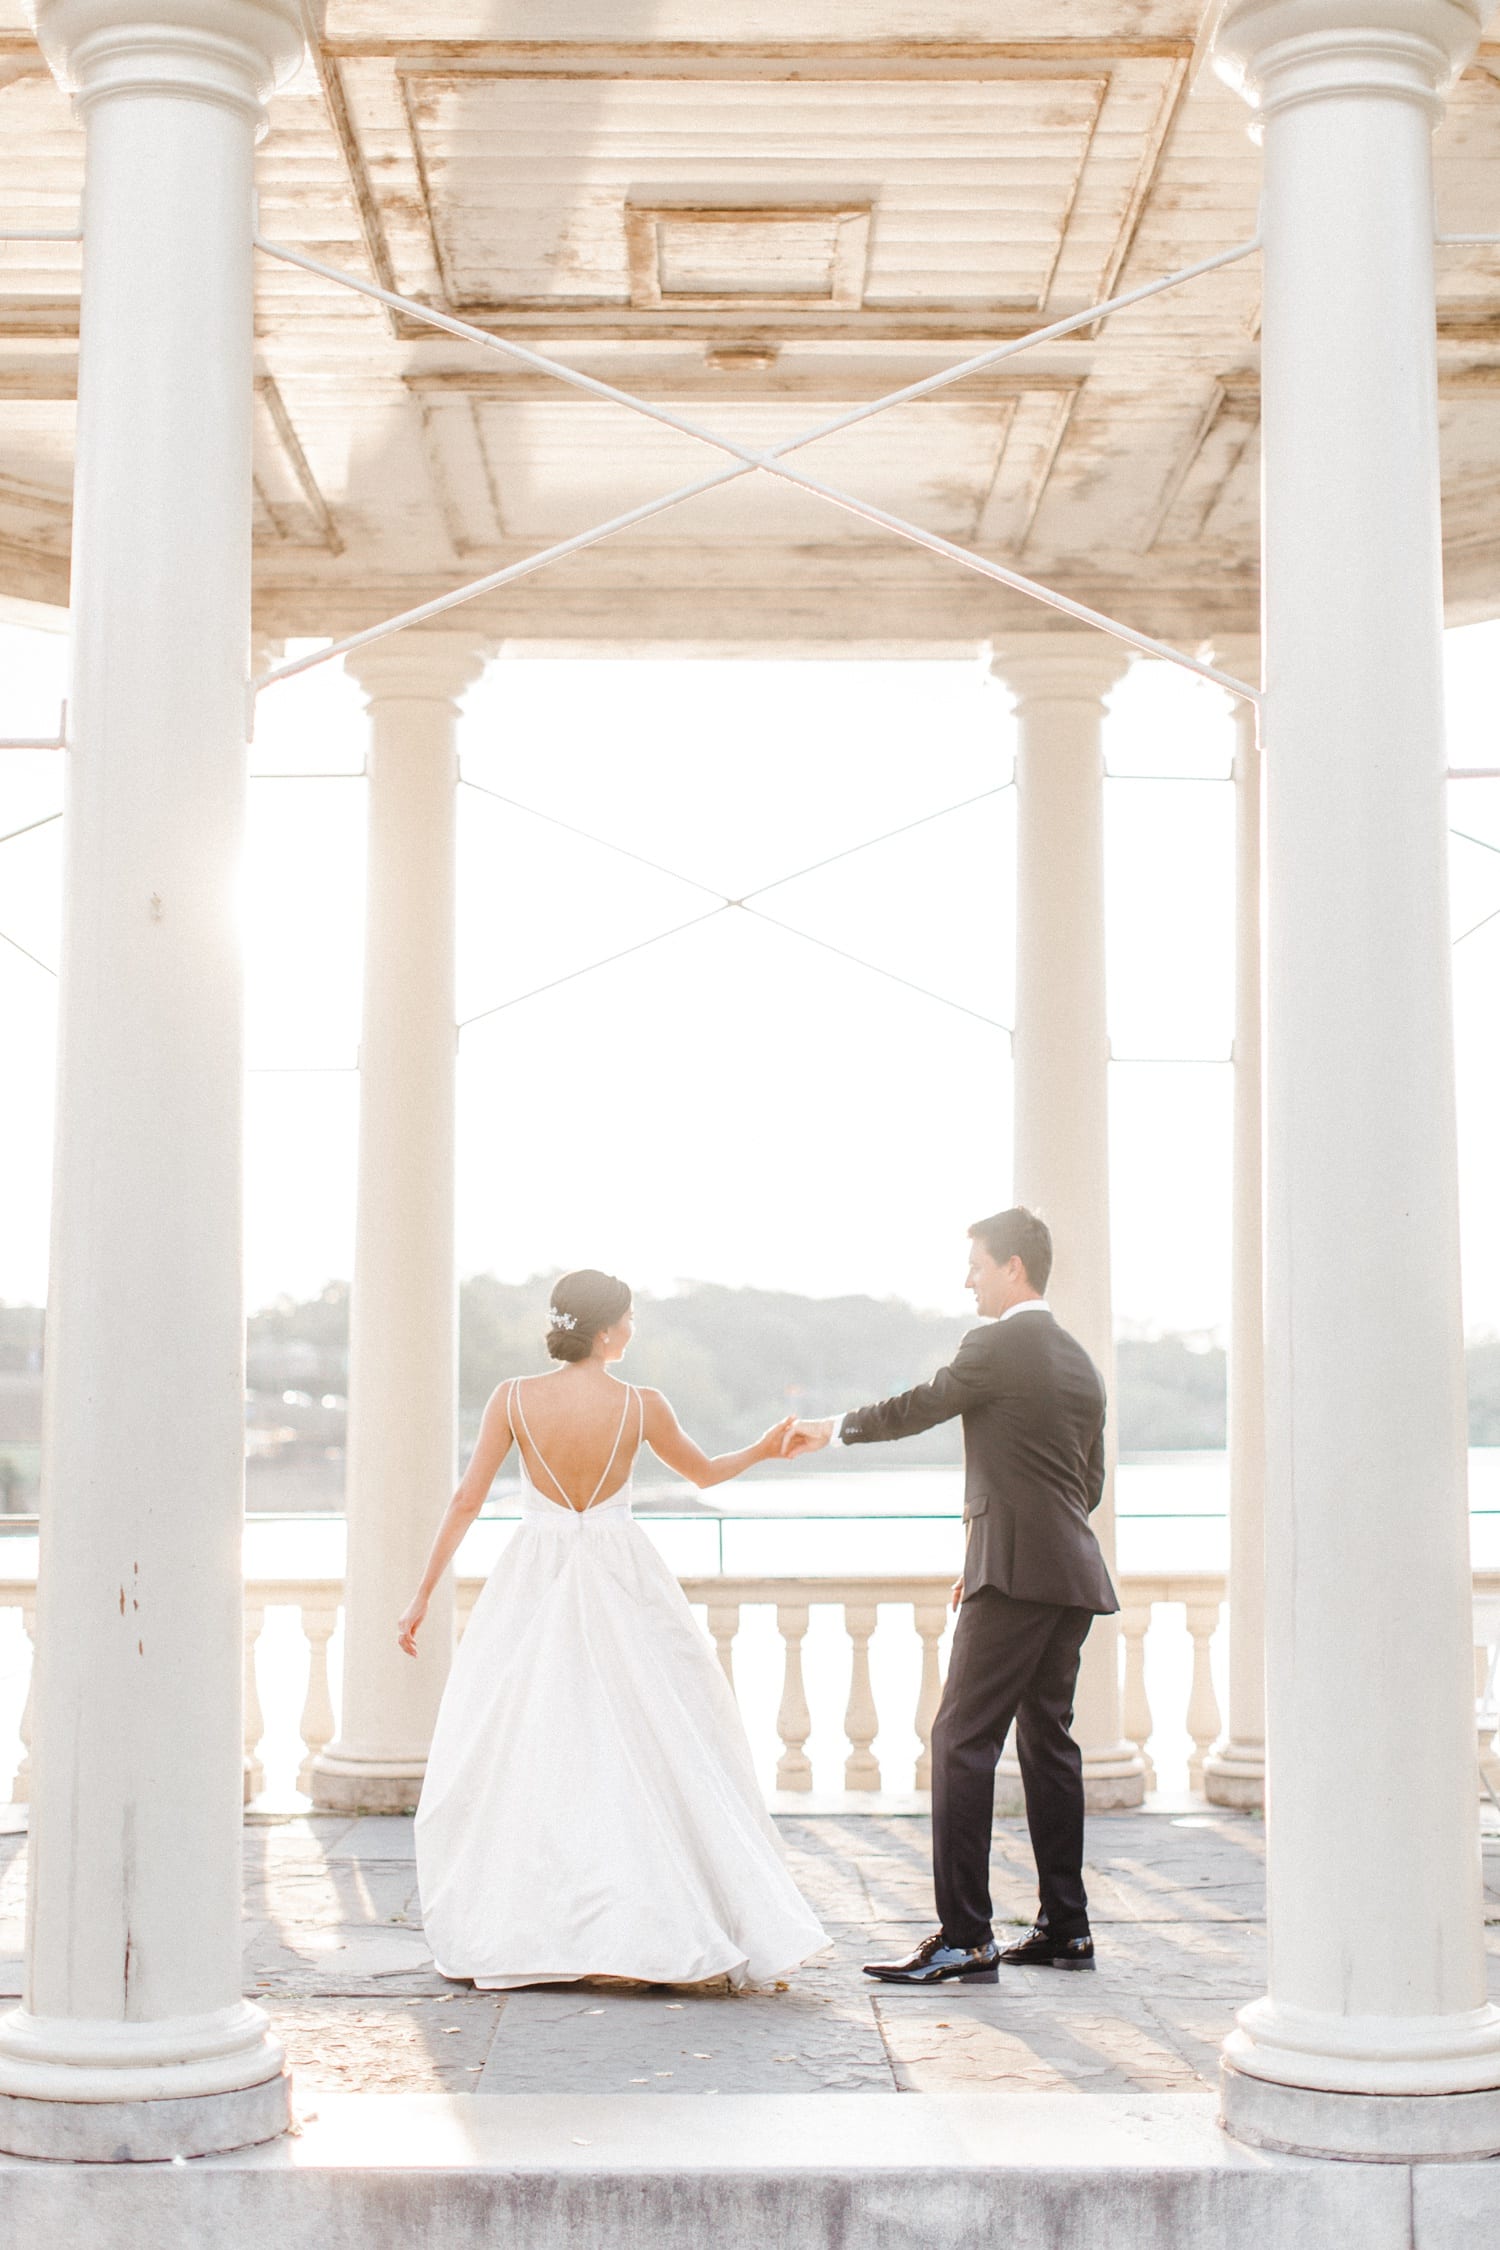
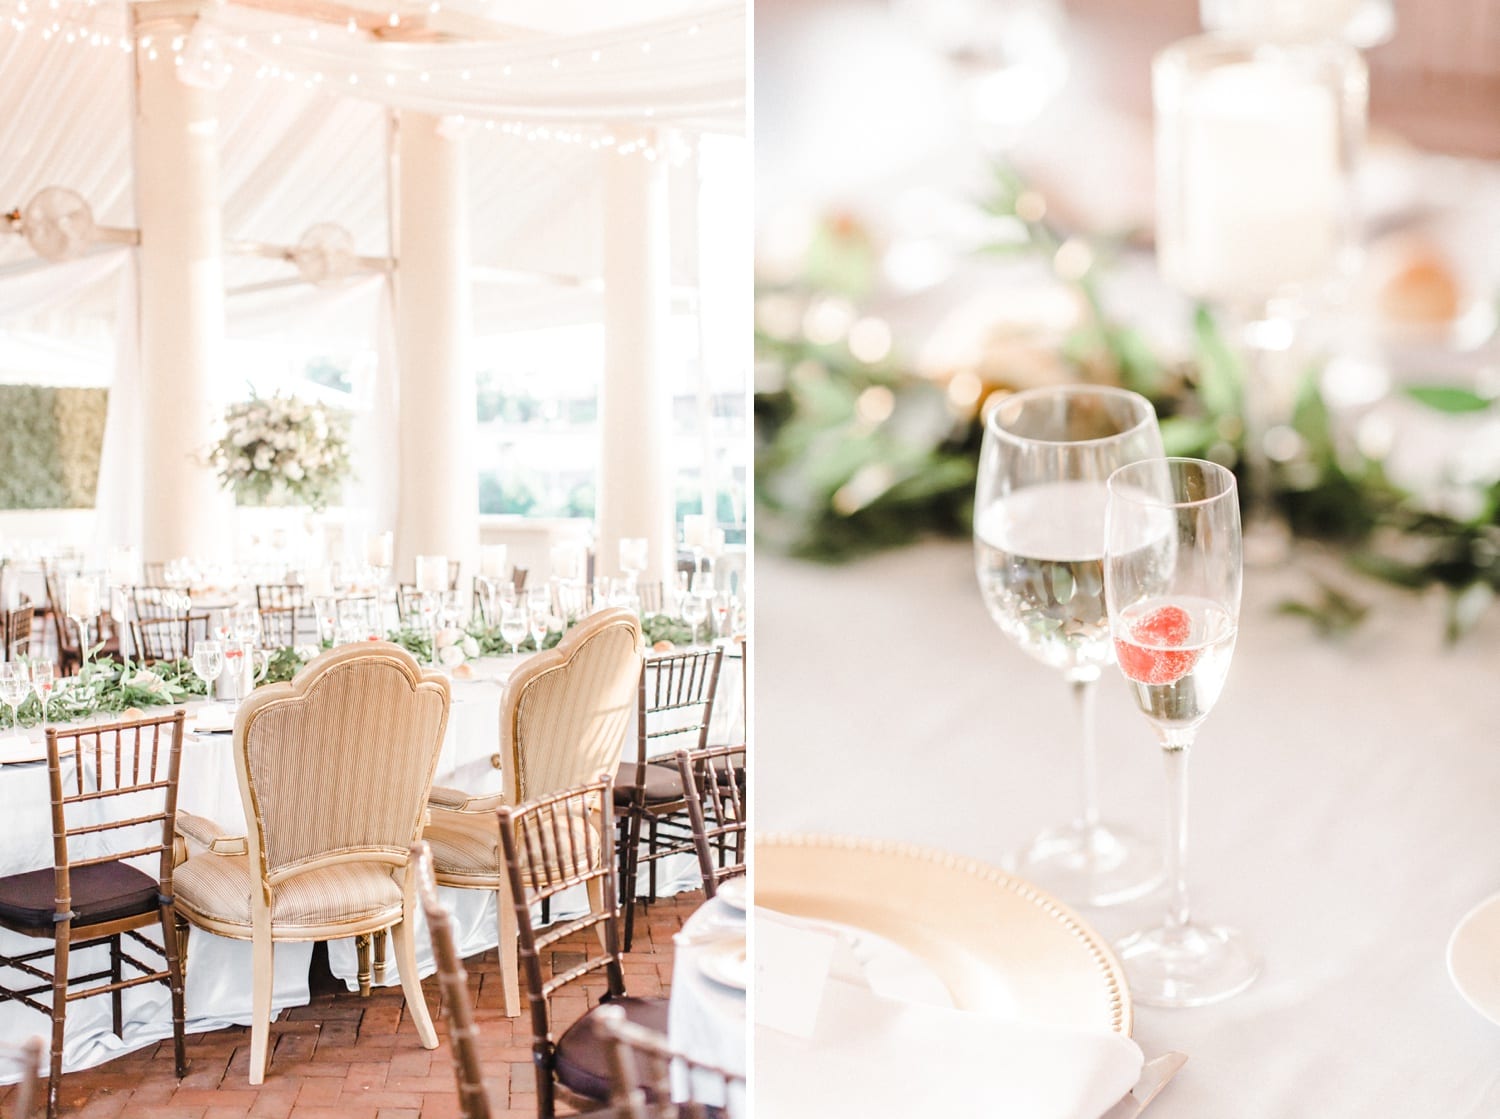
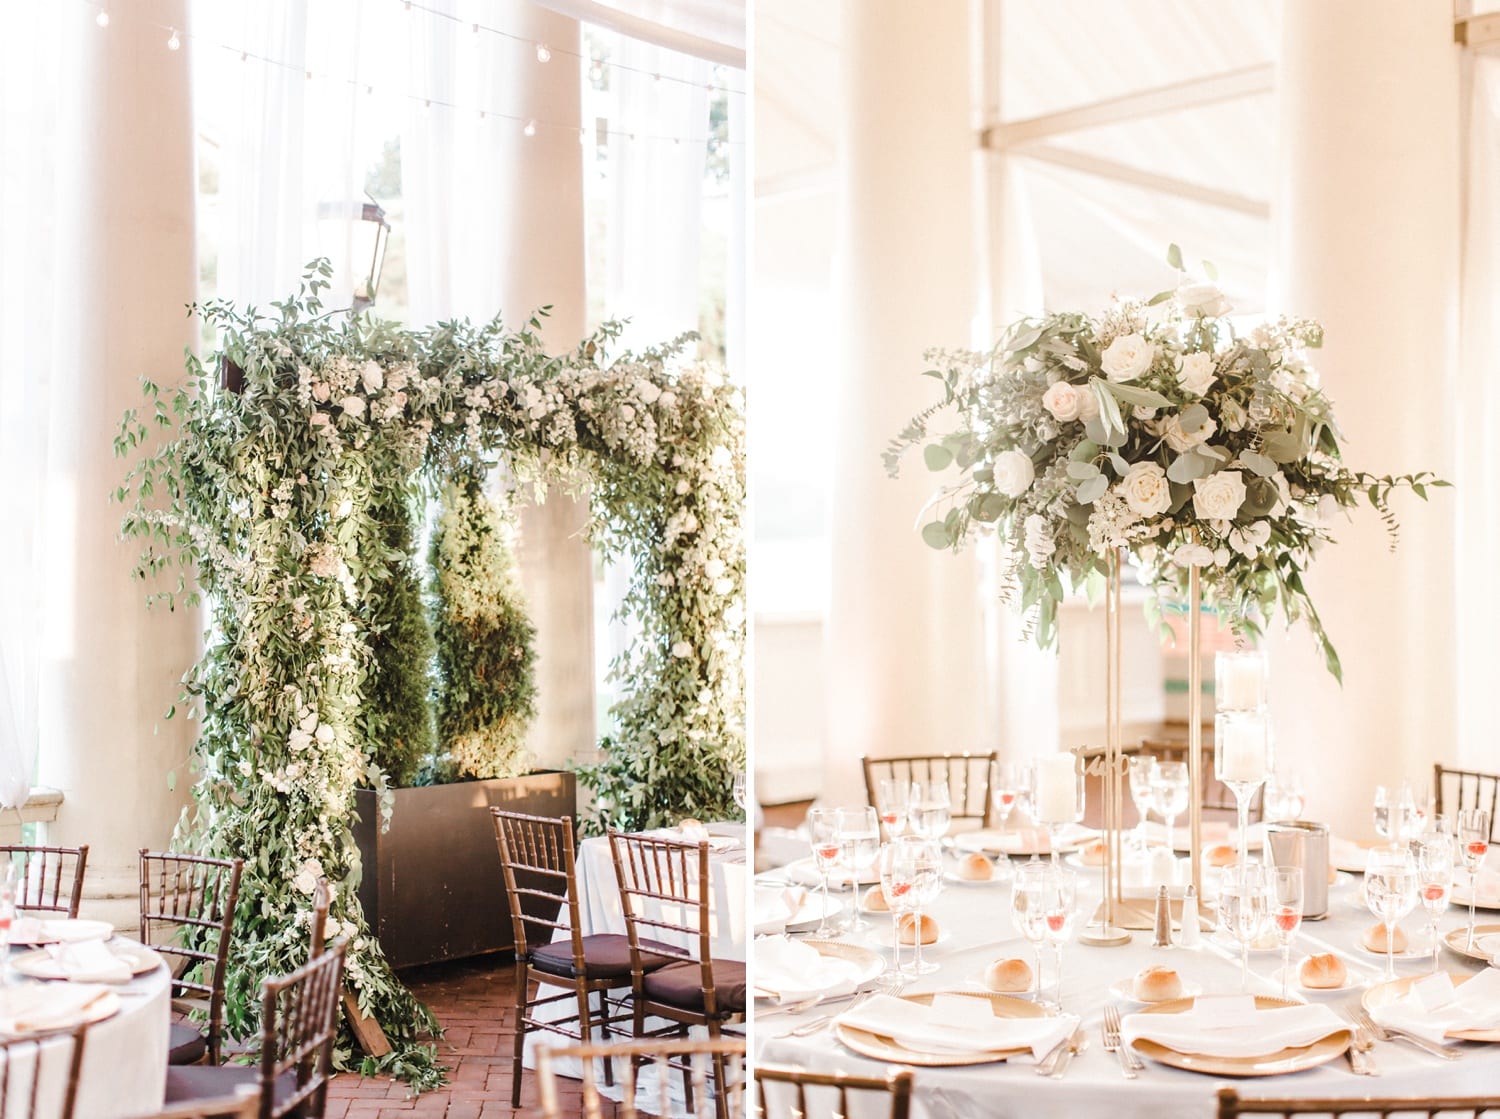
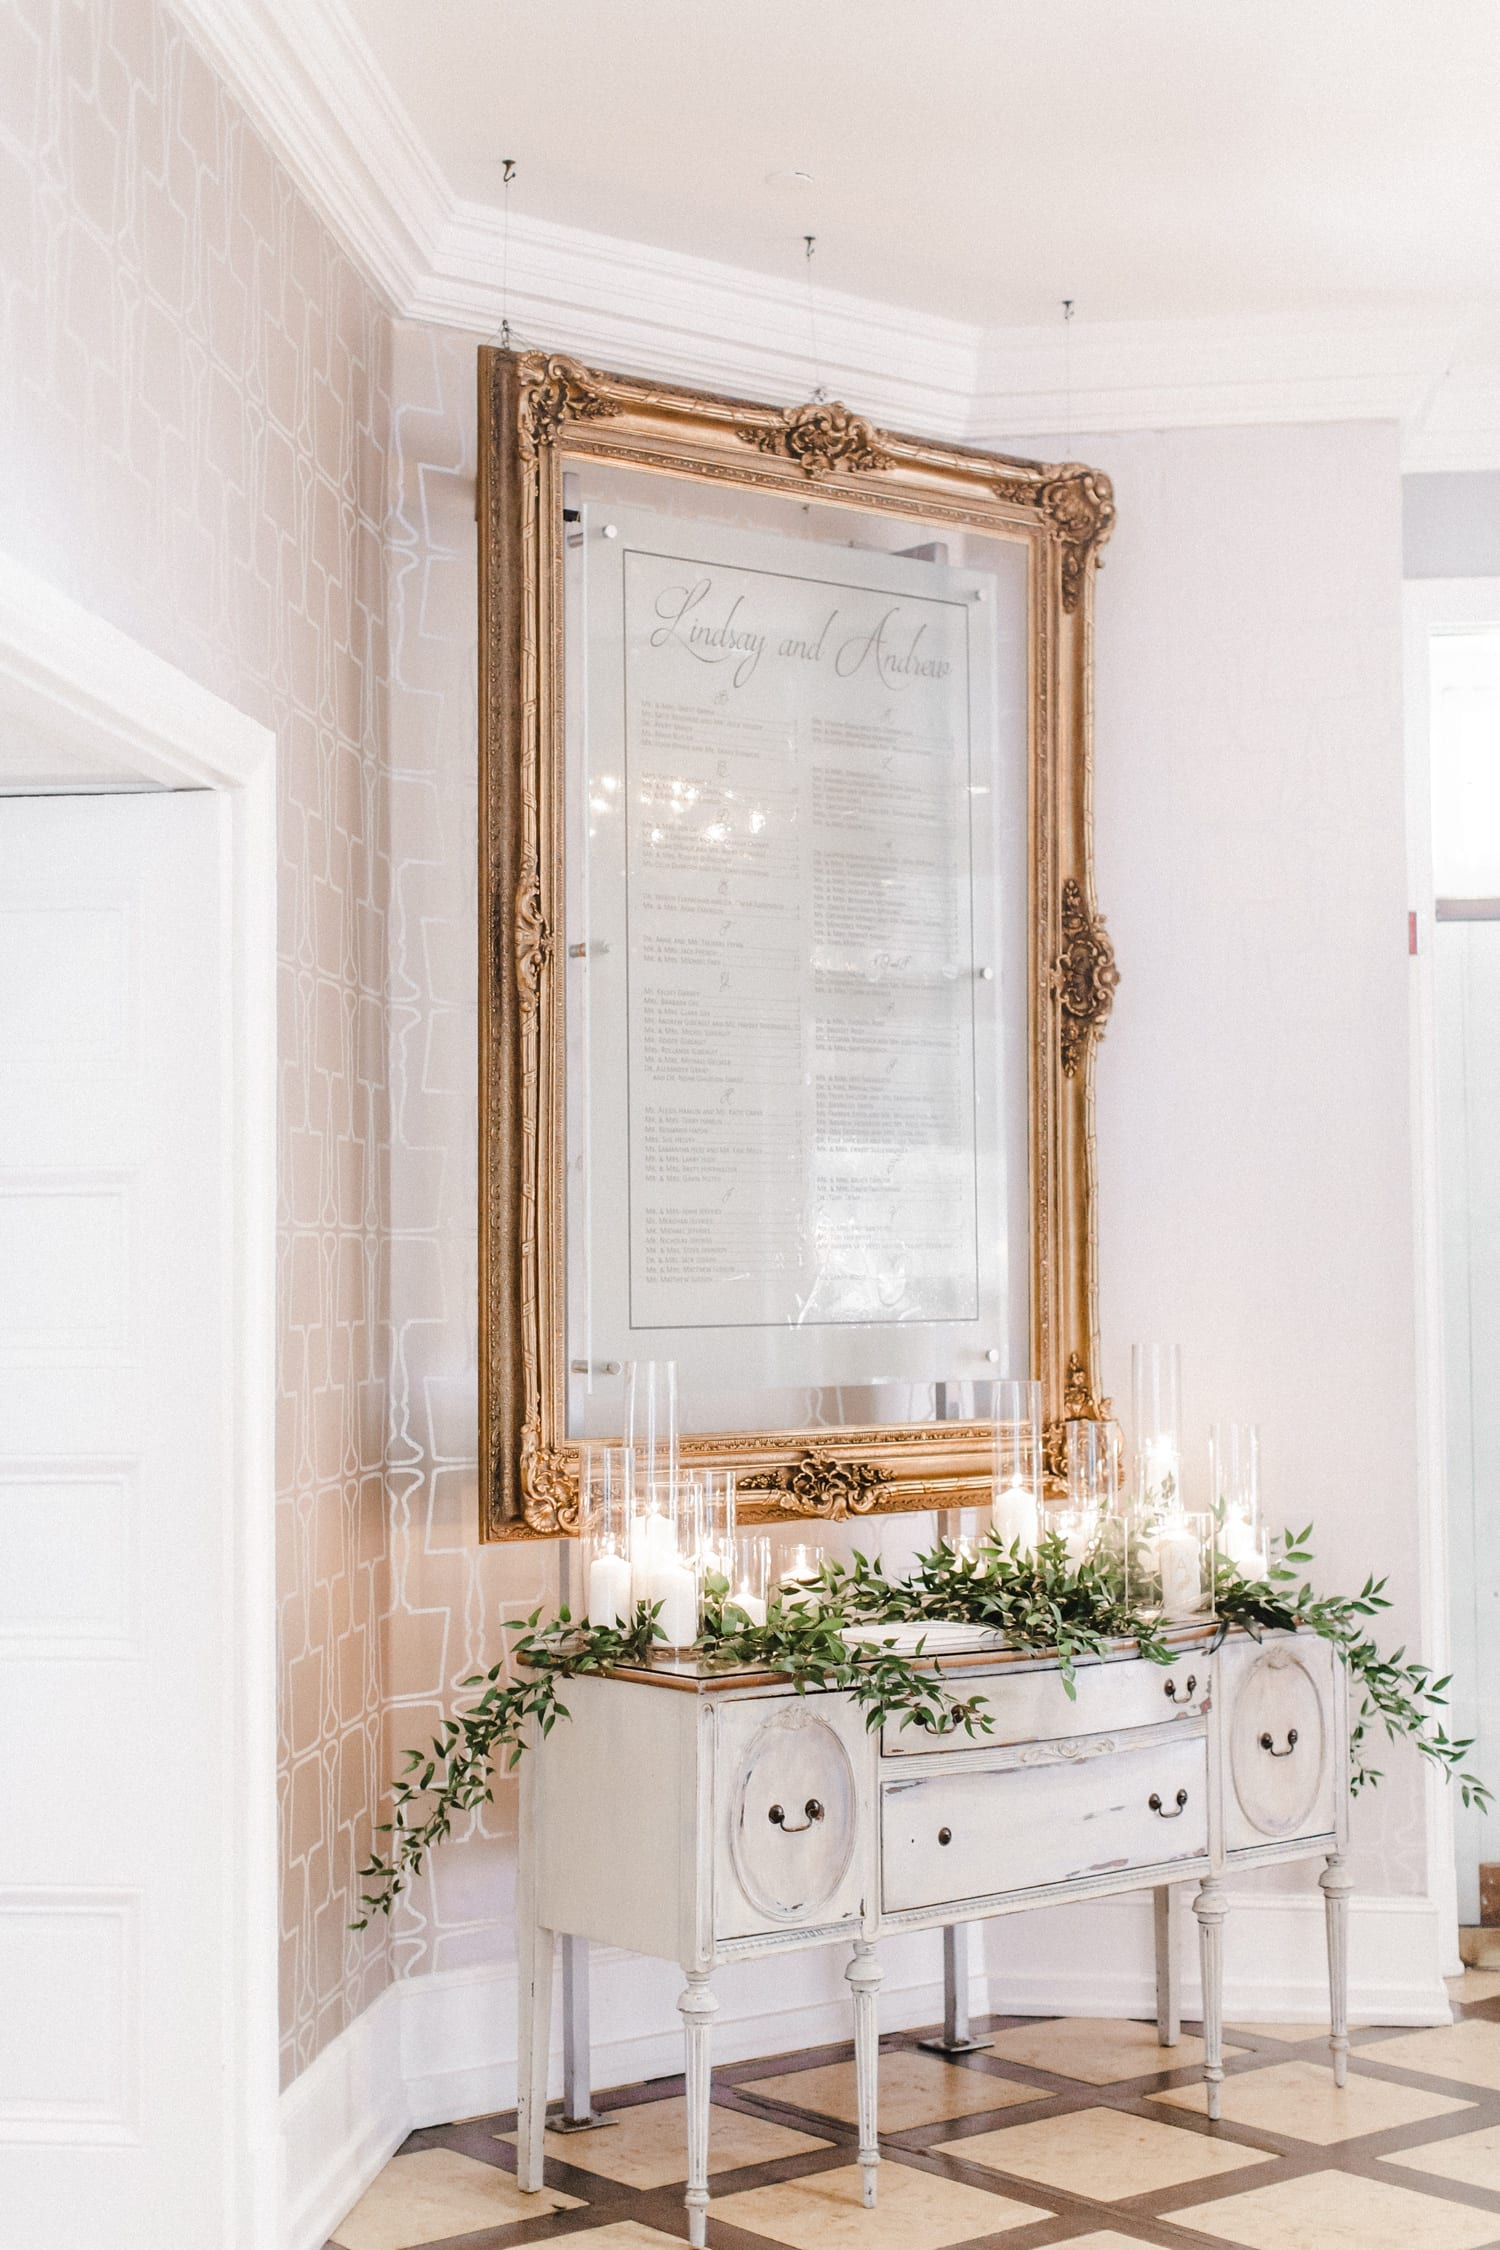
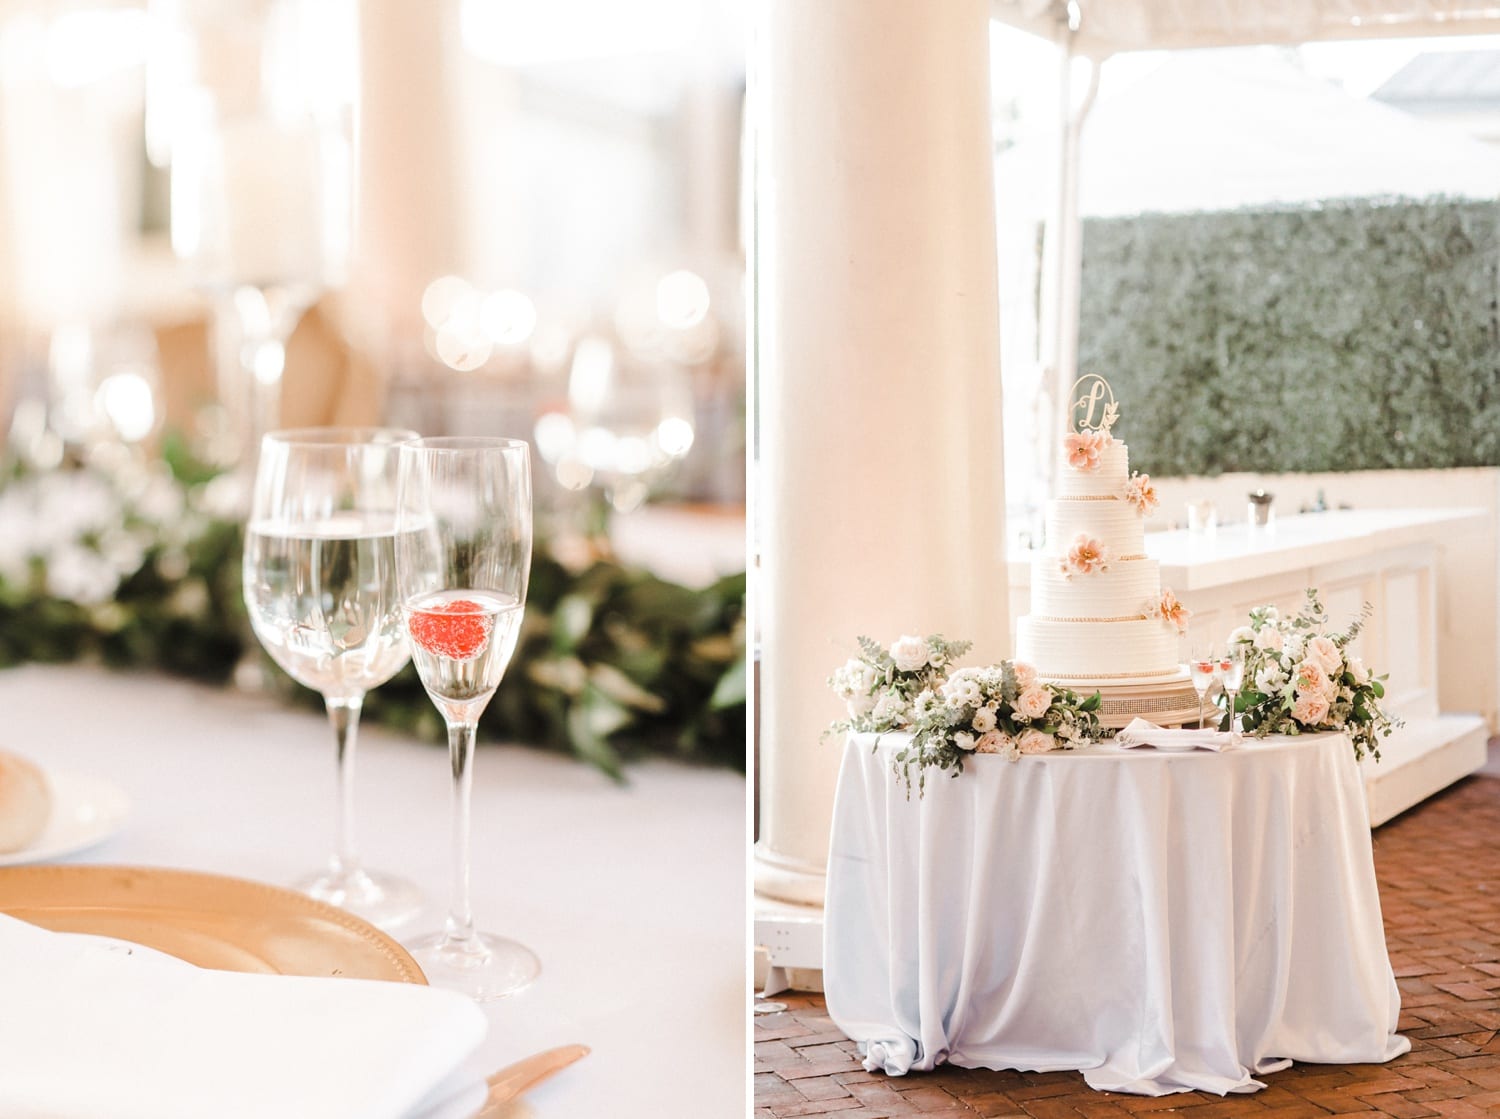
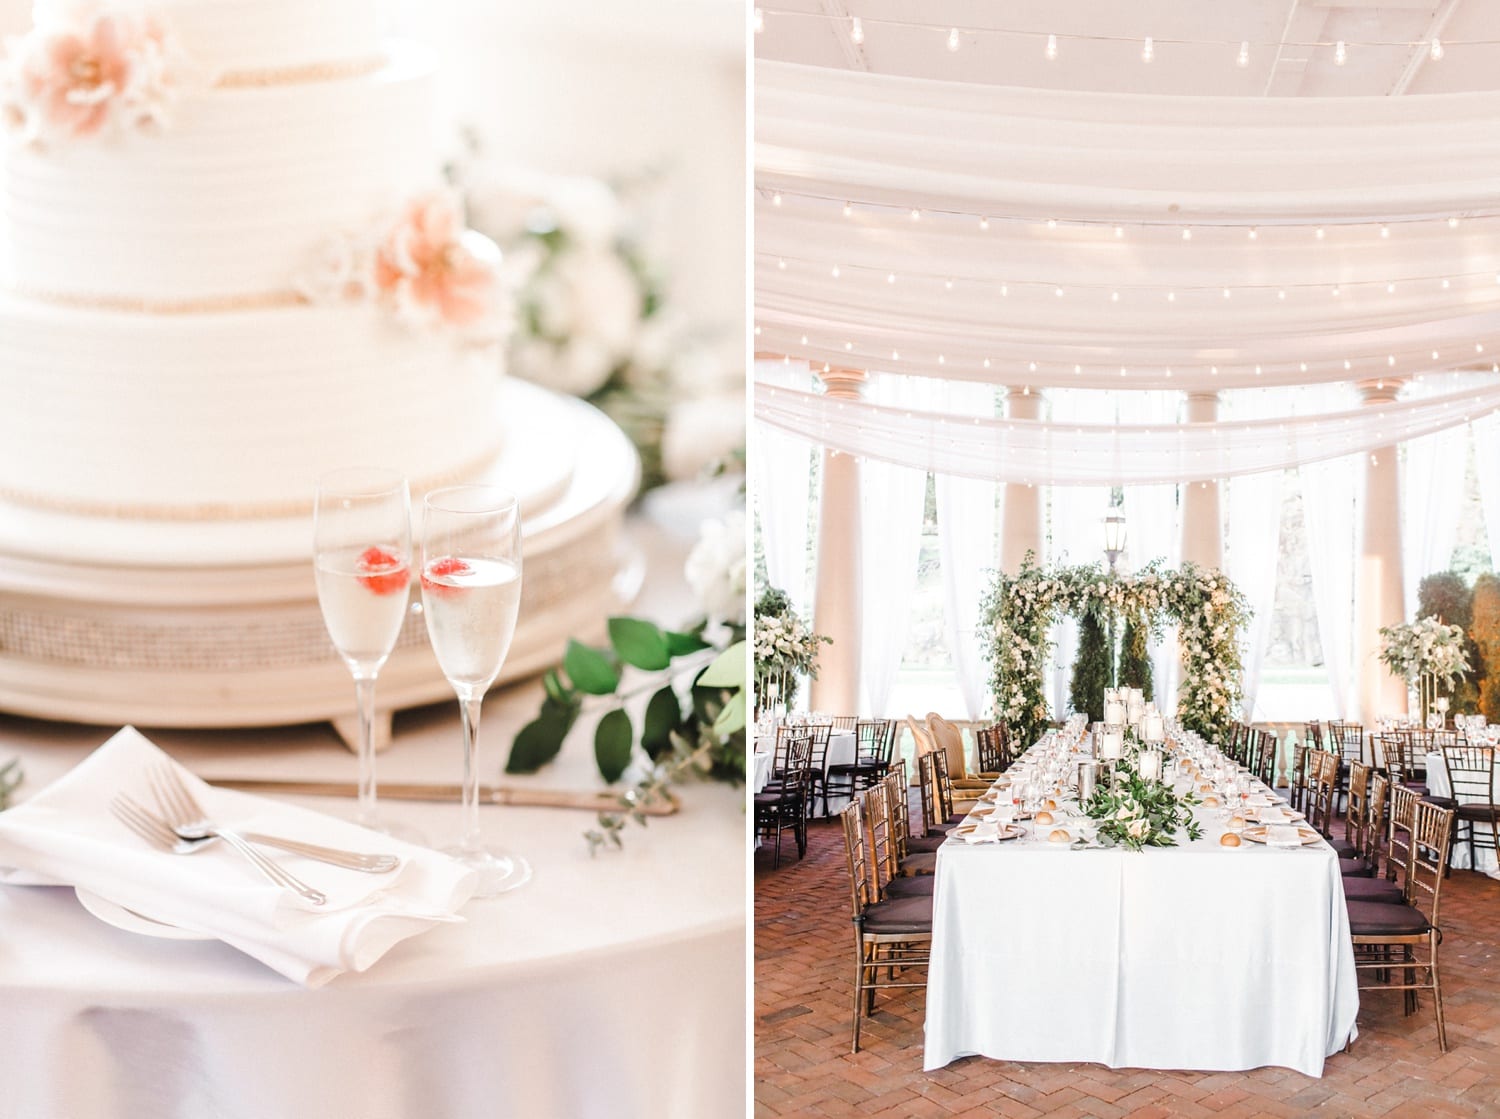
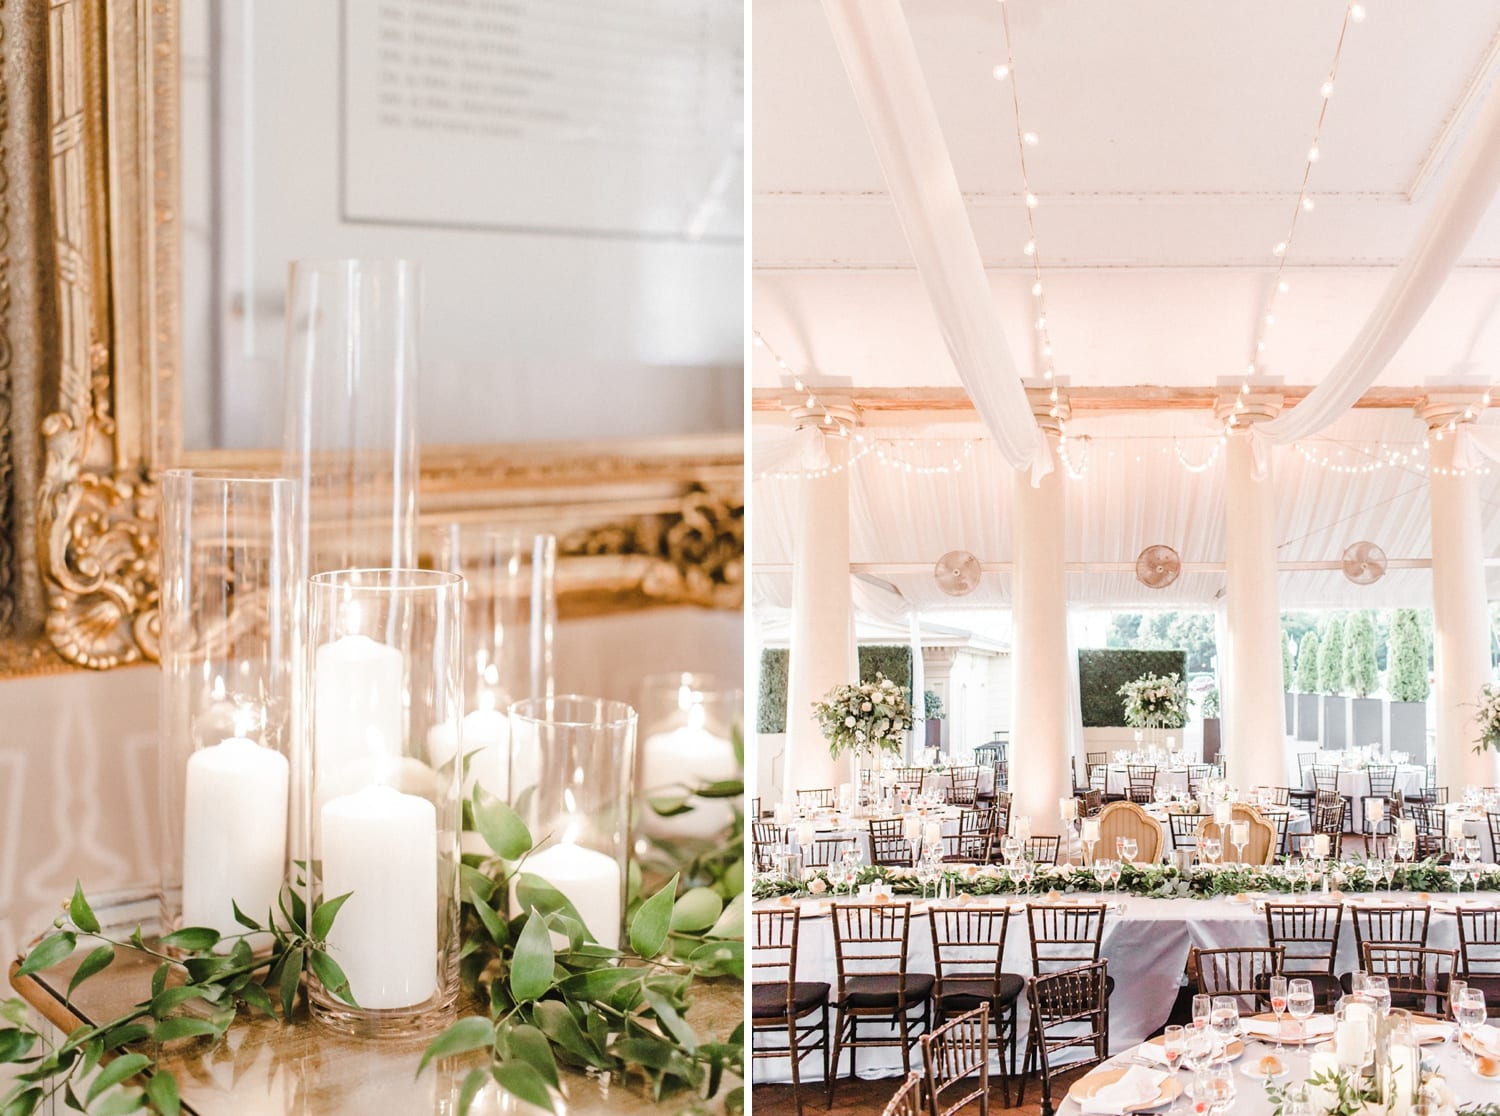
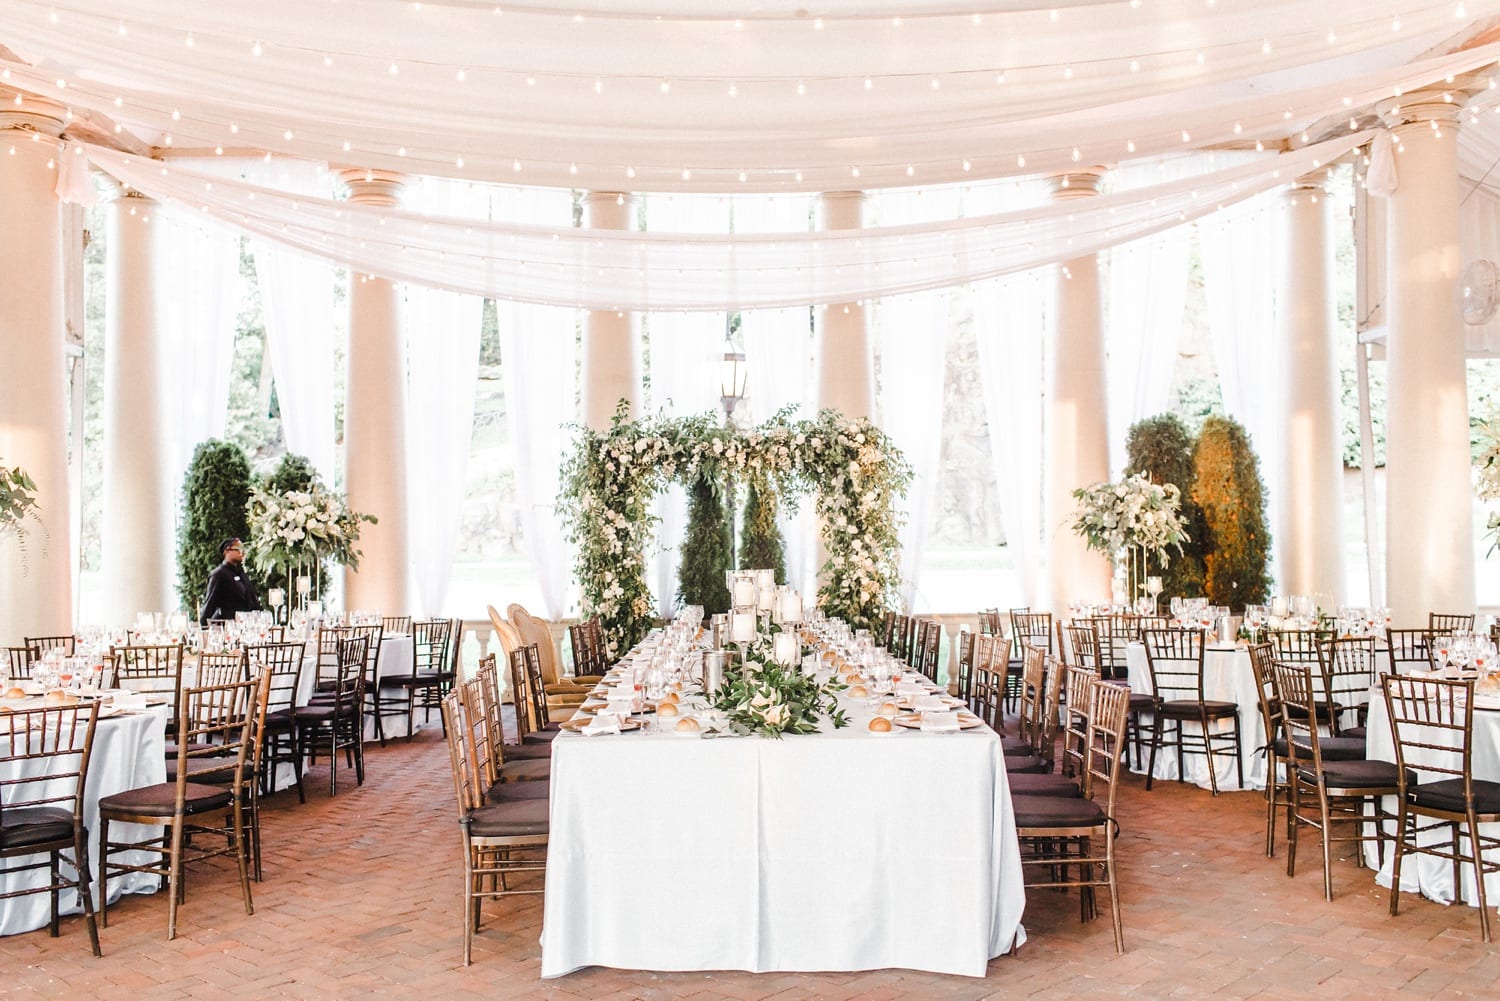
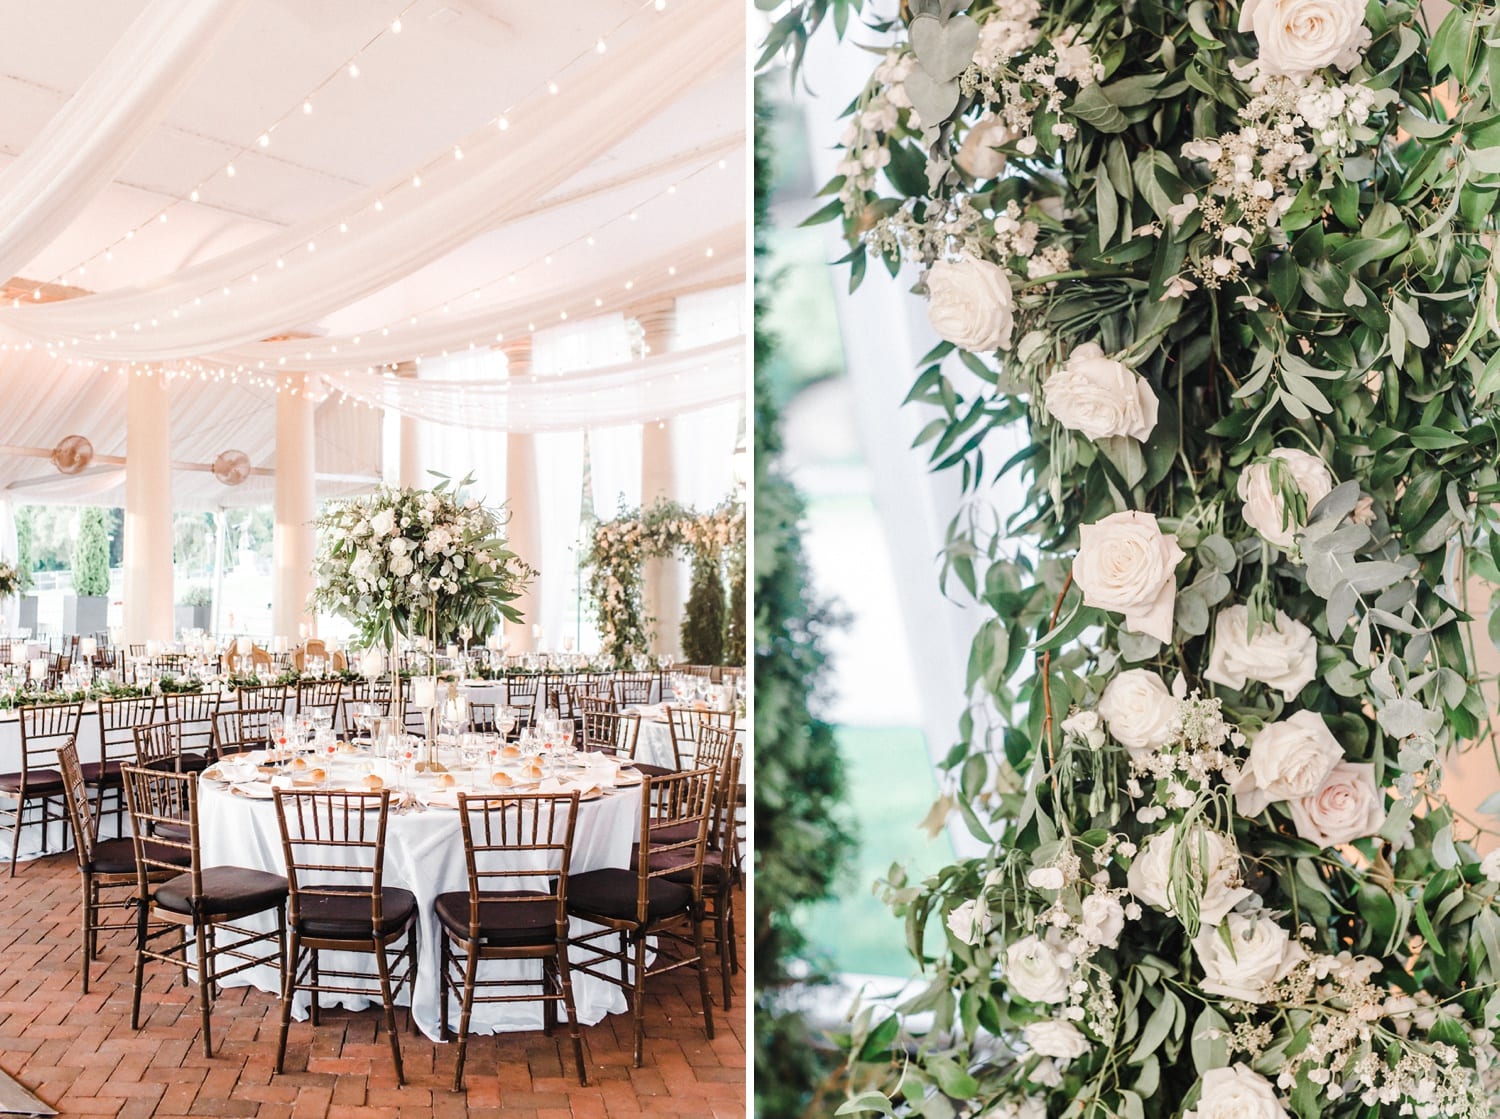
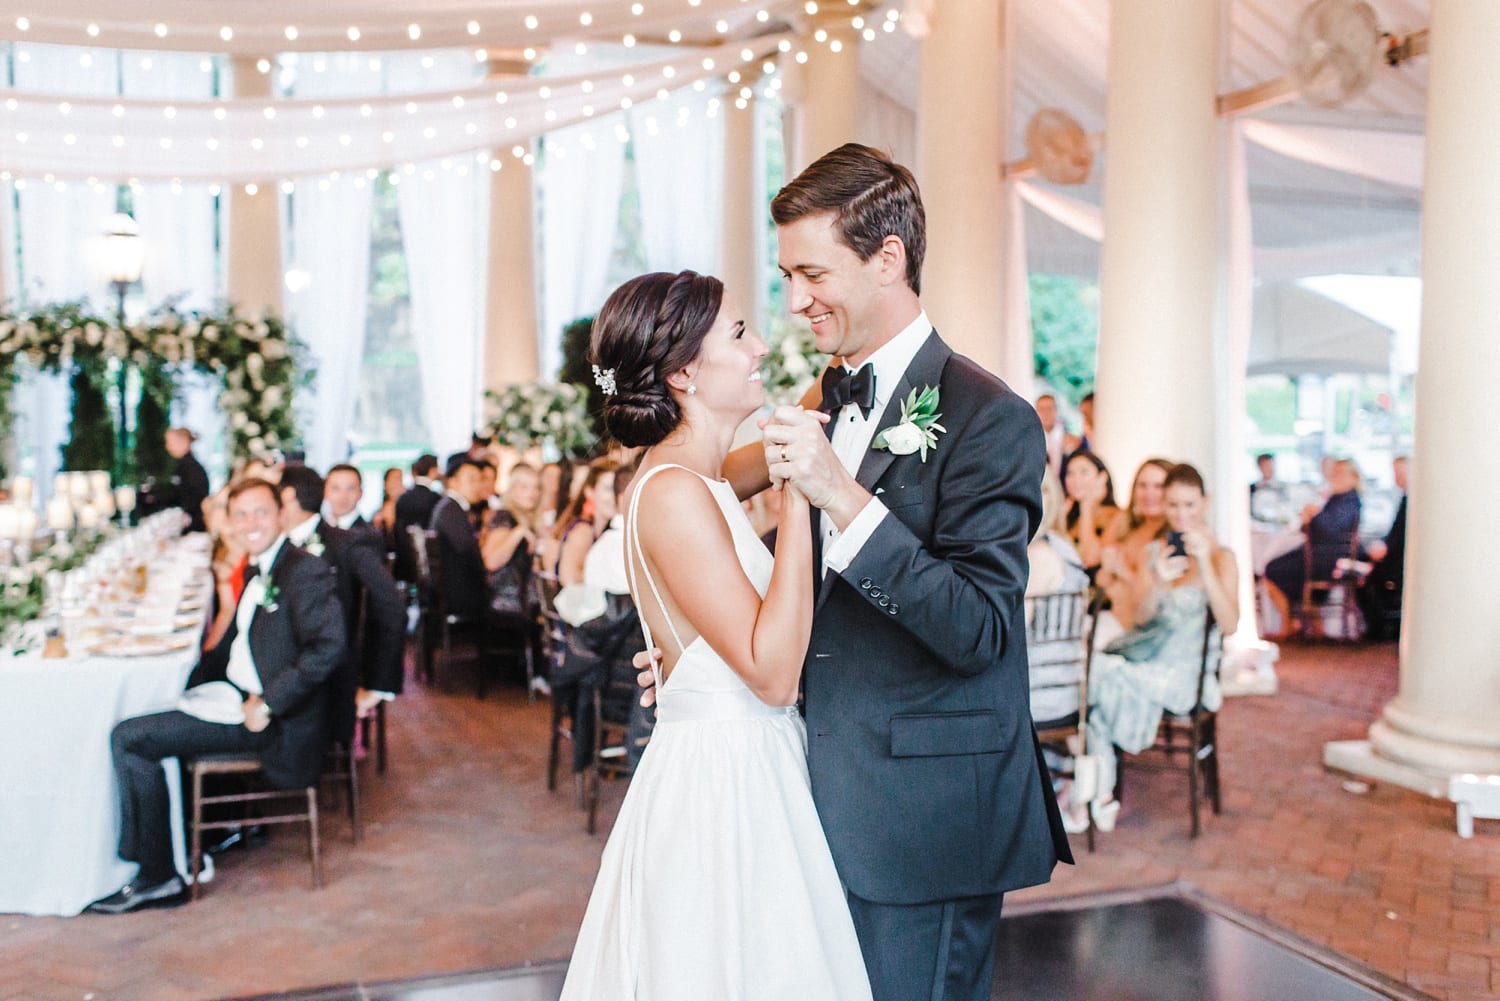
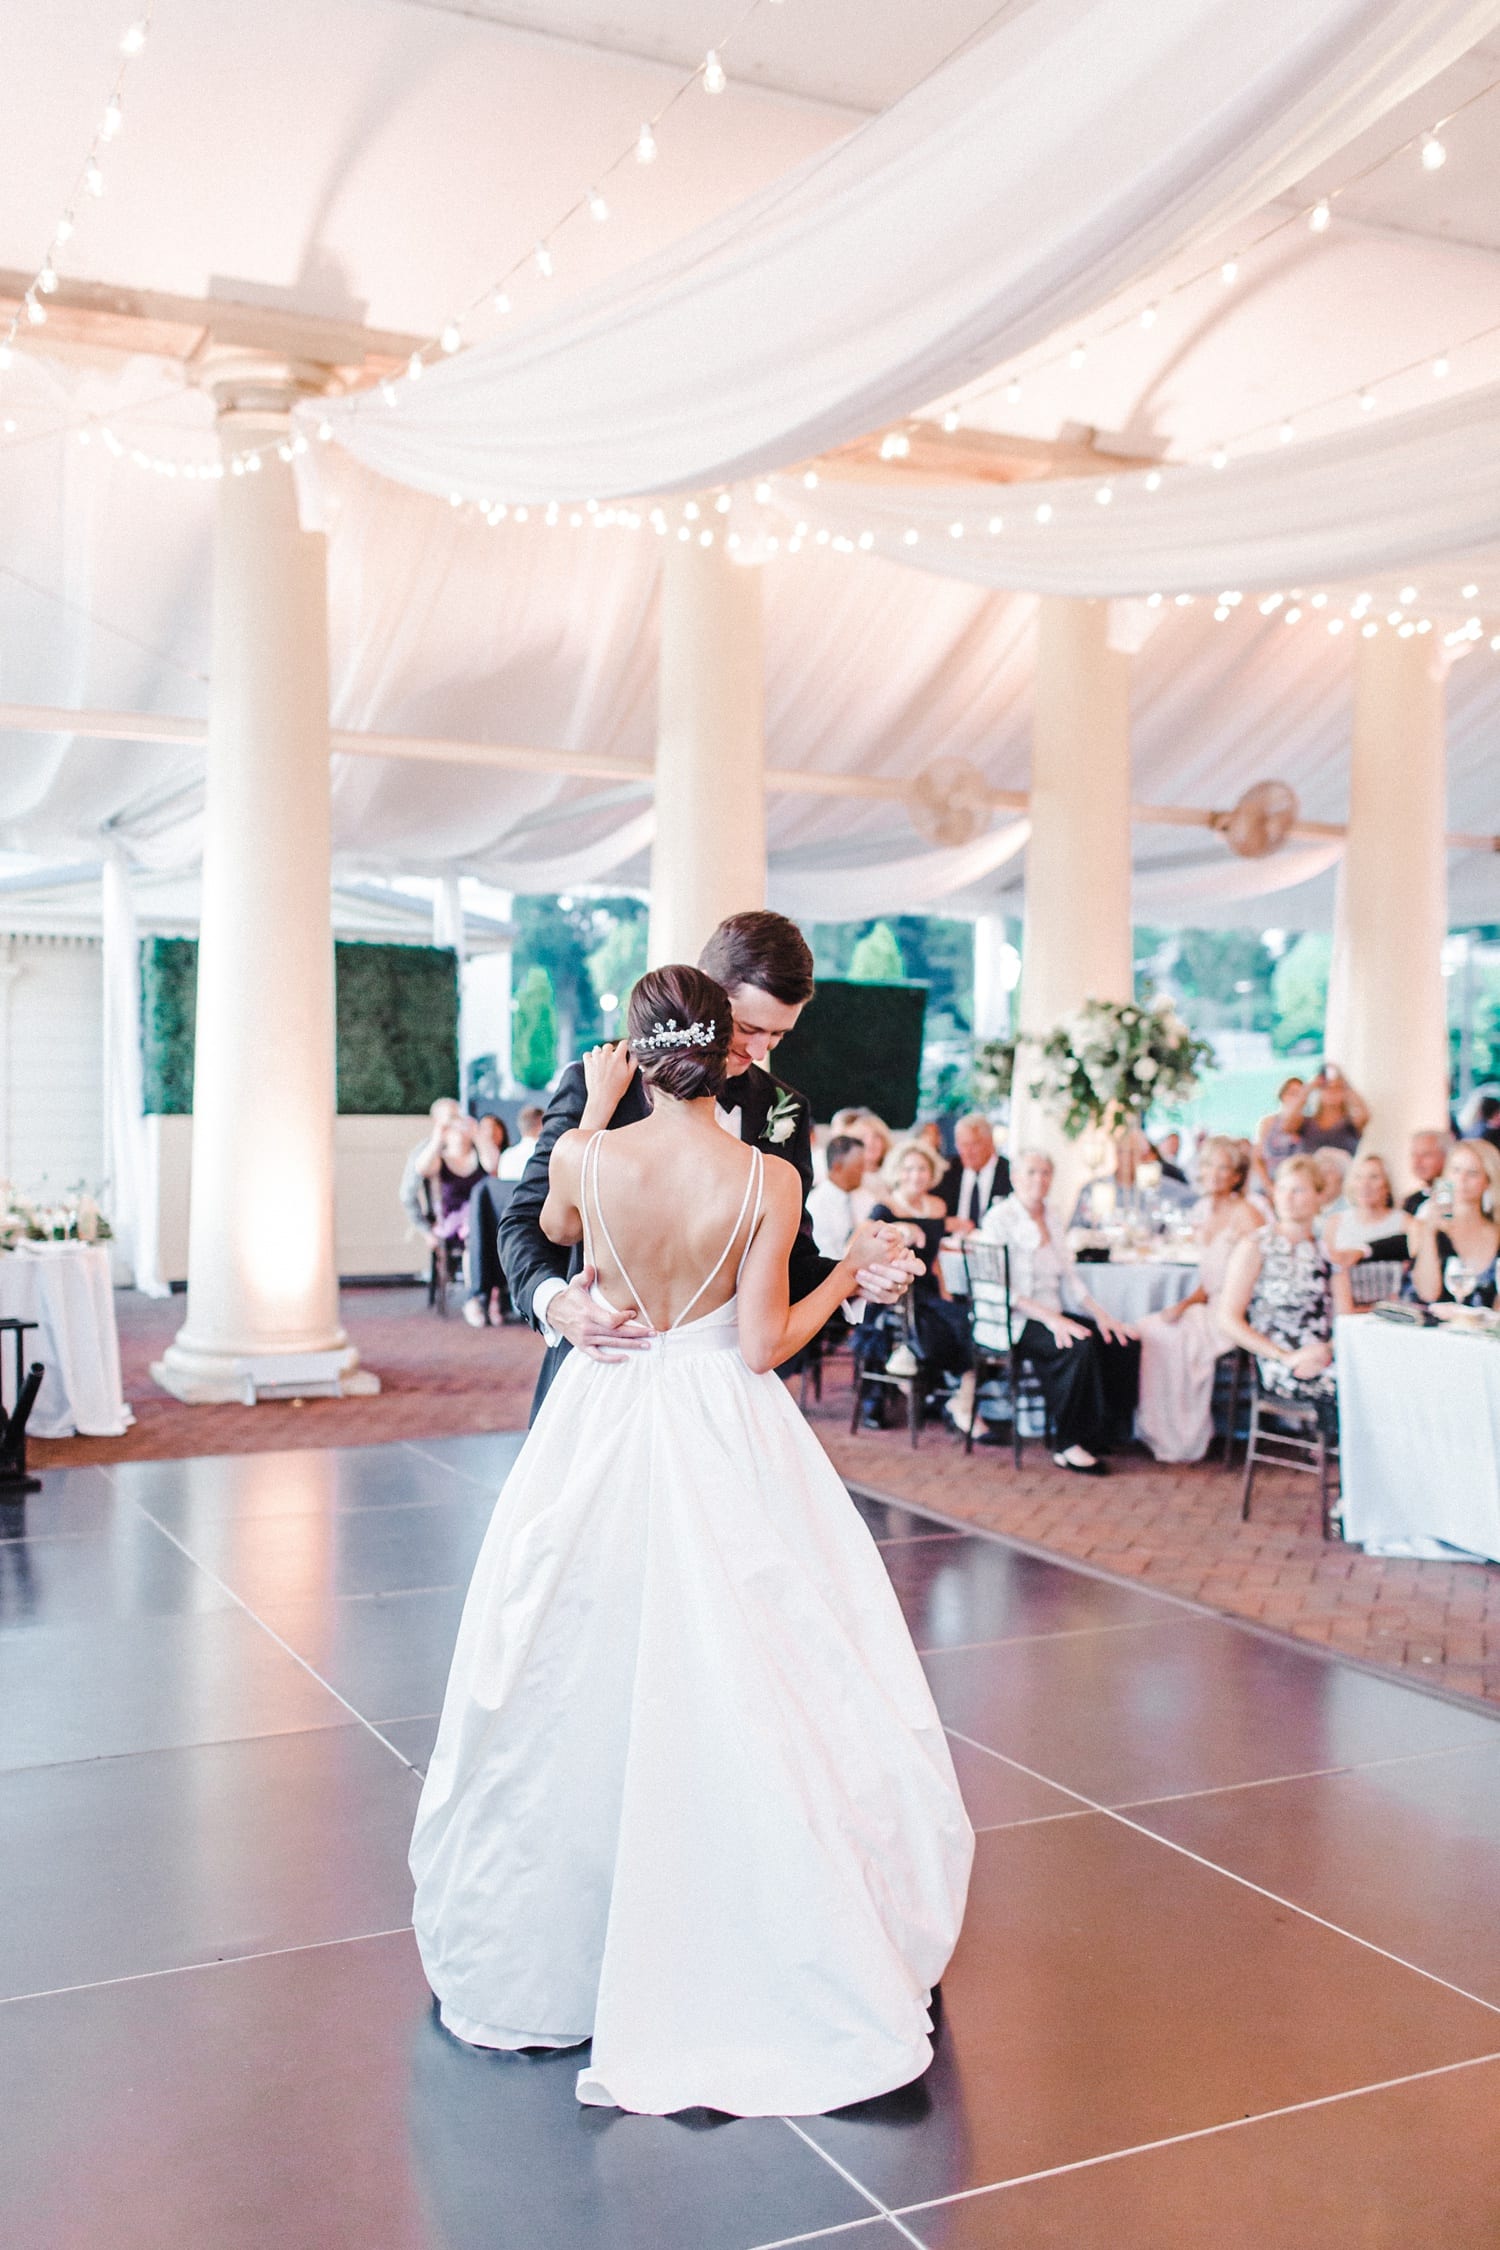
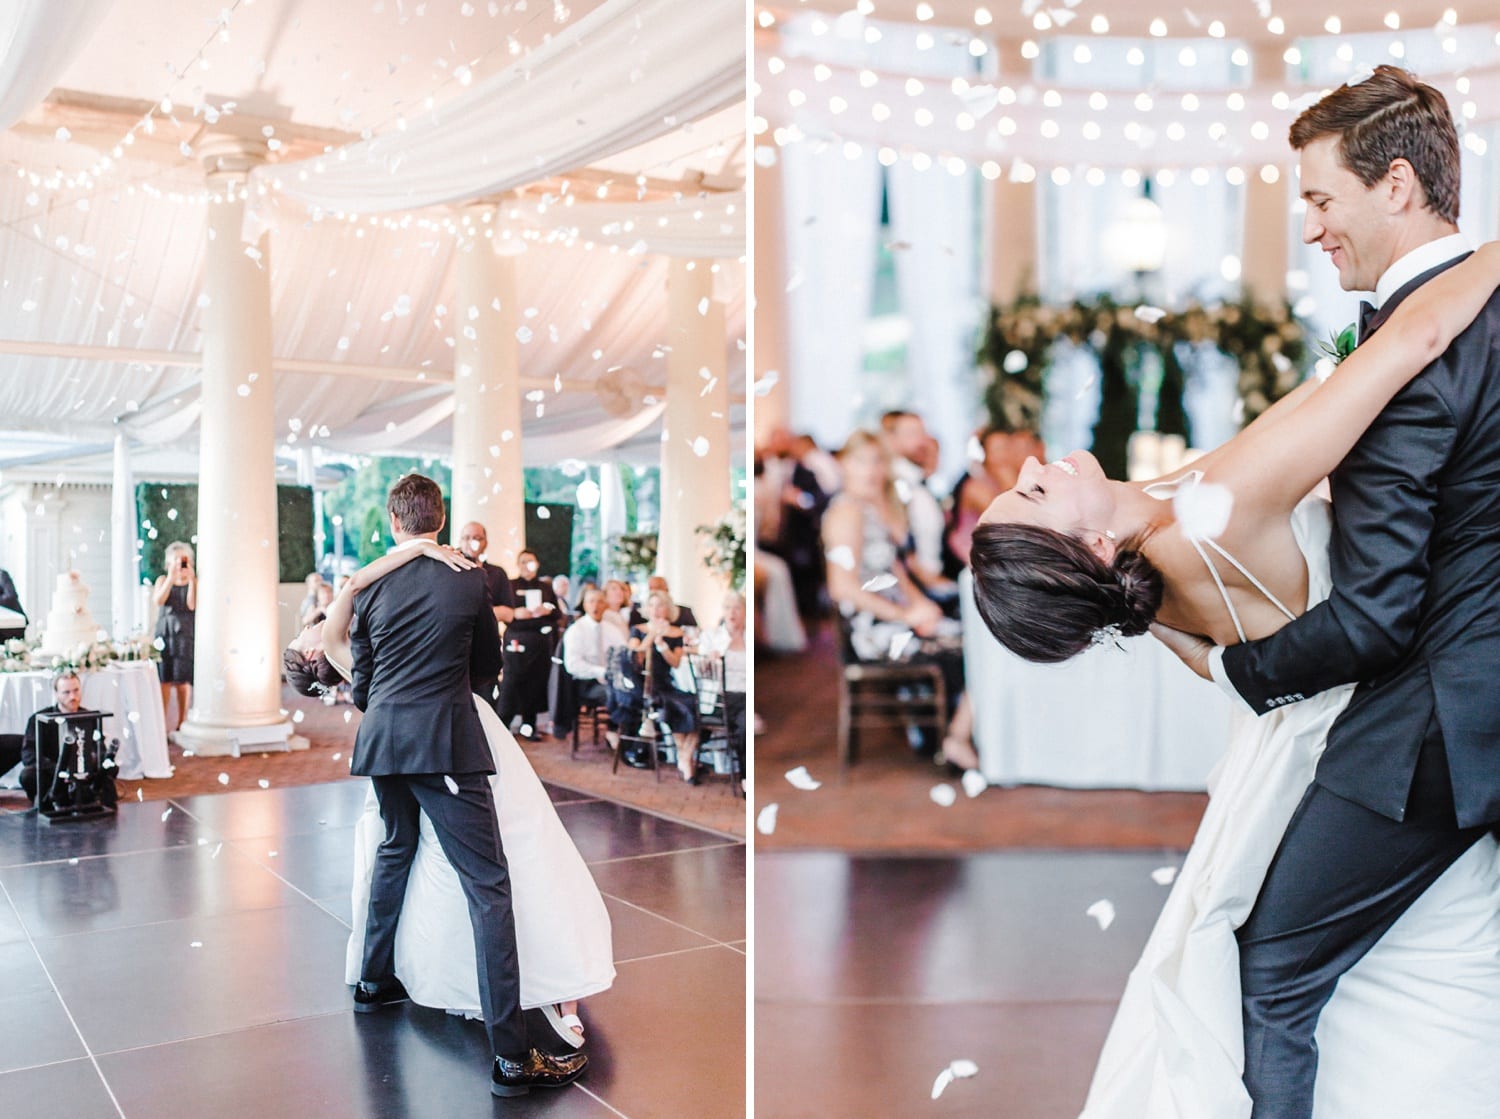
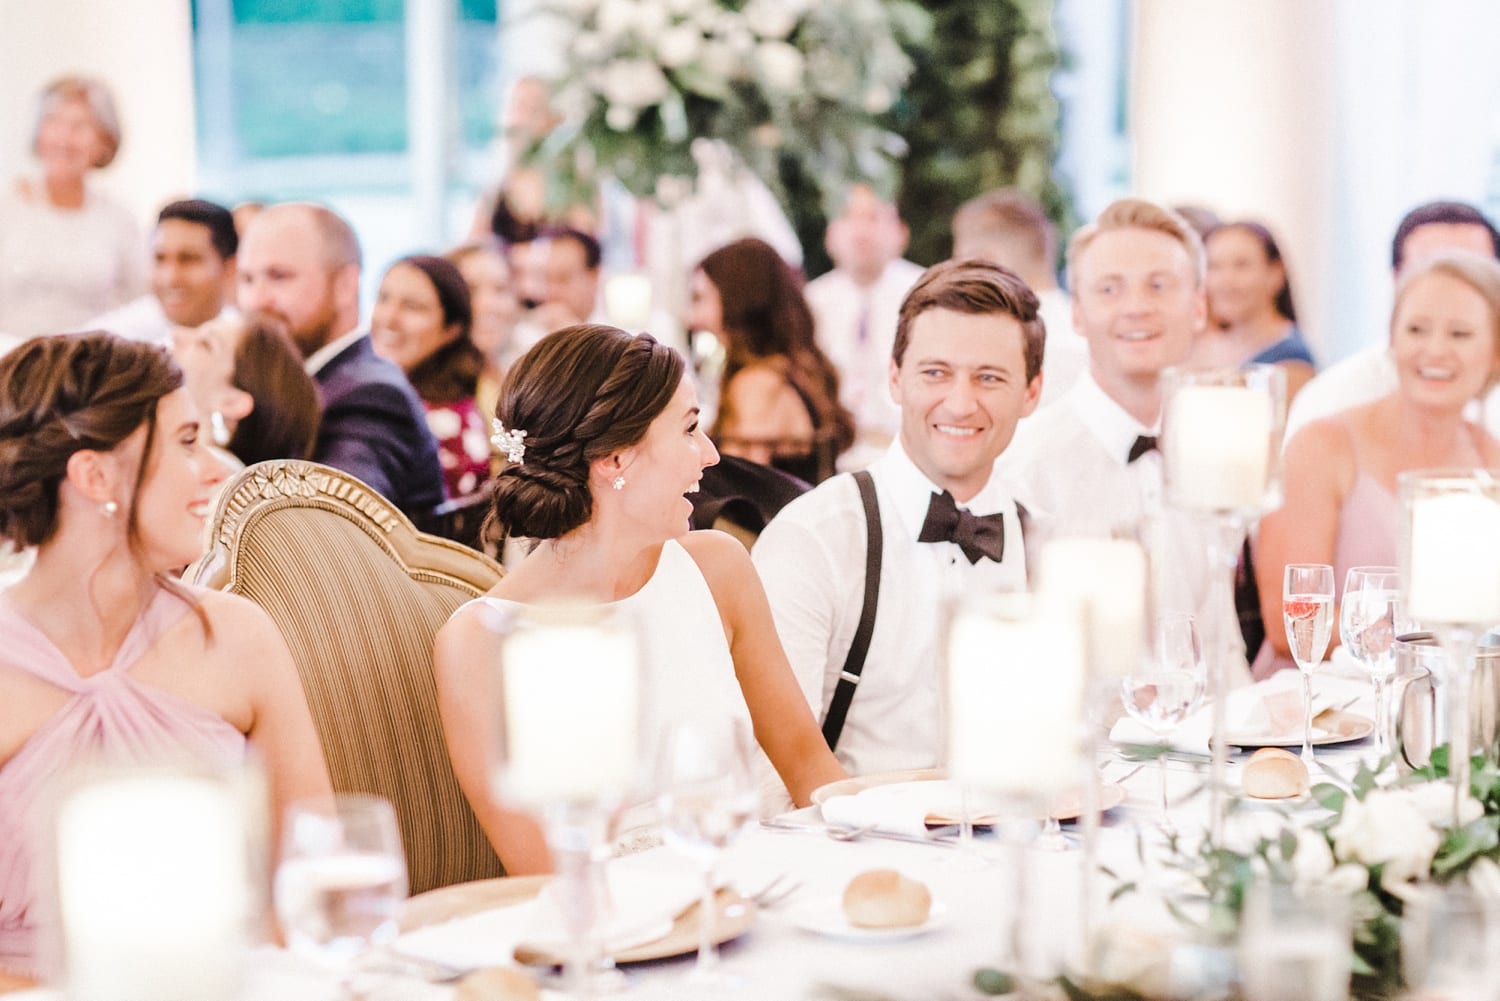
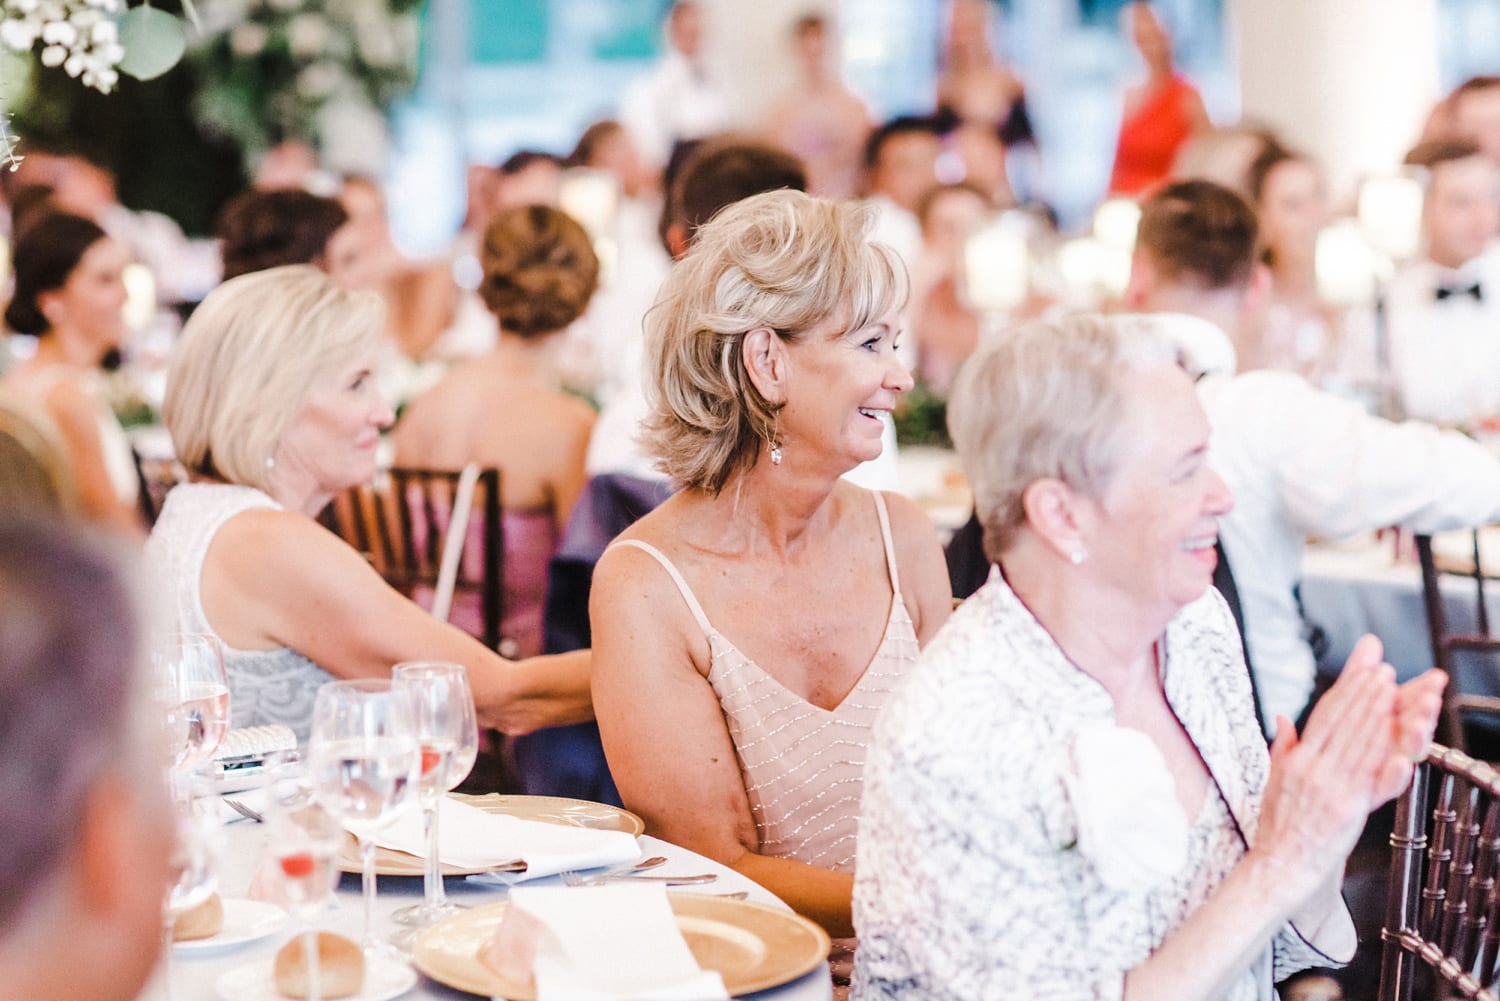
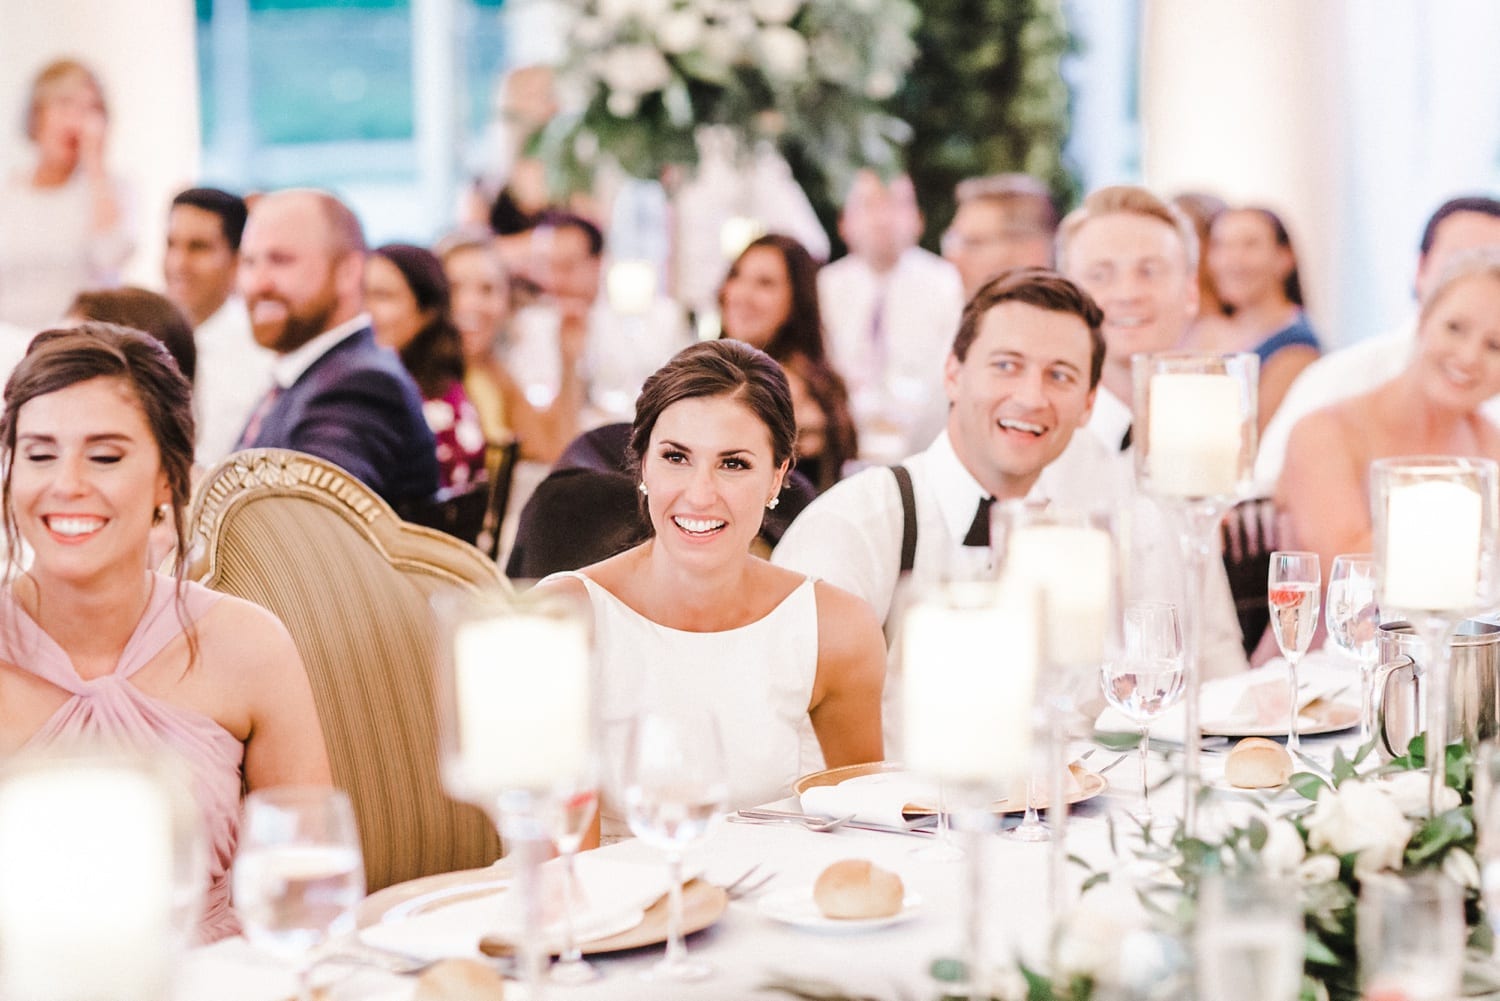
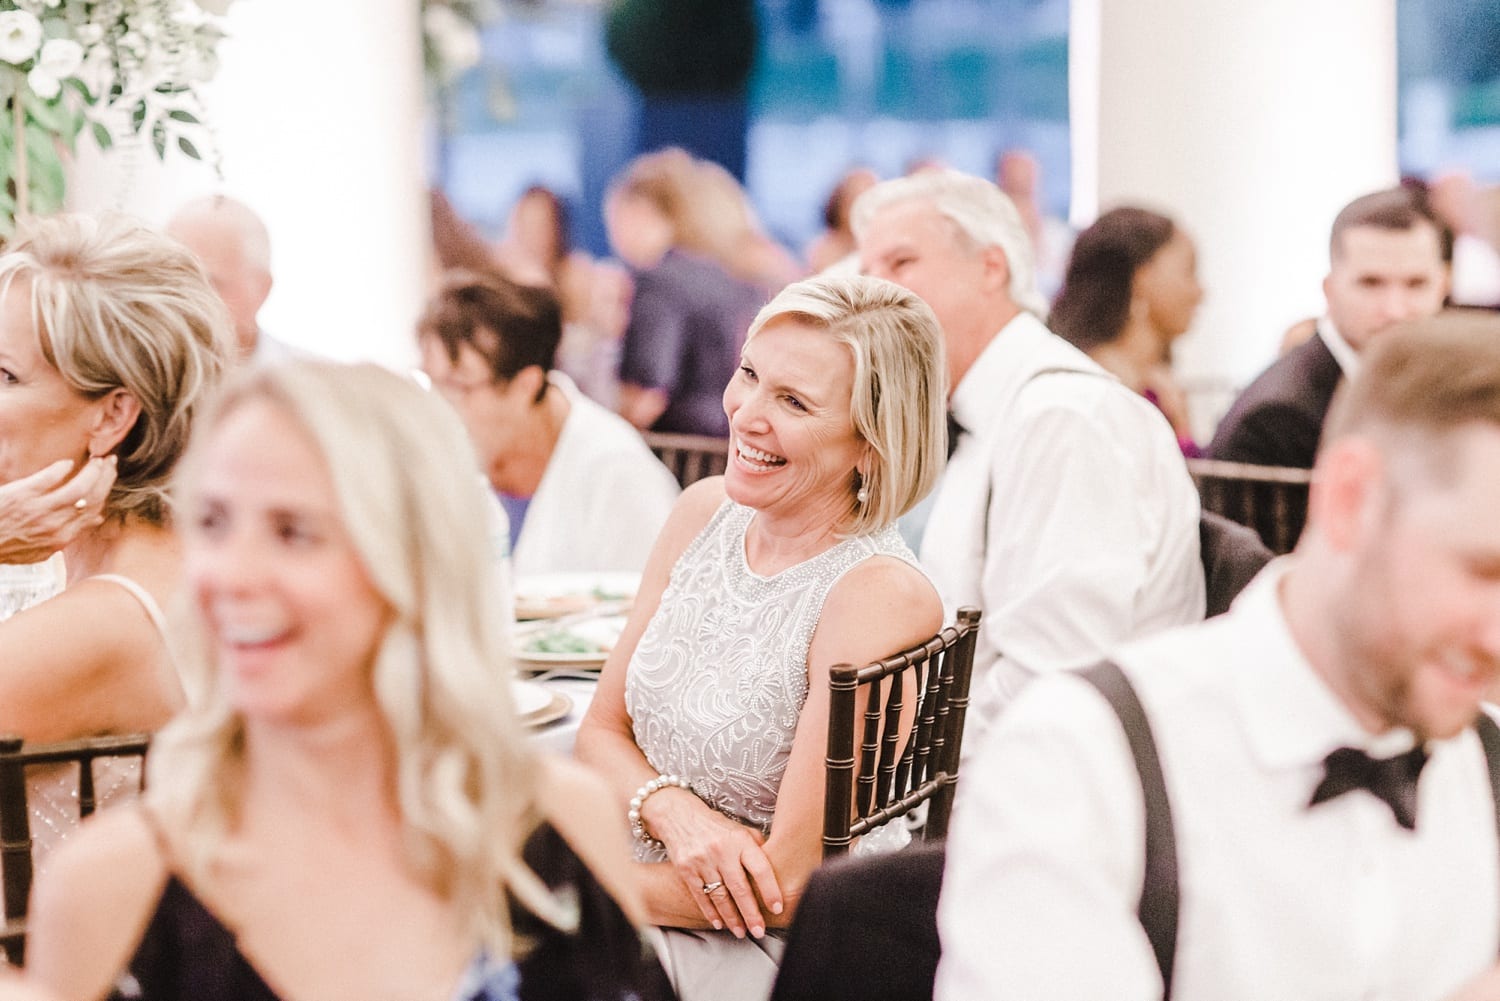
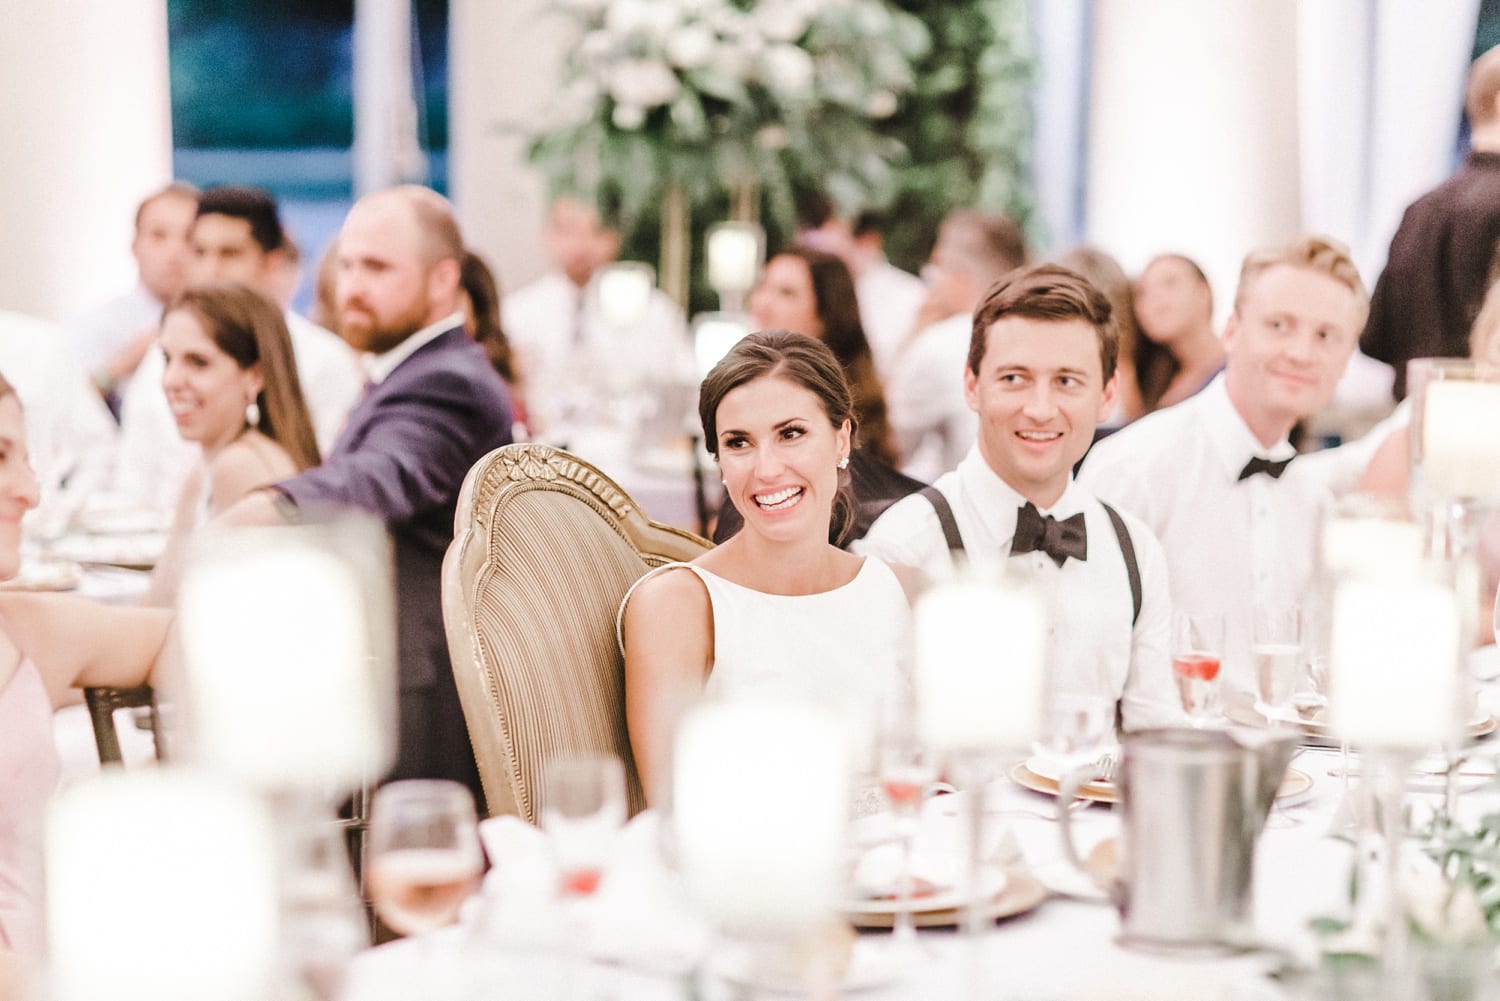
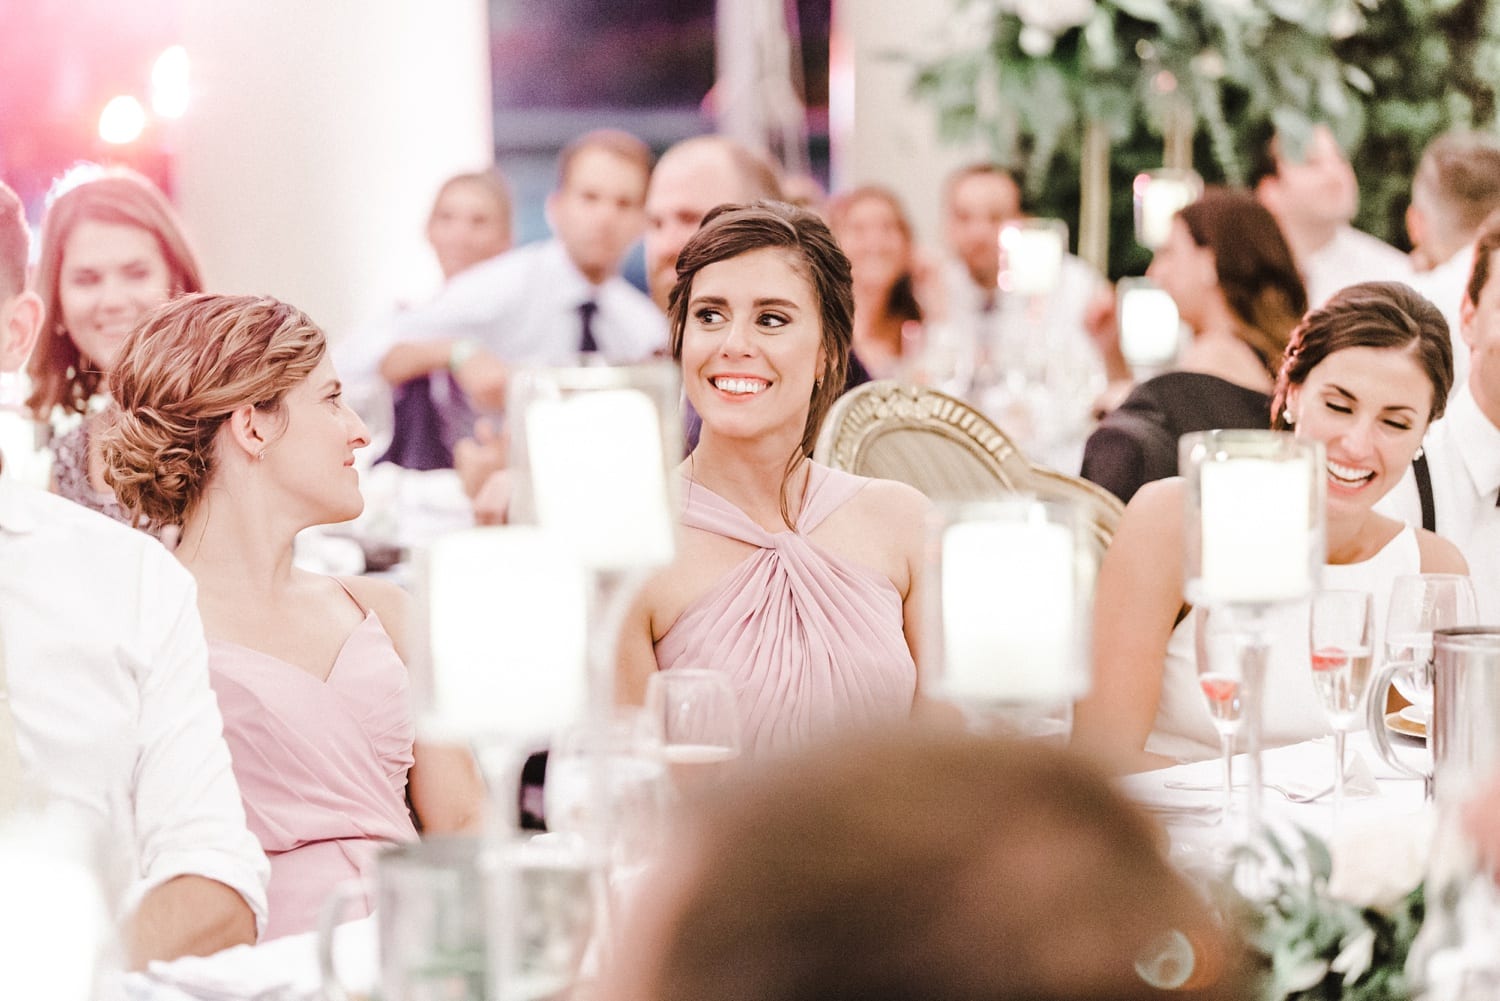
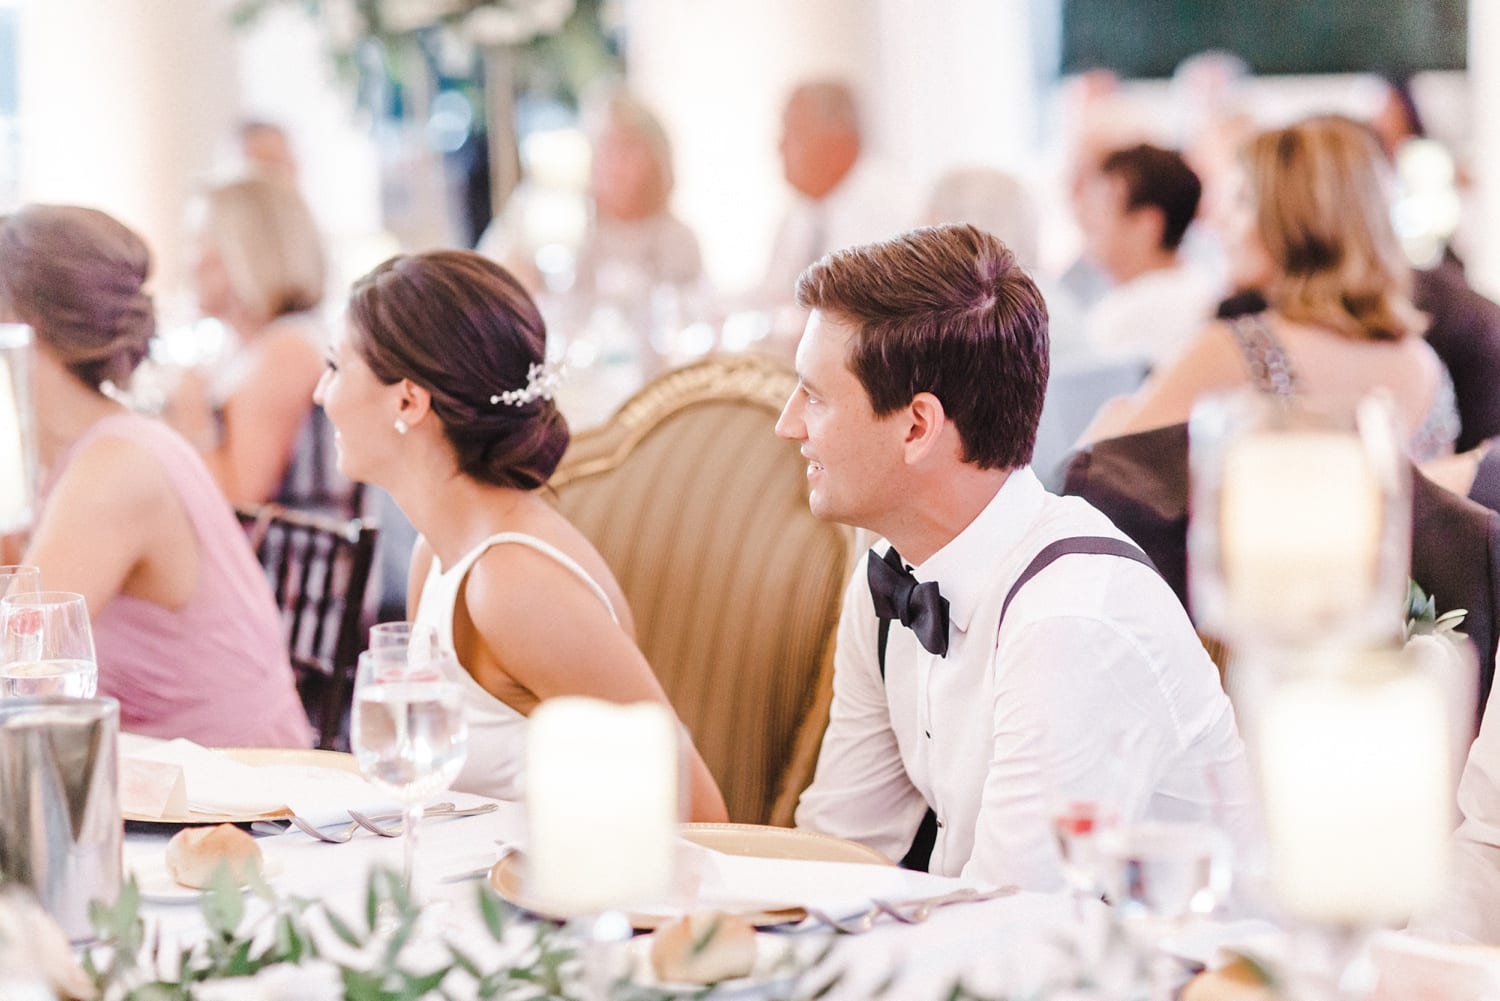
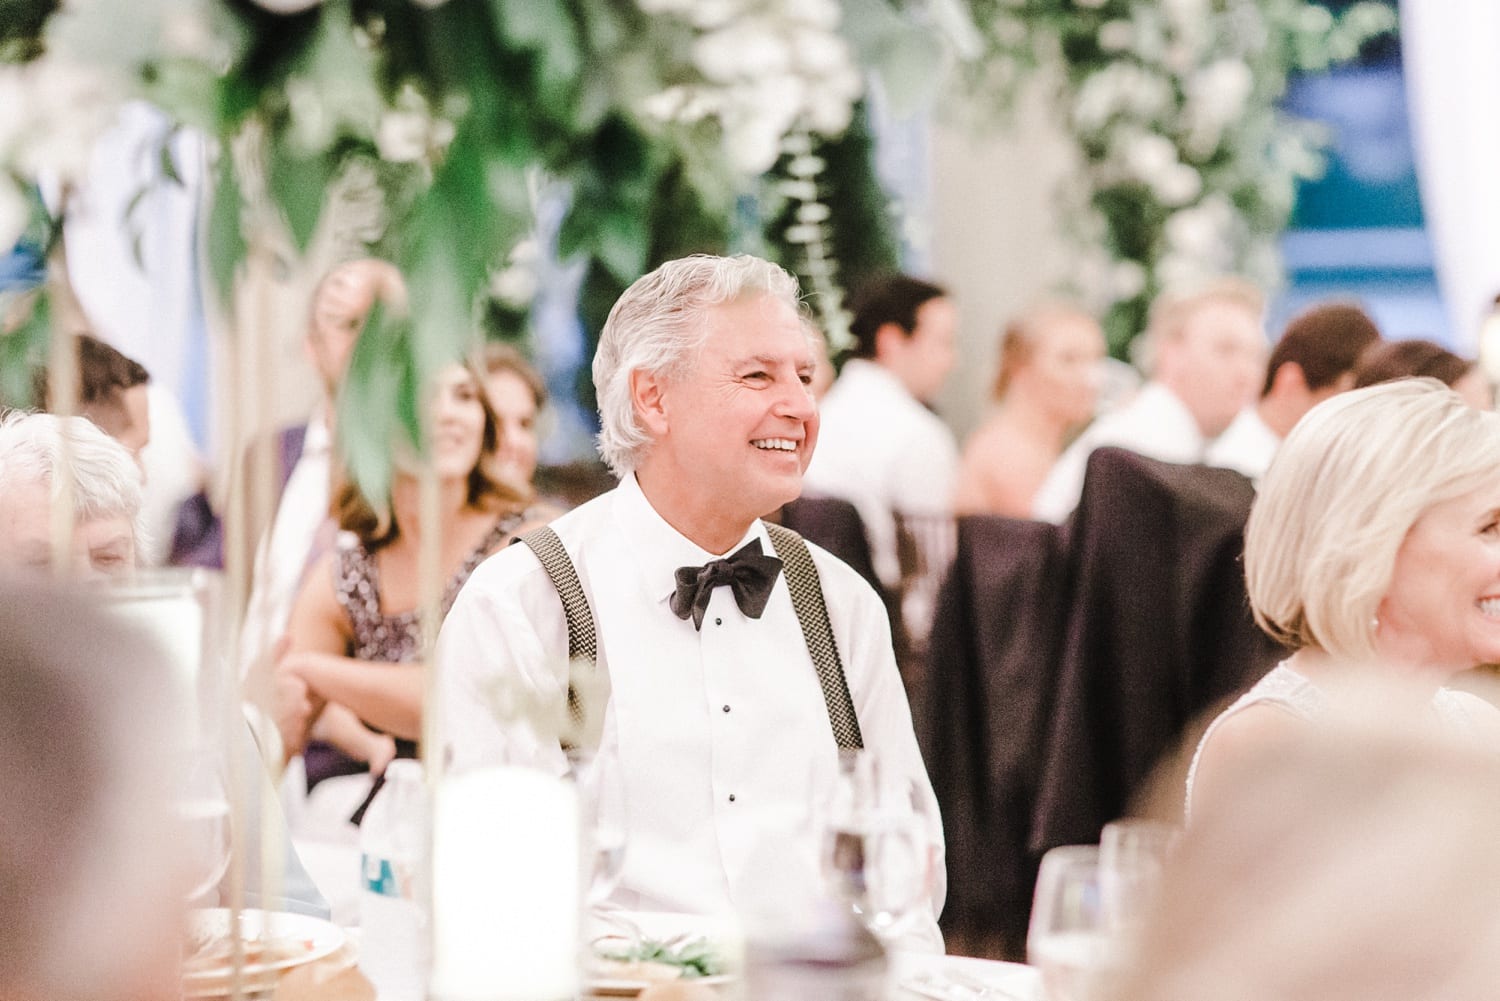
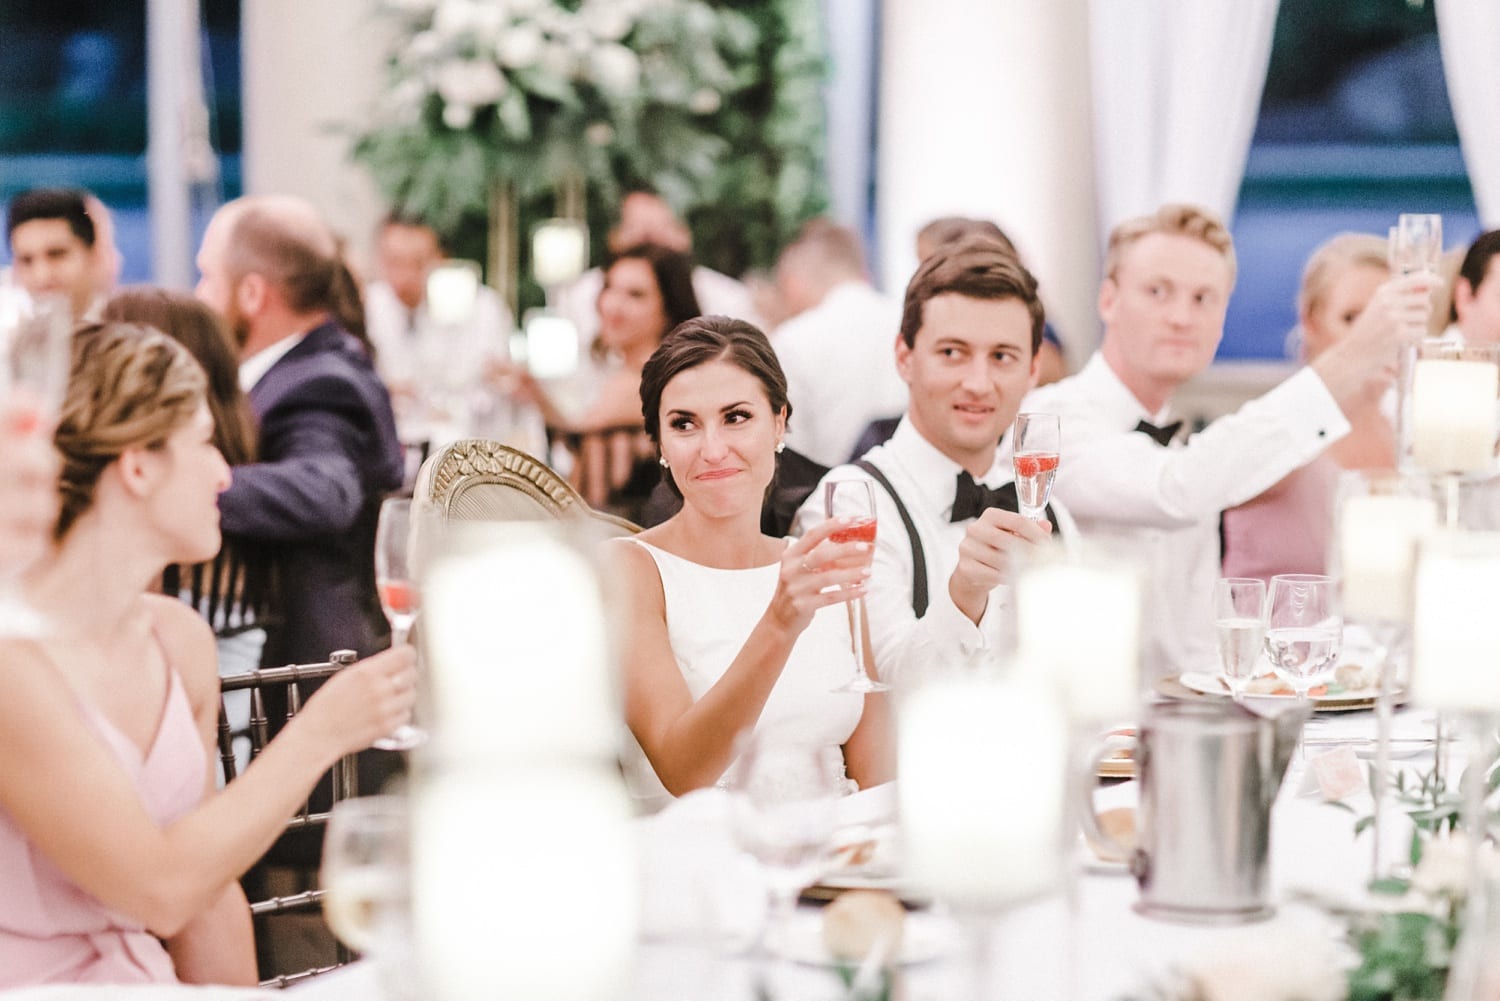
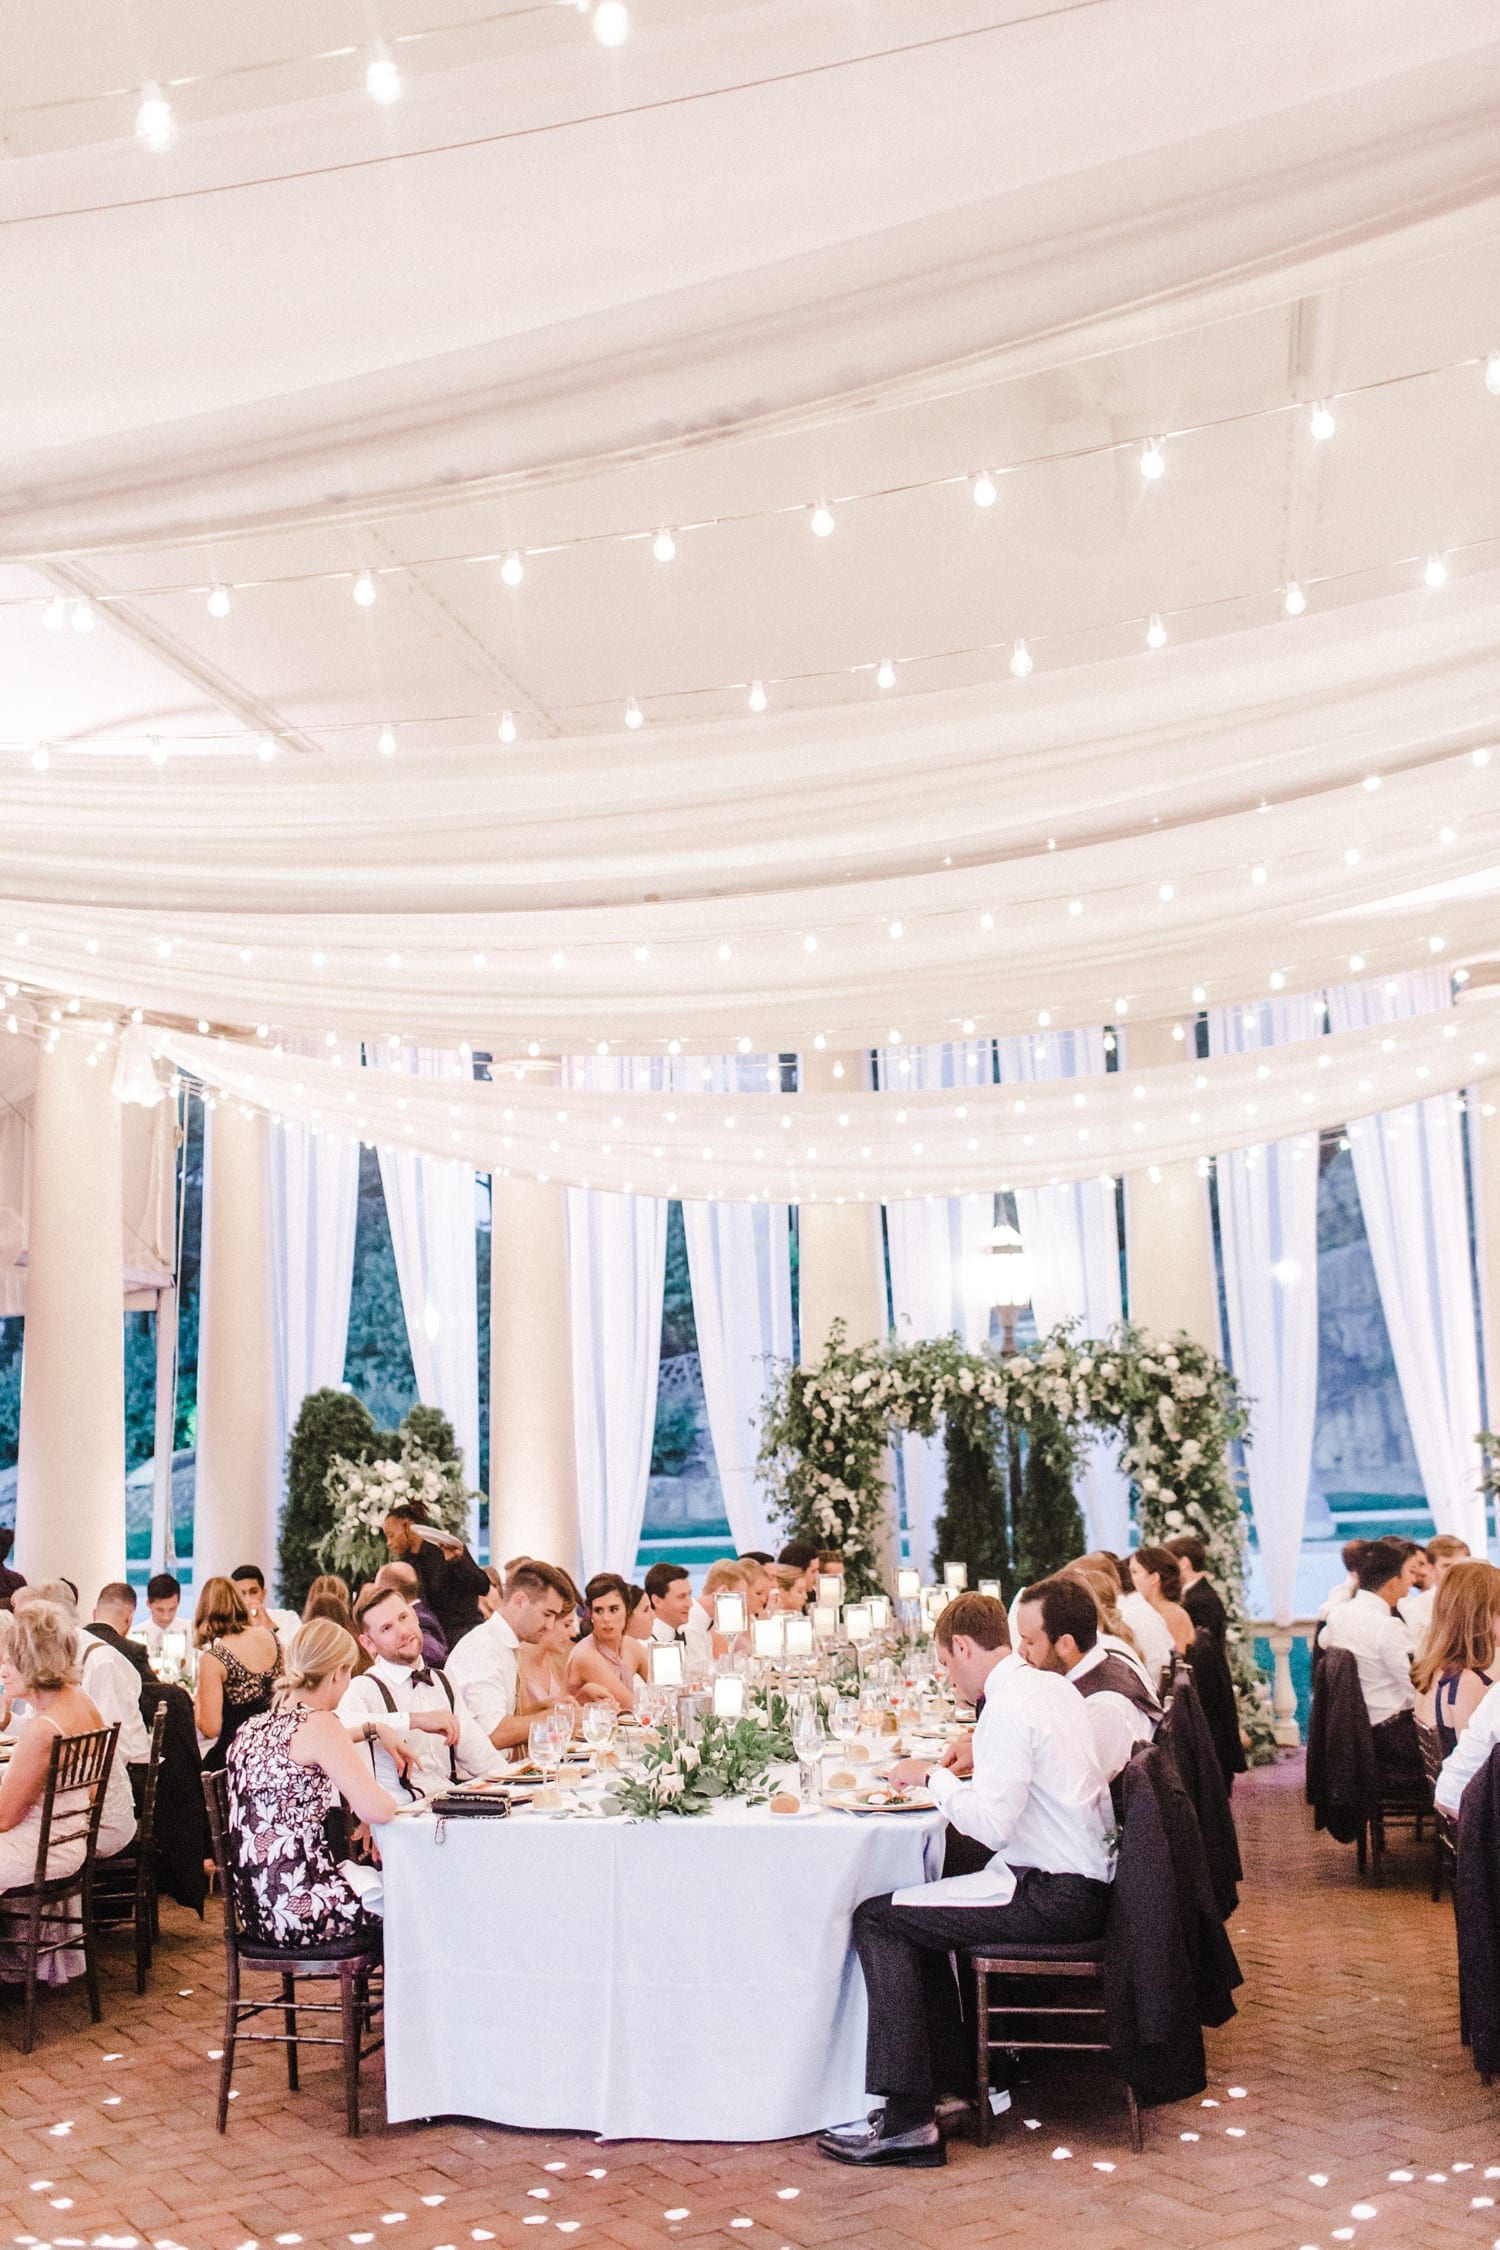
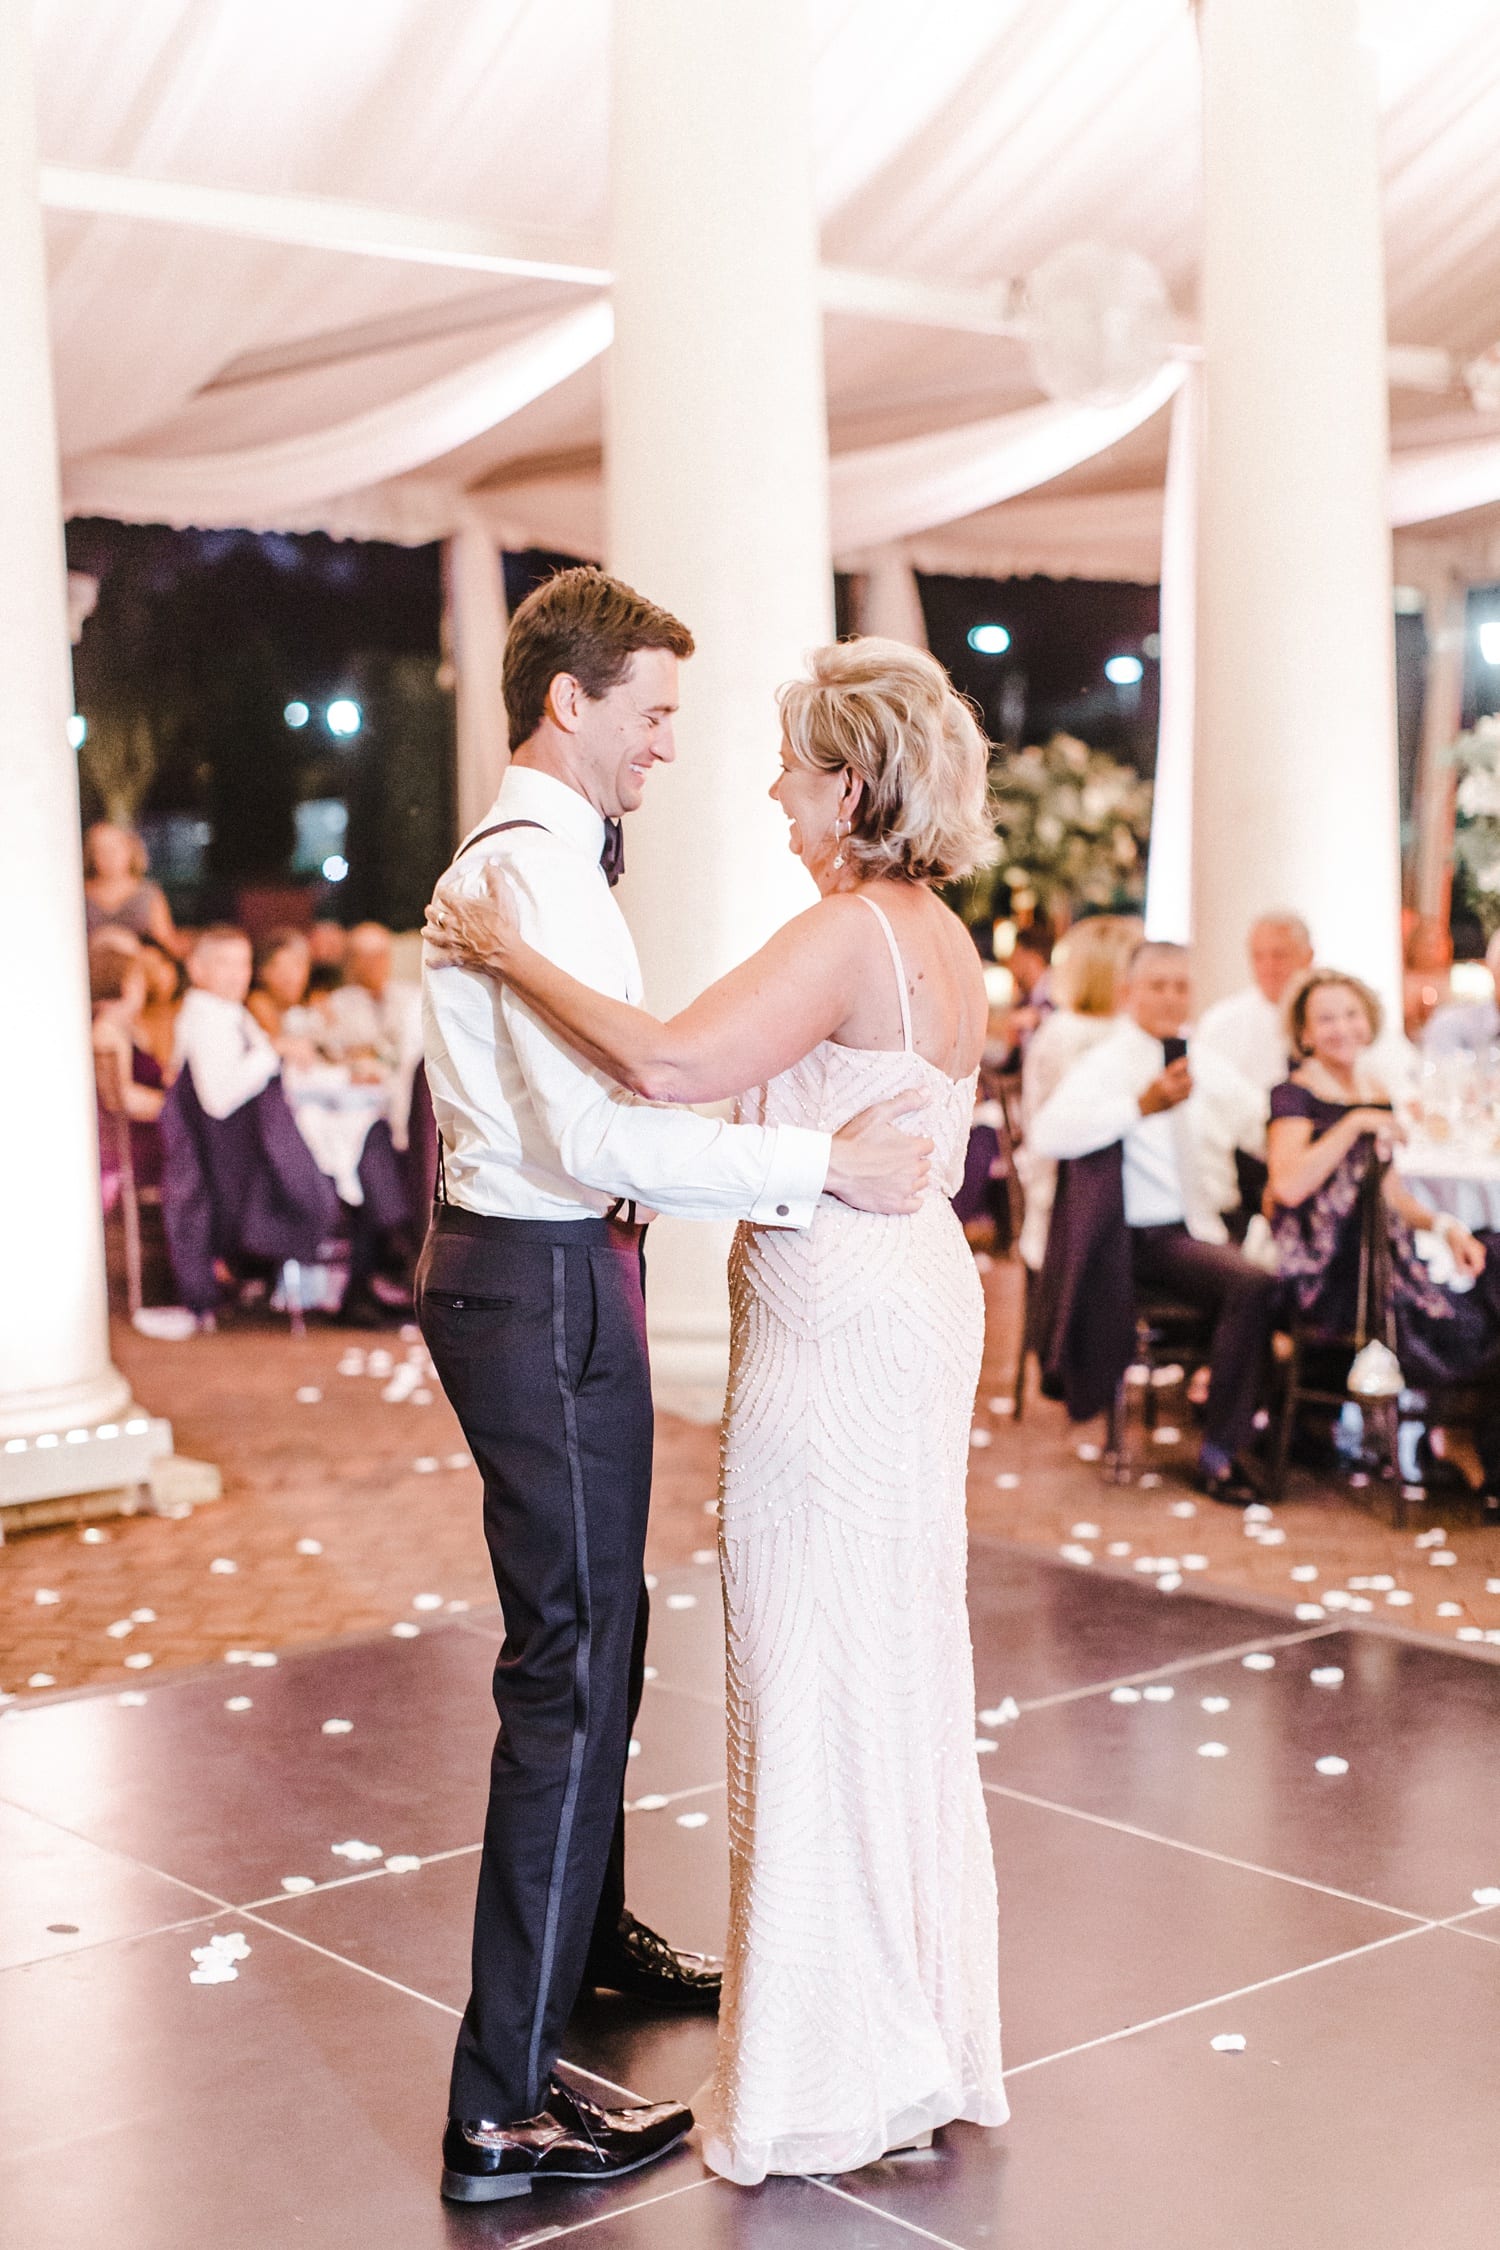
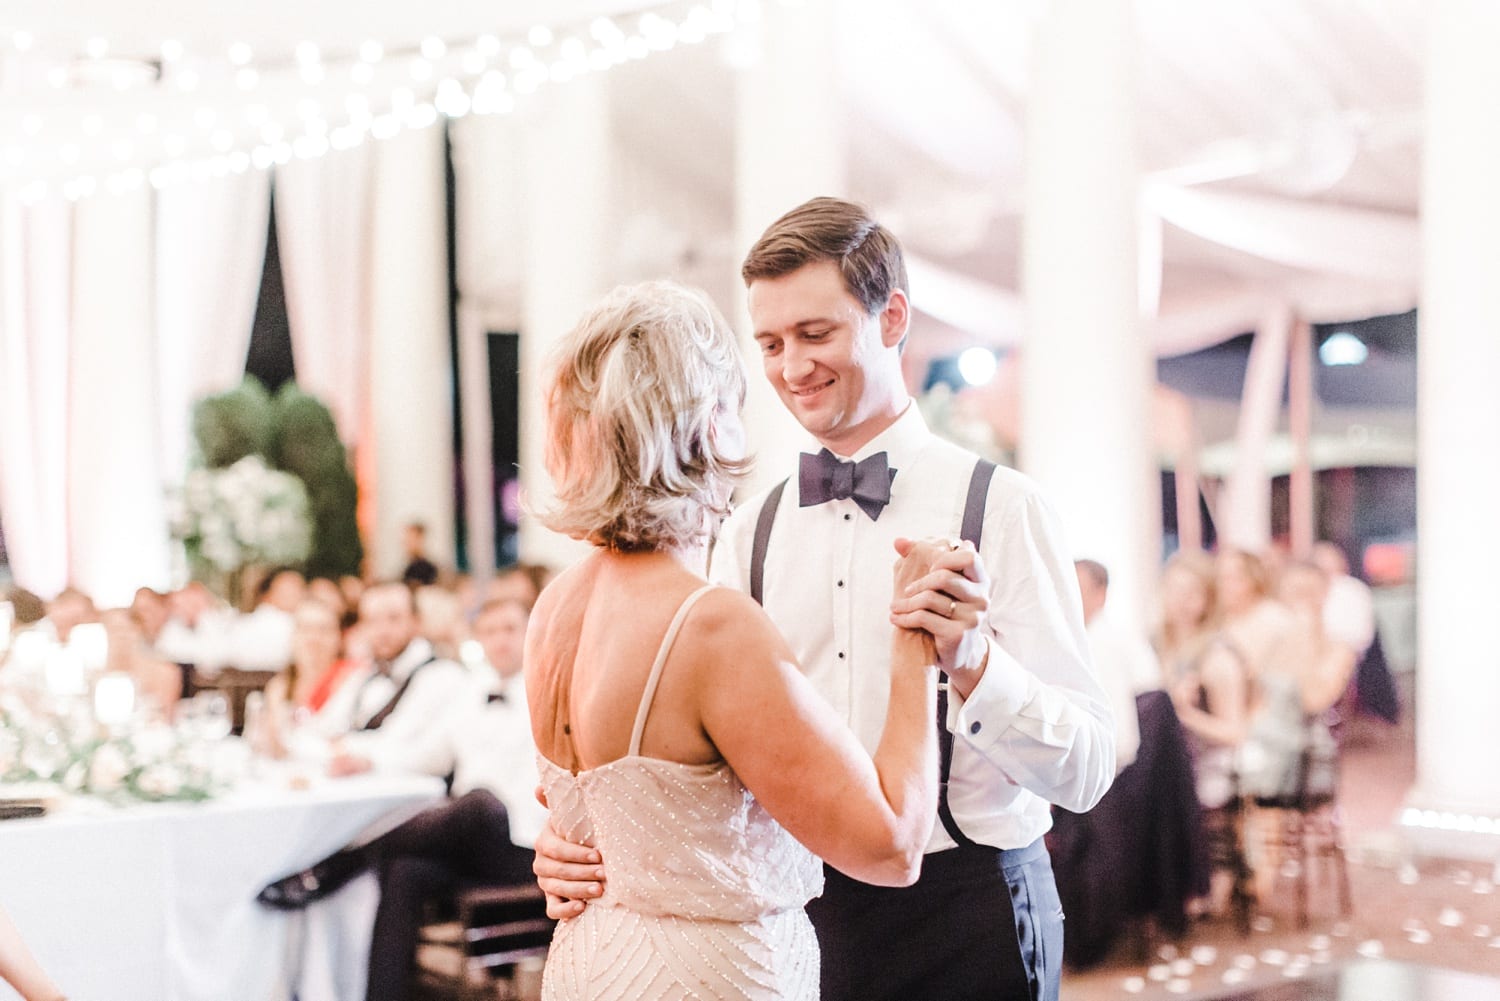
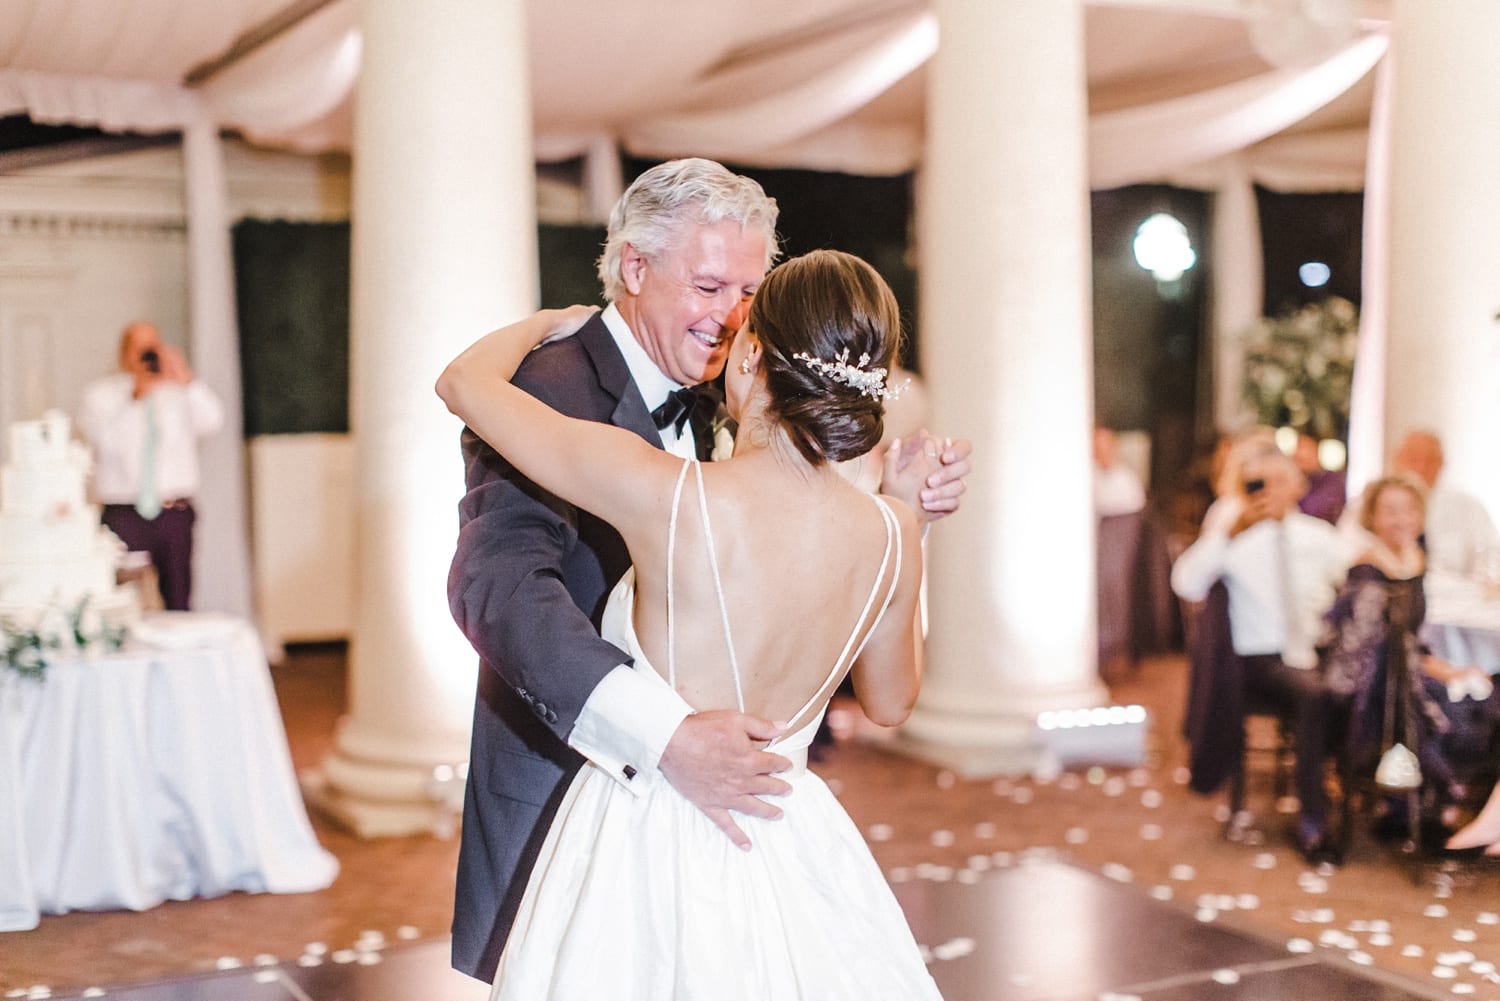
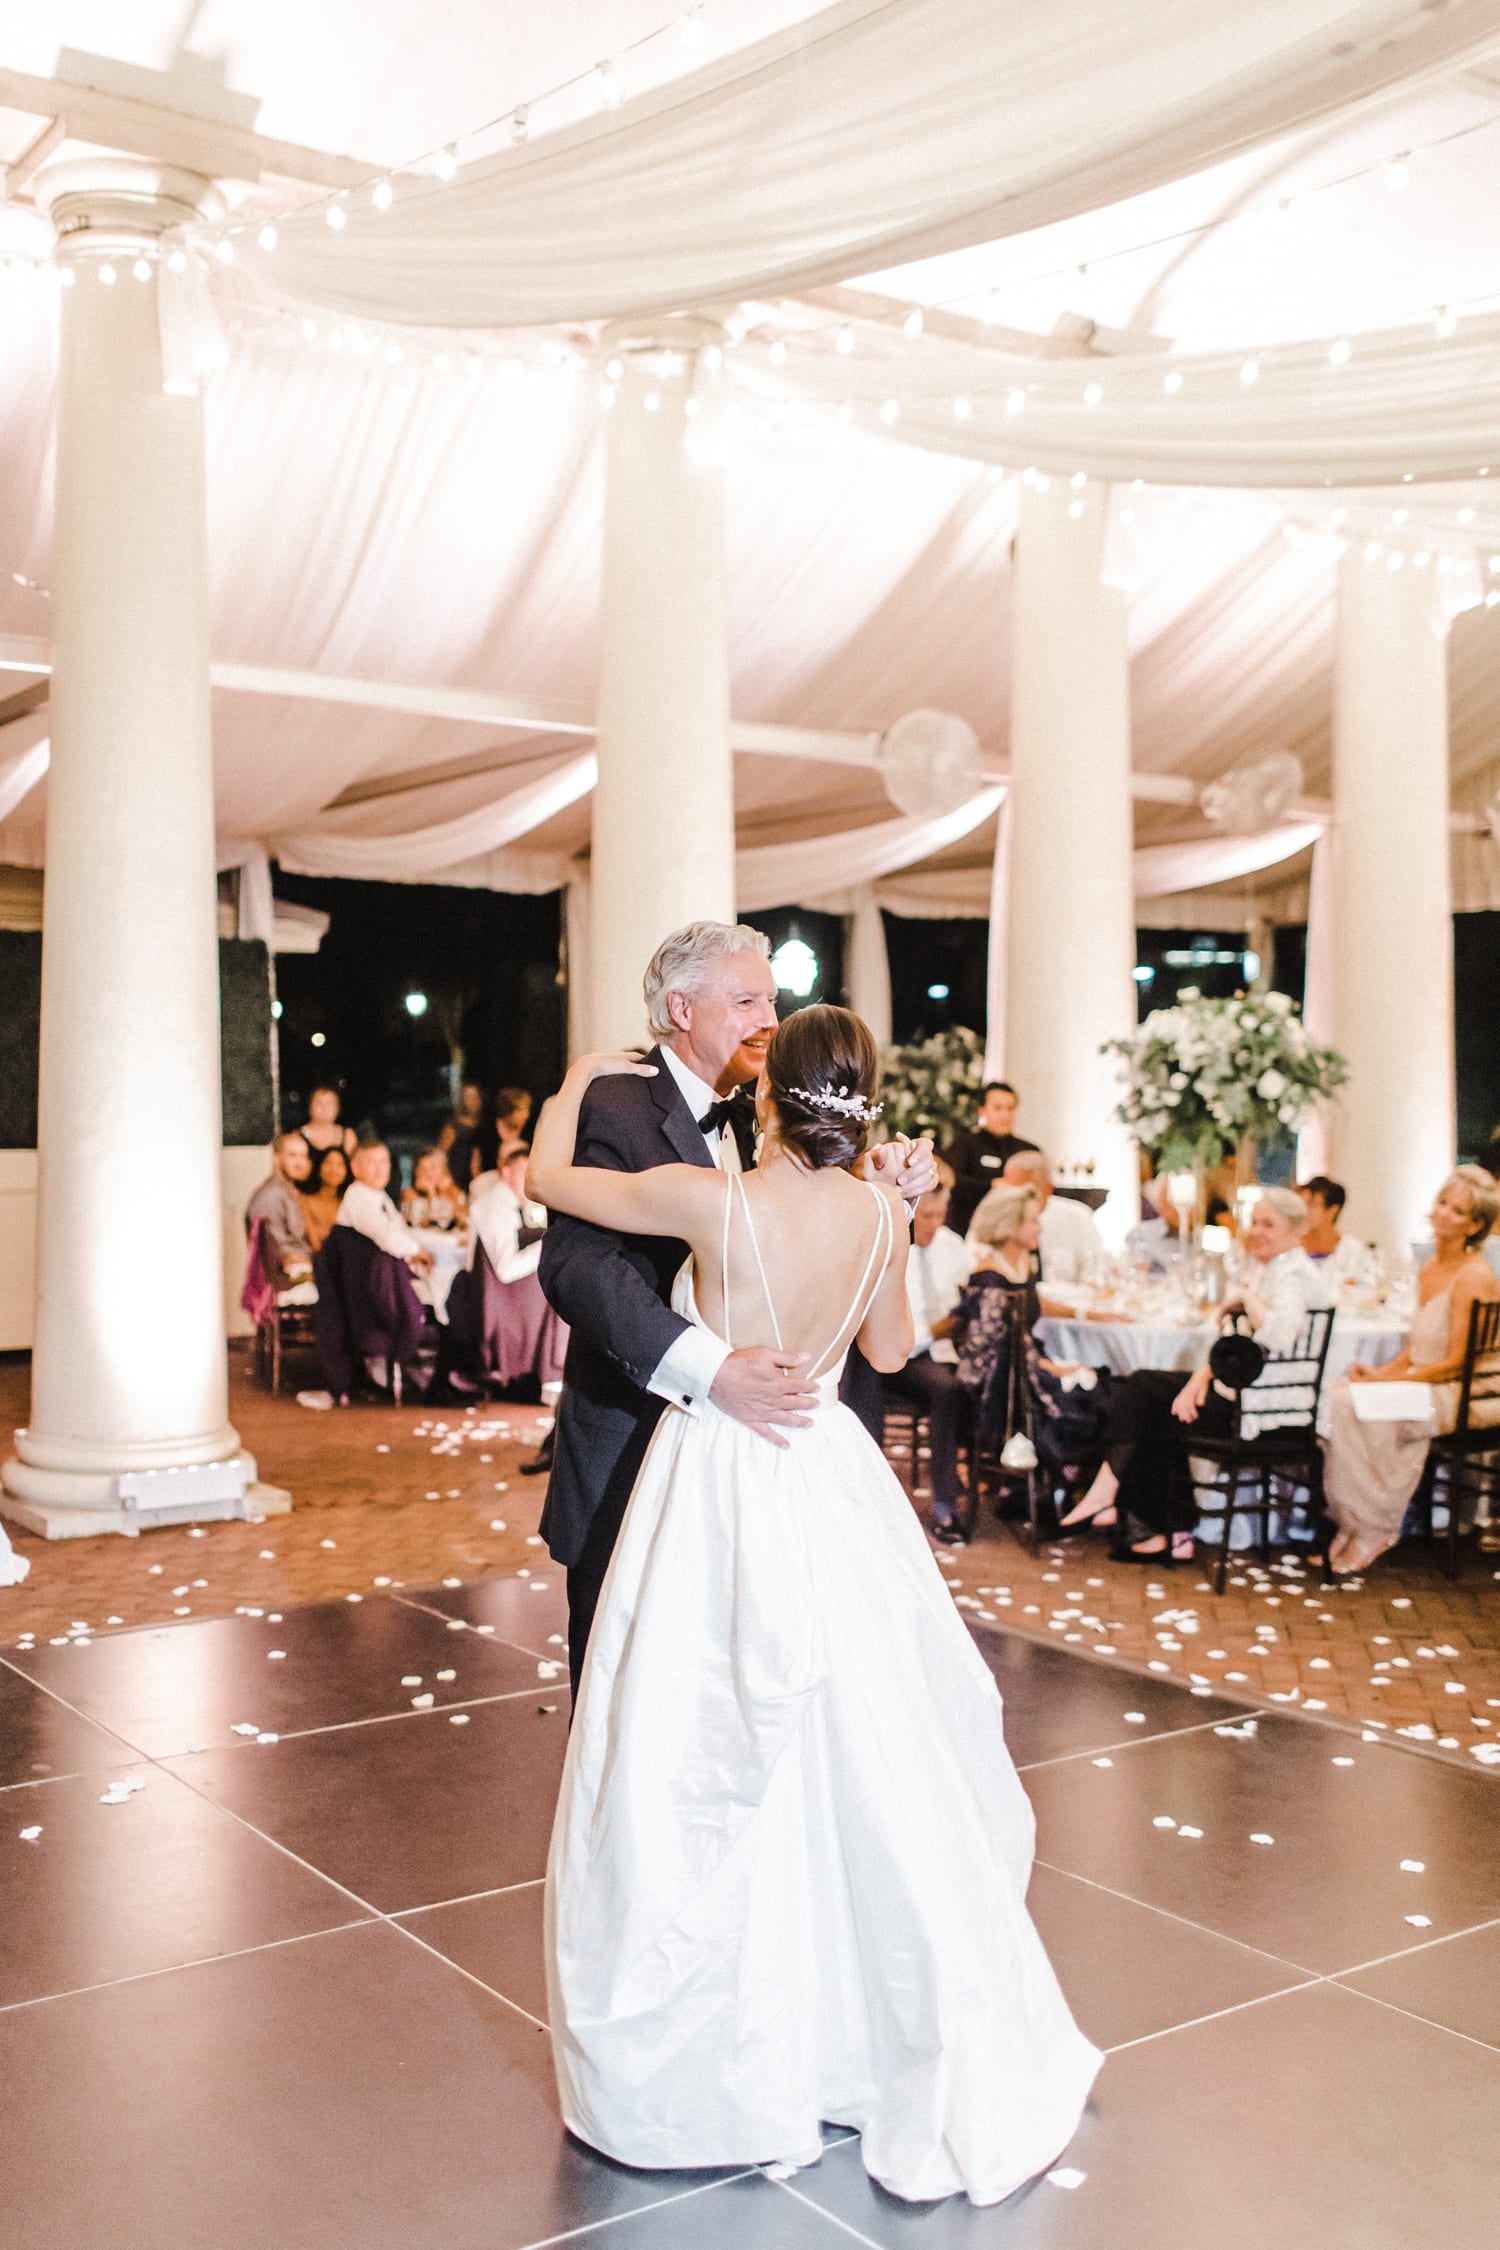
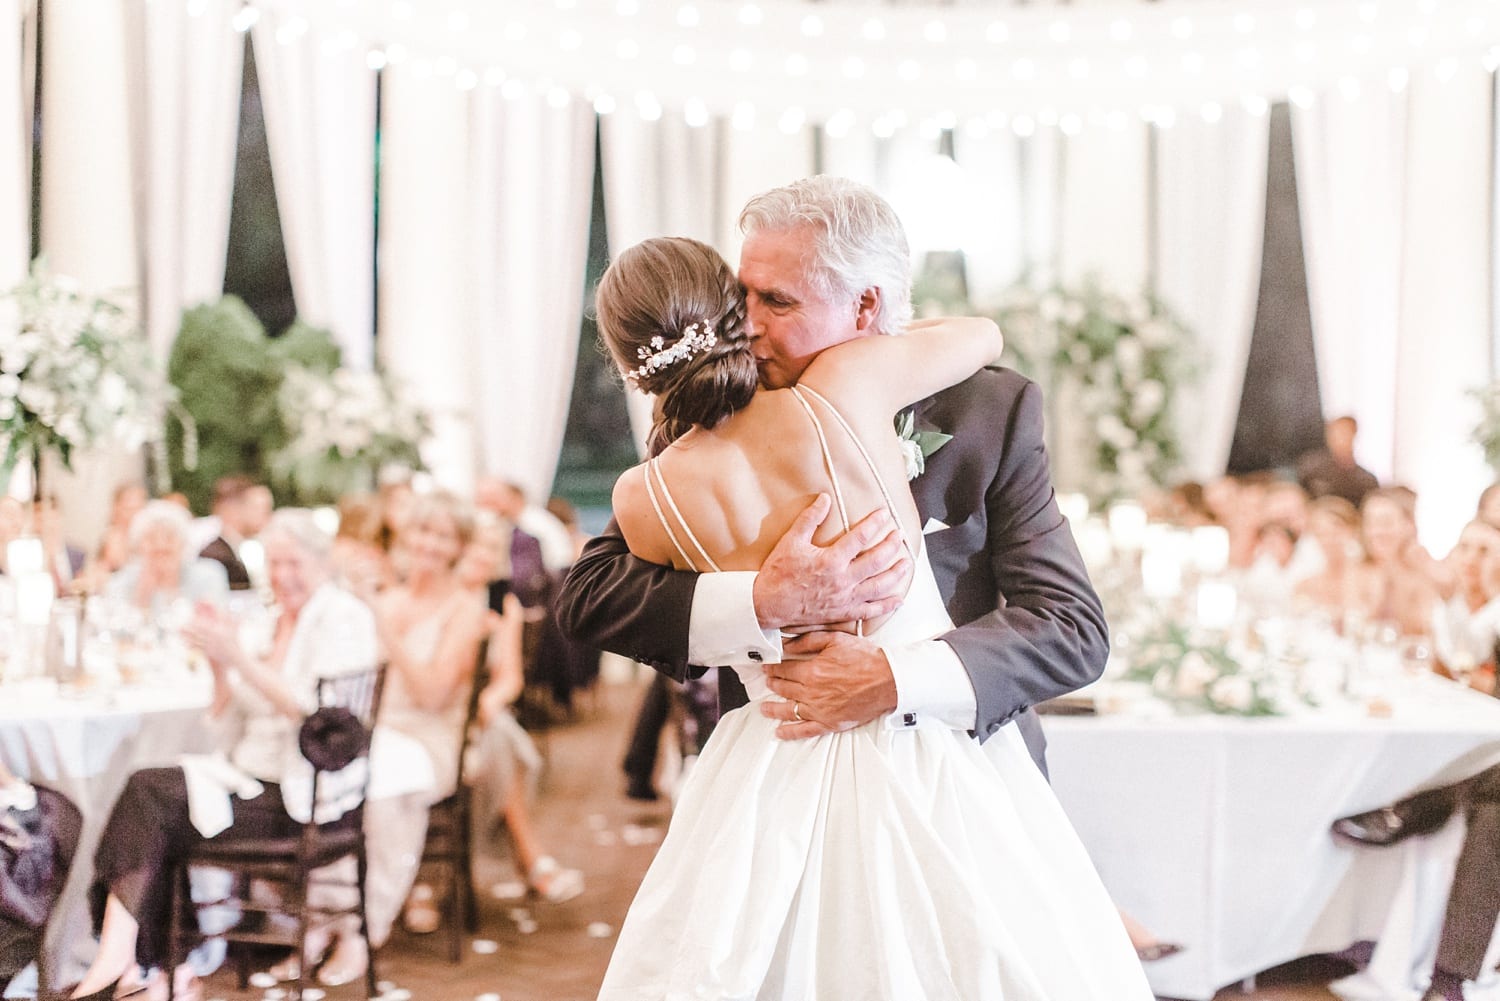
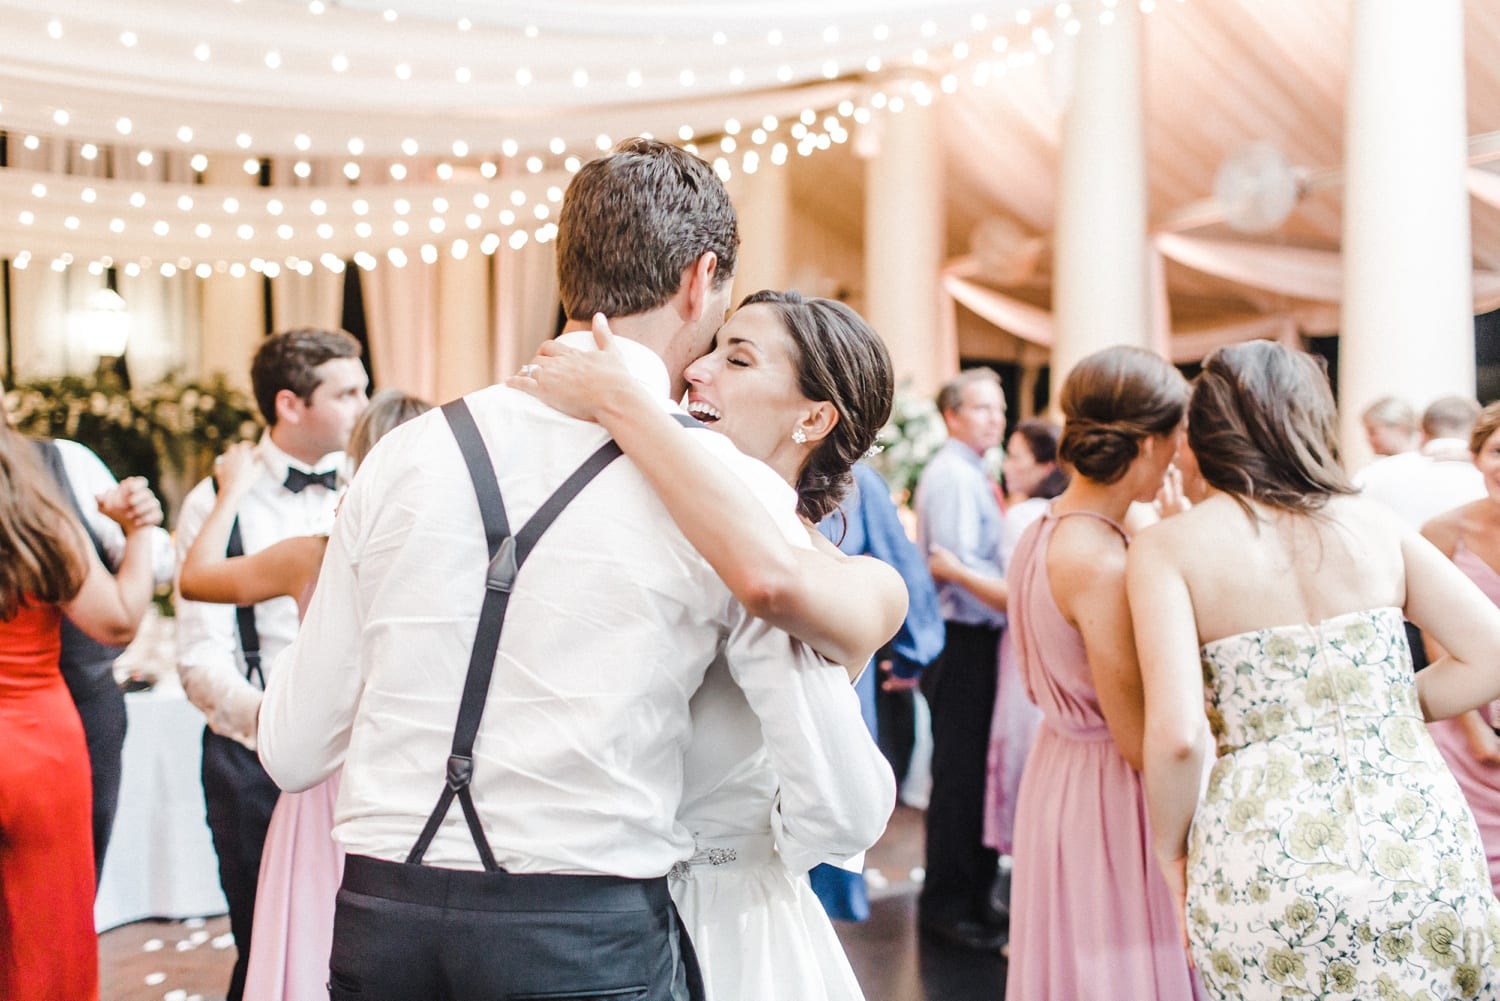
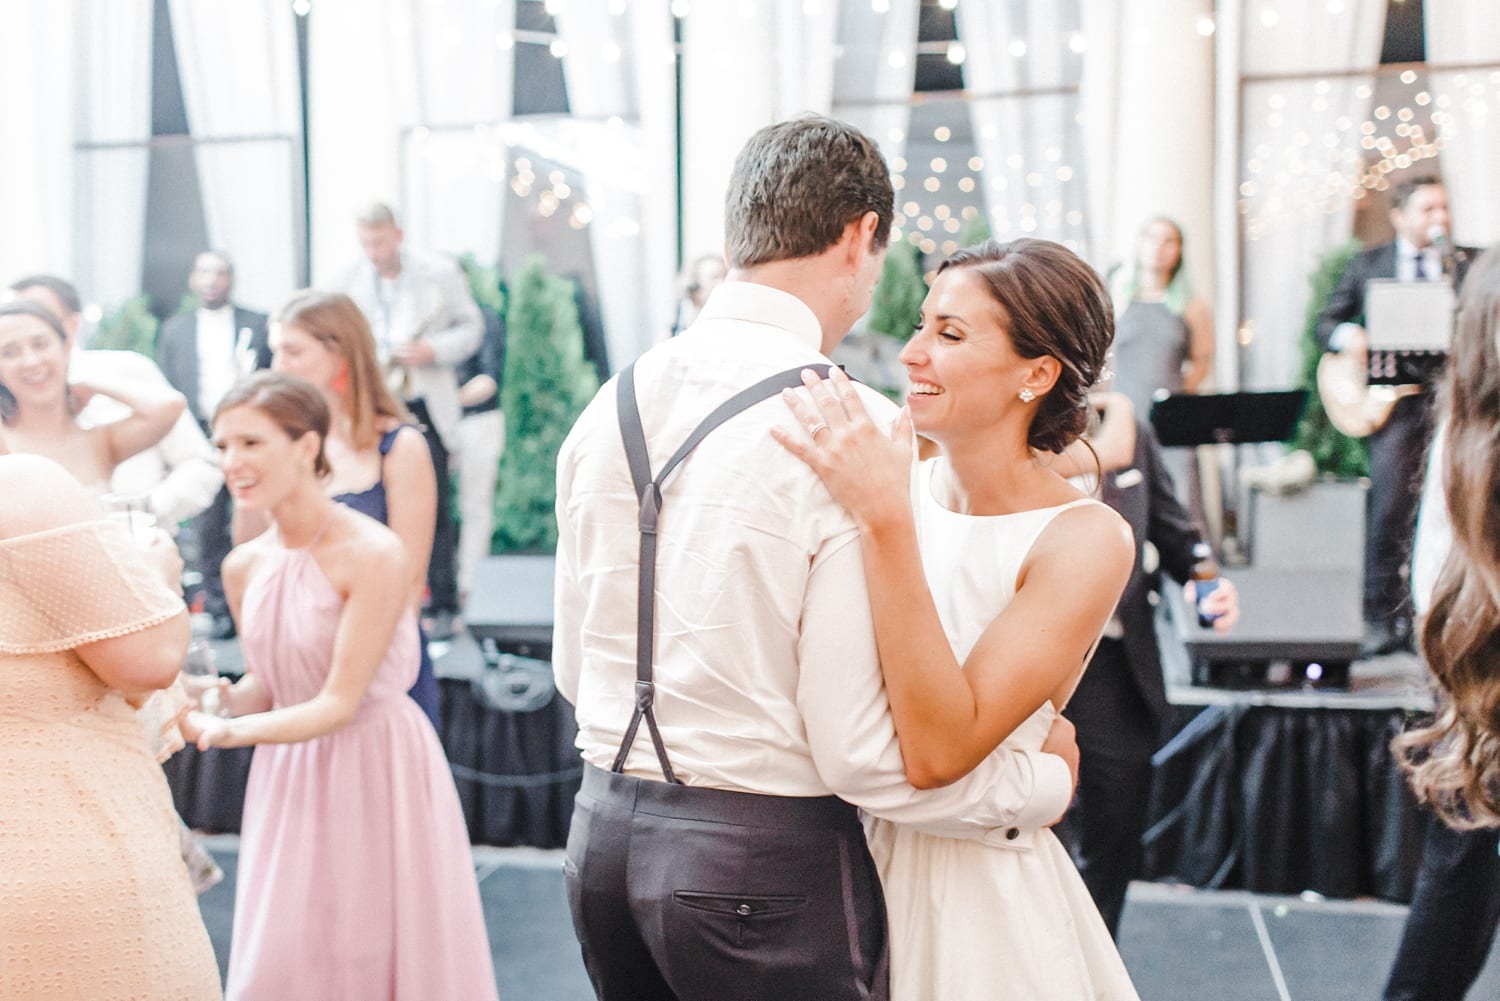
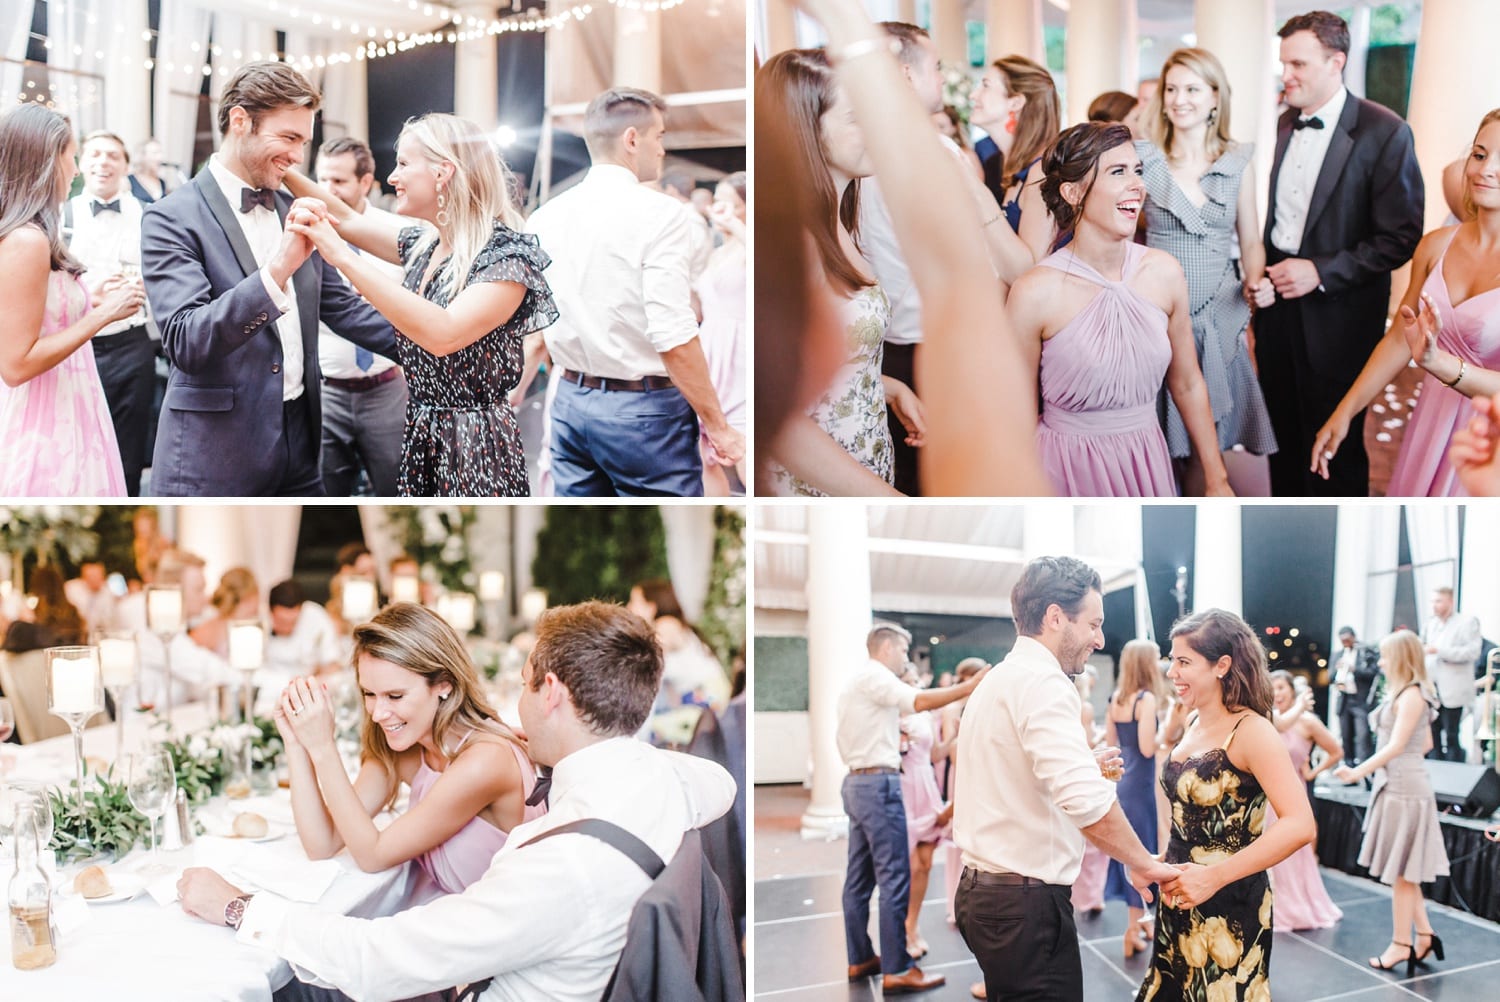
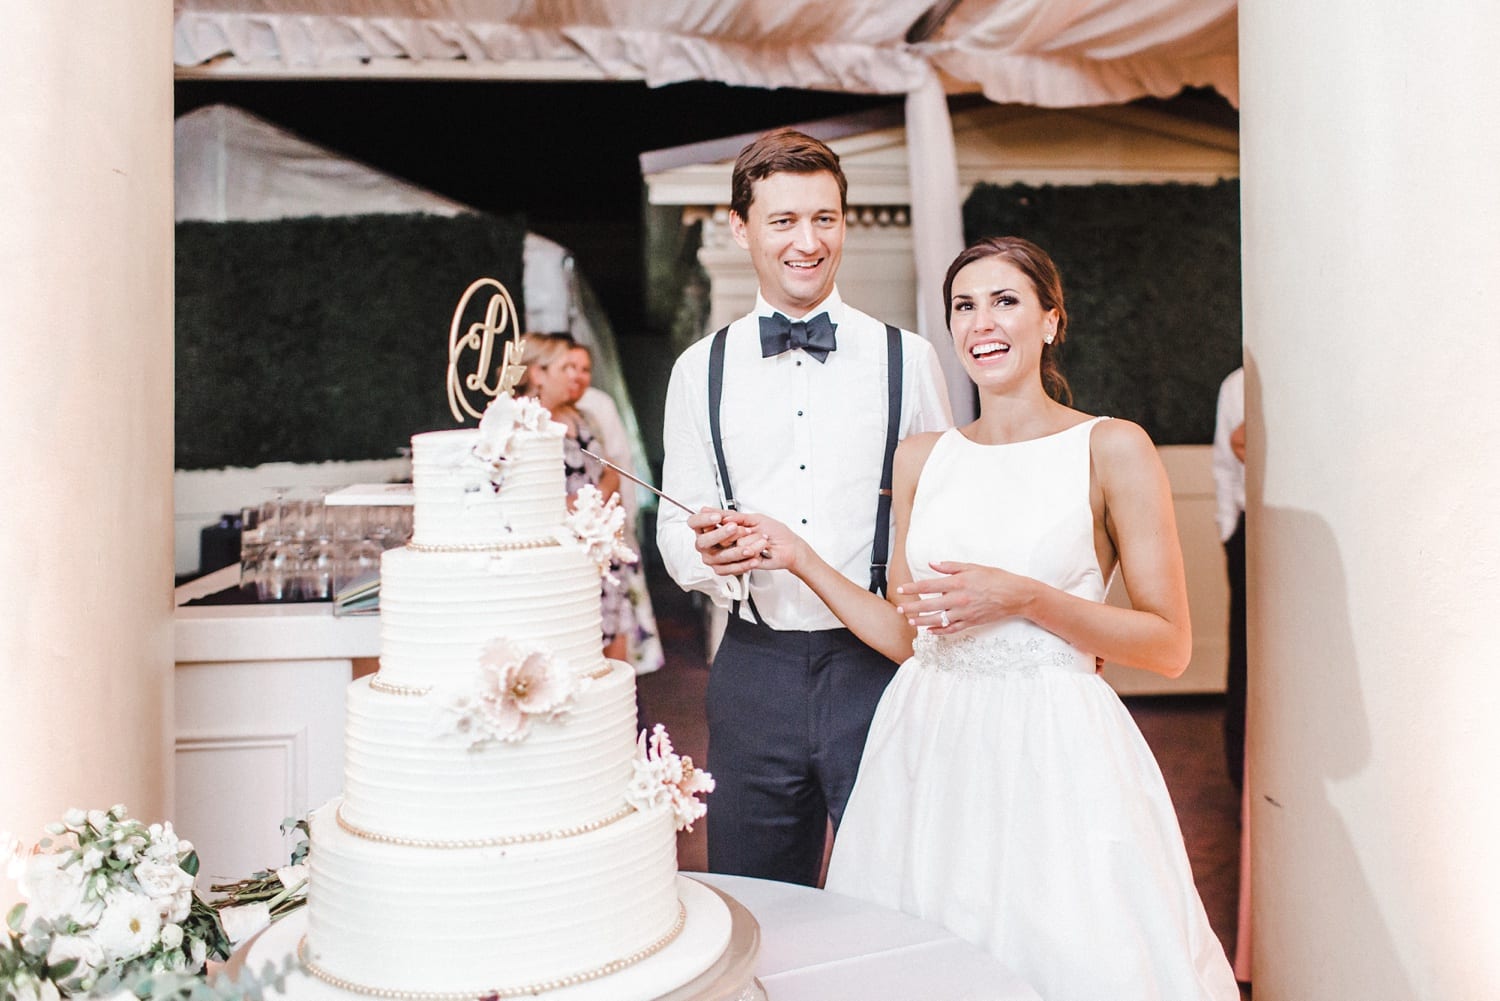
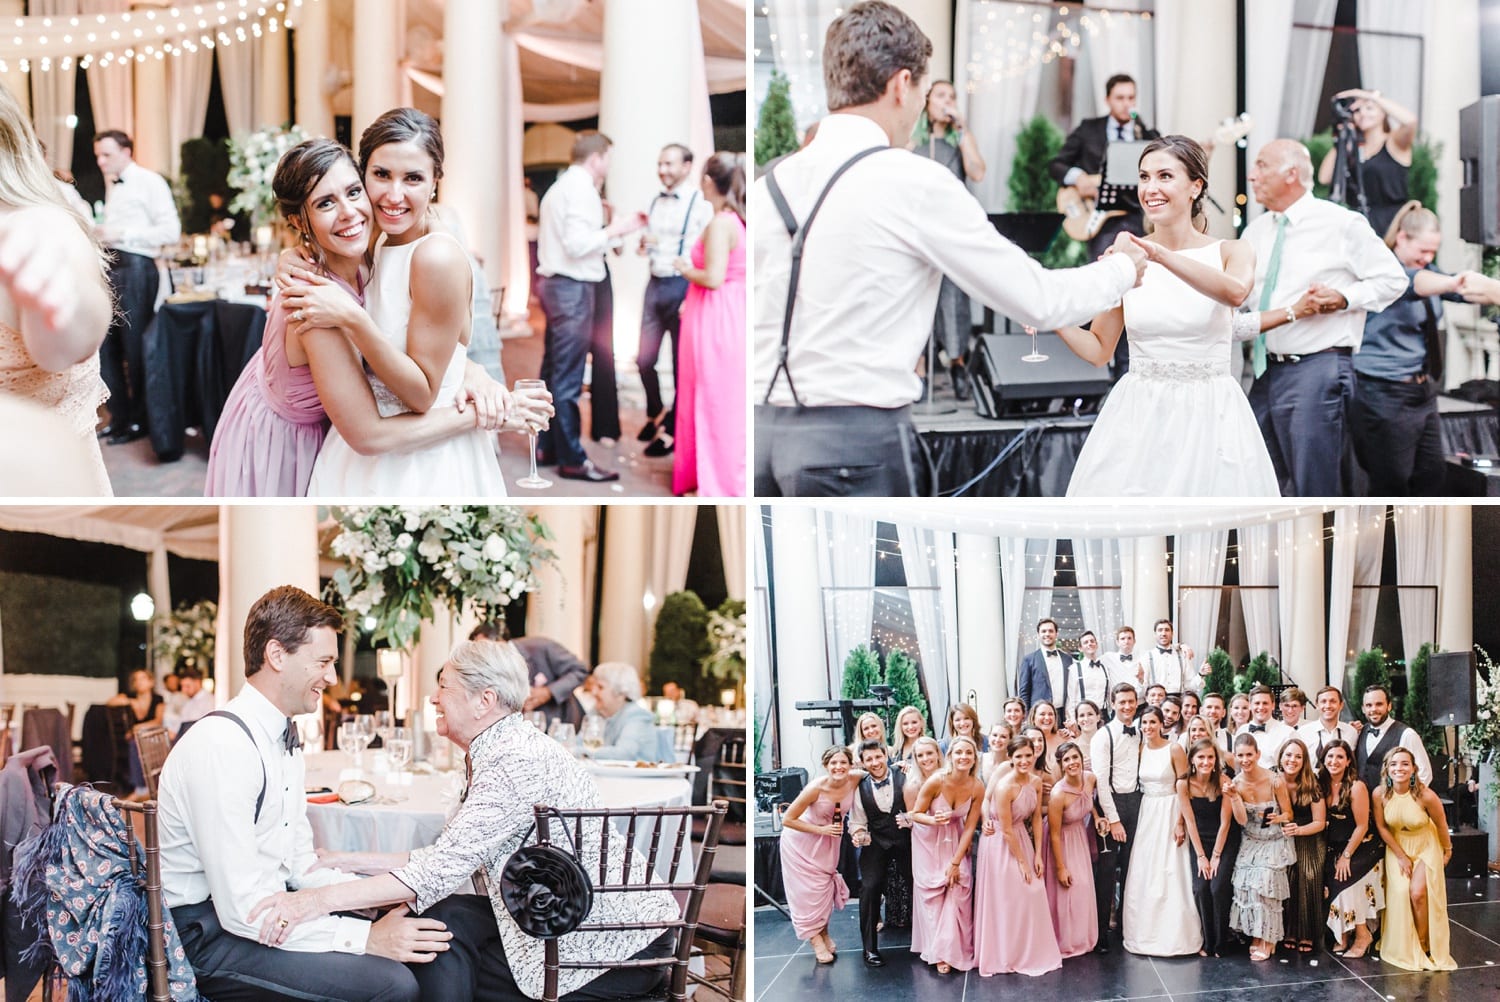
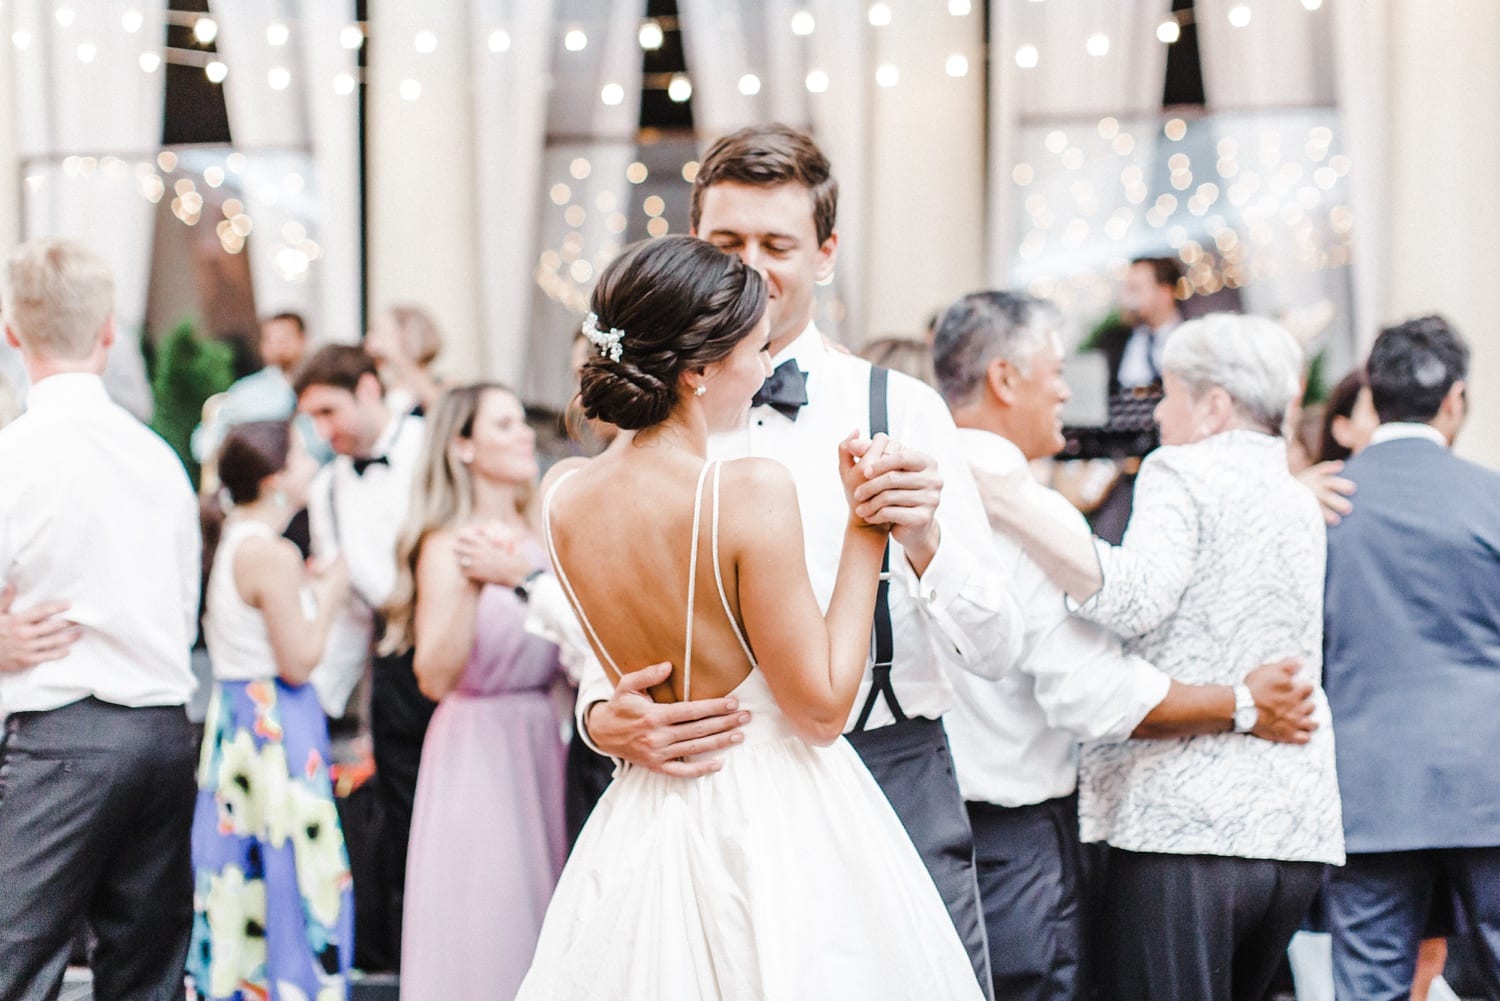
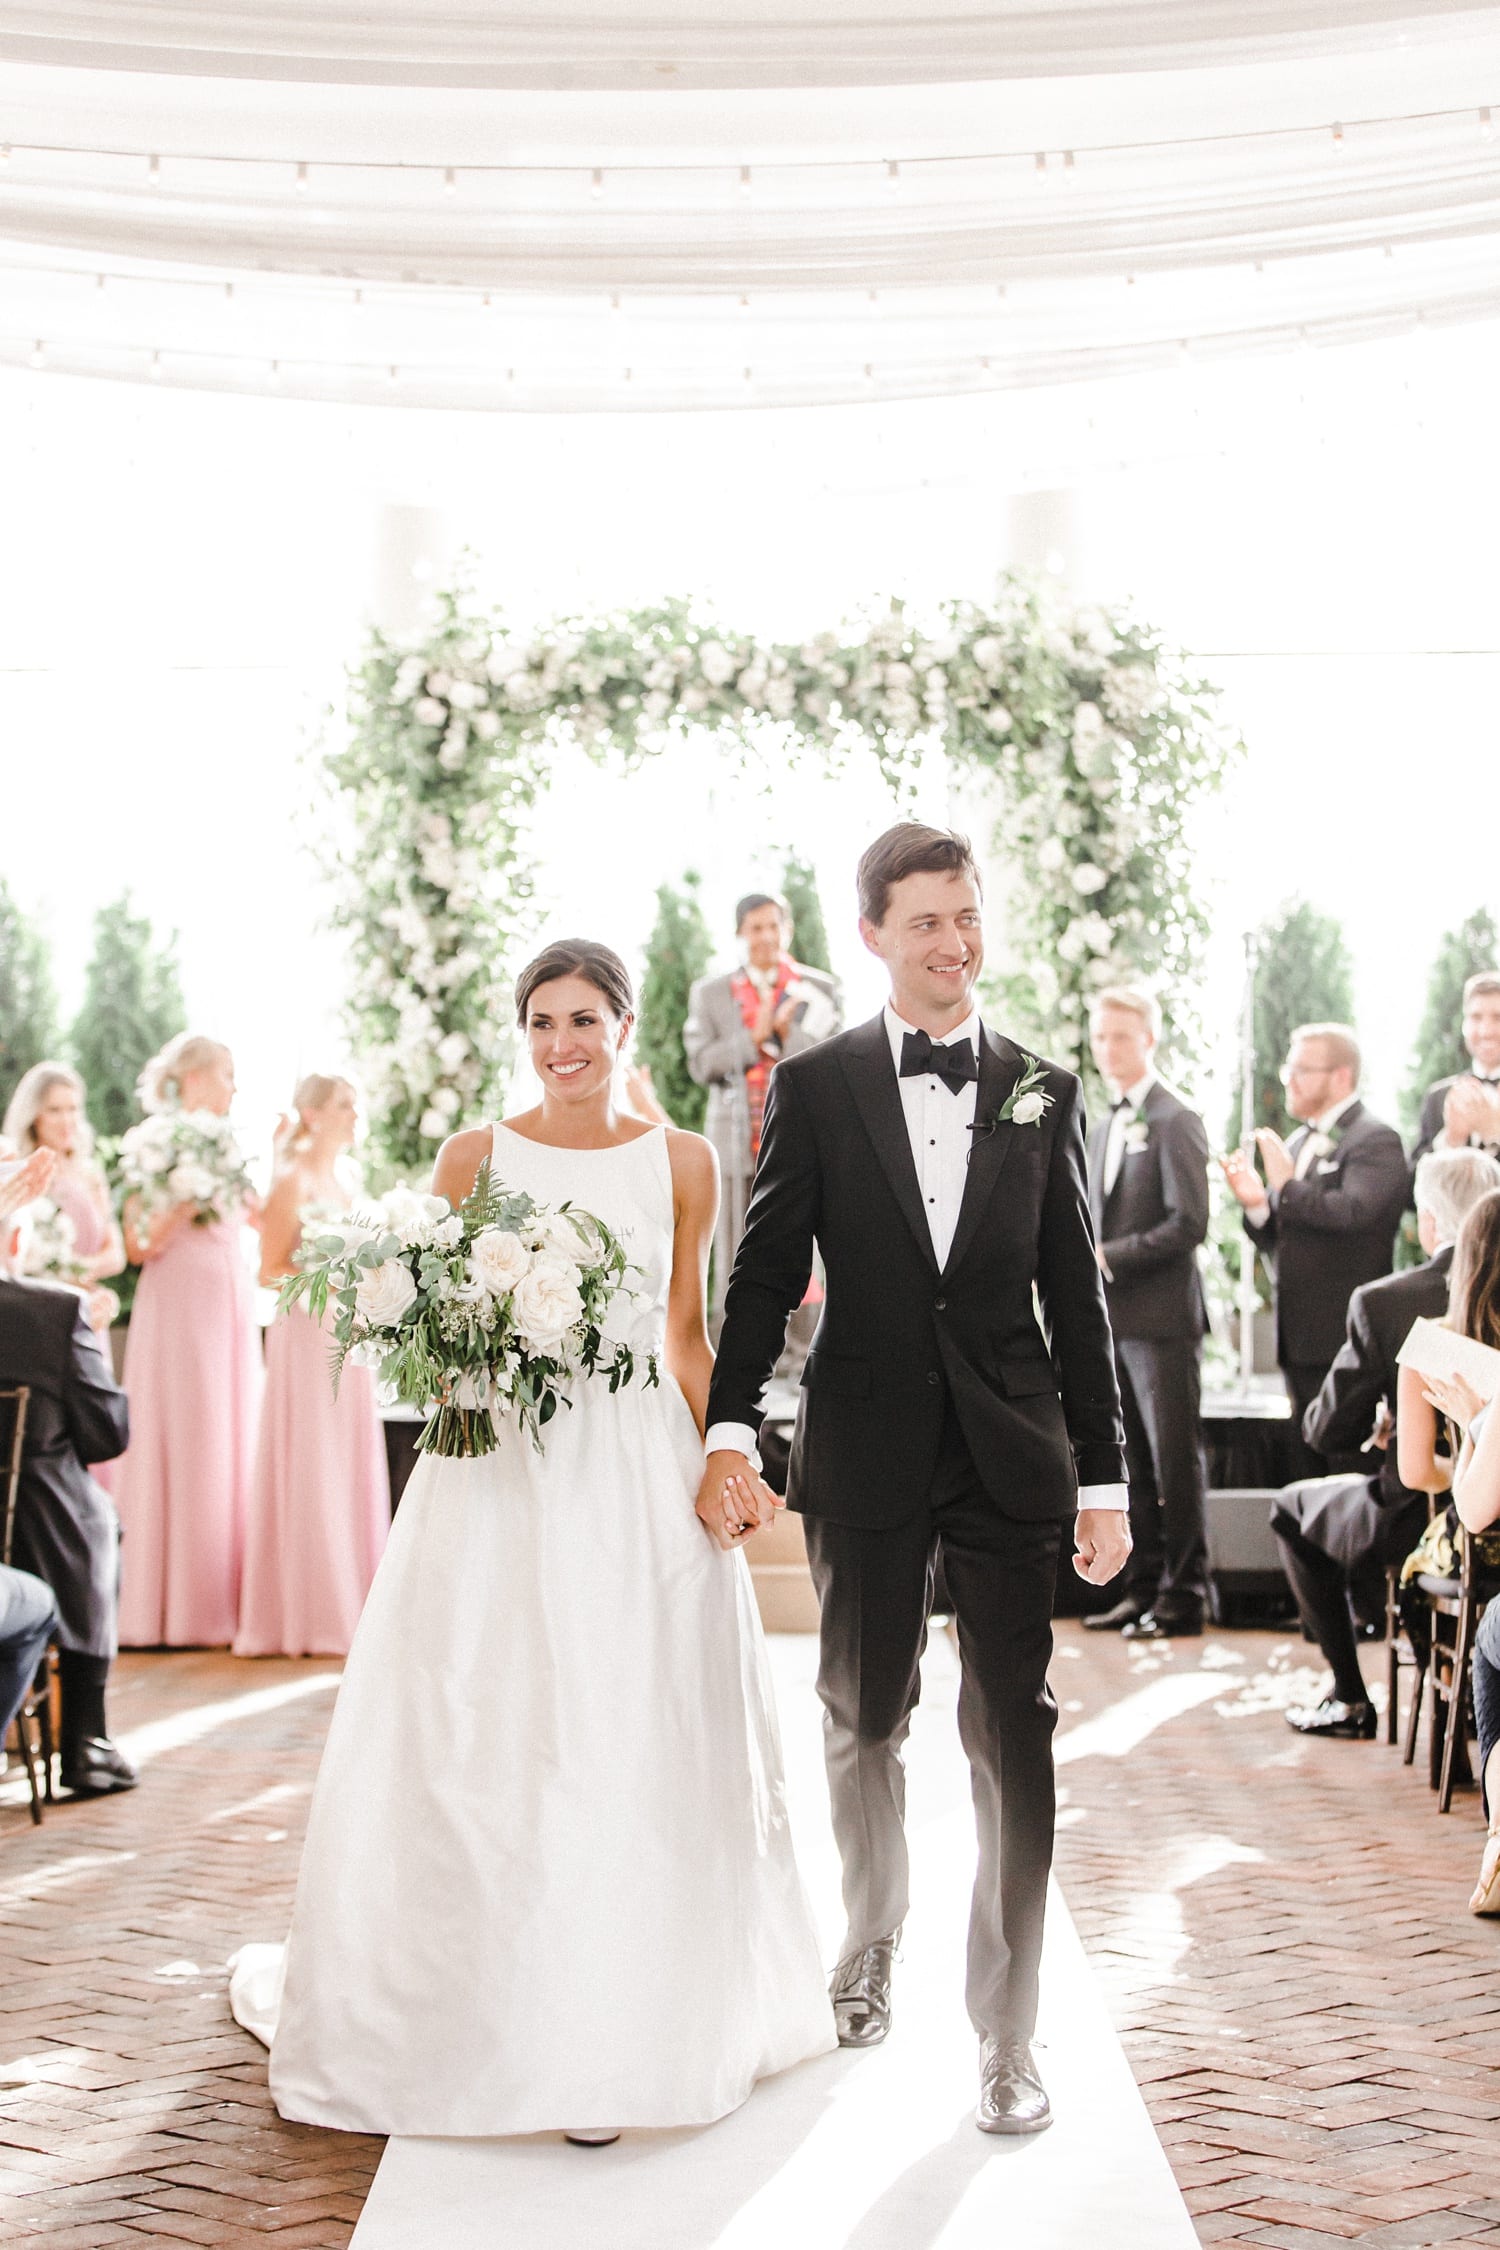
This day was A DECADE in the making and it’s days like these that I find myself feeling SO grateful to get to do what I do. To be welcomed into such a sweet day, capture love, and document the legacy relationships that surround a couple on their wedding day… it’s all so close to my heart.

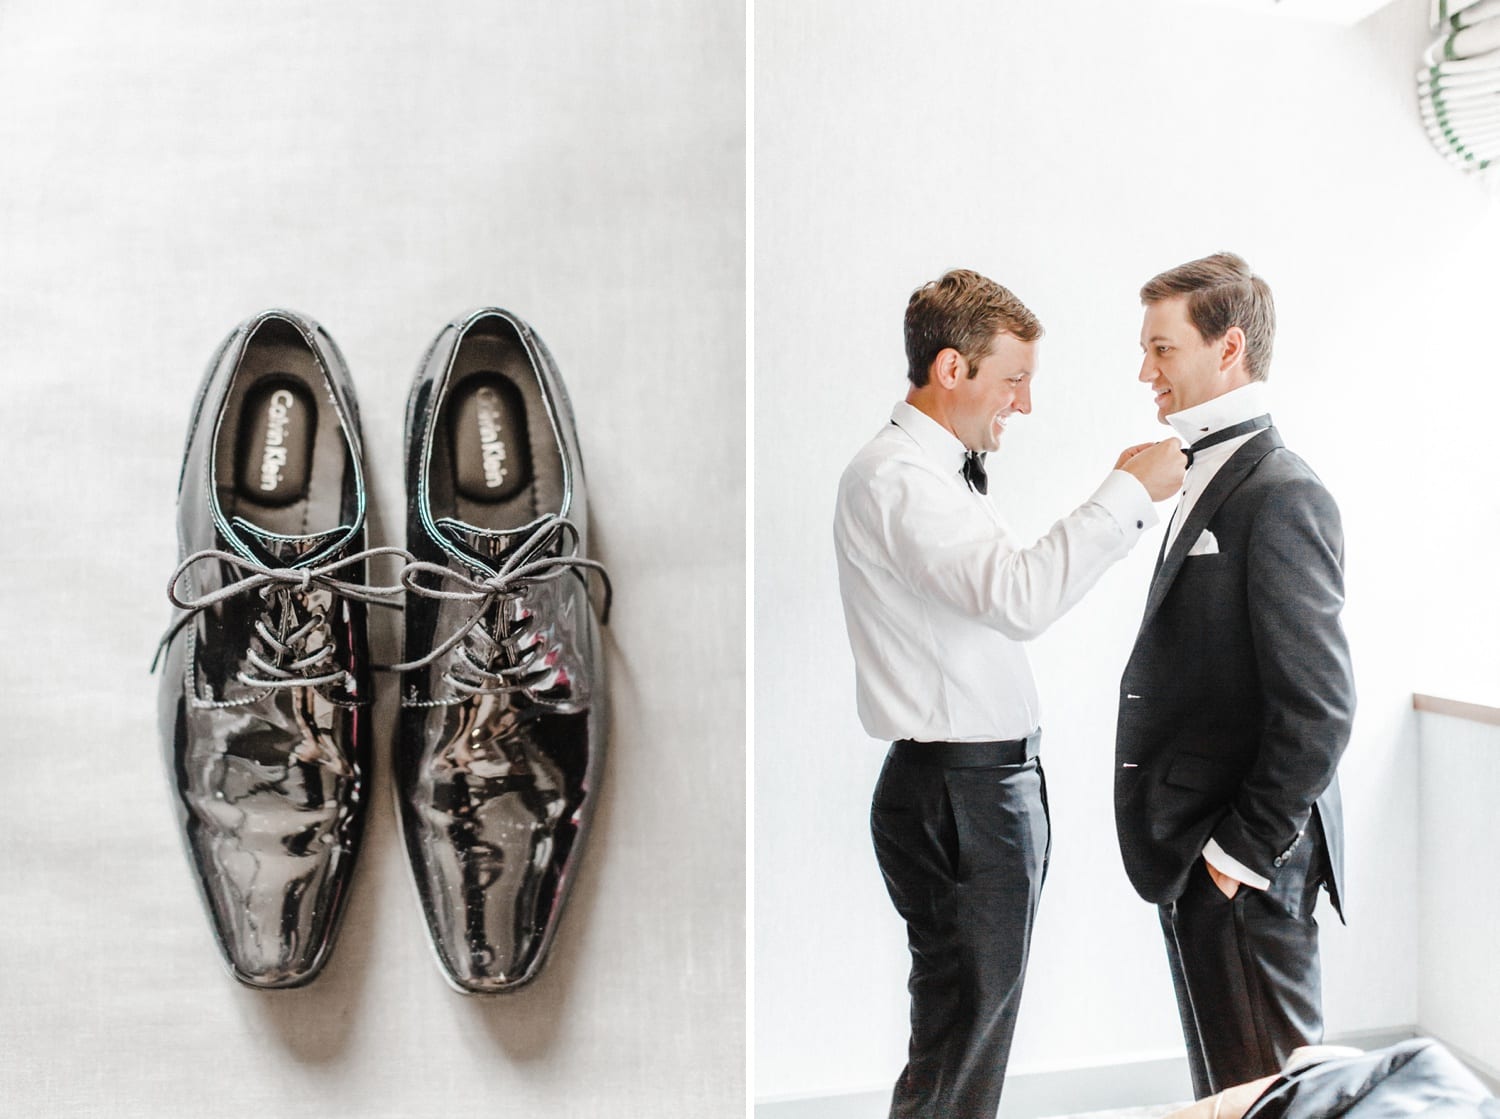
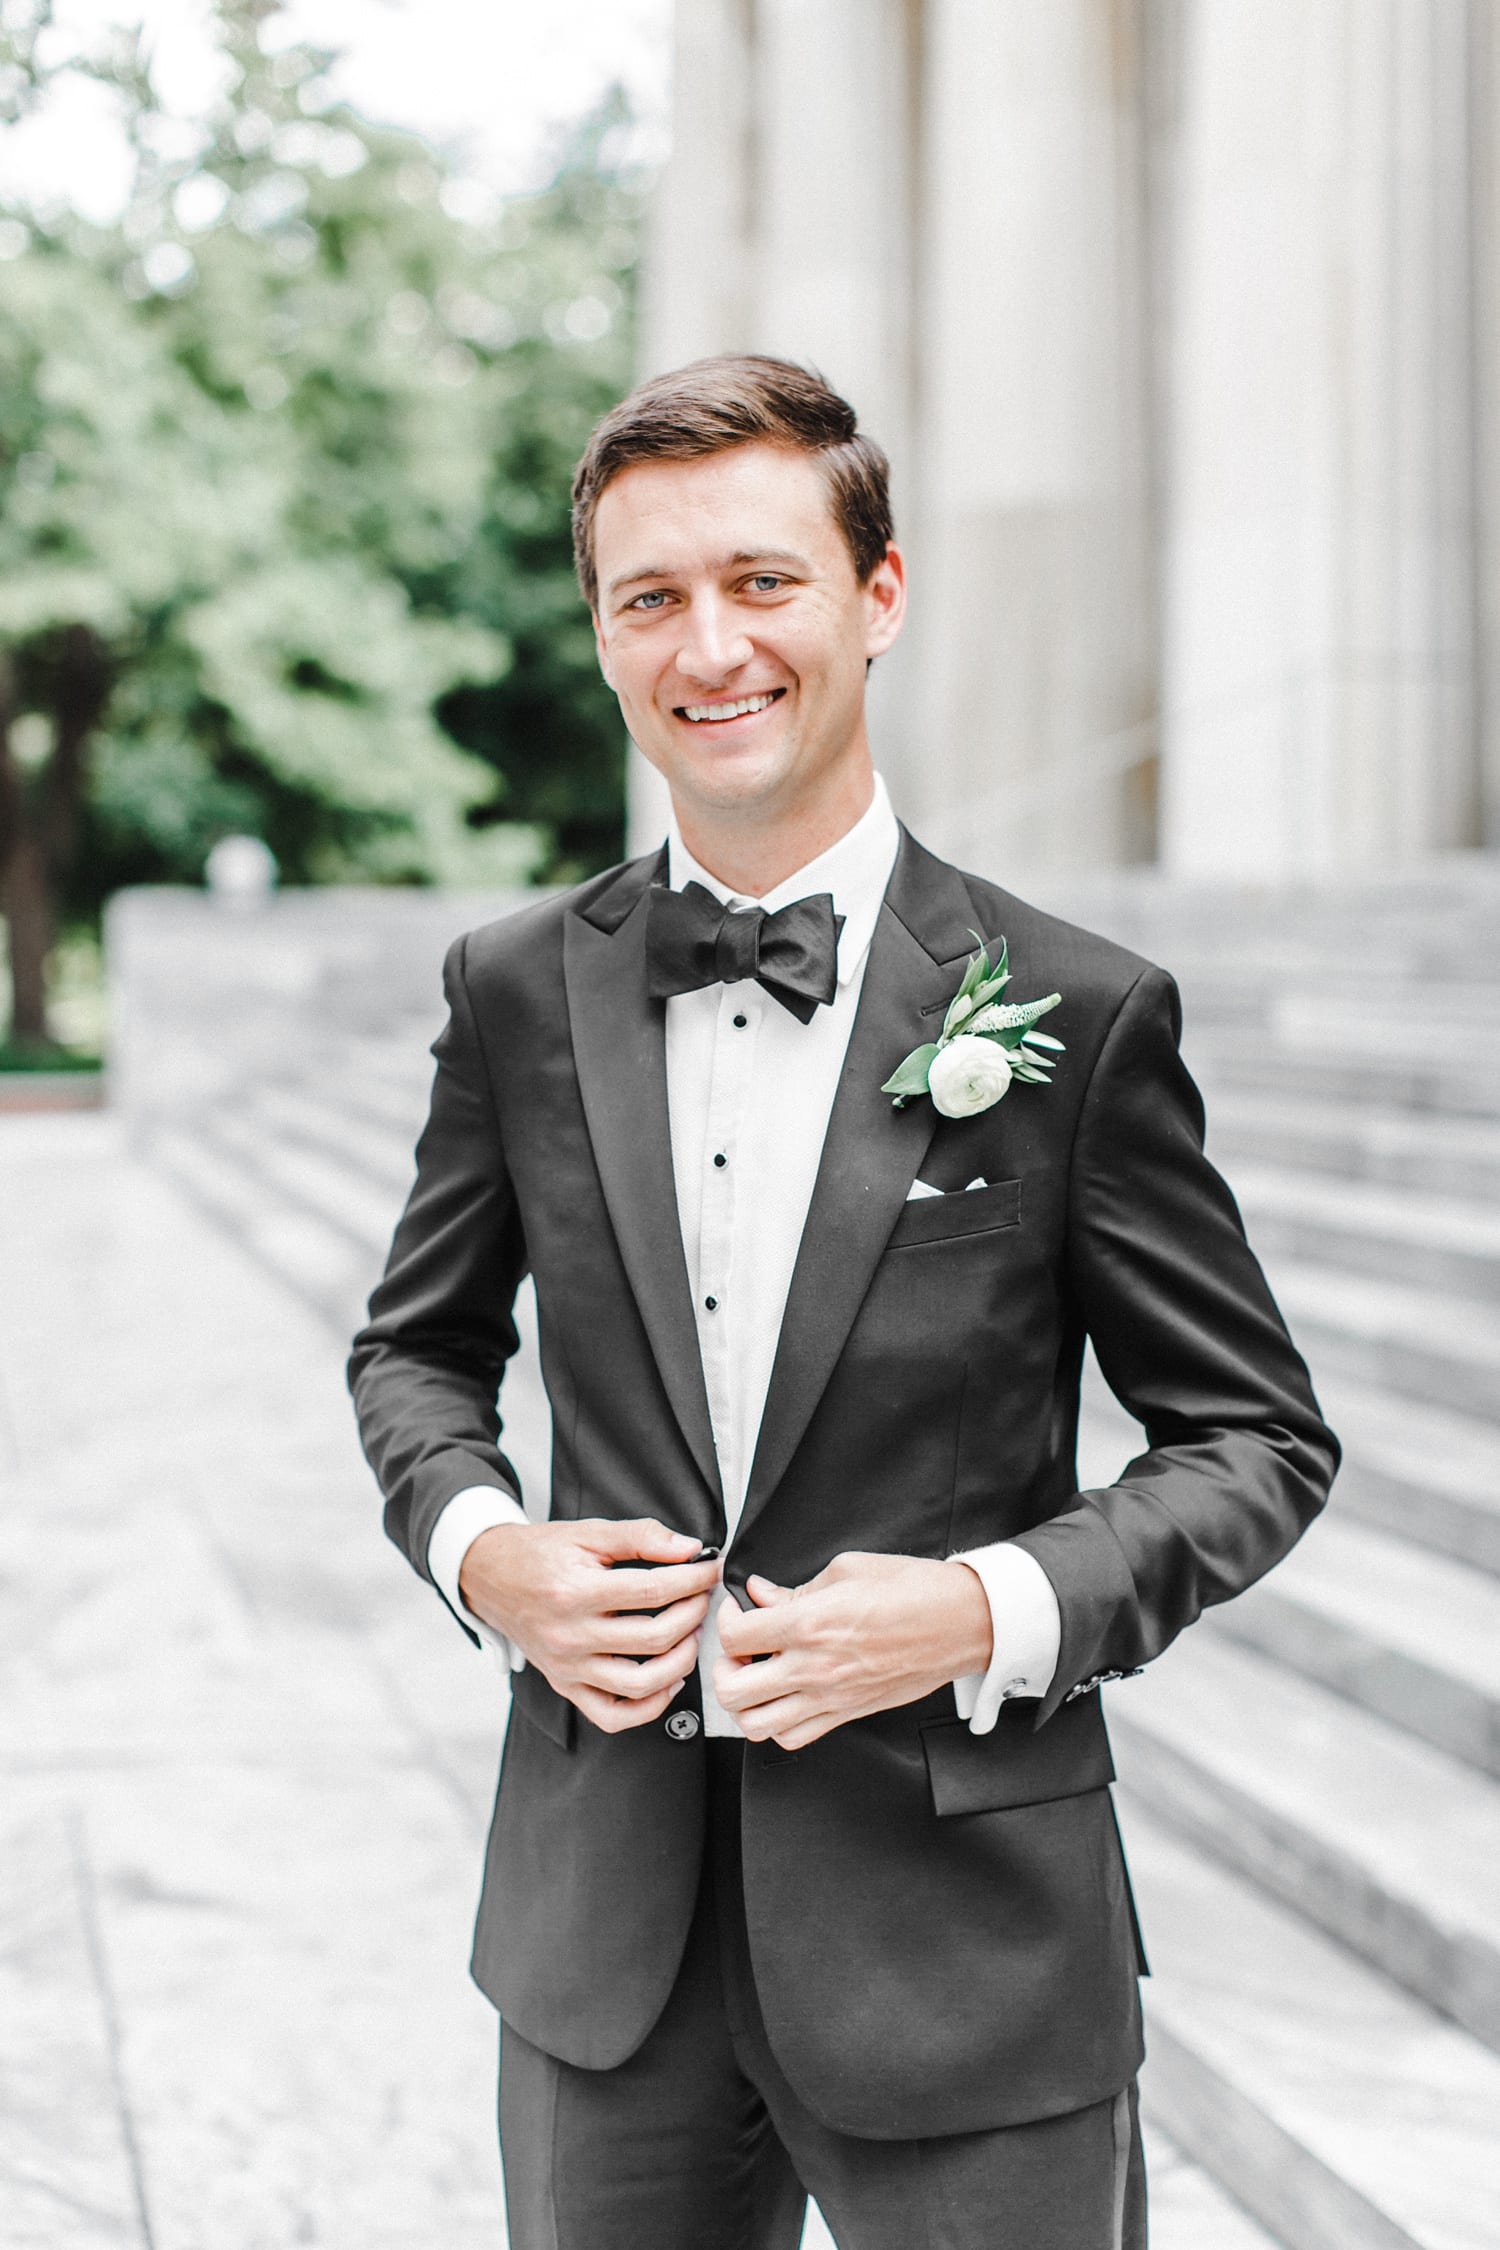
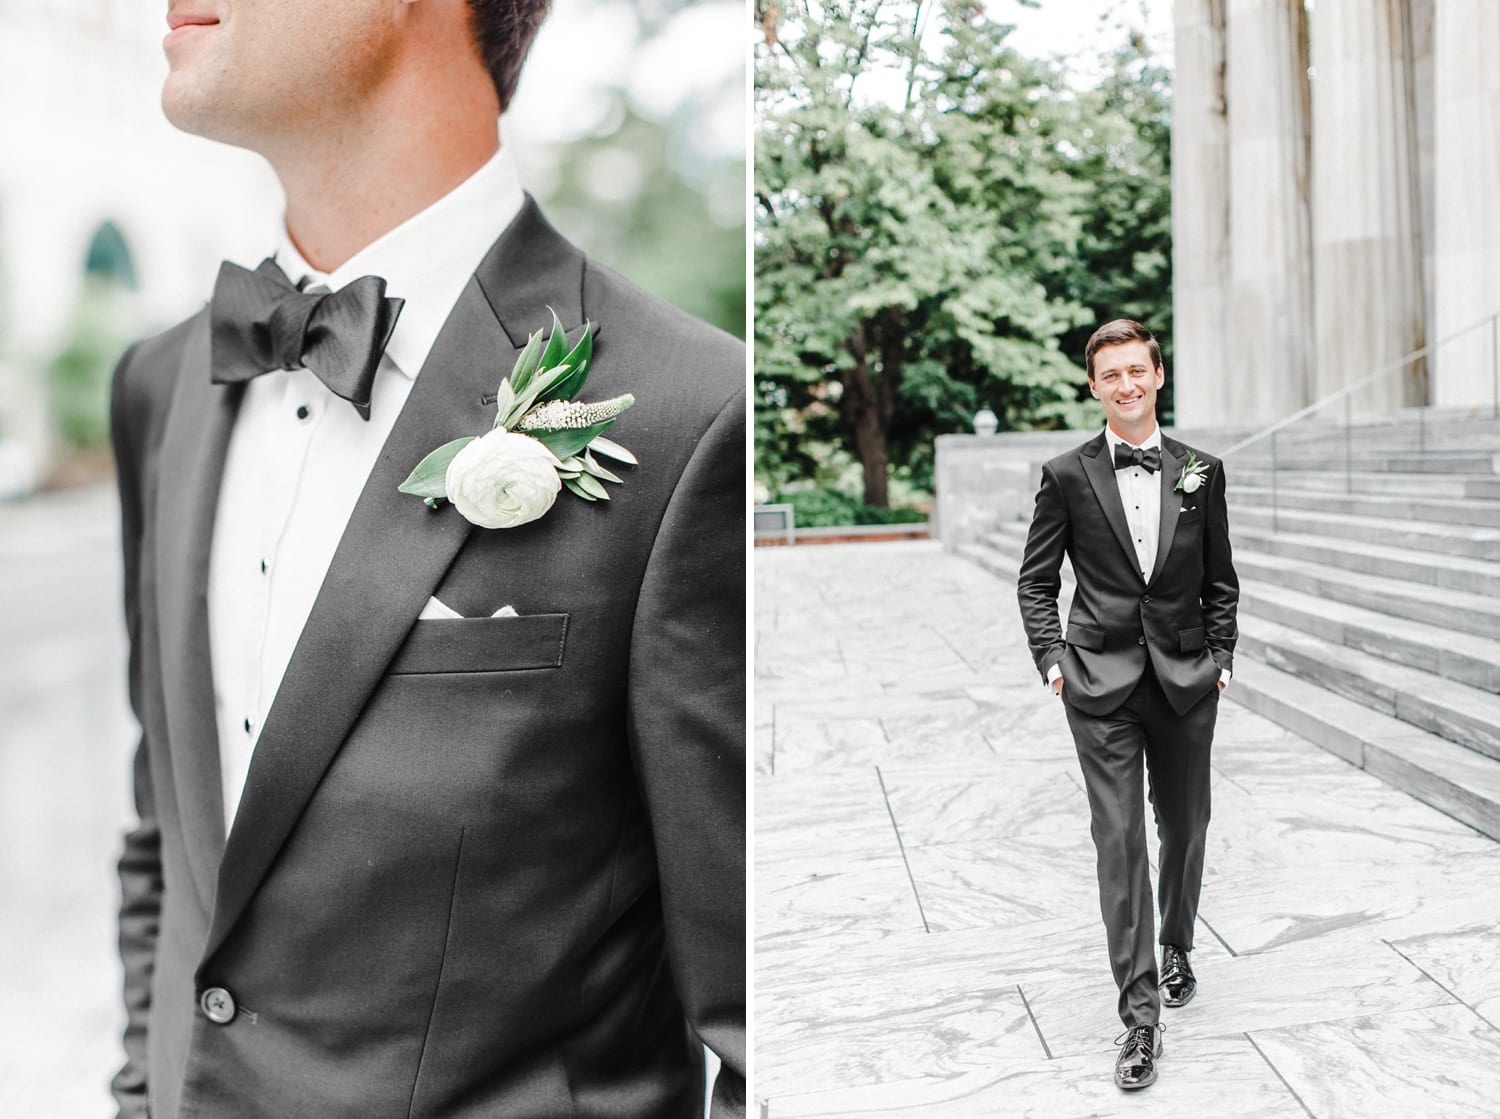
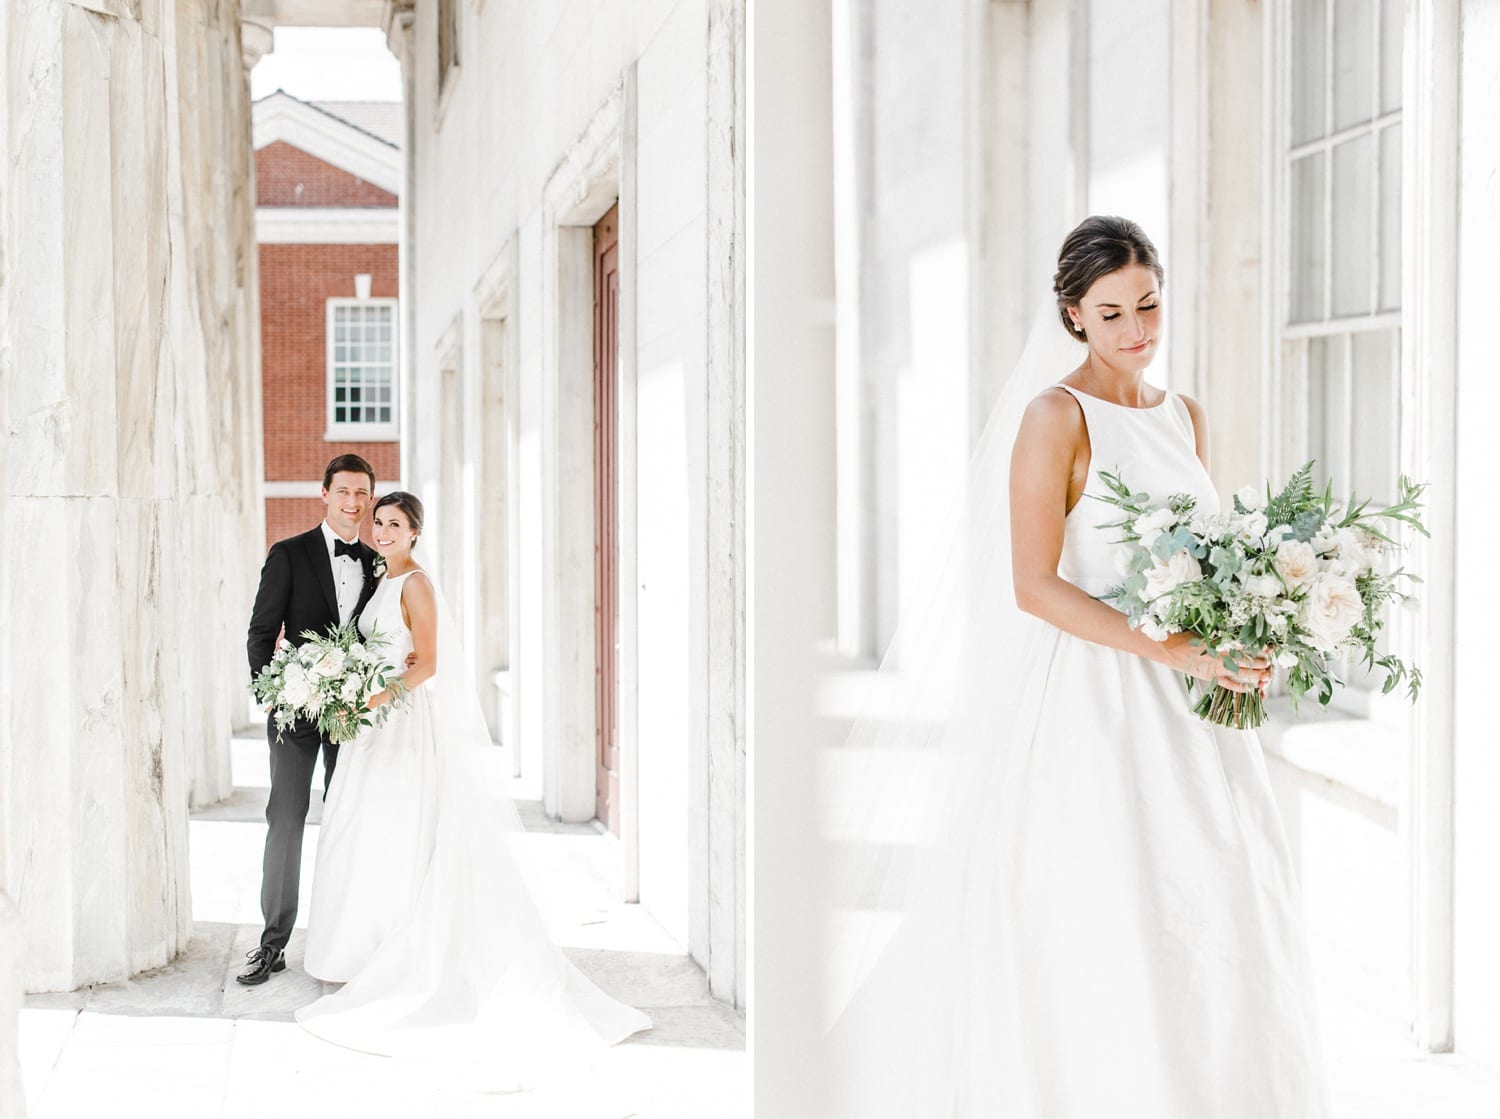
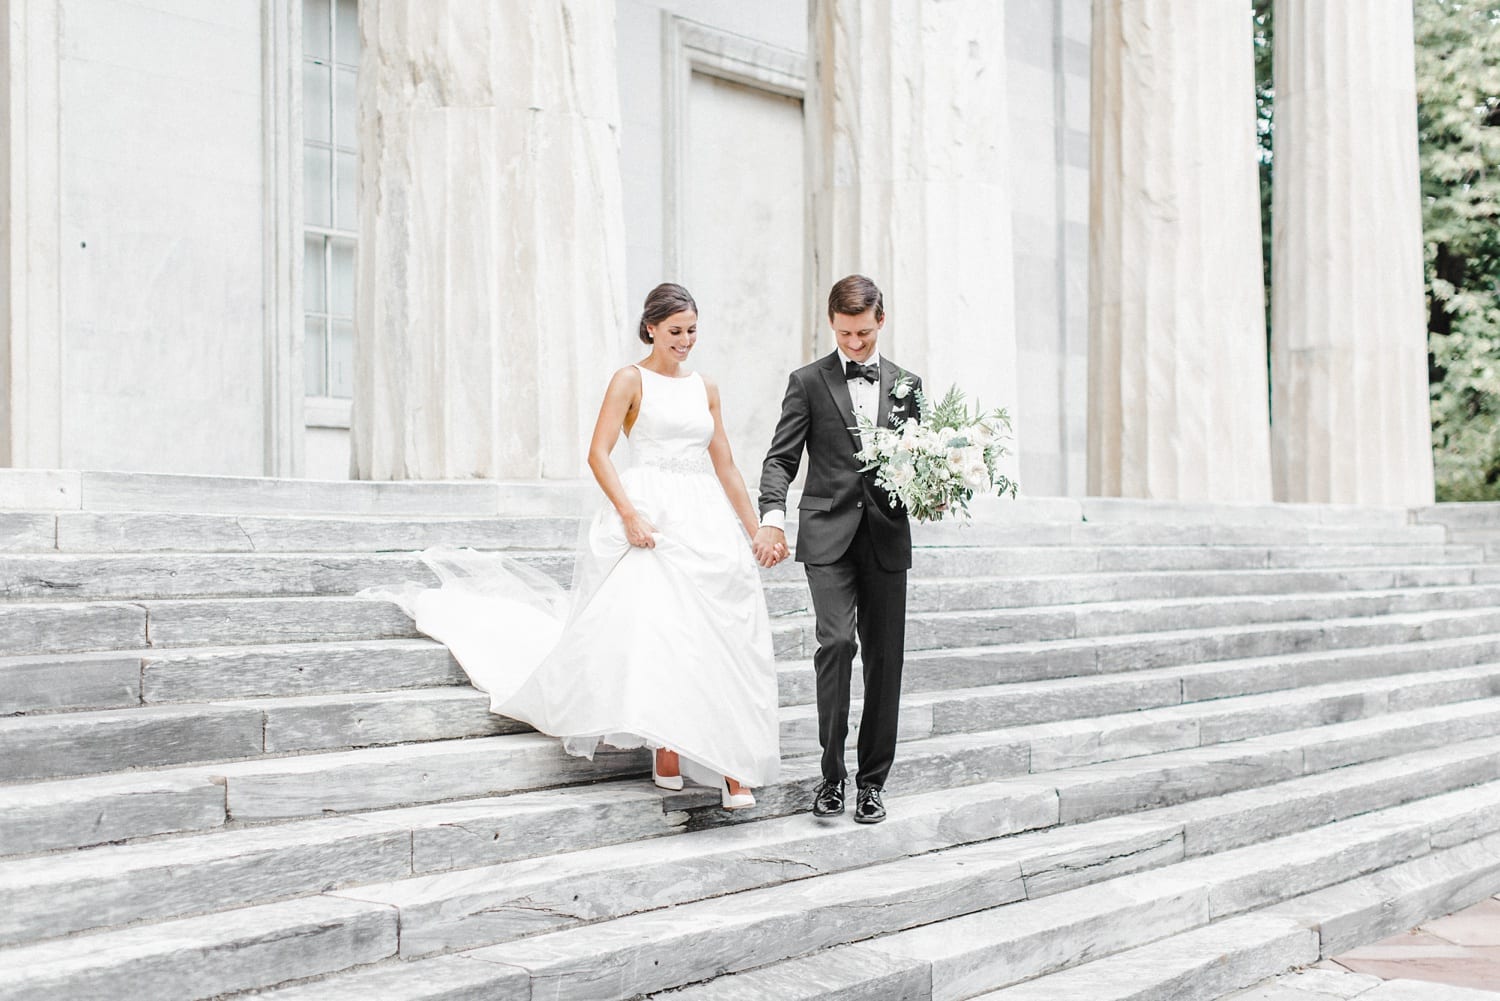
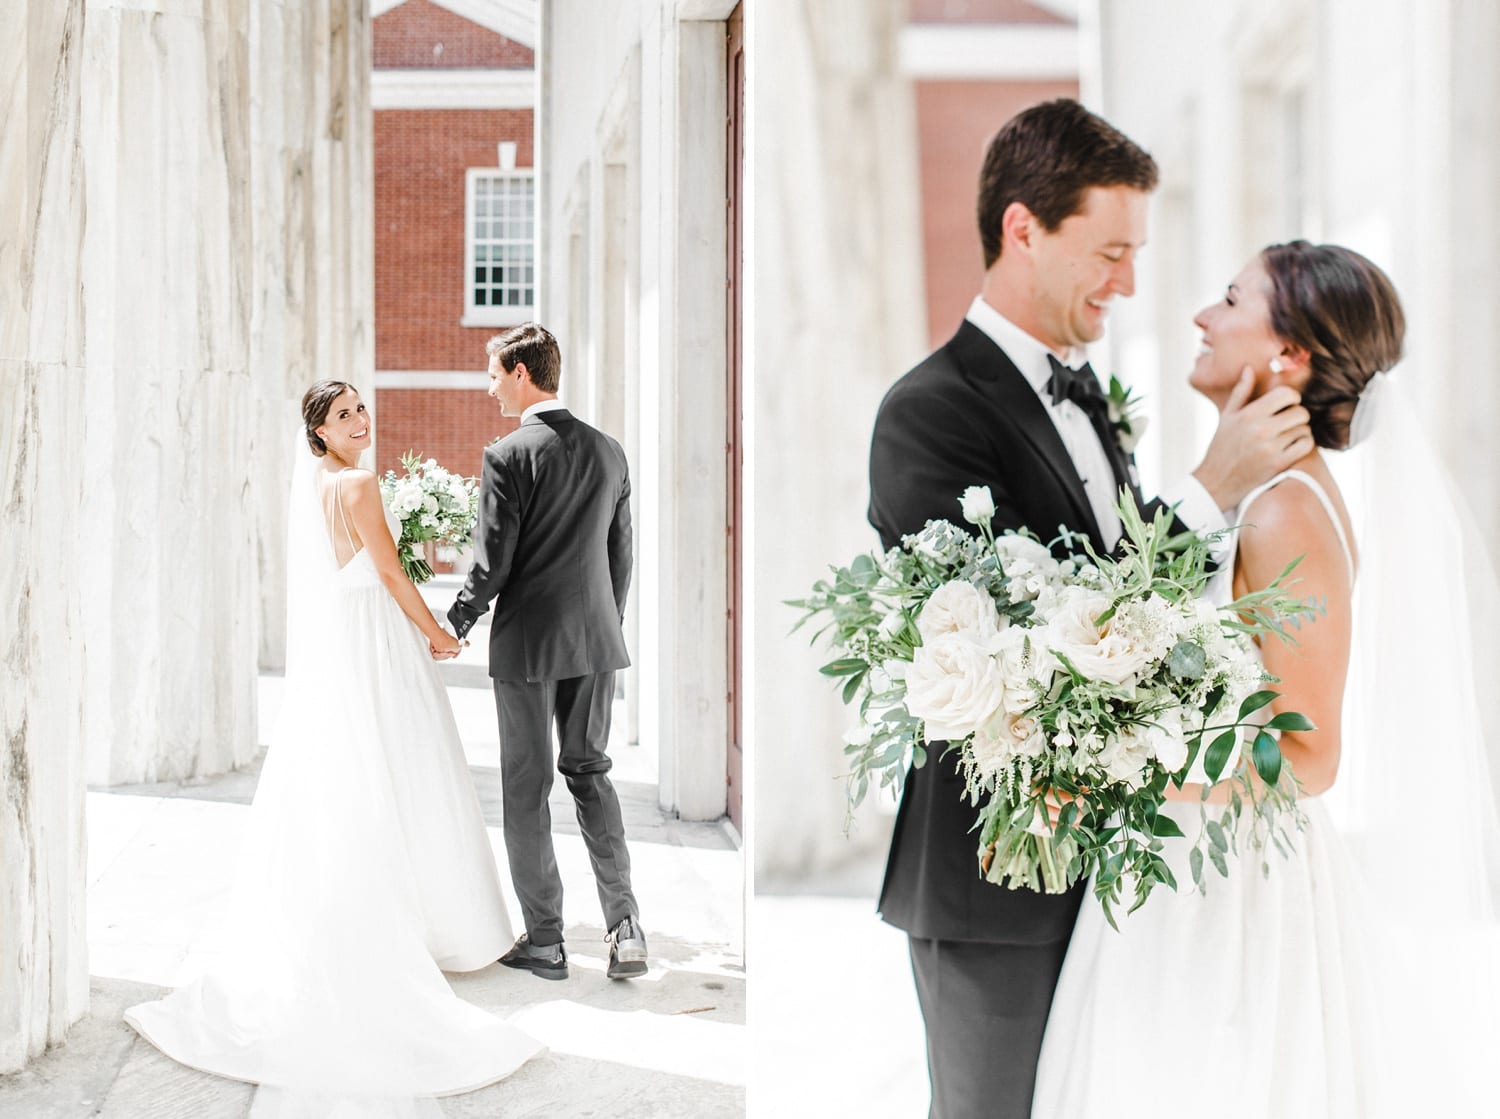
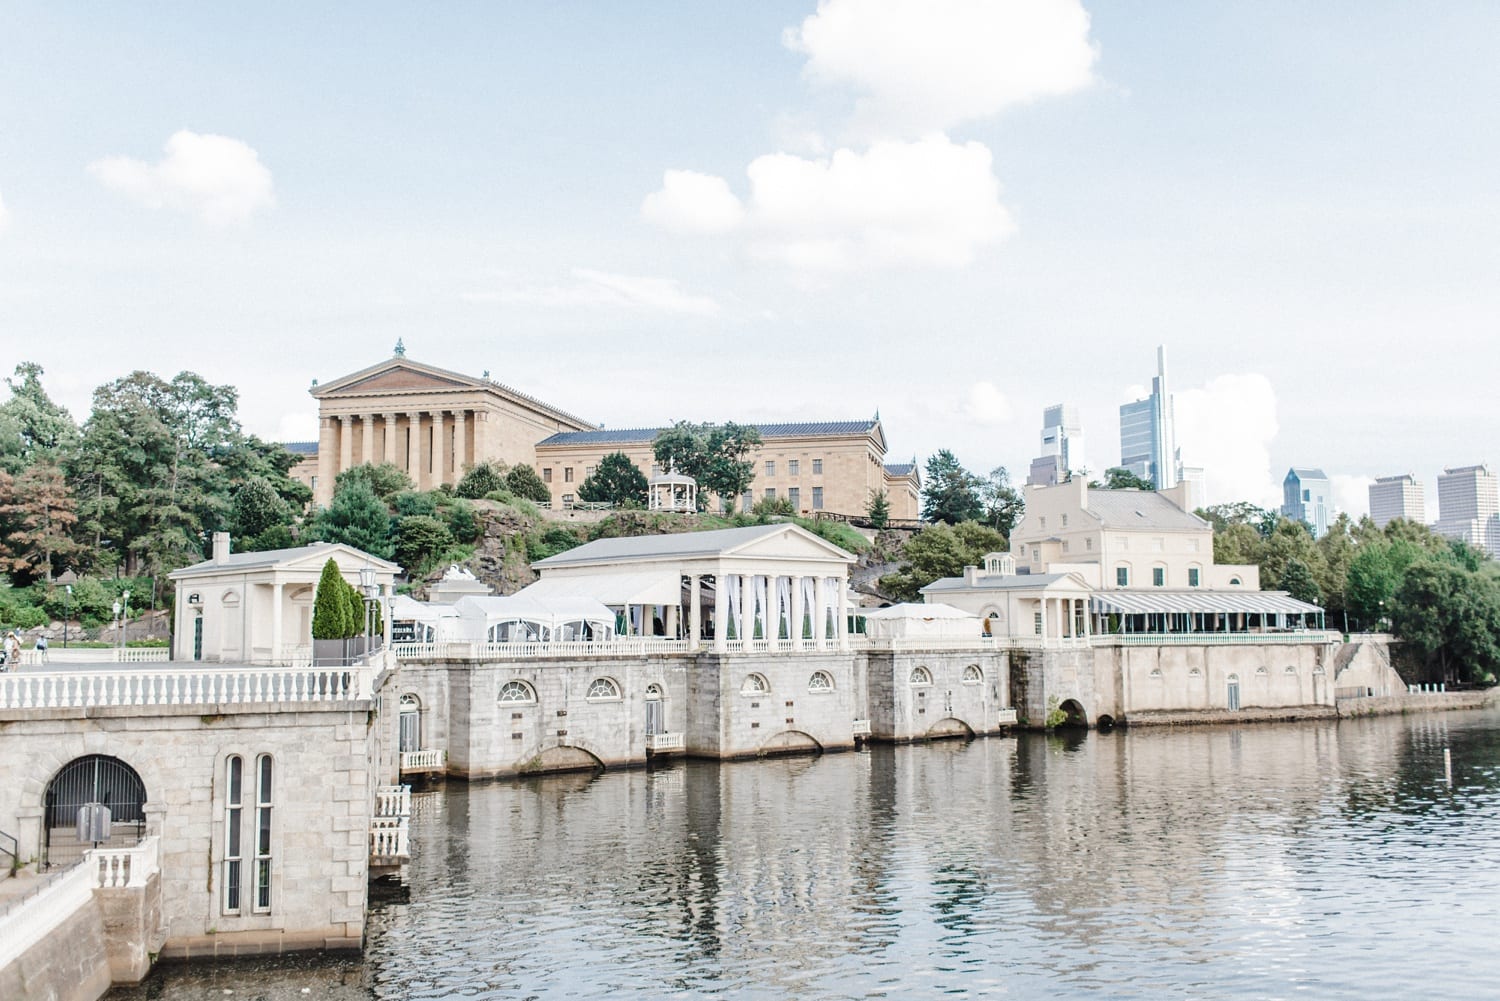
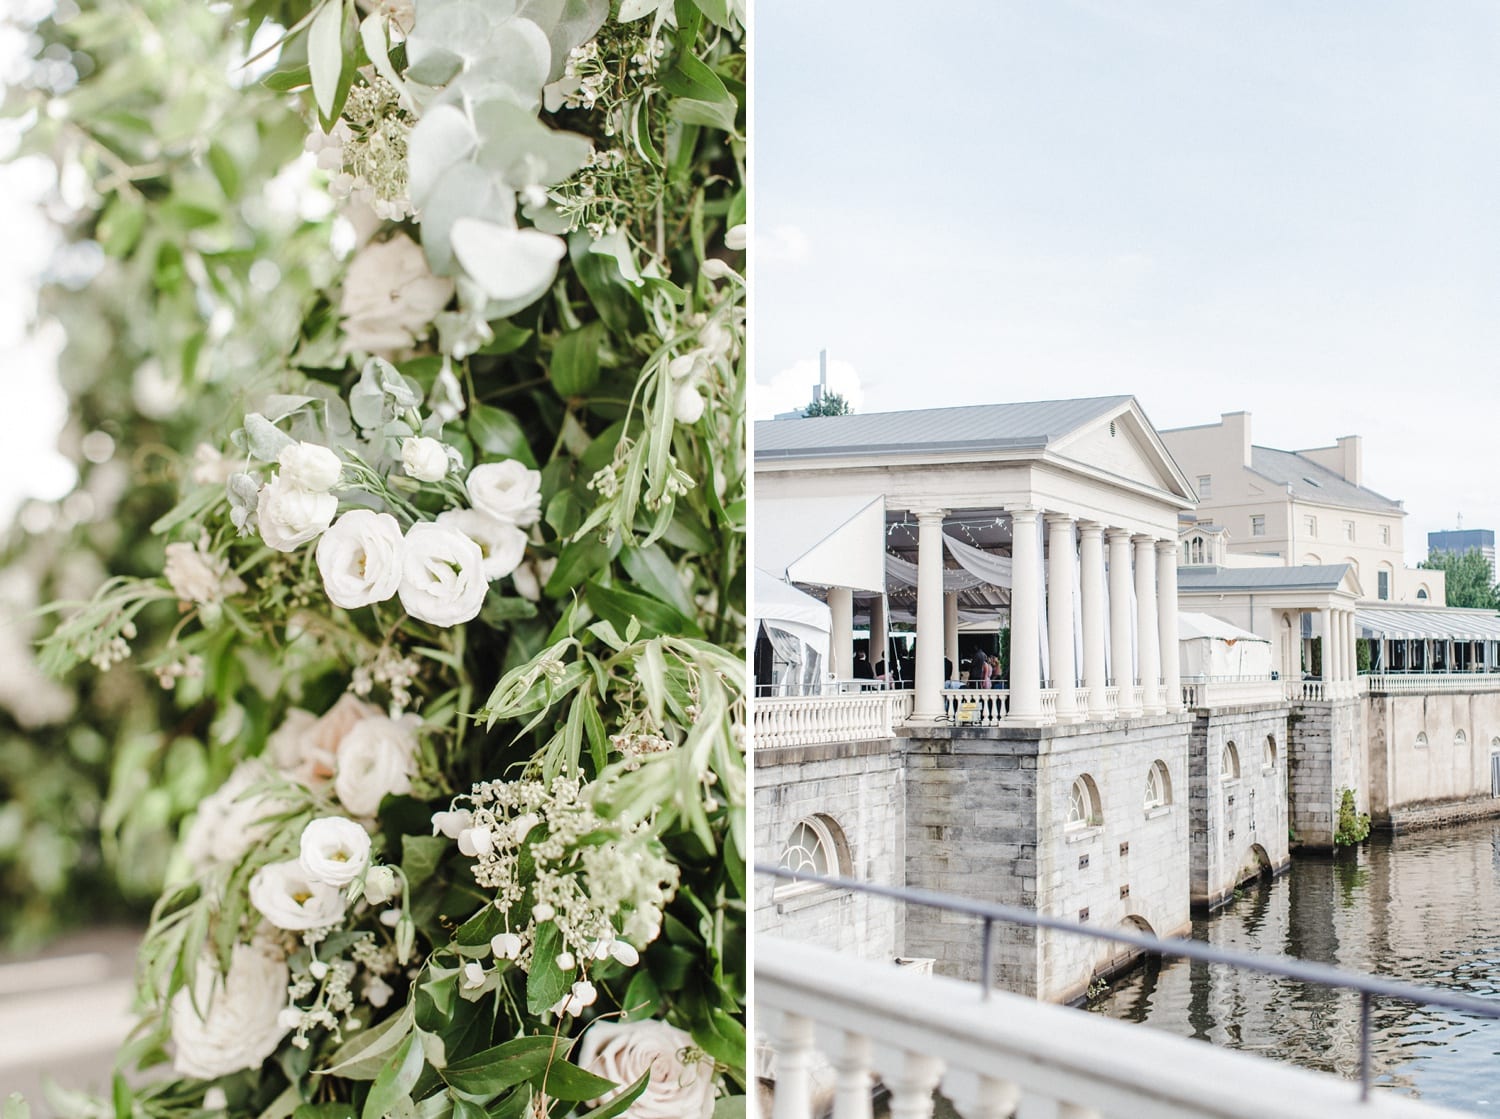
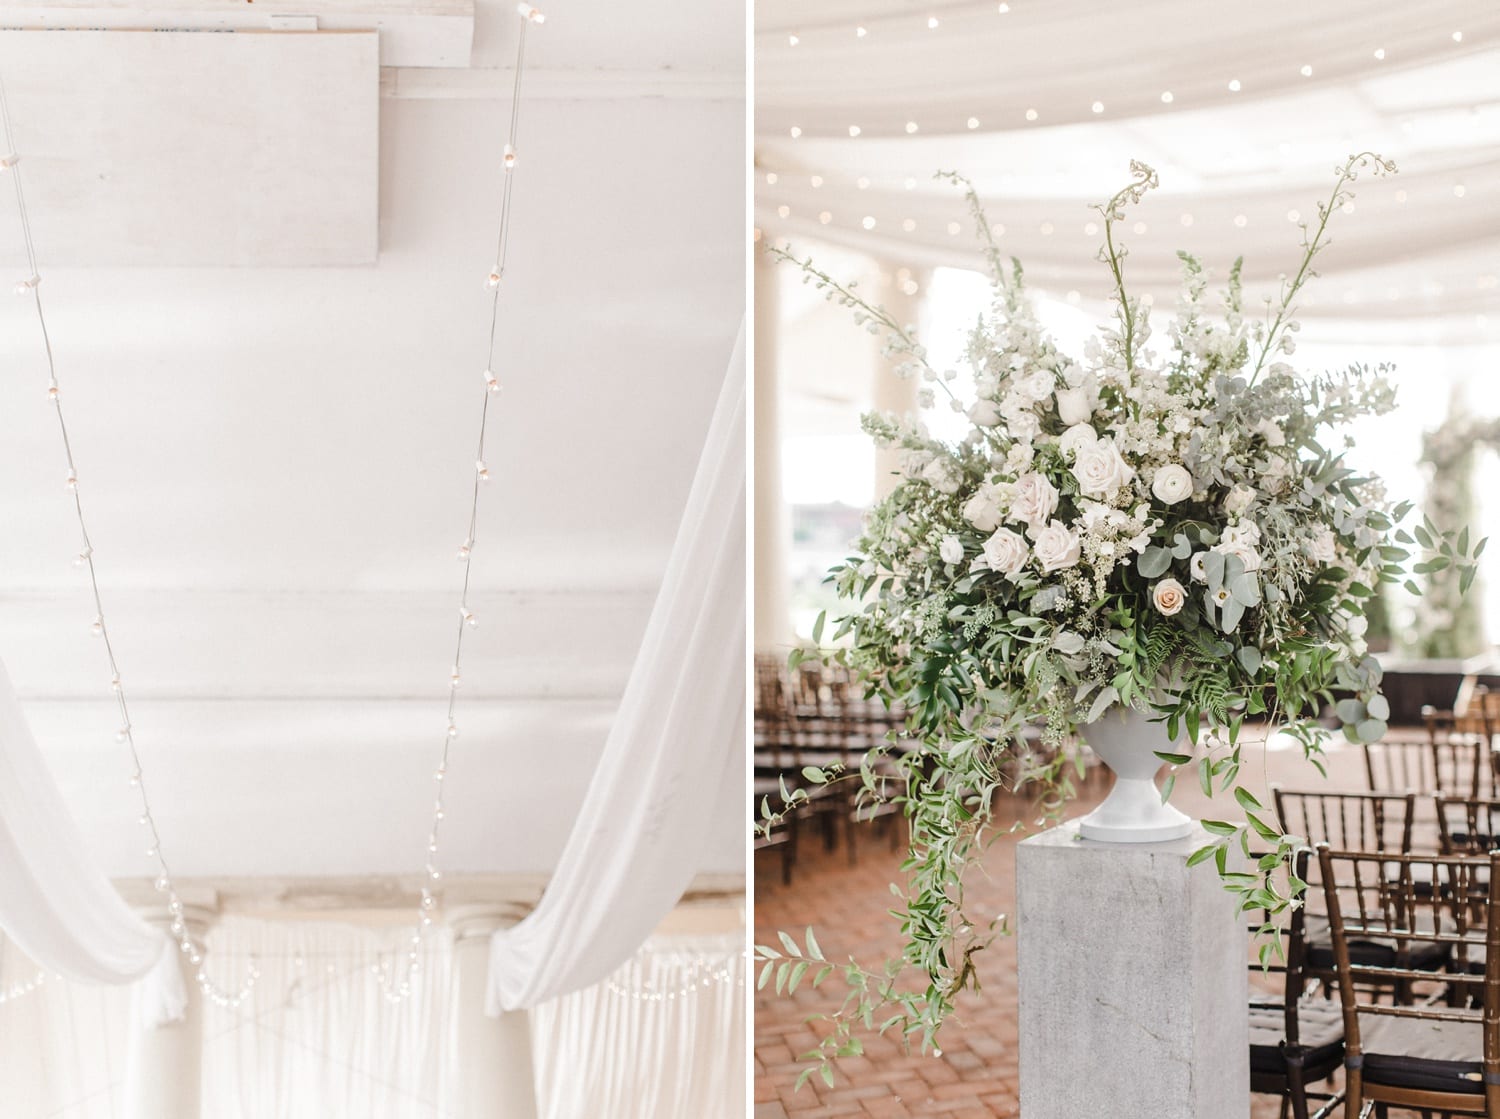
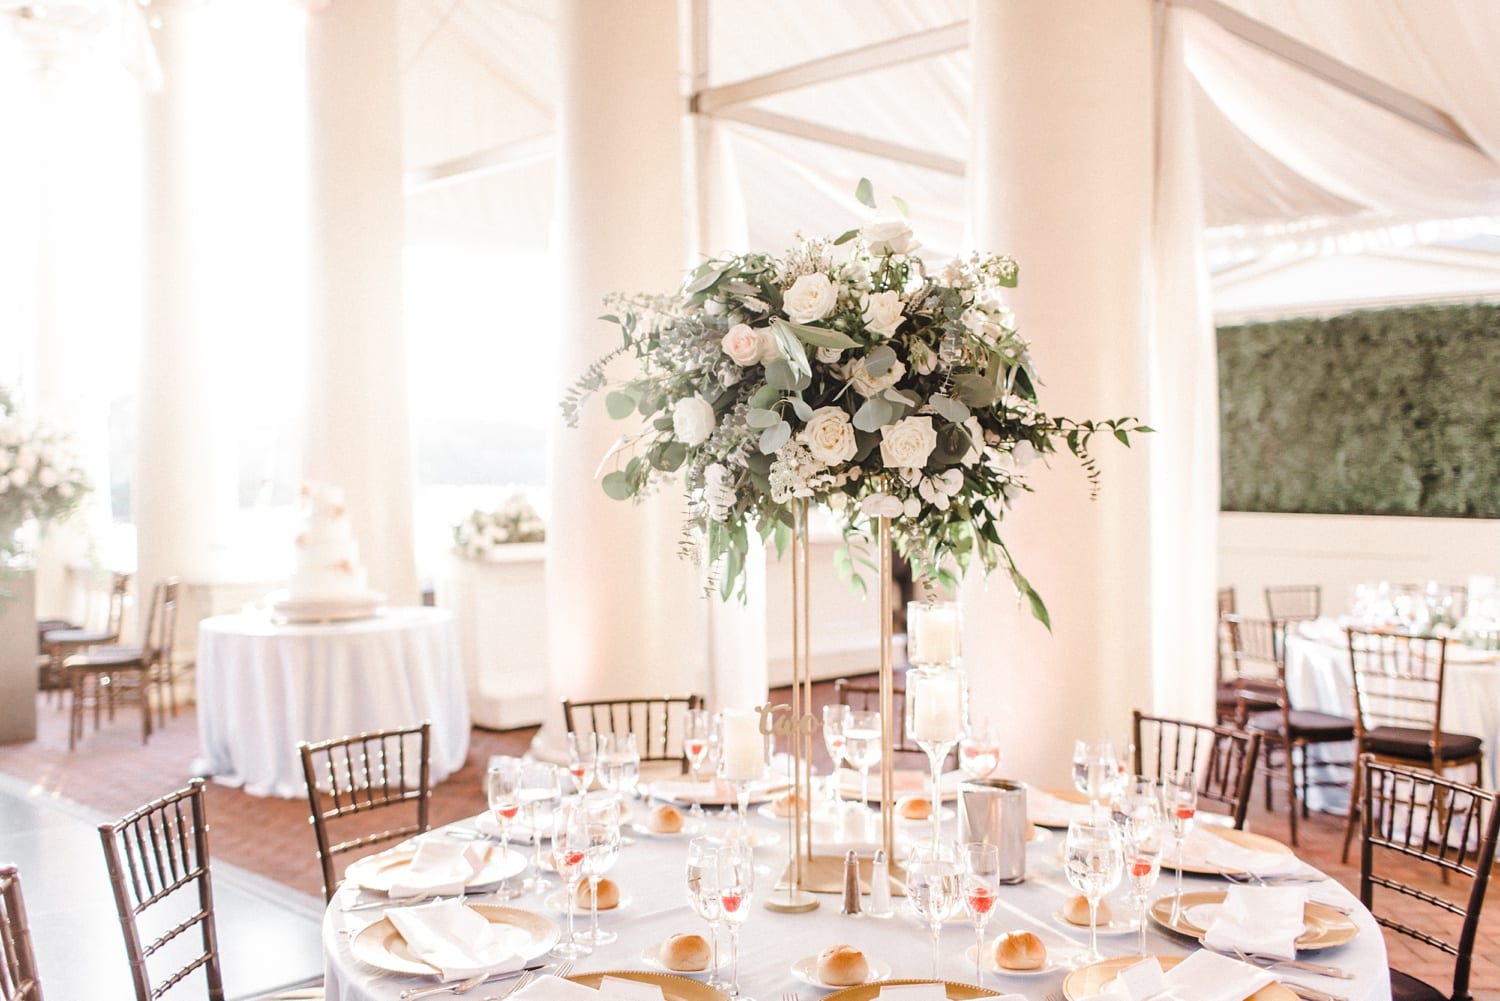
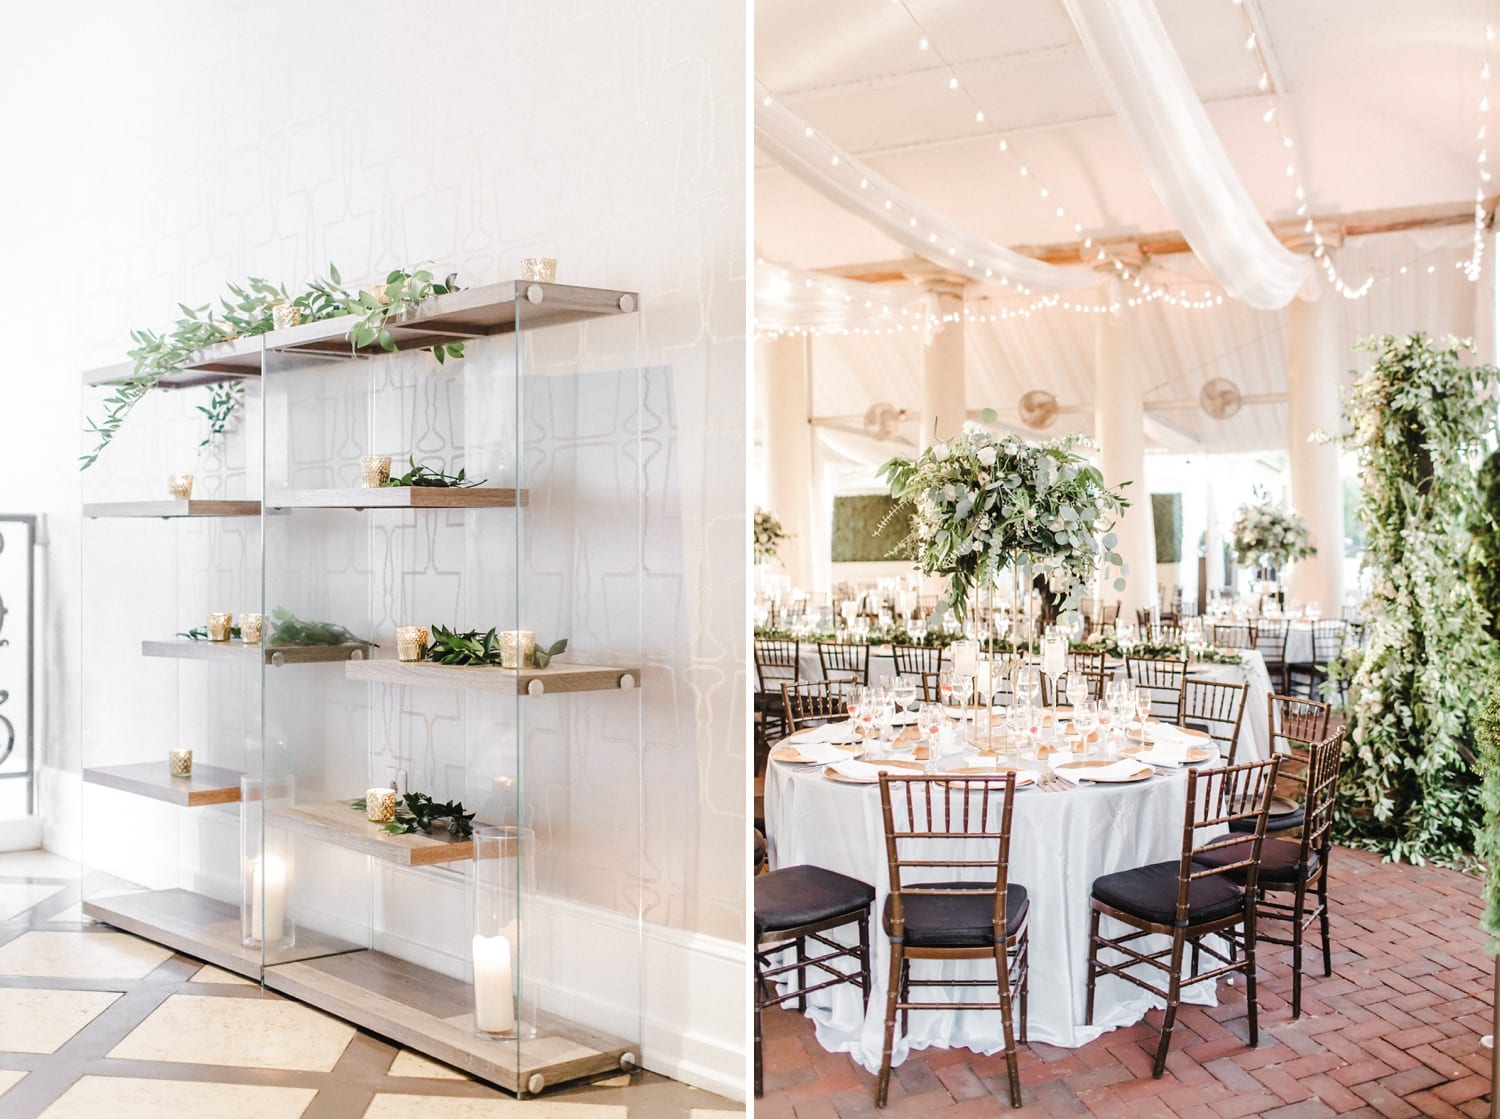
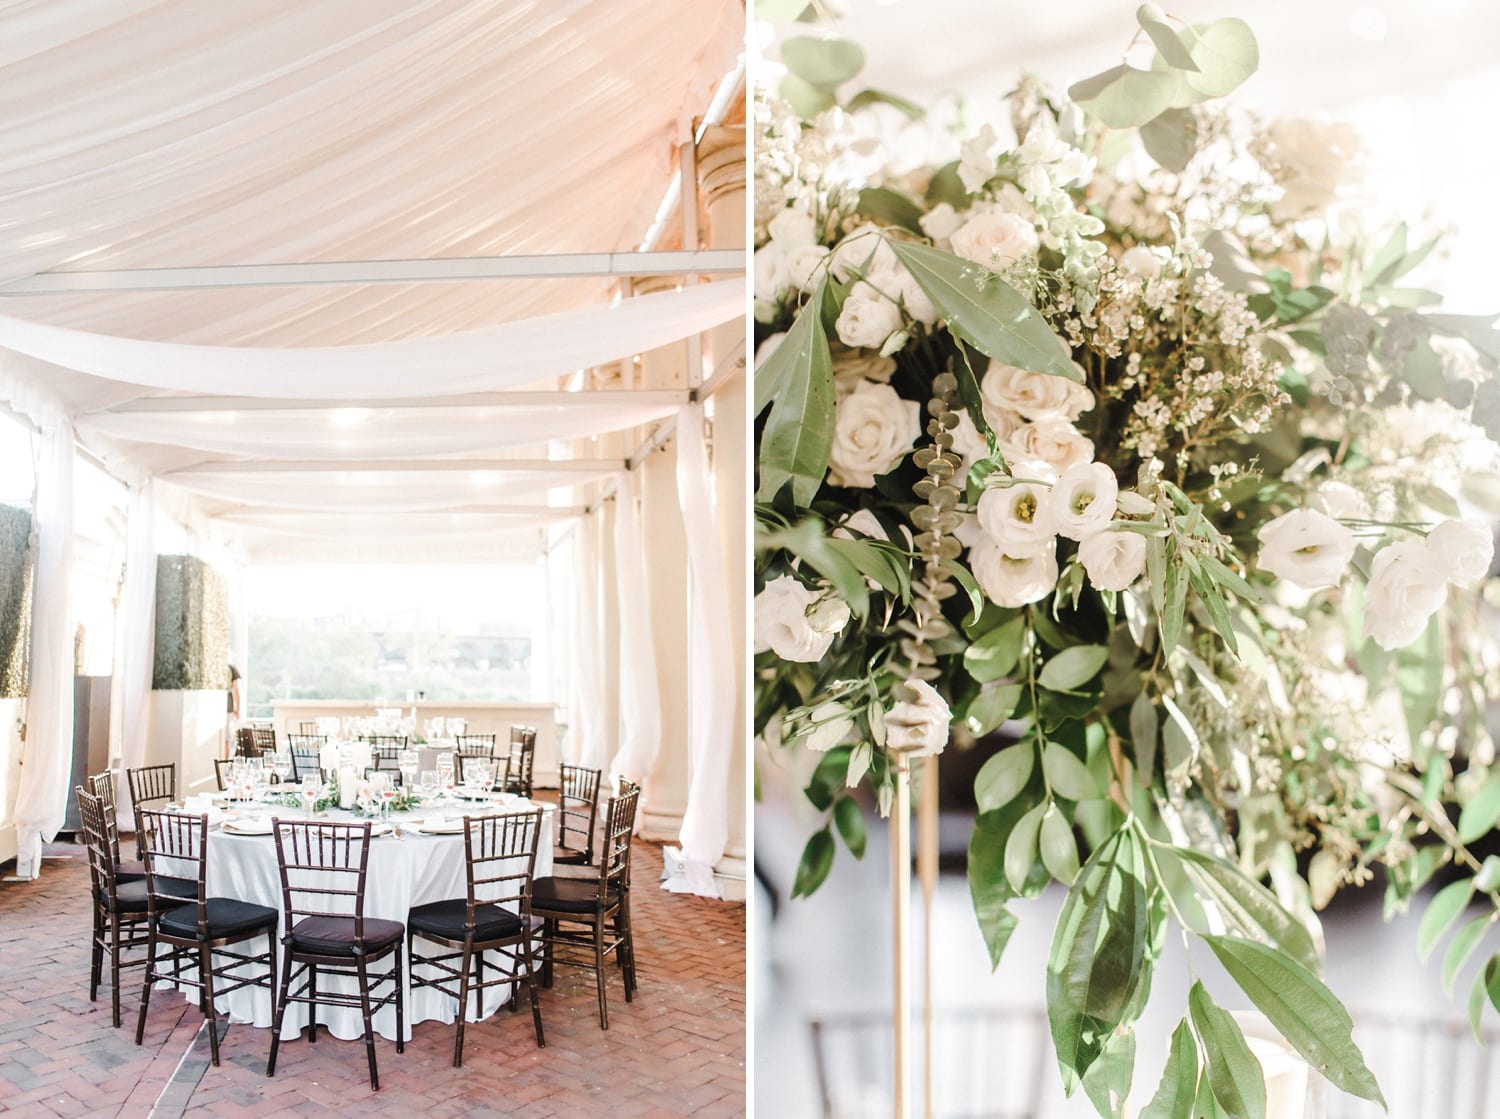
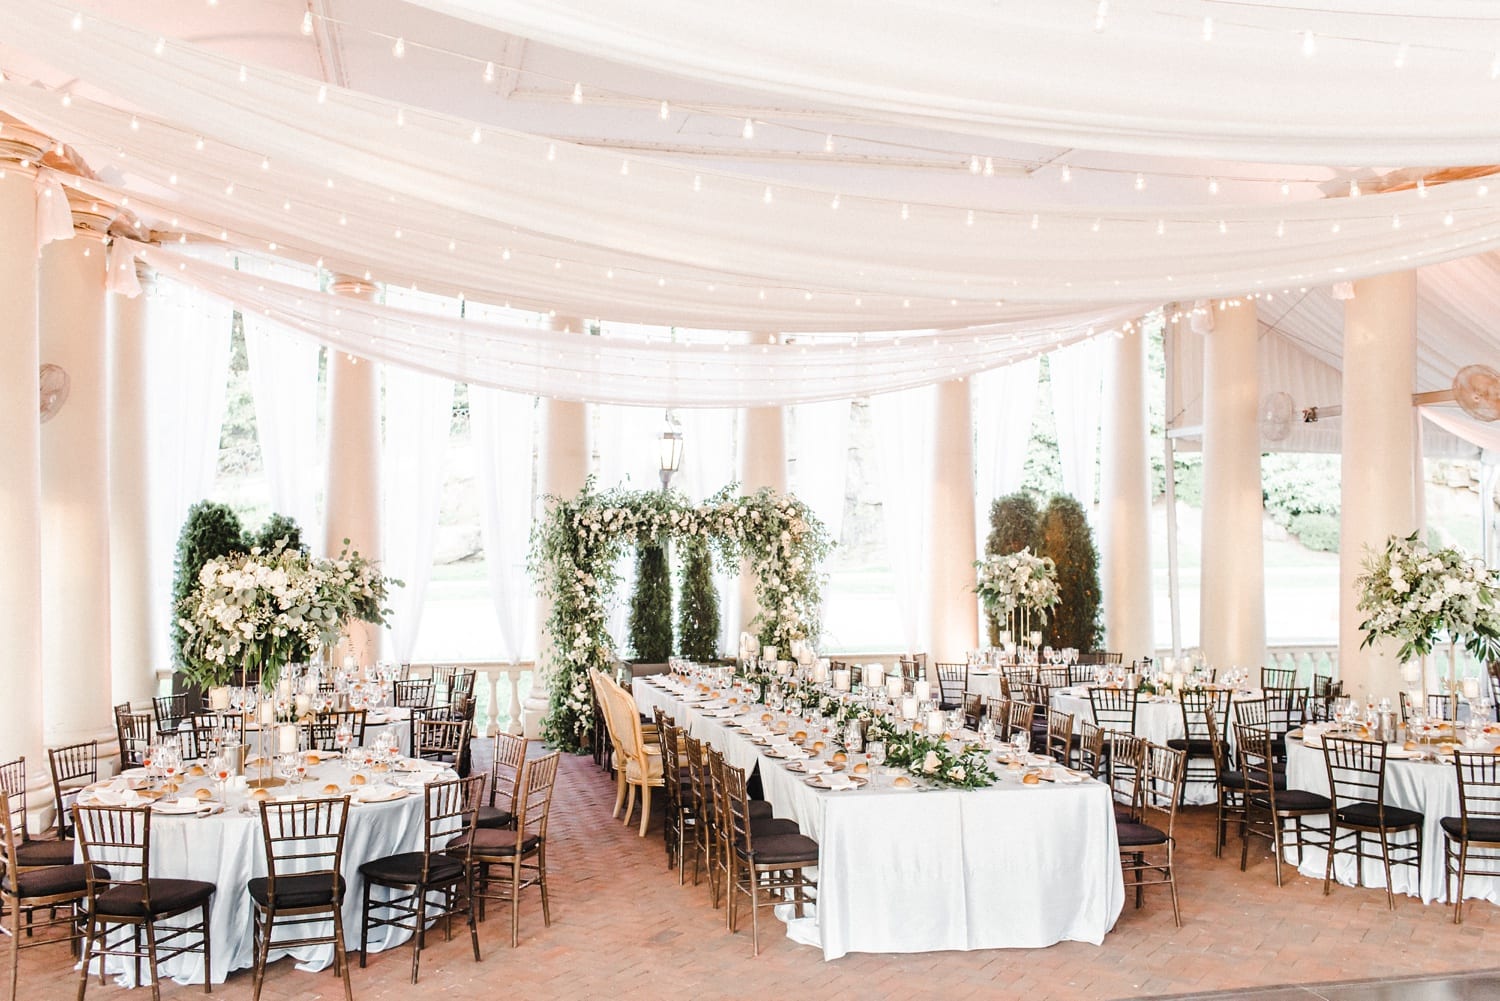
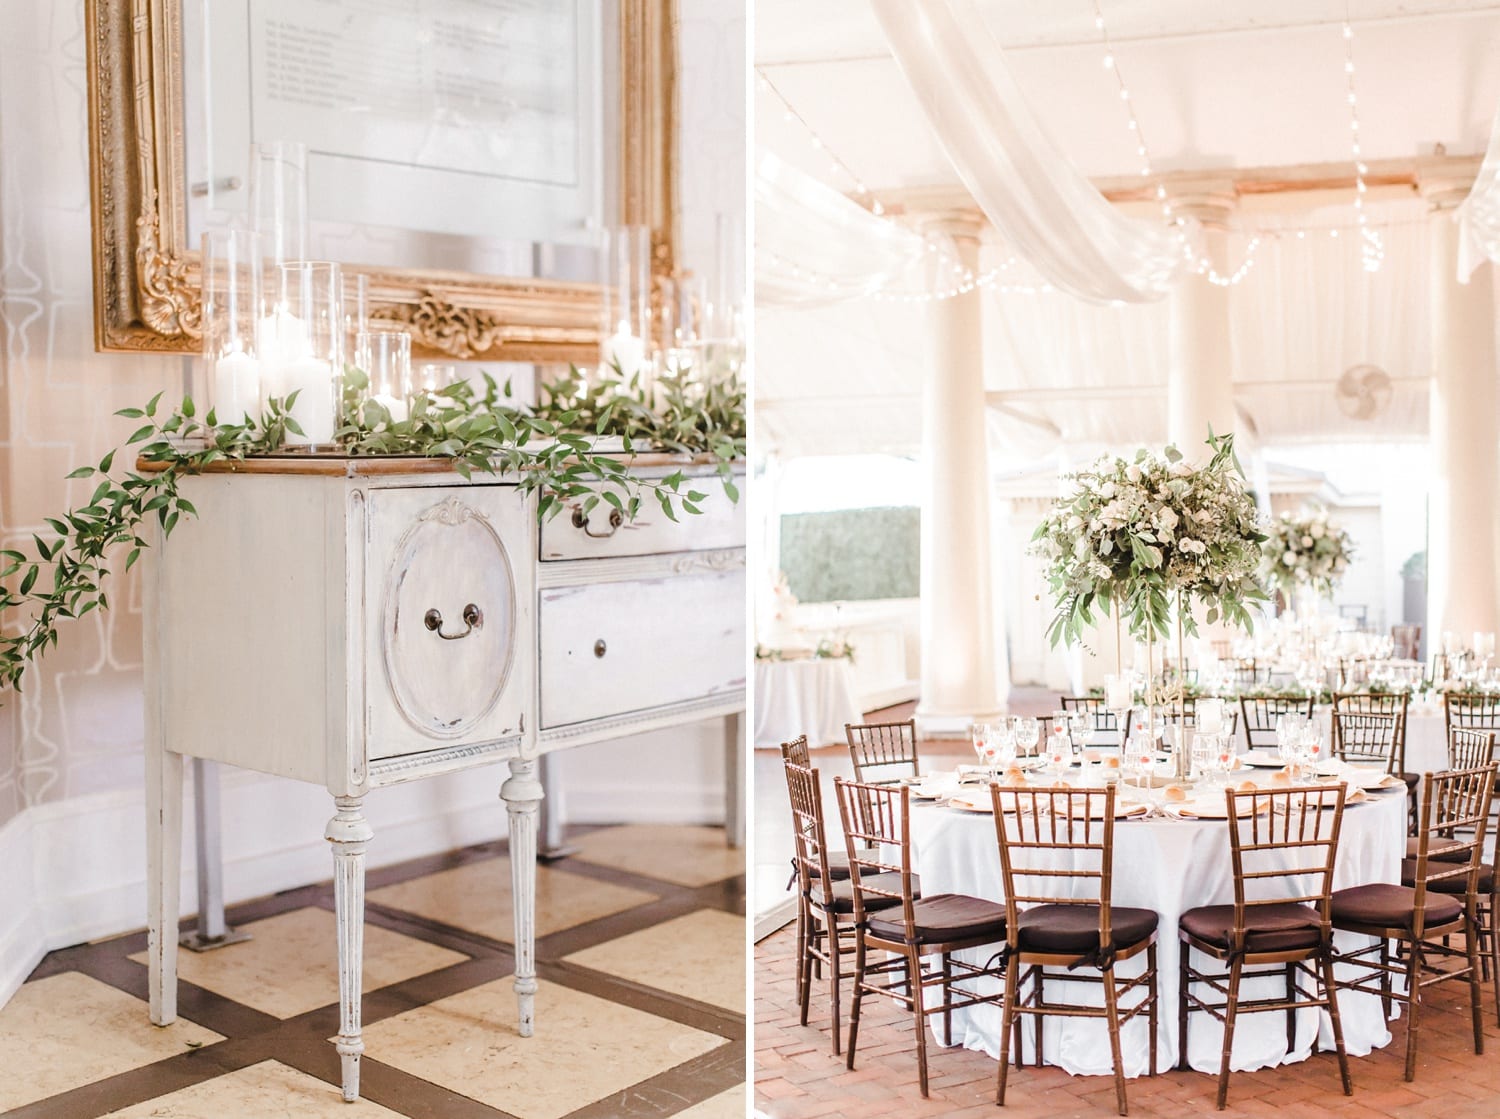
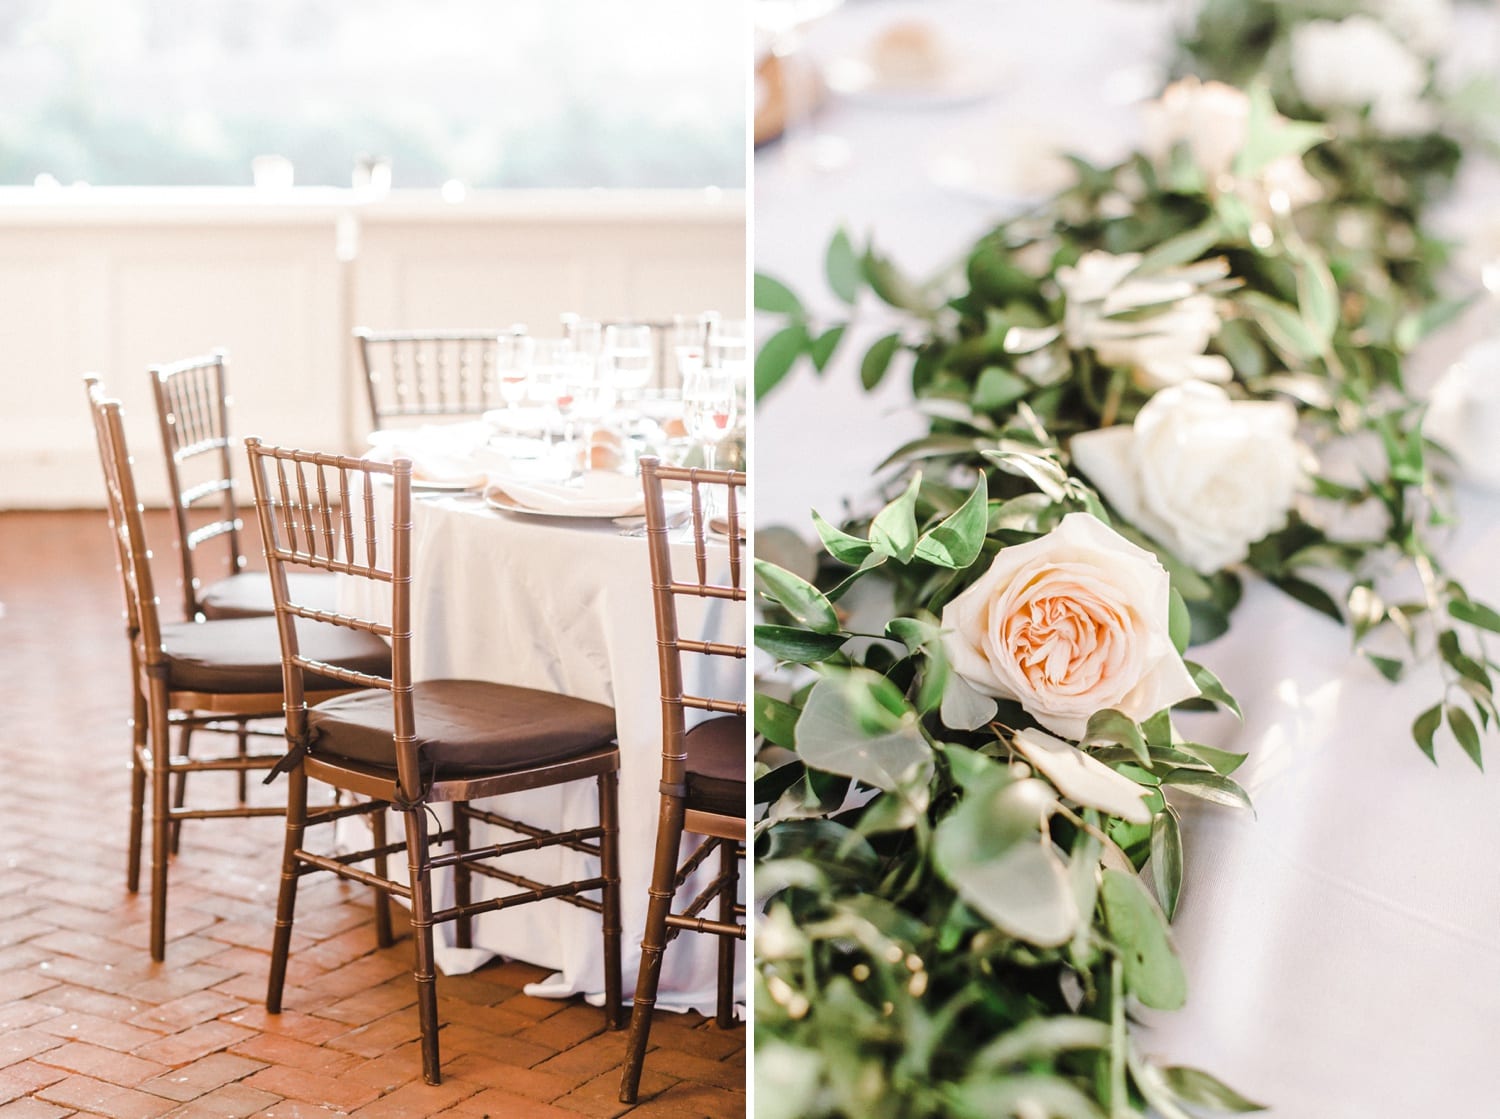
Andy & Lindsay truly are as kind, classy, gracious, and genuine as you may think and my only sadness is that this day has come and gone so quickly! But I am SO excited to share with you their unforgettable Waterworks wedding. <3

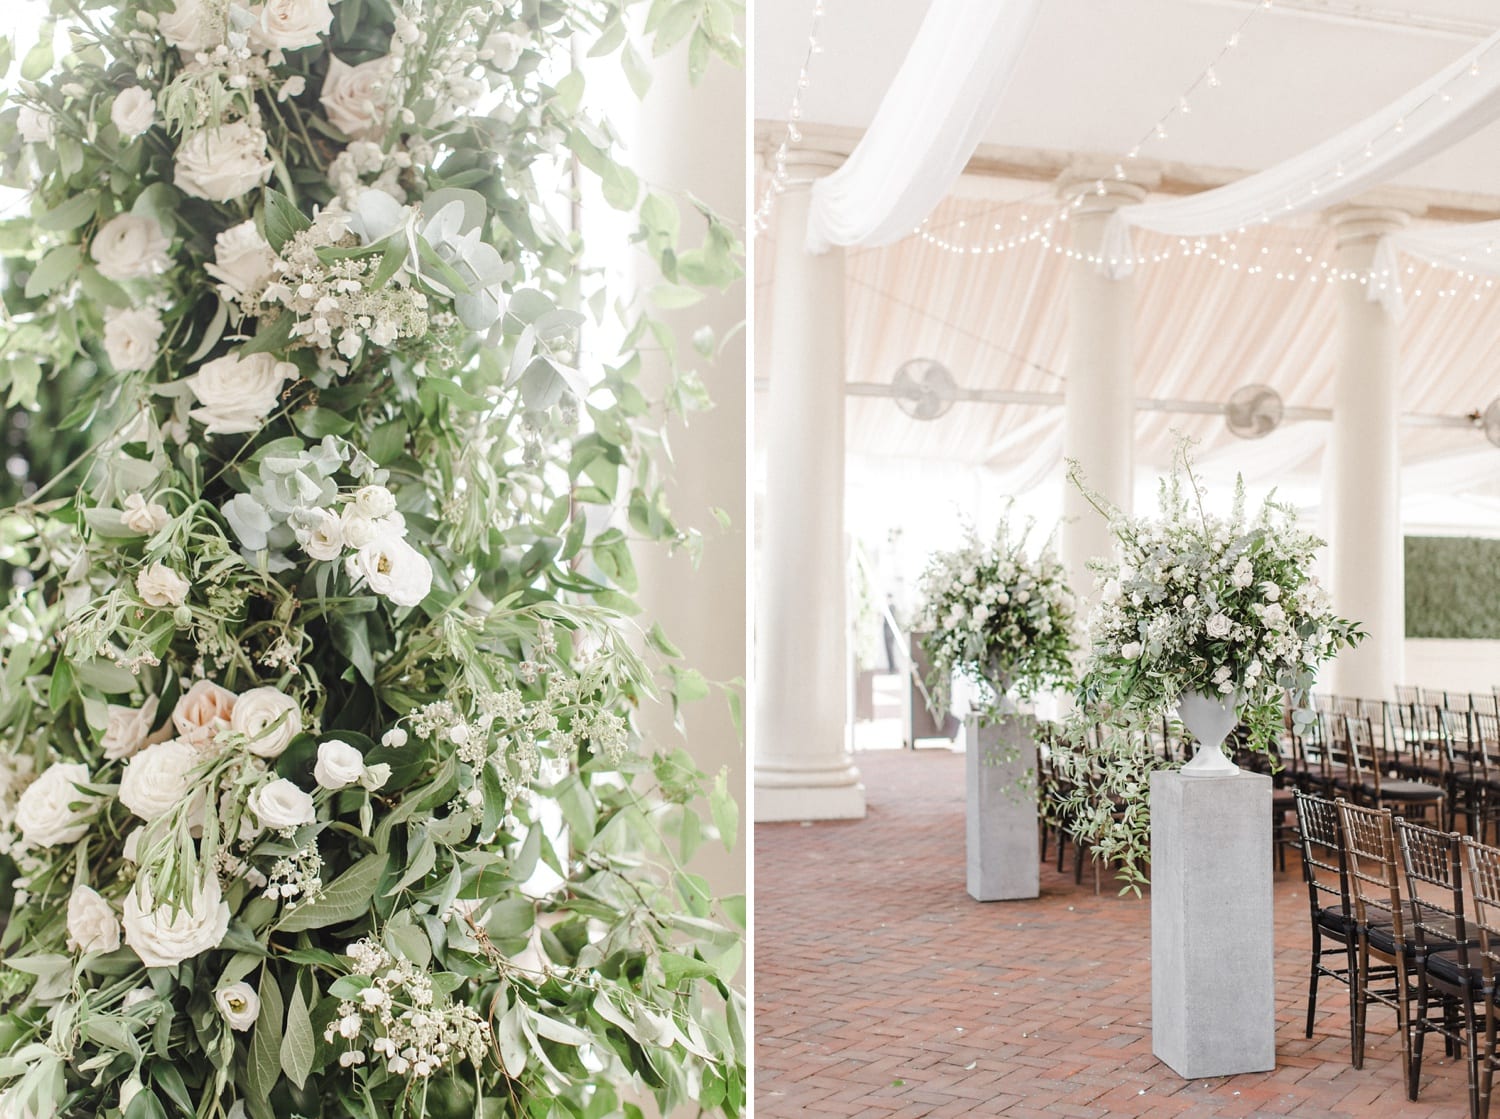
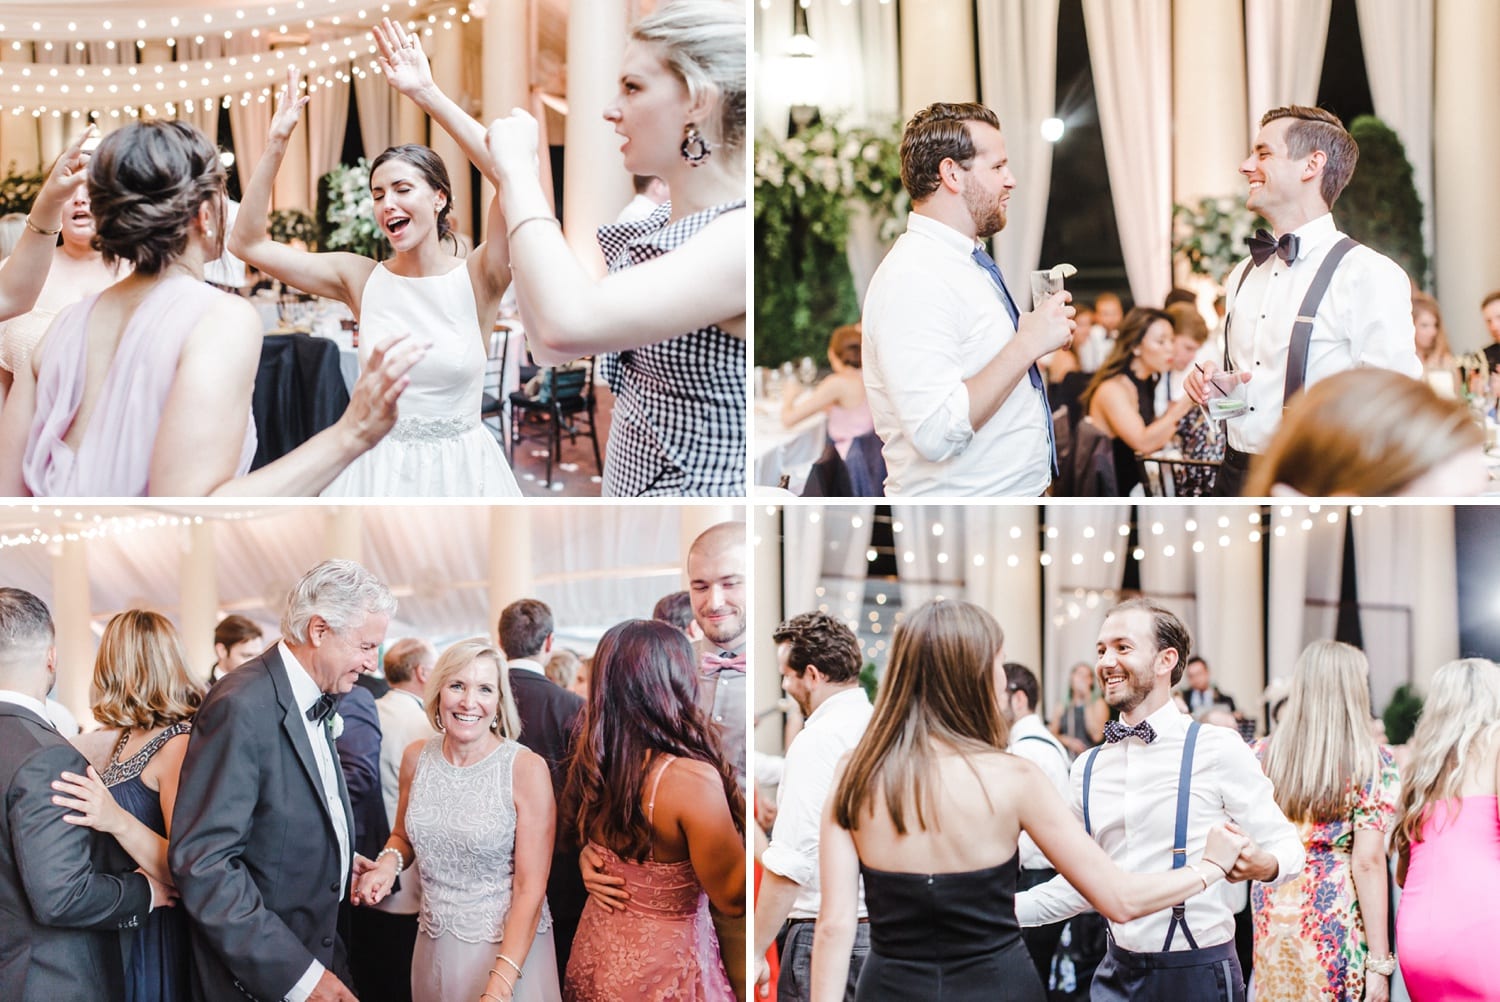
Enjoy a few of my favorites from their beautiful wedding full of so much love and be sure to read more of Andy & Lindsay’s love story here! Xo


Vendor Credits:
Photographer | Caroline Logan Photography
Second Shooter | Vanessa Shenk
Bridal Prep | The Kimpton Palomar Hotel
Venue | Waterworks
Floral Design | Petals with Style
Band | Bachelor Boys Band
Hair & Makeup Artist | Unfading Beauty by Kristen
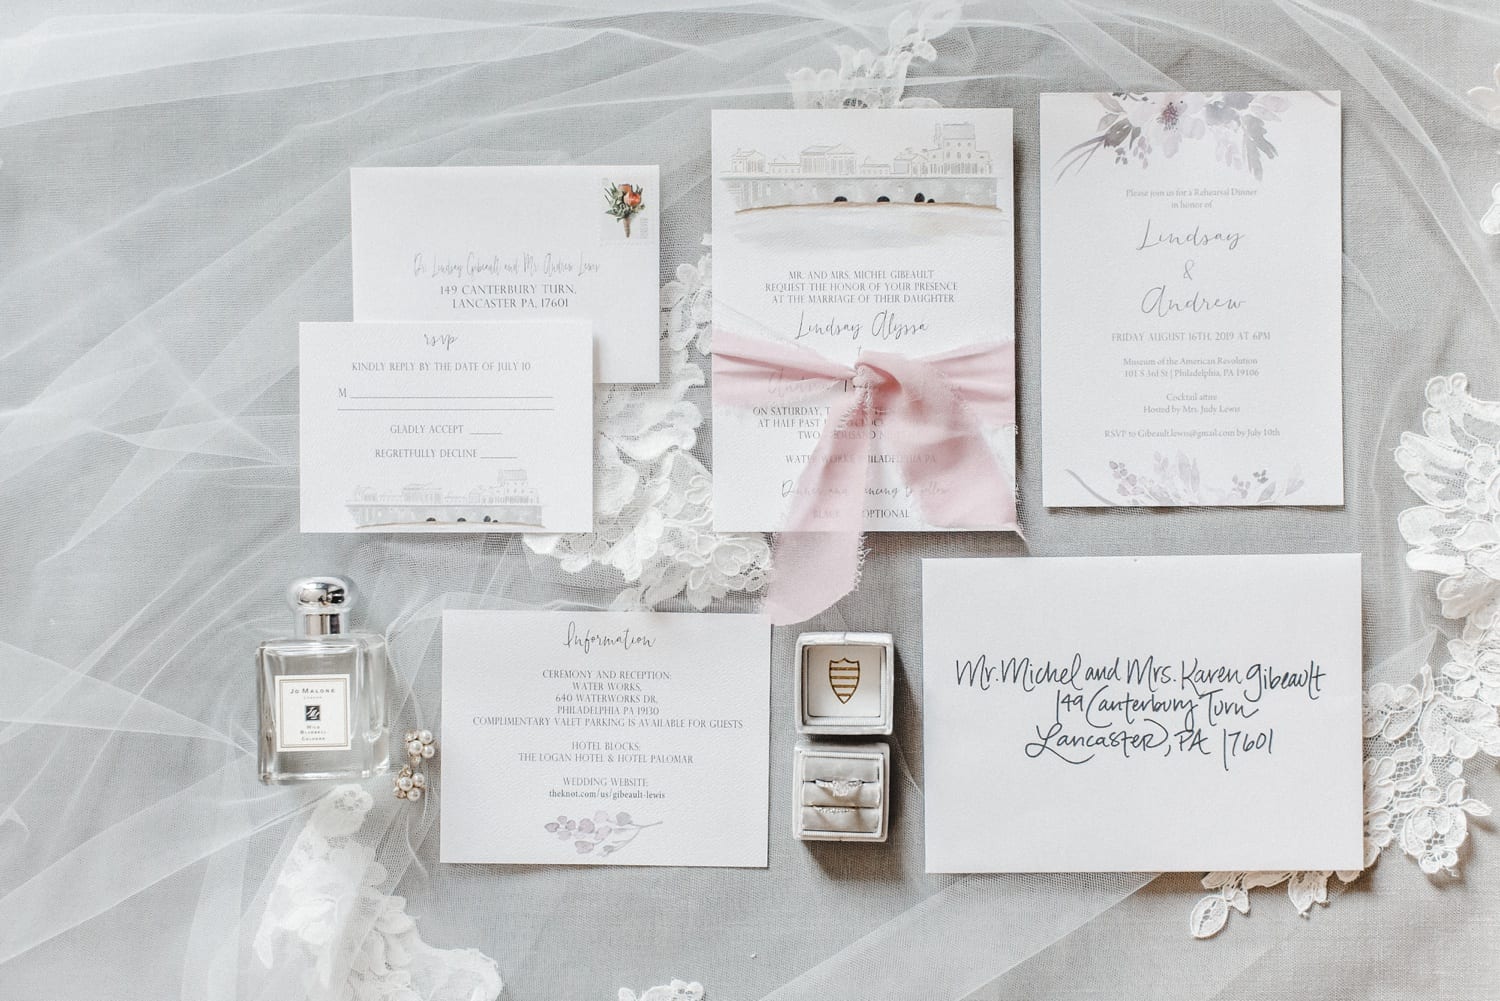
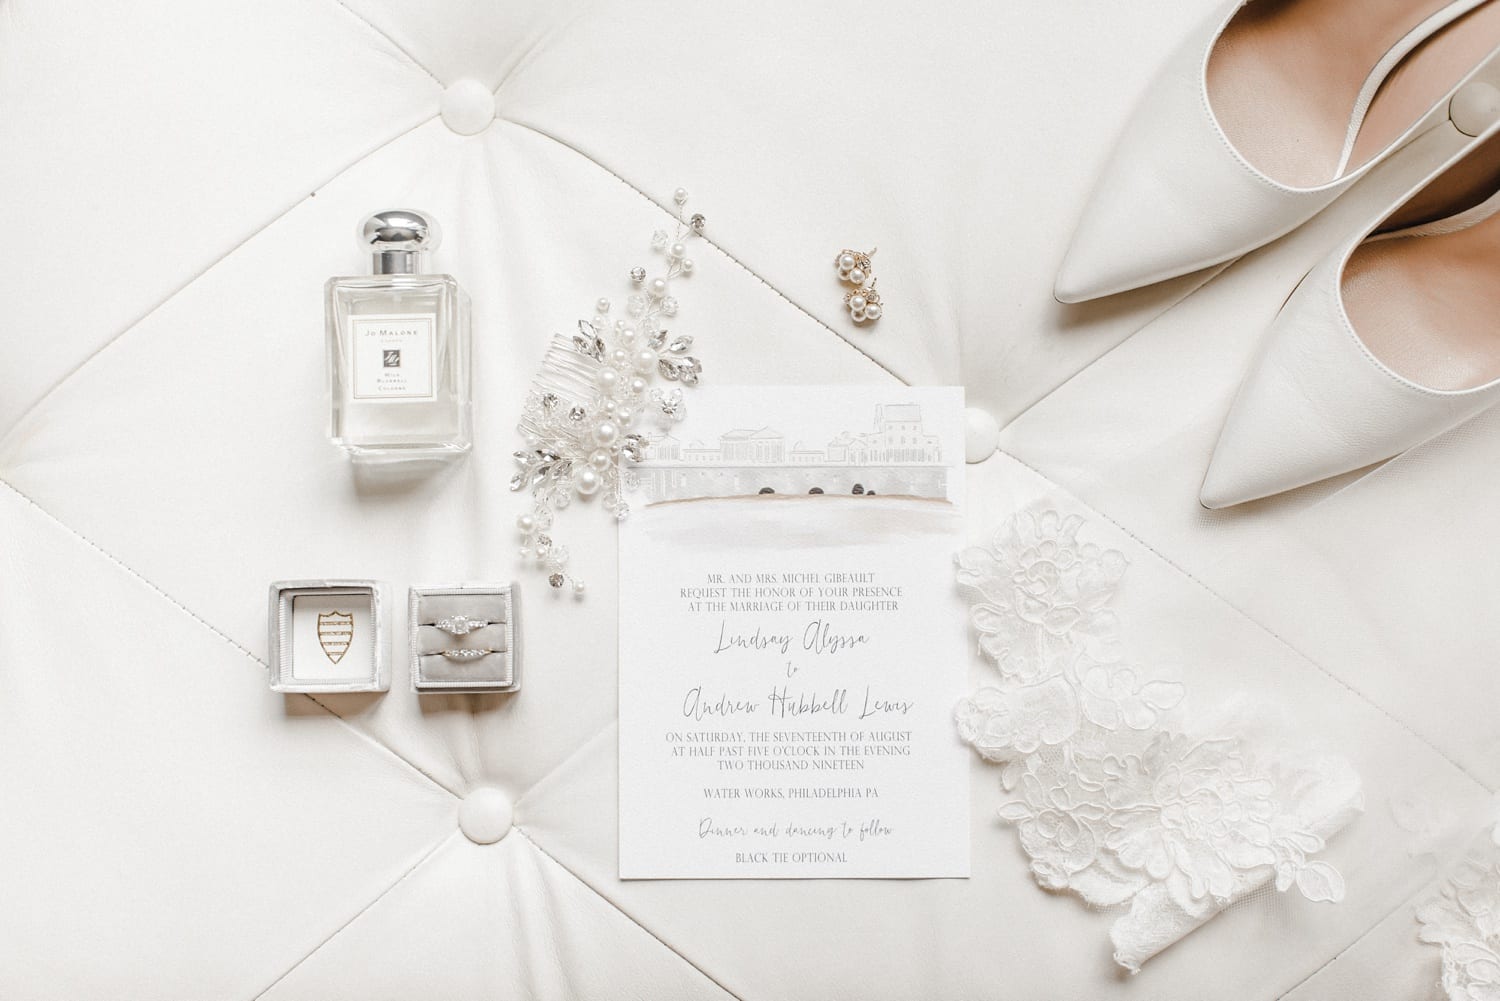
Invitations | Sweet Invitation Co
Wedding Gown | Paloma Blanca // Van Cleve
Lighting & Draping | Beautiful Blooms
Bridesmaids Dresses | Sorella Vita // Van Cleve
Catering | Cescaphe
Cake | Cescaphe

For Photographers: Love creamy skintones & soft colors? Learn to edit light & airy here!


[ad_2]

Story Behind the Image “Gaze” – Barger Nature Photography

[ad_1]

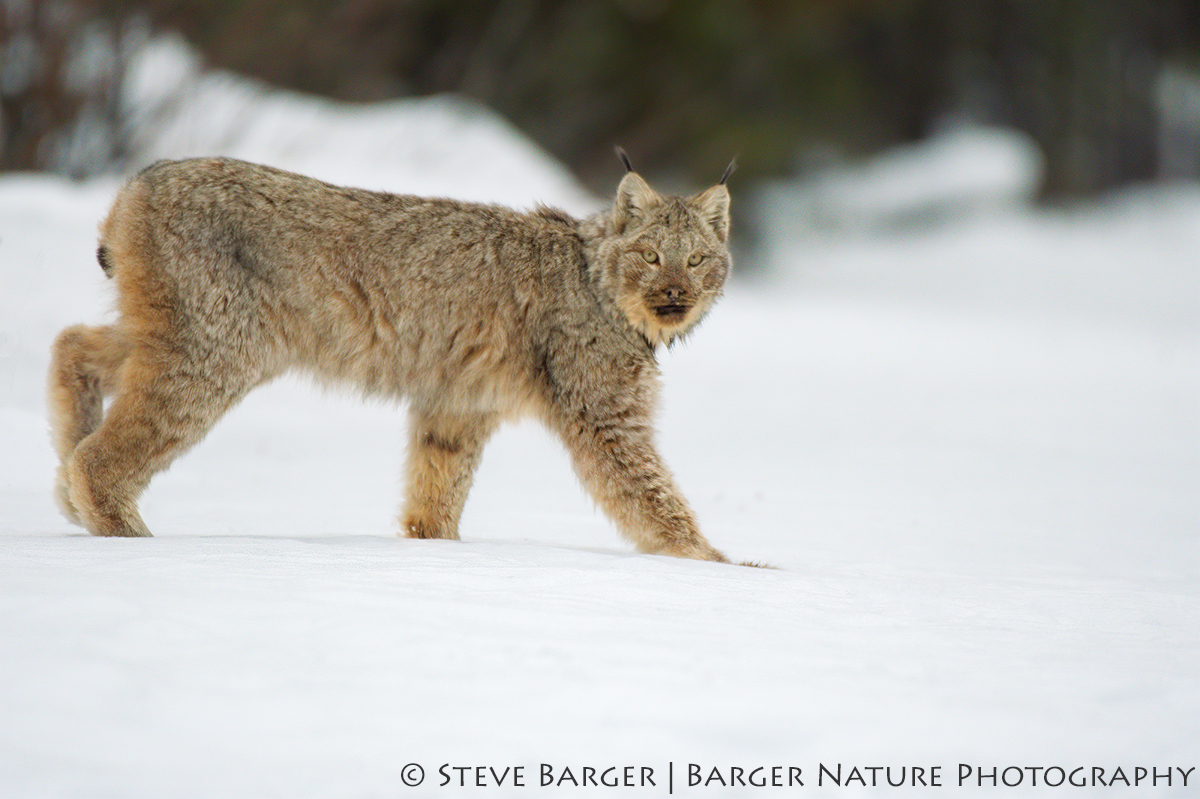
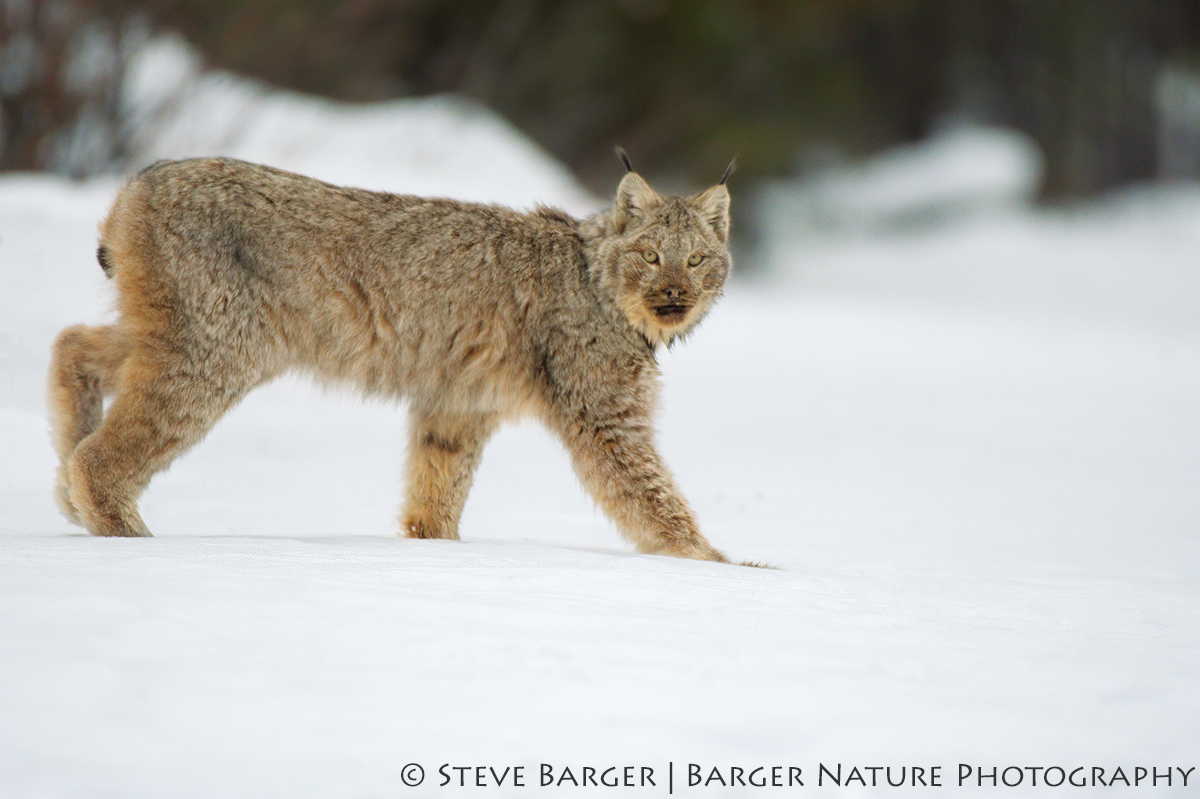
The riviting gaze of a lynx as he walks out of the forest and onto a remote logging road in British Columbia

This past February, I traveled to British Columbia primarily to photograph wolves. The wolves are active during the winter and wolves photographed on snow can create, in my opinion, a very striking image. Unfortunately, unseasonable temperatures and a heavy snowfall prior to my arrival, forced the local wolf population to temporarily relocate to another area. Since wolves can cover a territory of 50 square miles, given the conditions, it would be impossible to locate the wolf packs during my short visit. During the week I did hear a pack howling and barking in the distance. I had one wolf sighting but in a position where I was unable to take a meaningful image.

I was returning by snowmobile one afternoon after an unsuccessful day scouting for wolves when I noticed a lynx ahead sitting on the side of the trail. A good friend of mine was traveling with me. When traveling in the backcountry in the winter it is smart to travel with at least one other person in case of mechanical failures or injuries. We stopped approximately 150 yards away from his position, and watched as he continued to sit and eat. He was obviously not concerned with our presence due to our position relative to his. Finally, the lynx tired of eating, stood and walked into the forest next to the trail. We then moved on down the trail past where he entered the trees and stopped approximately 150 yards on the other side of his entry into the forest. I then proceeded to walk back up the trail and laid down in the snow approximately 75 feet from where he entered the forest. I knew it was a long shot, but I hoped if I remained perfectly still and did not make any noises, he might return. Sure enough, after patiently waiting 15 minutes or so, he appeared at the edge of the forest.

I slowly raised my camera and lens to my eye and began to take a few photographs. During this time, he just stood motionless in front of the forest watching. His position was such that if he sensed danger, he could quickly move into the forest using the snowdrift in front of him as cover.

After maybe five minutes, apparently realizing that I posed no threat to him, he proceeded to slowly walk out to the snowmobile trail and up the trail away from me. During this time, I held my position knowing that he would maintain a safe distance from me outside his “circle of fear”. Enter into an animal’s “circle of fear” and they will either fight or take flight.

During this time, I avoided making any sudden movements or strange noises. He walked slowly but with purpose. When he reached the snowmobile trail, he turned and walked up the trail. It was very clear to me that he did not feel threaten by my presence, since his behavior was business as usual.

As is often the case when photographing in the wild, opportunities to photograph the primary subject may not materialize. Avoid getting discouraged, keep an open mind and constantly be aware of your surroundings, and something worth photographing will appear. This trip was no exception. Besides, if this were easy, everyone would be doing it.

[ad_2]

Save process settings in PixInsight

[ad_1]


For a lot of processes in PixInsight you’ll have some basic values for the settings you want to use or at least start with, every time. But how do you remember these values? If you are anything like me you’ve written them down somewhere, or stored a bookmark to some article that discusses certain values. Every time you use the process you need to look up these values. Wouldn’t it be great if you could store these values somewhere in PixInsight?
Well, you can!

Saving process icons

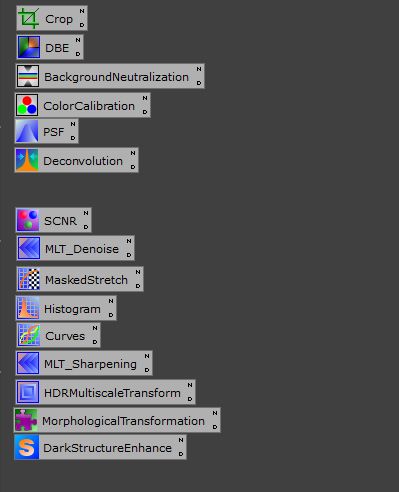
To store a process along with its settings you can simply drag the triangle icon out to the workspace and it will store a copy of the process along with the settings. You can right click on this icon to choose to set the name of the Icon (icon identifier). You can also right click and save this icon. It will save as a .xpsm file which you can load and use at any time in the future.
You can also save multiple processes at once so you can store a basic workflow or all processes you use frequently.
Go to Process->Process icons->Save Process Icons to store all process icons currently present in your workspace. Likewise you can go here and pick ‘Load Process Icons’ to load them up in the future.

Basic DSLR Workflow processes

A great way to have a reminder of the steps you need/want to take in your processing is to store the process icons for each step in your workflow.
I’ve done this for the DSLR workflow and made it available for all to download and use. Simply click the download below and load it via Process->Process icons->Load Process Icons.
Download process icons for Basic DSLR workflow


It will have the process icons for each step and some process icons for assisting processes like Starmask, PixelMath and Rangemask.
Tweak and adjust to your own liking and add/remove processes and save it so you have your own workflow available step by step within PixInsight.


[ad_2]

5 Tips To Get High-Quality Photos For Your Restaurant Business

[ad_1]

According to Fortune Business Insights, the global food service industry is set to reach a market value of $5,194.60 billion by 2029. Thus, now would be a great time to enter this business if you haven’t already. Given that the situation with COVID-19 is a lot better now, opening a restaurant or giving your existing one a fresh look is very much feasible.

If you are a restaurateur or want to become one, you should know that dining out is one of the most popular activities in the world. There are millions of people who visit restaurants every day.

According to the U.S. Bureau of Labor Statistics (BLS), an average American household spends about $3,500 on dining out every year. Thus, it makes sense to make your restaurant stand out so that you can attract more customers to your establishment.

One way to do this is with great photos of your food and interior design on your website and social media pages. Here are a few tips on how you can do it:

High-Quality Photos For Your Restaurant Business

#1 Hire a Professional

Hiring a professional photographer is one of the best ways you can take your food photos to the next level. A professional photographer will know how to make your food look delicious, even if it doesn’t taste as good as you want it to.

Commercial photography is more than just taking good photos of products. It’s also about giving life to your pictures, which is something you’d want to do, given that we’re talking about food here.

Commercial photographers can also bring out the best in every dish they shoot, giving you more opportunities than ever before to take some amazing photos that will help attract new customers. Through their product photography skills, they will make your restaurant food feel life-like in photos. The photography business for these professionals is not just about working with potential clients and ensuring commercial use of their photographs. It’s to show people how photography can impact their business or whatever use they have for those photographs.

When hiring a professional, it’s vital to find someone who can do what you need them to do for your business. This means looking for a photographer who has experience shooting food and understands how lighting works with food photography.

It also means finding someone who understands how to make each dish stand out on its own without overshadowing another dish in the same photo or making them all look similar.

High-Quality Photos For Your Restaurant Business

#2 Make Your Food Look Colorful and Interesting

Make the food look good, but more importantly, make it look like it has a lot of flavors. Use props that complement the food in some way.

For instance, if you have a Tex-Mex restaurant and are serving chicken fajitas on a slate platter with lime wedges, maybe use some cilantro to add some green color to your photo. Or, if you’re selling Italian food at an Italian restaurant, maybe put out some fresh basil leaves alongside your pasta dish, so people know what they’re looking at when they see the photo in their Facebook feed or Instagram story.

If possible (and legal), try using fresh produce or meats rather than pre-cooked ones since those tend to look better in photos than prepackaged meals do.

#3 Shoot from Different Angles

To get the best photos of your food, you’ll want to shoot from different angles. This will help you capture more of the look, feel, and flavor of your restaurant’s cuisine.

For example, if you take a photo from above, it might seem as though your dish is too small for its price tag. However, if you take a picture from below and include some background information about what goes into making it (like fresh ingredients), customers can see how much work went into preparing the dish and why it costs so much money.

Also, consider taking photos from different heights. The same goes for distance. Professional photographers will know how to handle such different angles. It’s also important to get the right perspective so that the food is always the center of attention in your photos.

High-Quality Photos For Your Restaurant Business

#4 Improve the Lighting in Your Restaurant

Natural light is the best way to get high-quality photos of your food and drinks. The sun provides a natural, pleasing light that will enhance the appearance of your dishes. Take advantage of lighting in the restaurant as well. If you have lamps or other sources of artificial lighting in your restaurant, use them to create a more appealing ambiance for customers and increase their appetites.

Ensure consistency throughout the restaurant. All areas of your restaurant must have consistent lighting so that there are no shadows on any part of any dish or drink, which can distract from its appearance and make it look unappealing. This is also important when you’re taking photos of your restaurant’s interior to highlight the ambiance.

#5 Take Pictures of the Kitchen

The kitchen is one of the most important elements of a restaurant. A clean, organized kitchen can set your restaurant apart from others and make it more appealing to customers. Take pictures of the kitchen from different angles to showcase its spaciousness and functionality. Make sure you include pictures of all equipment, utensils, appliances, ventilation, and more.

You should also have photos taken of the food being prepared. People often enjoy looking at the ways their food is cooked for them and the overall process in general.

There you have it. These photography and photo shoot tips will help you get the most out of your restaurant’s online presence and give your customers a great first impression when they see your online presence.

BLS data shows that in the United States, there are around 640,000 total private food service establishments. If you want to survive the competition, you need to start attracting more customers. As you can tell, you must first appeal to them with your food and its photos before you can appeal to them with your food.


Related Articles:

[ad_2]

Art In Nature : Gardening for Stars

[ad_1]

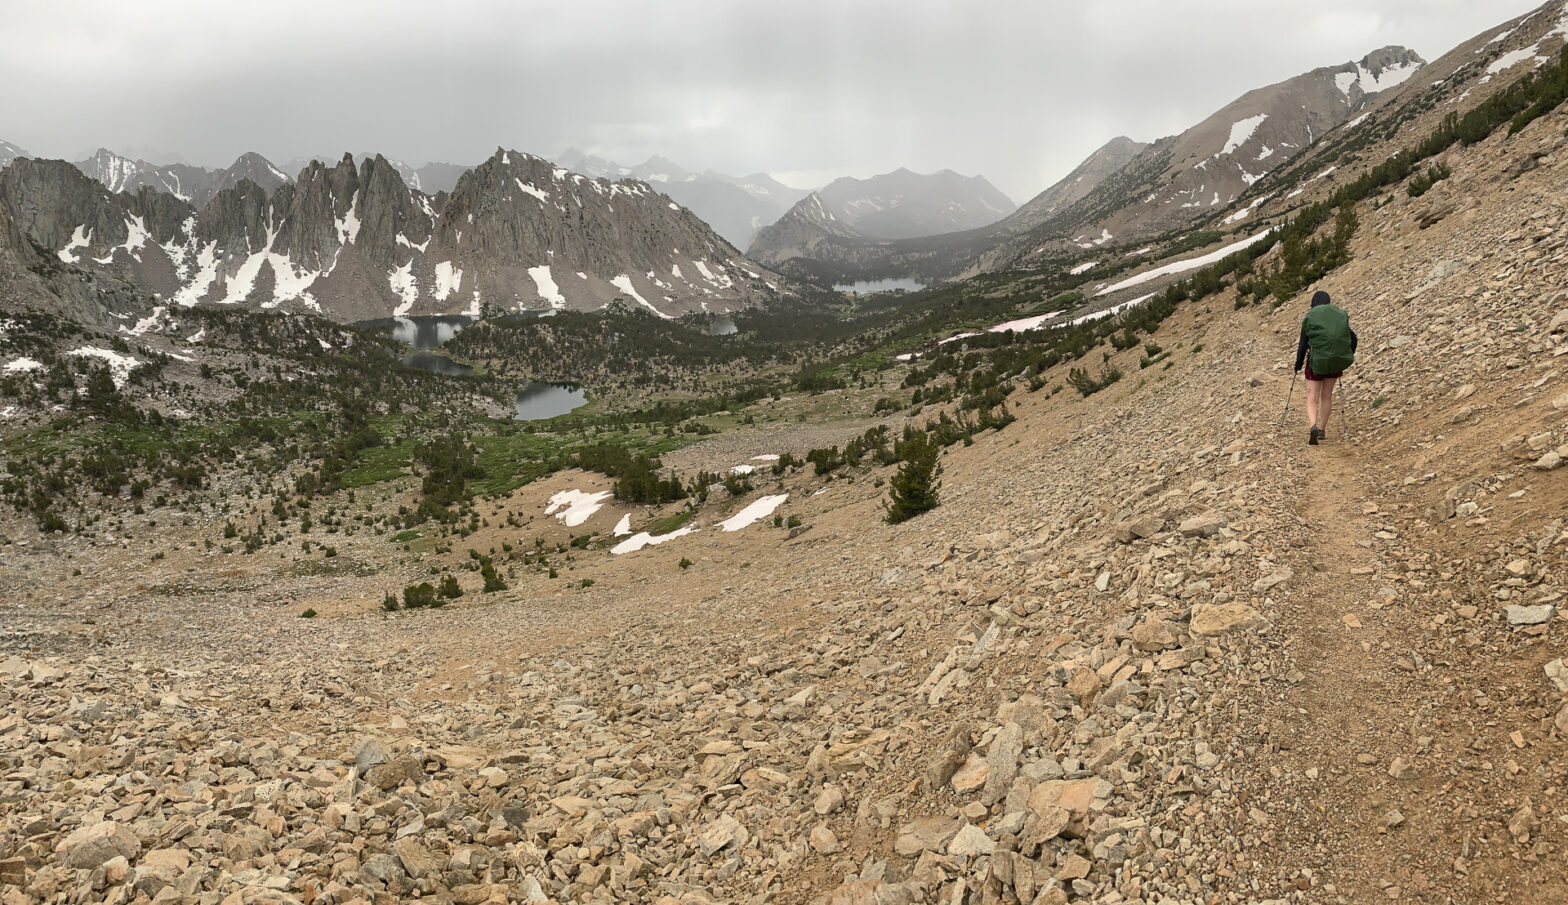
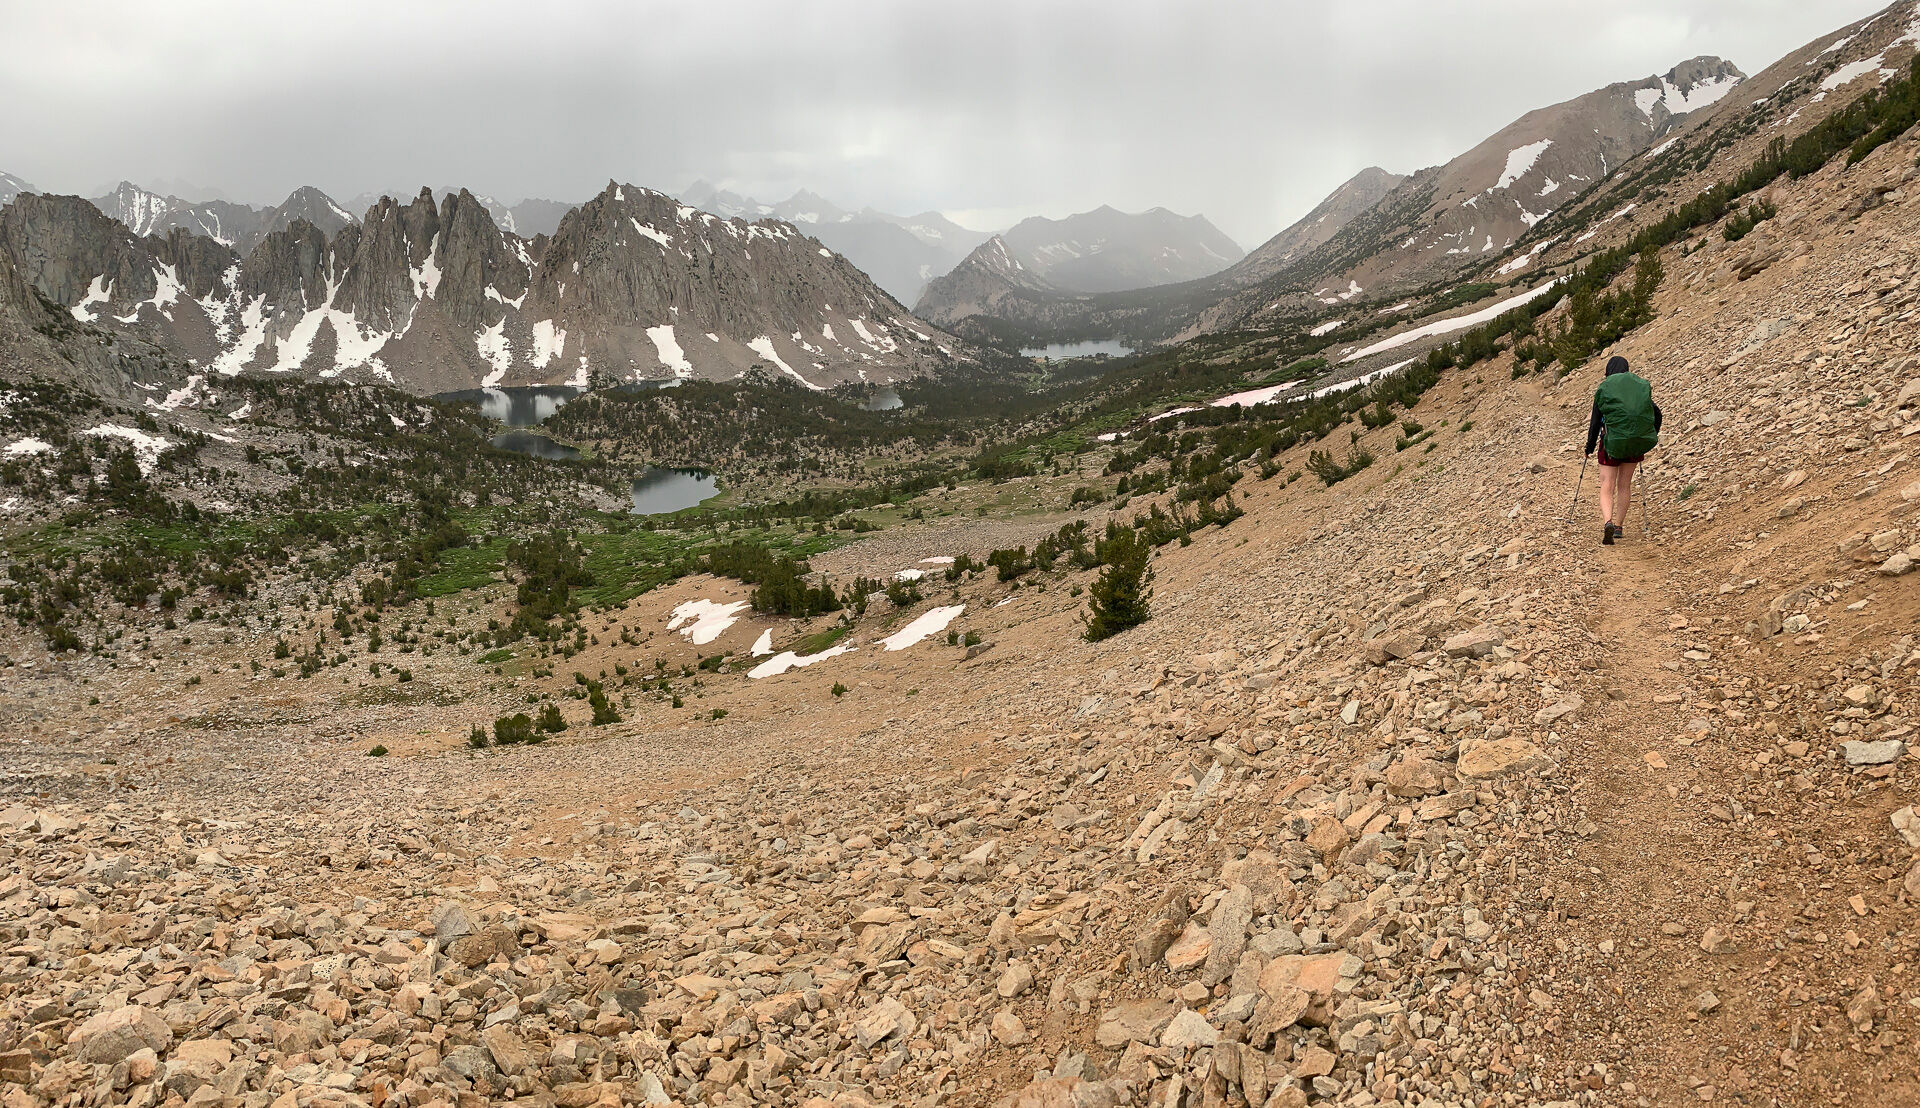
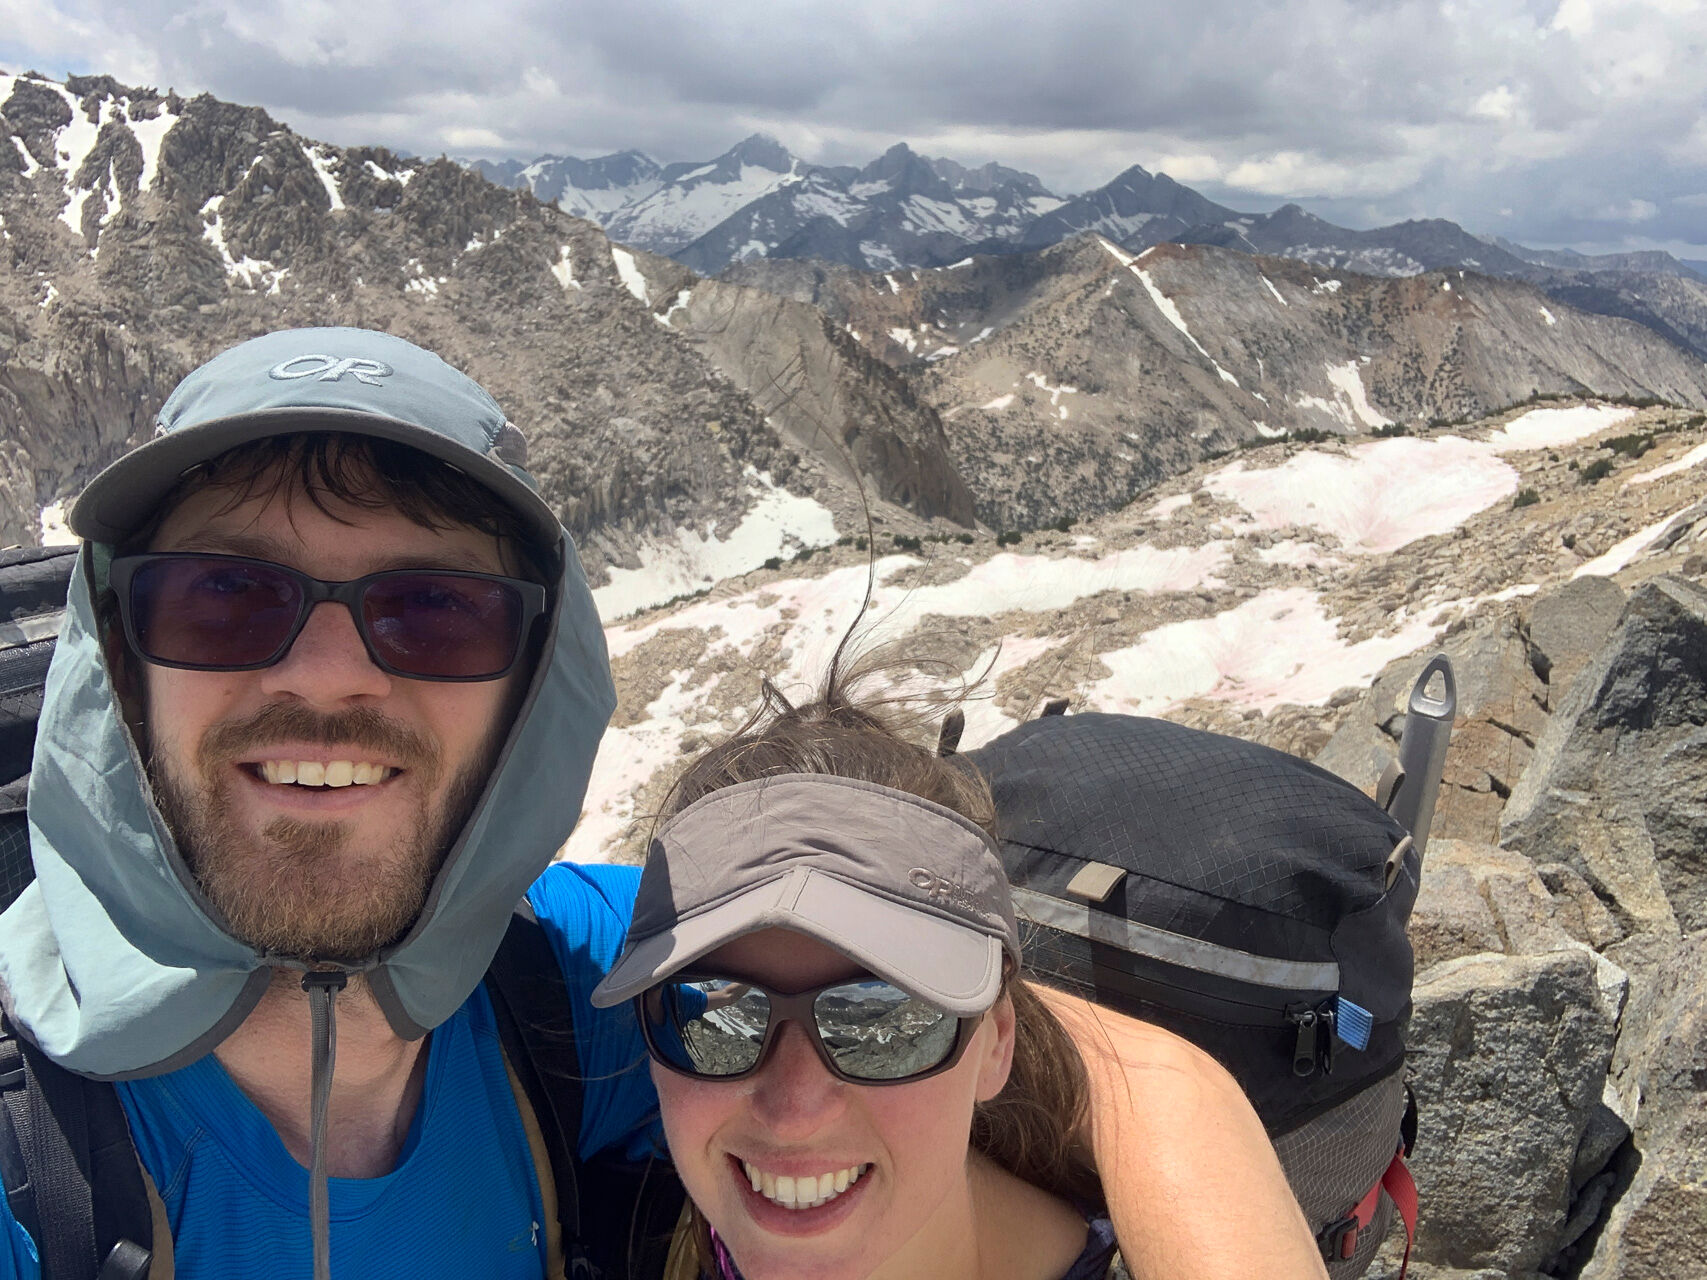
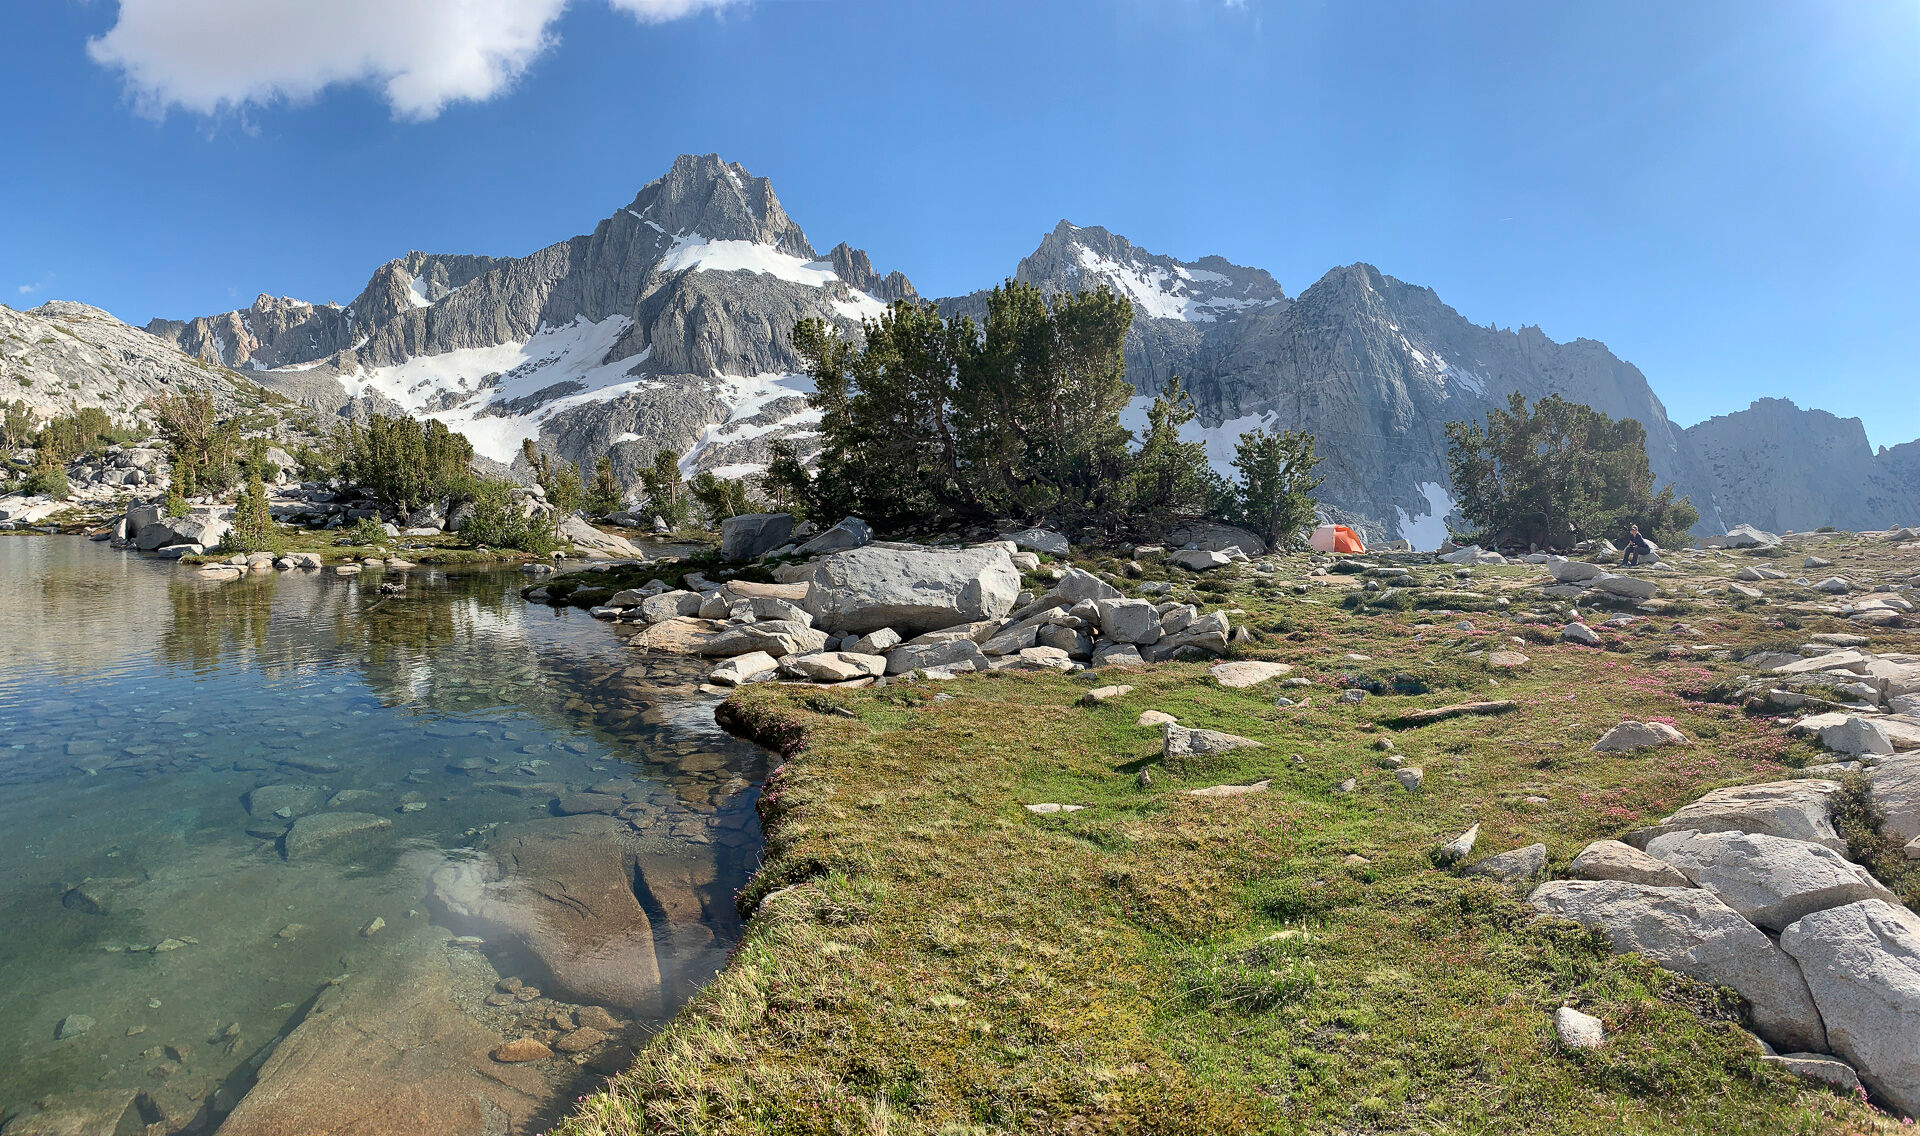
Many months ago now, Aubrey and I were fortunate to have found time to go on our annual adventure. For about 10 years I had wanted to explore the Gardiner Basin in the Sierra, which is the basin that the popular Rae Lakes loop circumnavigates. It takes quite an effort to get in, and out… our loop was about 35 miles and 11,000 feet up and down. But it was worth every step.

Our trip started with some thunder and rain, and for a moment it almost felt like we were back in the Northwest. After two days of weather, the skies parted and we enjoyed crisp and clear weather as we navigated our way through the granite landscape. Our route took us past the Rae Lakes, to the Sixty Lakes Basin, and up and over a remote pass into the upper Gardiner Basin. Once there, we saw very little signs of any human activity.

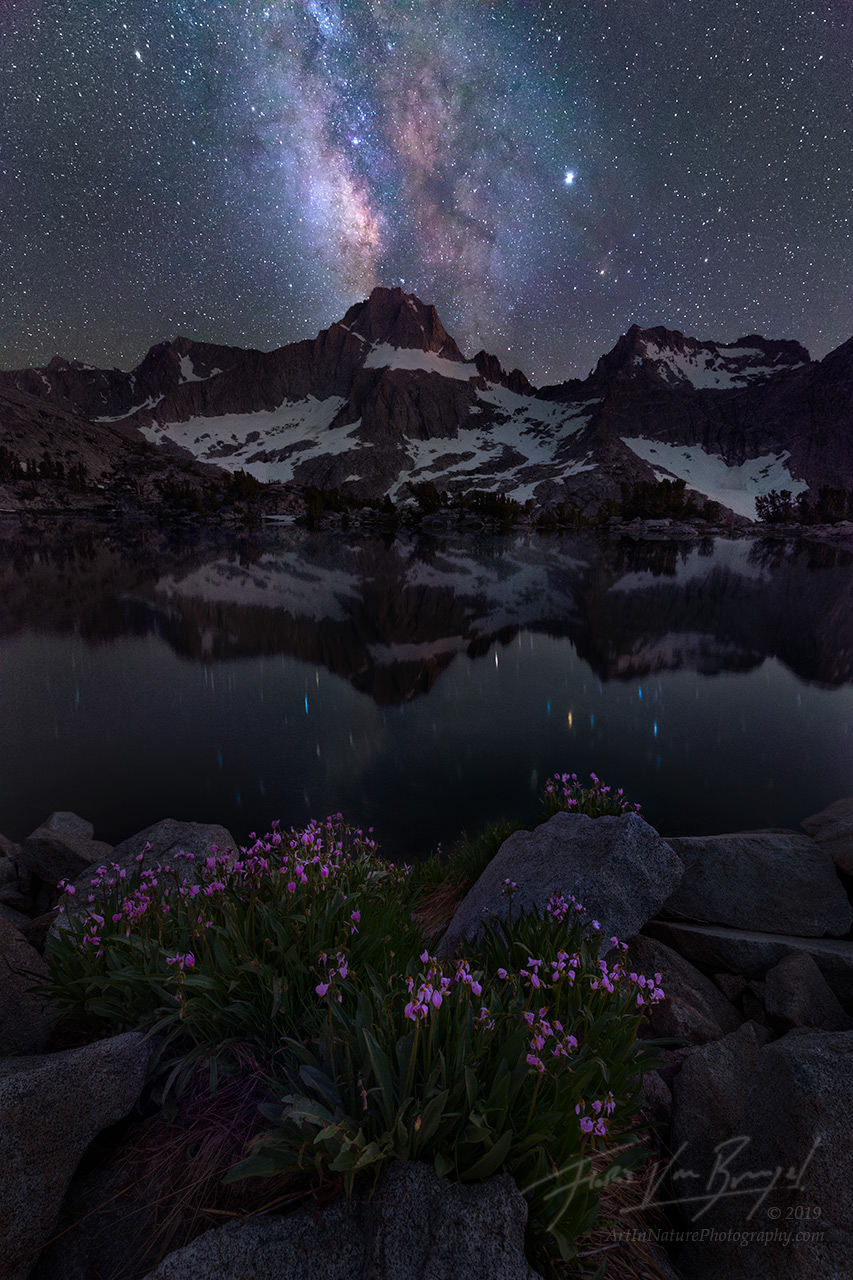
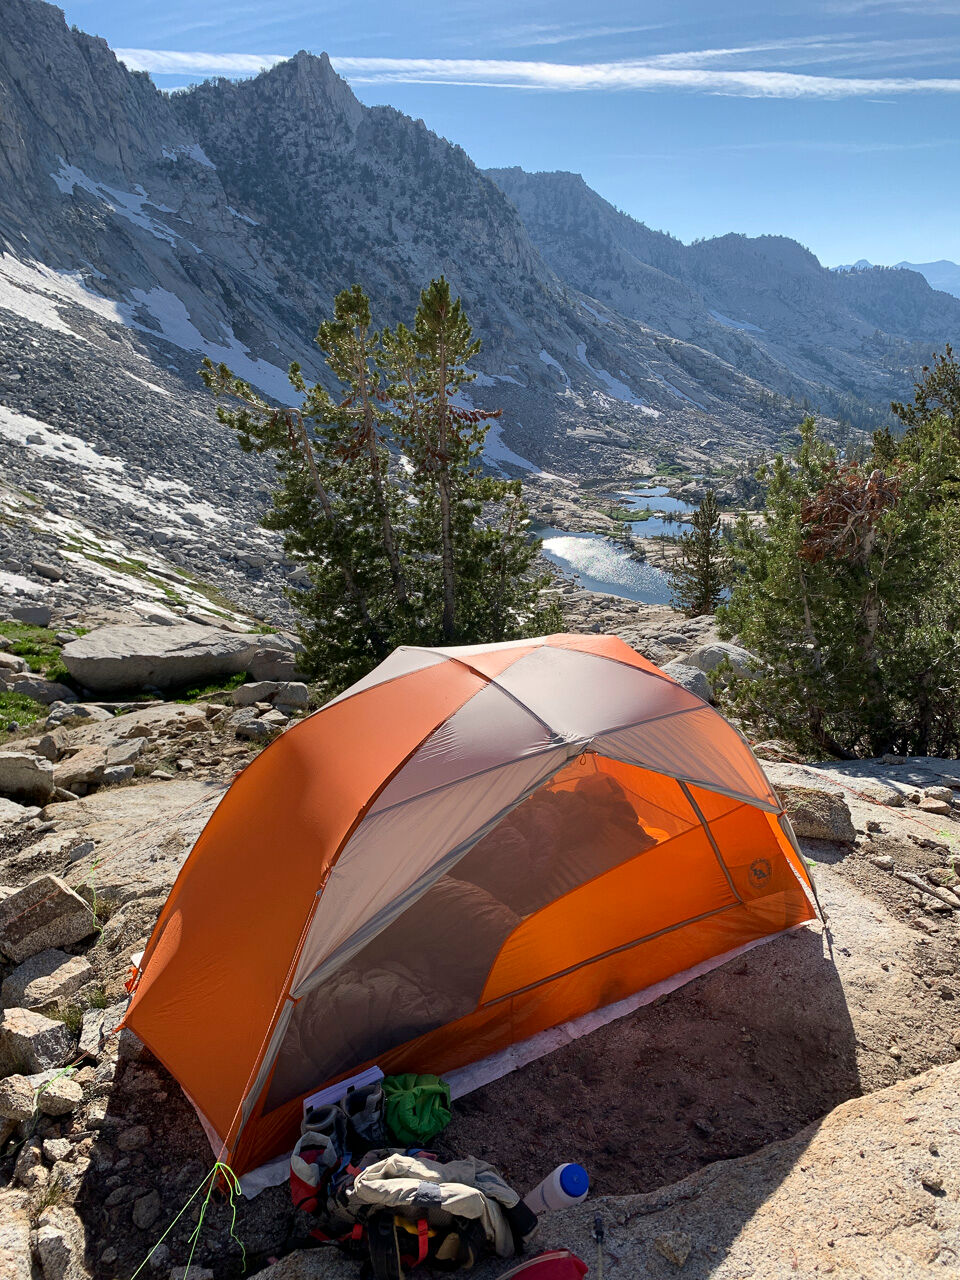
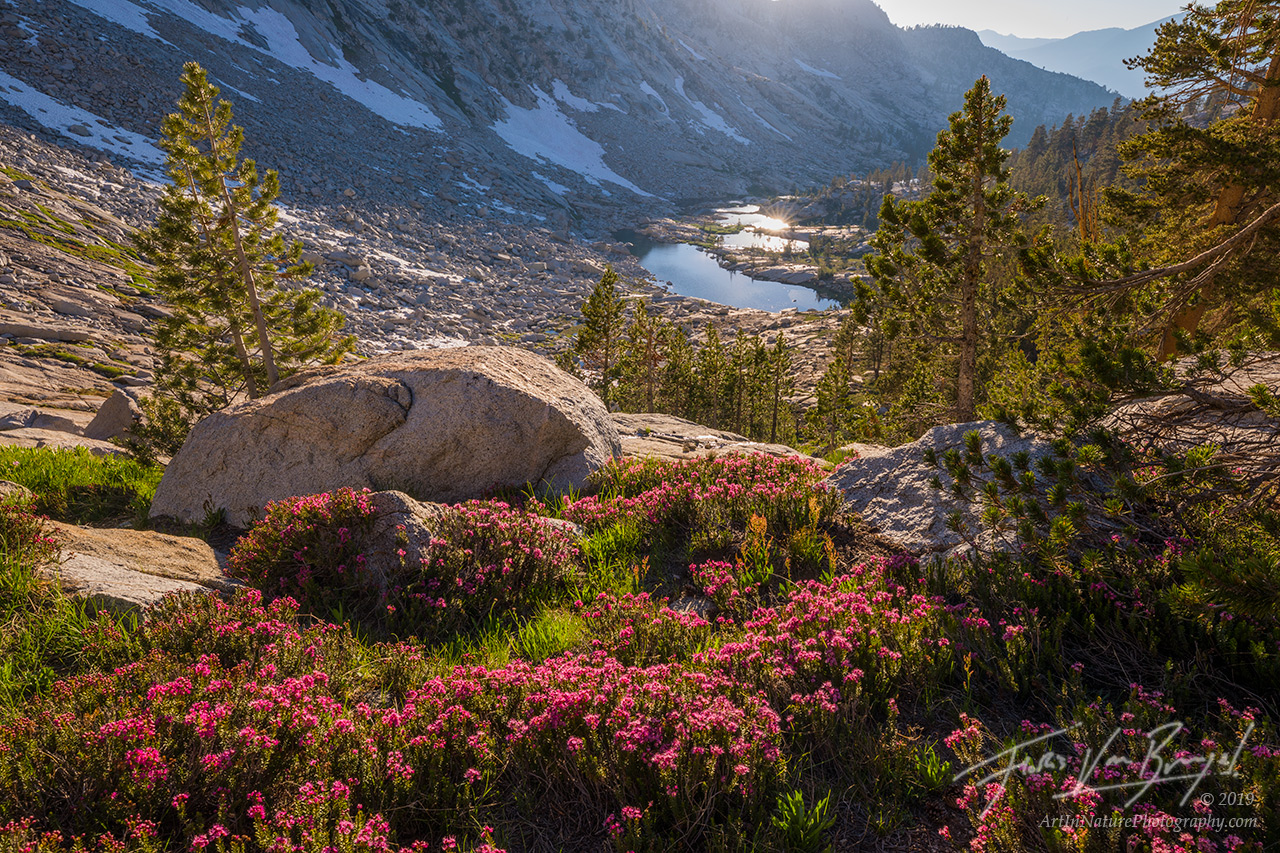
Our camp beside a remote lake provided stunning view of Mt Gardiner. One of the symptoms of getting older is that I now have to get up to pee in the middle of the night. On this particular occasion, the milky way was fortuitously aligned with Gardiner Peak. A cluster of Jeffrey Shooting Stars provided the perfect foreground.

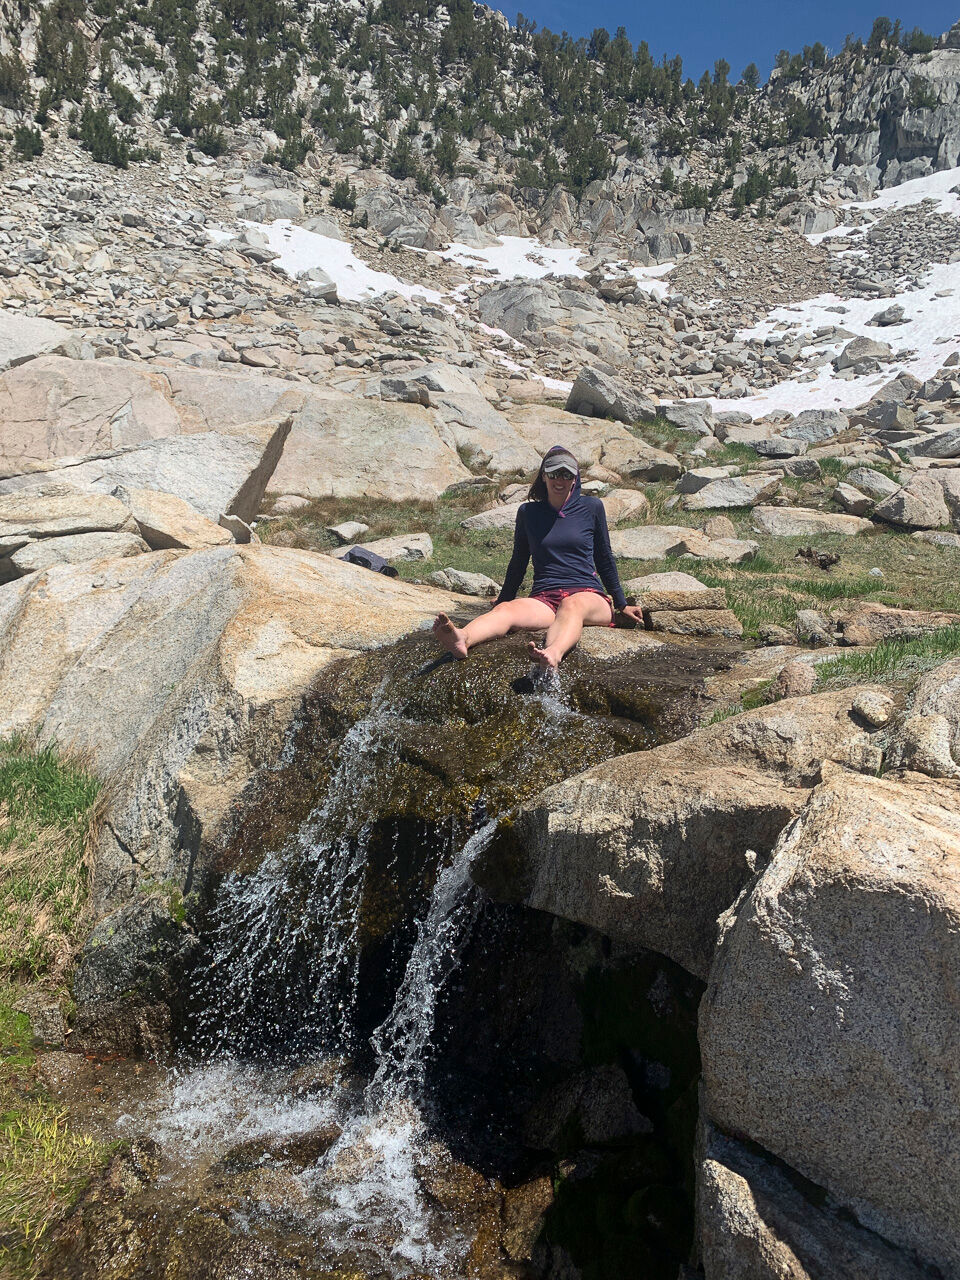
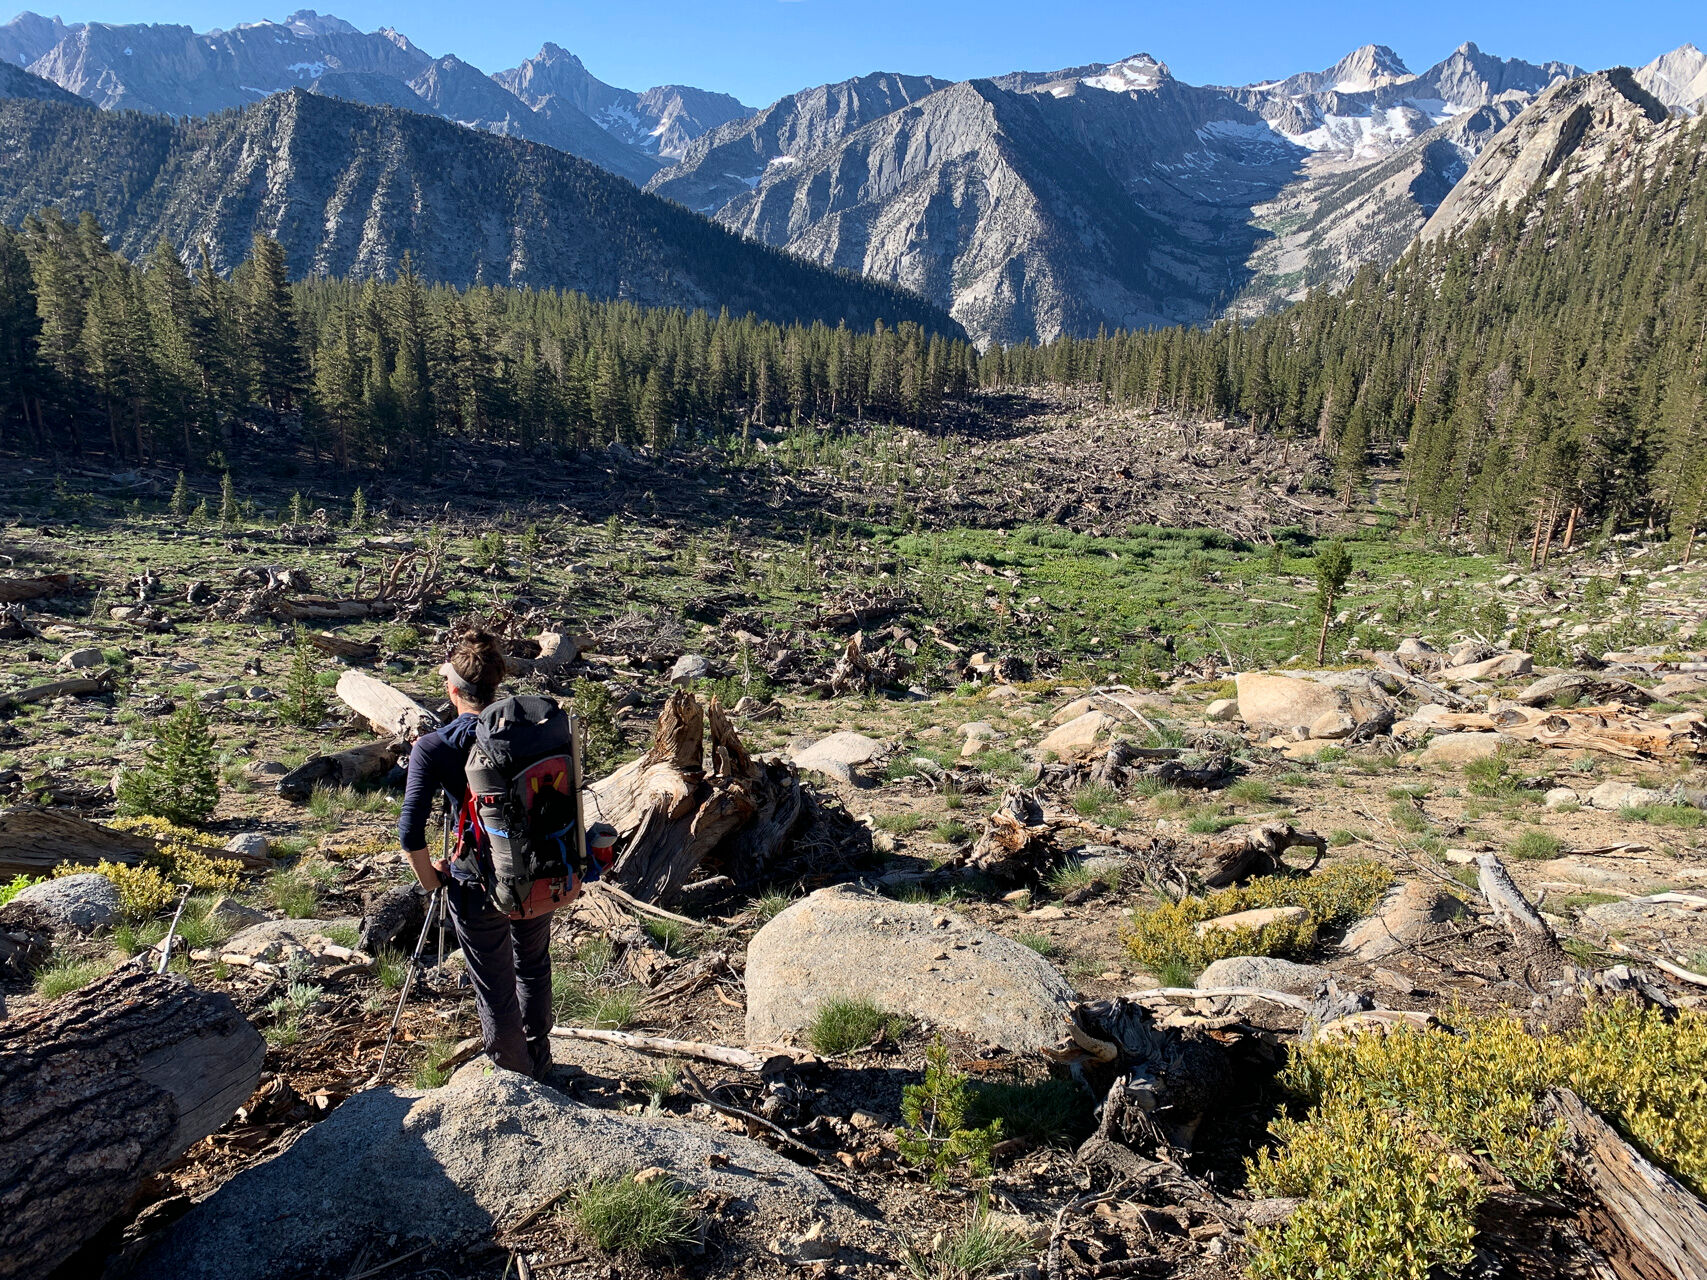
The following day we descended 3,000 feet through forest and granite, alongside steep braided waterfalls. Reaching the bottom of the valley of course meant we needed to climb right back up. The faint use path barely provided any guidance, but the mosquitoes motivated us to keep moving. For our final day we scrambled up and over the pass, through an epic avalanche path, and made our way back to Kearsarge pass.

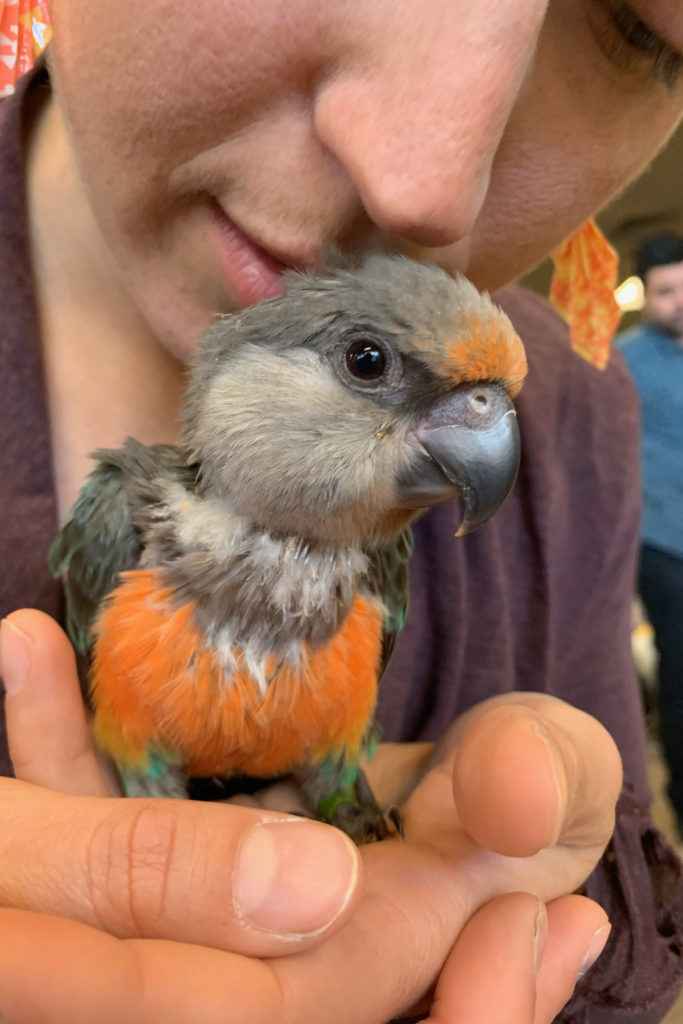
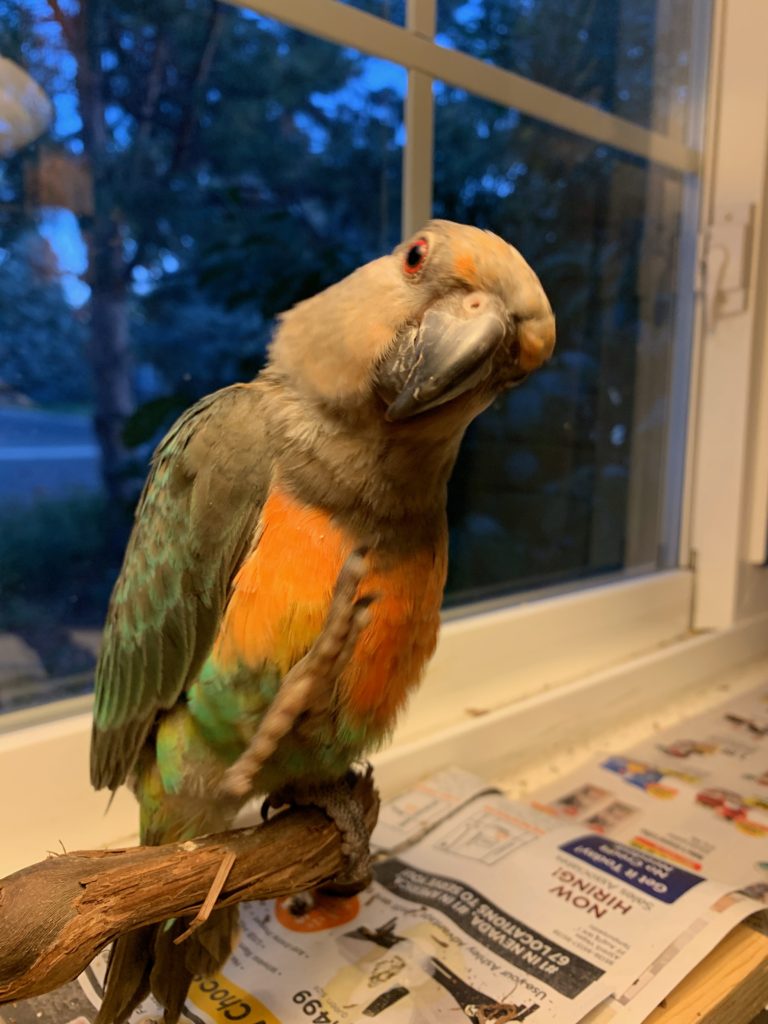
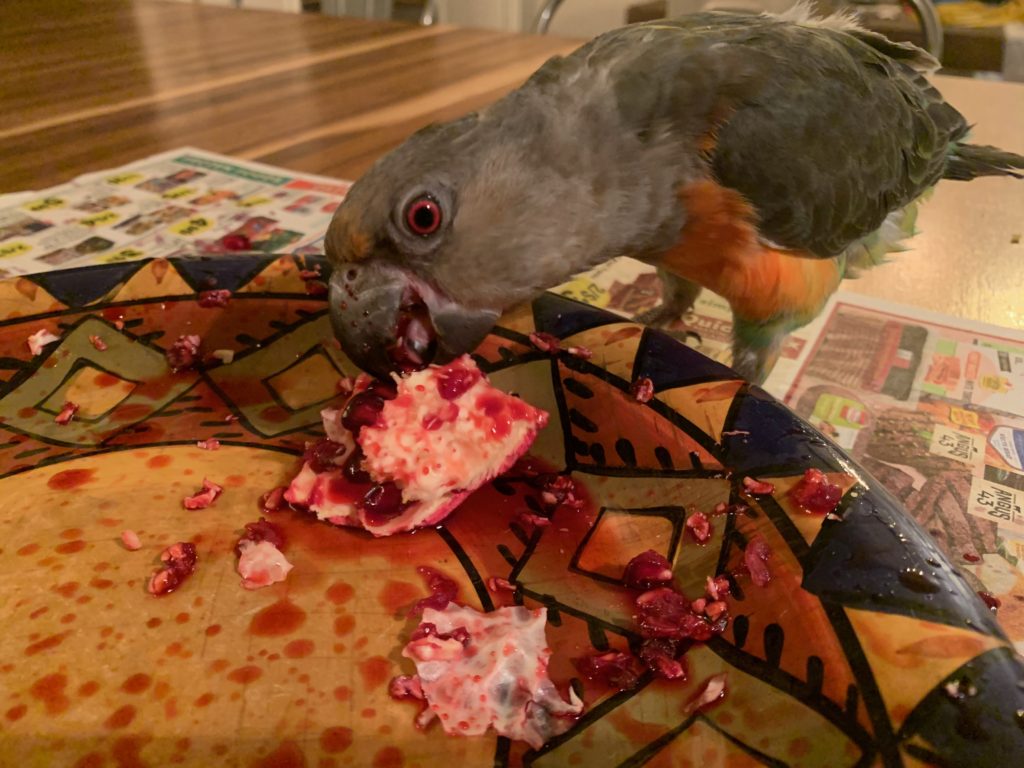
Hopefully such adventures will become more frequent again, now that we are getting settled into our new careers and home. Our little parrot is doing a great job of bringing some wilderness into the home, though. Pictures at the end

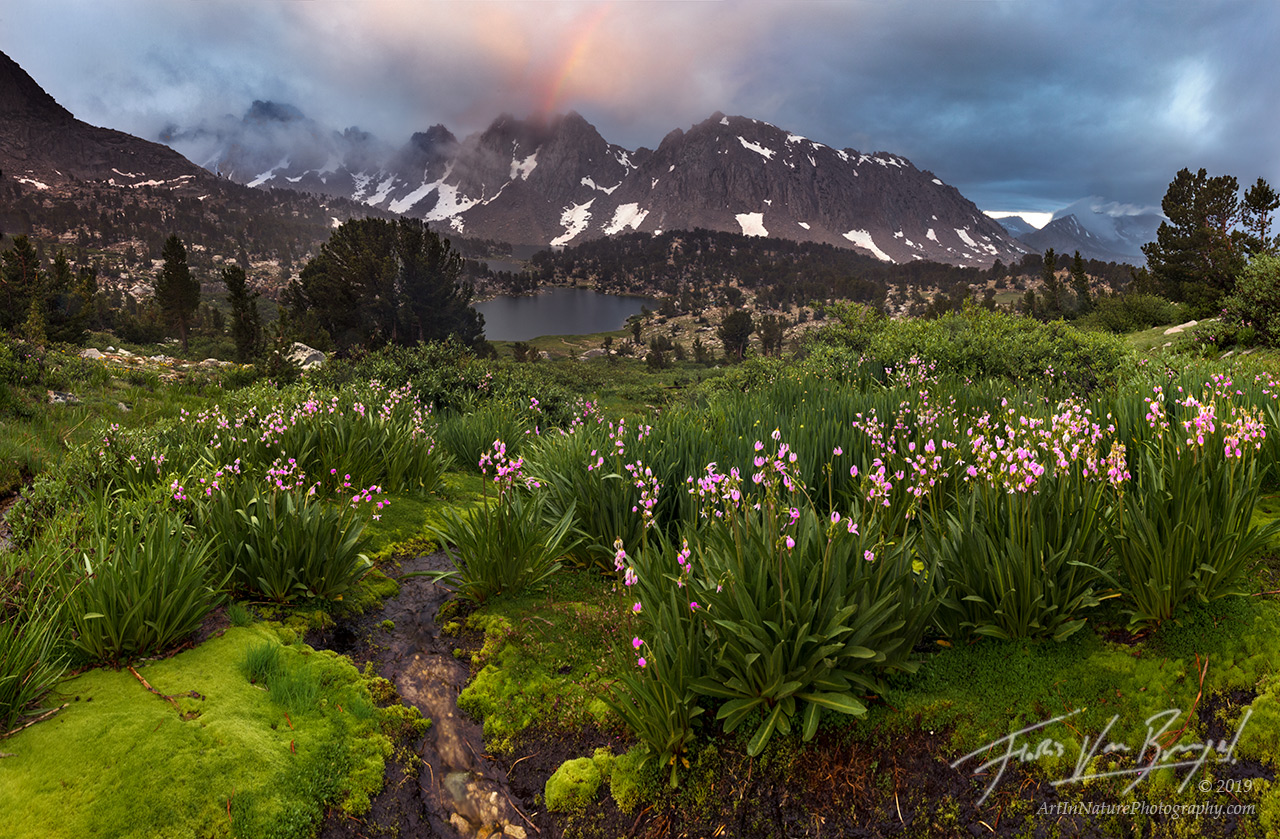
Kearsarge Pinnacles, Sierra, Verdant

Moss and blooming Sierra Shooting Stars provide a verdant foreground for the Kearsarge Pinnacles under stormy skies in California’s Sierra Nevada.

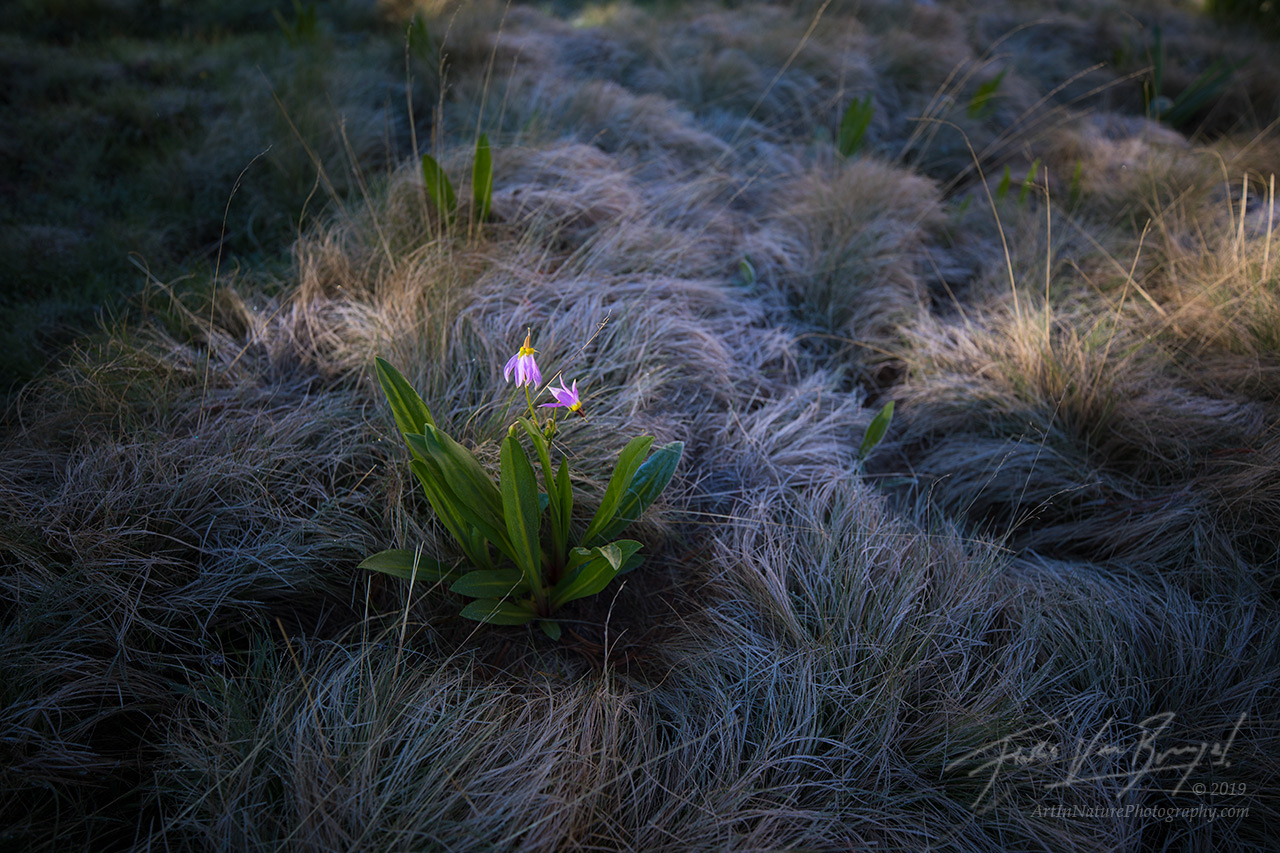
Sierra, Shooting Star, Meadow

Sierra Shooting Star flowers bloom in a field of frosted grasses in a meadow in the wilderness of California’s Sierra Nevada.

Milky Way, Sierra, Mt Gardiner

The milky way lights up the dark skies over Mt Gardiner, deep in the wilderness of California’s Sierra Nevada. Blooming Sierra Shooting Stars offer a fitting foreground.

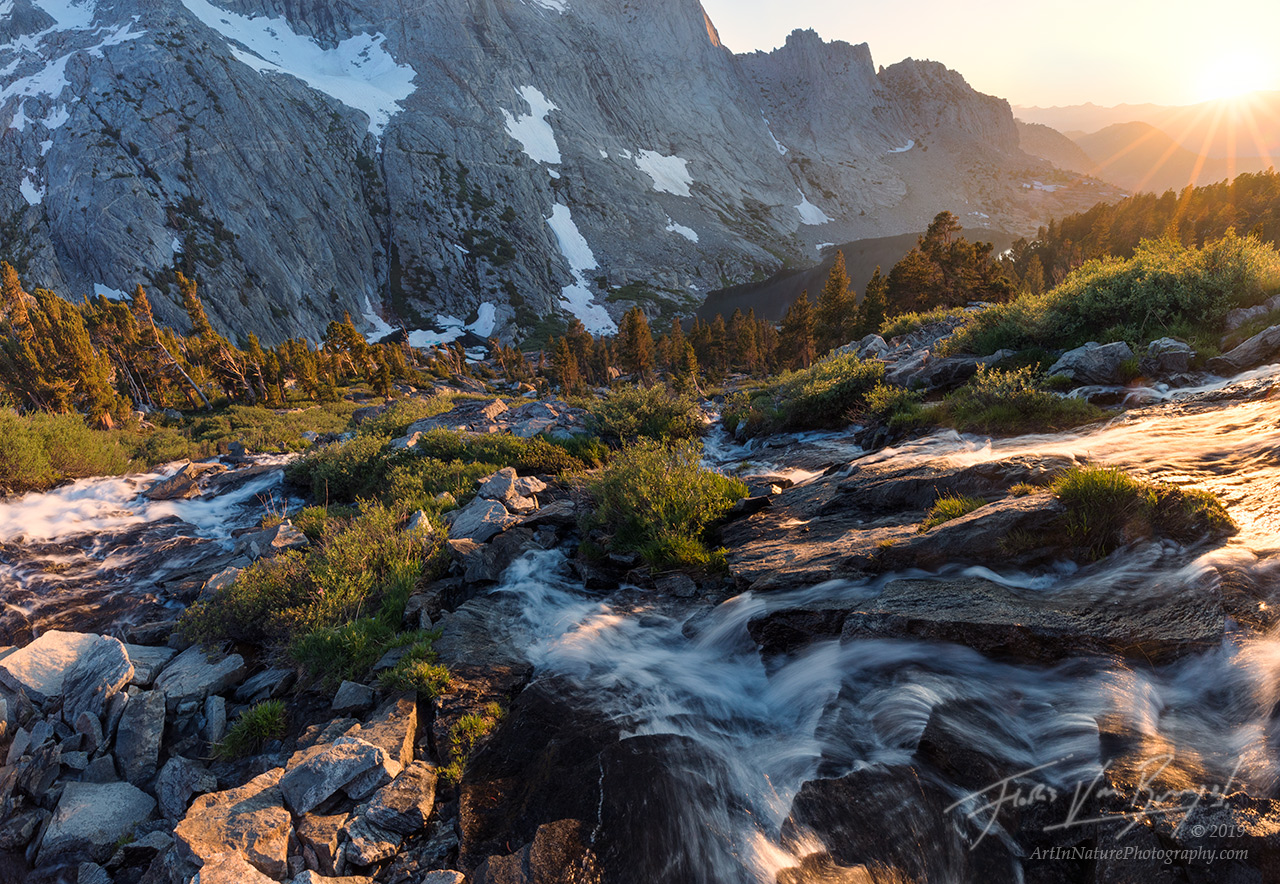
Sierra, Waterfalls, Wilderness

A big snowpack in 2019 followed by hot summer days leads to plentiful cascades in the wilderness of California’s Sierra Nevada.

Heather, Sierra, Summer

Blooming heather covers the hillsides of this remote canyon in California’s Sierra Nevada.

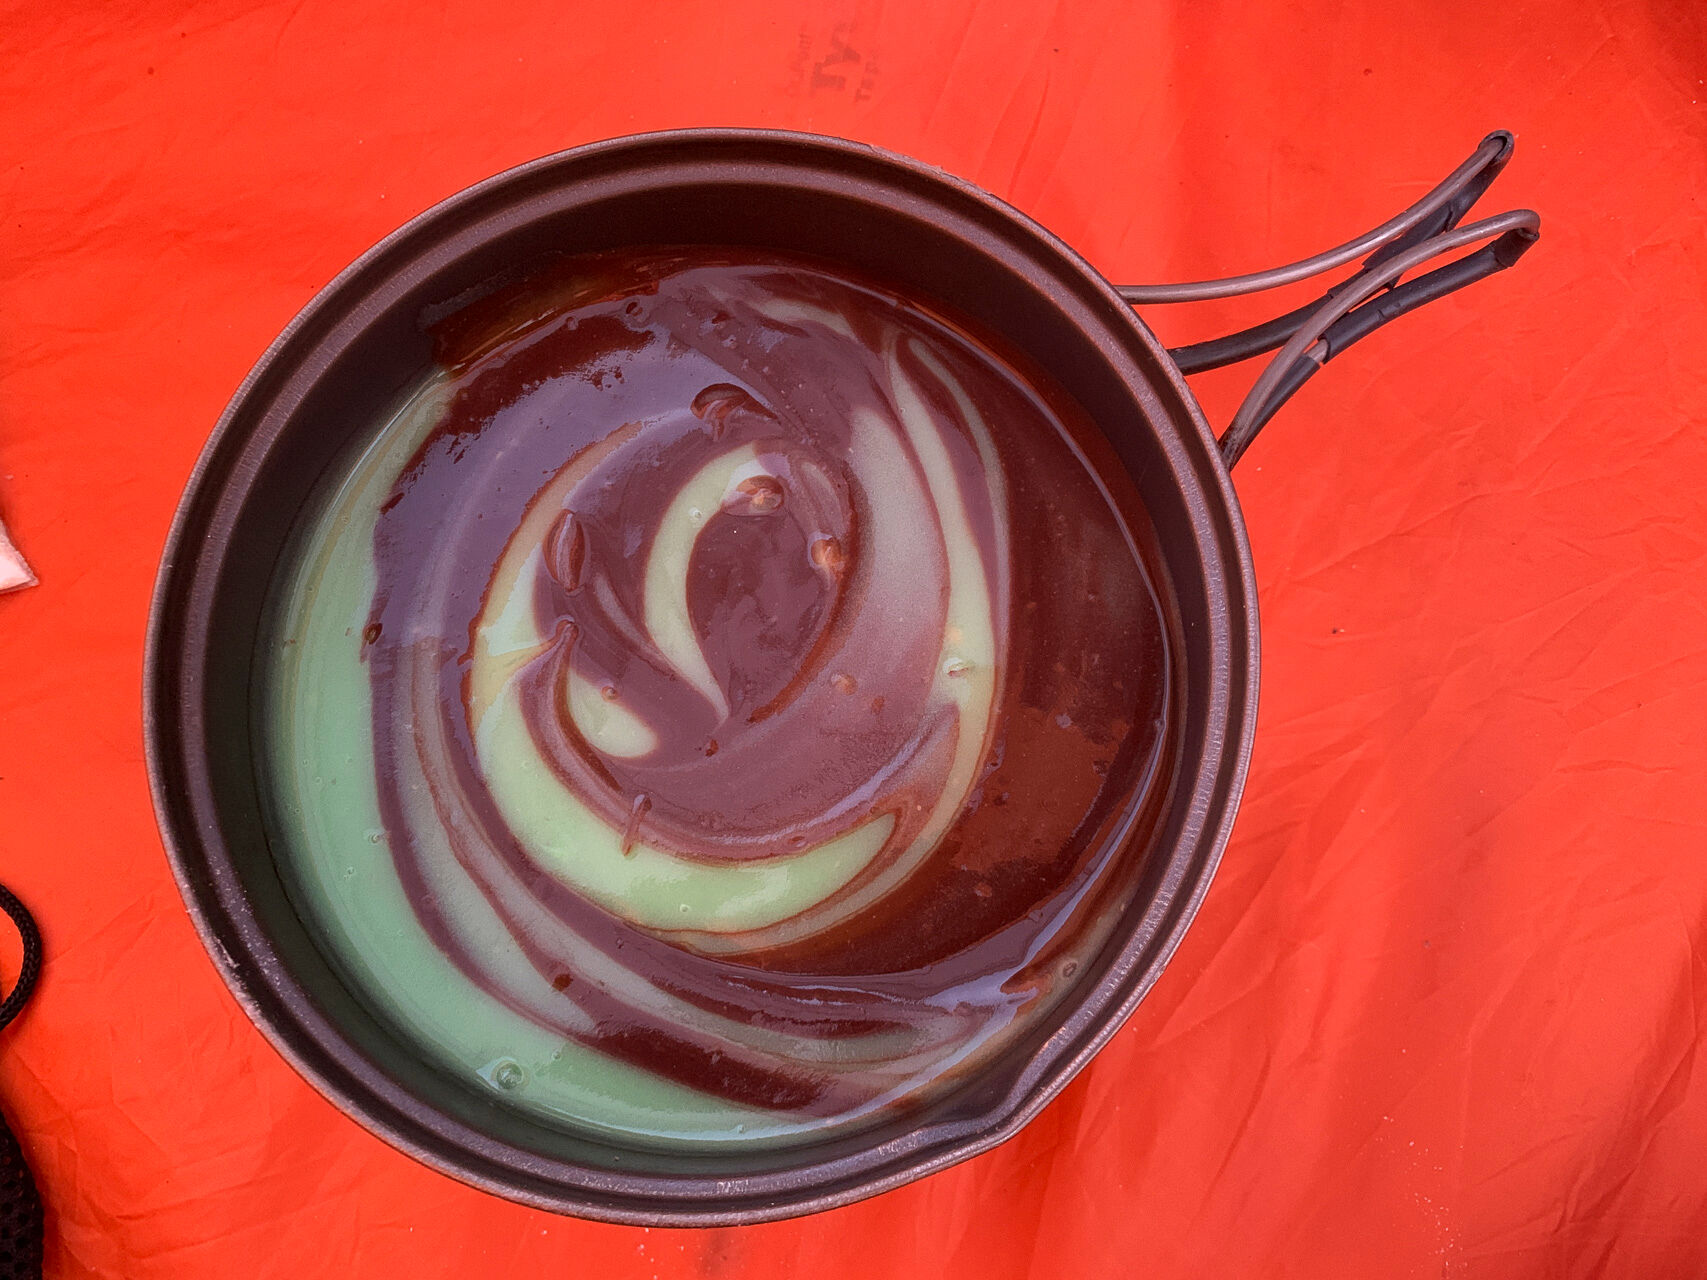
Birthday pudding: pistachio / chocolate swirl!

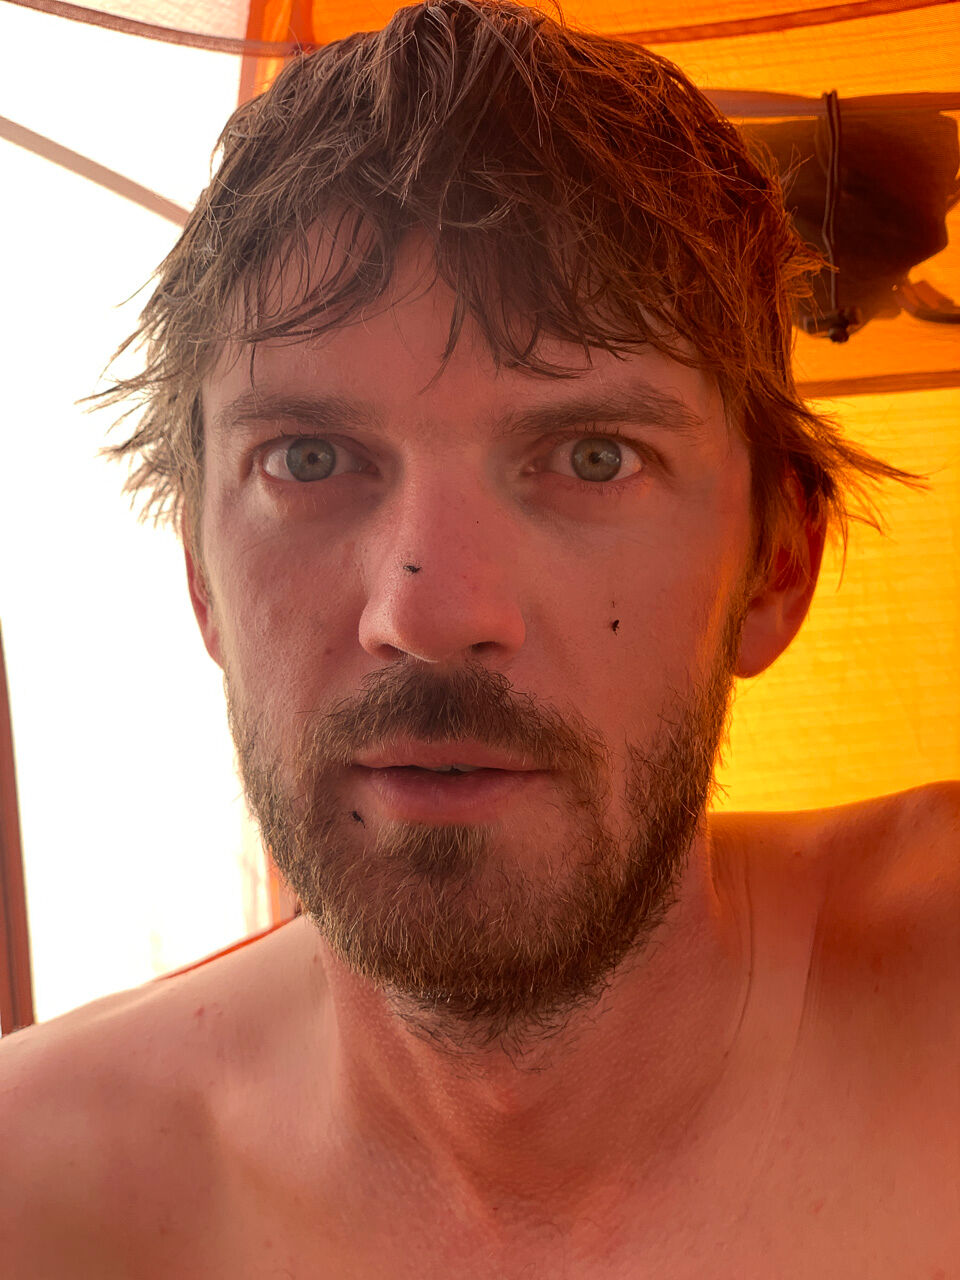
Mosquito carcasses decorate my face after a bloody battle.

Baby Wasabi, ~ 1 month old.

Wasabi, ~6 months old.

Wasabi, ~8 months old.

Tags: backpacking, California, mountains, sierra

[ad_2]

Lámina de flats eXcalibur lite de Rbfocus

[ad_1]

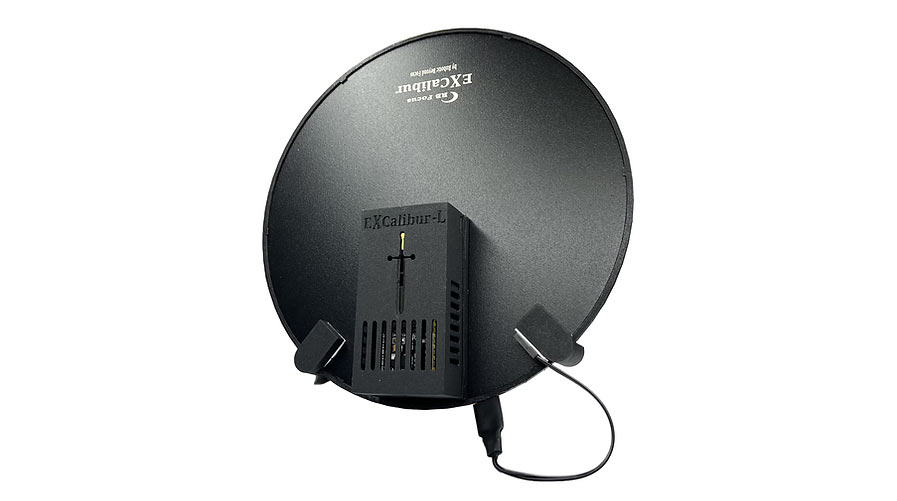
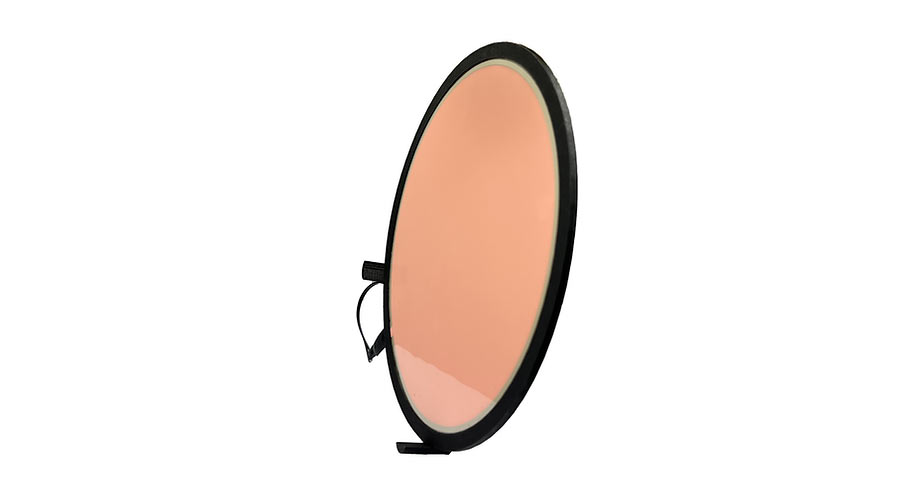
Obtener buenos flats es imprescindible para conseguir una calibración correcta de nuestras imágenes astronómicas y tras haber comprado y y probado recientemente la lámina de flats eXcalibur lite ya podemos darte nuestra opinión sobre este producto de la marca Rbfocus.

Anteriormente estábamos usando para hacer los flats una lámina de calco de dibujo alimentada por USB que consiste en un panel electroiluminado y que hasta ahora nos había dado buenos resultados, o eso creíamos. Lo cierto es que el panel funcionaba muy bien con nuestra cámara réflex pero con la más sensible ASI1600MM en ocasiones nos encontrábamos con el problema de que N.I.N.A nos decía que el flat resultante era demasiado brillante. La solución económica por la que optamos fue poner láminas de metacrilato translúcido hasta conseguir reducir el brillo de la pantalla hasta una medida que consideramos «aceptable».

El problema de los avisos en NINA desapareció pero a la hora de calibrar las imágenes empezamos a encontrarnos con muchos problemas y resultados desconcertantes sobre todo en el canal azul. Tras investigar un poco parece que el problema que nos afectaba era que cuando la ASI1600MM hace tomas muy cortas (inferiores a 5 segundos) induce mucho ruido por el modo de configuración de la cámara. Necesitábamos un panel de flats que brillara mucho menos que nuestra lámina para poder alargar las exposiciones y eso nos llevó a conocer la eXcalibur lite.

Una magnífica lámina de flats

lámina de flats excalibur lite frontal
La lámina de flats eXcalibur Lite es ligera y robusta

En el mercado astronómico tenemos varios fabricantes de láminas de flats pero RBfocus nos atrajo mucho por lo bien trabajado de sus productos y porque son desarrollos hechos por un apasionado de la astronomía como es Reinaldo. Sus productos mezclan el cuidado y la sabiduría de un trabajo artesanal con la precisión industrial necesaria en estos productos y todo ello a un precio muy razonable.

Esta lámina de flats permite ajustar el brillo de manera variable y además se puede controlar desde los programas de captura como N.I.N.A. ya que es compatible con el protocolo ASCOM Cover Calibration y con INDI.

La conexión con el pc puede hacerse a través de cable USB o de modo inalámbrico por Bluetooth.

La lámina es ligera ya que está hecha con fibra de carbono, aluminio y plástico pero a su vez es robusta. Requiere alimentación a 12V que en mi caso es proporcionada por el dispositivo Astrolink mediante un conector jack (RBfocus también desarrolla sus propias power box de uso astronómico).

eXcalibur lite se quita y pone manualmente en el telescopio pero podemos optar por dejar la solución de manera fija en el tubo y accionarla automáticamente en la versión normal que incluye un brazo con servomotor.

Prueba y opinión sobre eXcalibur lite

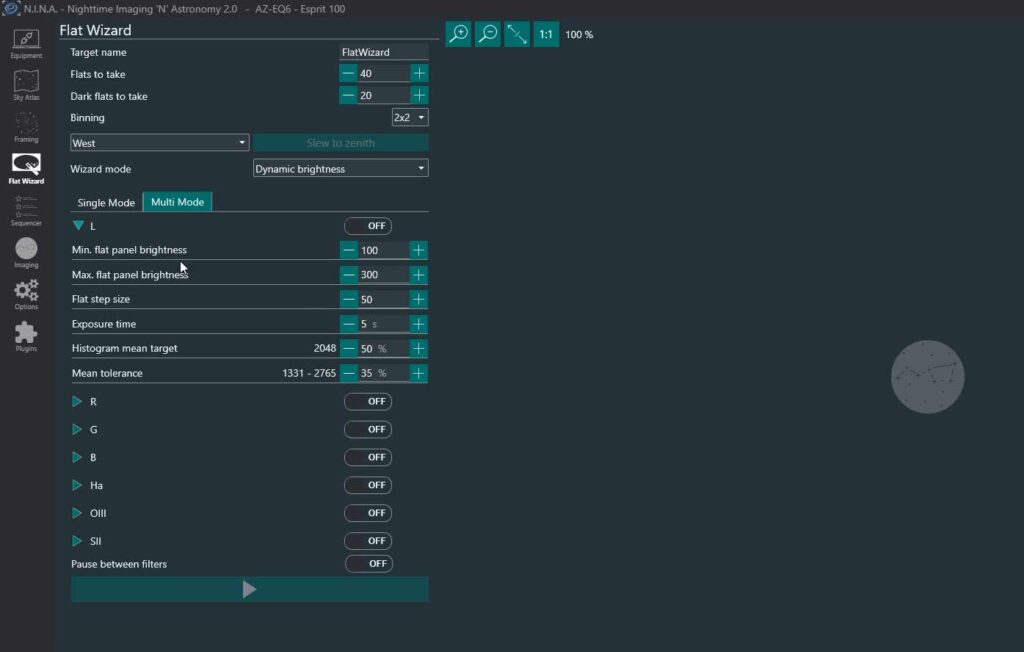
Hemos podido usar el eXcalibur lite durante los últimos meses y nos ha dado muy buen resultado. Gracias a su pequeño tamaño lo llevamos en la propia caja del telescopio y configurarlo nos llevó tan solo un rato durante una tarde para calcular los valores recomendables en N.I.N.A en base a nuestra cámara y el tren óptico.

Panel de flats en N.I.N.A
Configuración del asistente de flats en N.I.N.A. totalmente compatible con eXcalibur lite.

Ahora el proceso de adquisición de flats es más sencillo y aunque nos lleva más tiempo porque estamos haciendo flats de 5 segundos en vez de fracciones de segundo como antes, la diferencia en cuanto a calidad se nota y mucho. En definitiva estamos muy contentos con esta lámina y la recomendamos sin dudarlo.

Quizá piensas que estás haciendo bien tus flats con tu lámina casera como lo pensábamos antes nosotros. Tal vez crees que tus imágenes están bien calibradas pero, créenos, si no lo están estás desaprovechando mucha información en tus imágenes astronómicas y no estás obteniendo los mejores resultados. Que pena con ese telescopio y esa cámara tan buena que tienes…

[ad_2]

N.V. Parekh and the Rise of Studio Photography in East Africa

[ad_1]

Cover of I Am Sparkling: N.V. Parekh and His Portrait Studio Clients by Isolde Brielmaier, published by Damiani (all images courtesy Damiani)

Isolde Brielmaier’s I Am Sparkling: N.V. Parekh and His Portrait Studio Clients (Damiani, 2022) is a critical contribution to scholarship on mid-century studio photography in Africa. Studies on the genre have often leaned geographically toward West Africa, and it is thanks in part to these efforts that figures such as Malick Sidibé and Seydou Keïta, among many others, have risen in prominence over the last few decades. Comparatively, there have been far fewer studies of photography in East Africa — to which Brielmaier’s text contributes a previously unstudied narrative. I Am Sparkling uses the prolific studio practice of Asian-African photographer N.V. Parekh to examine studio portraiture in the decades prior to and immediately post Kenya’s independence from colonial rule in 1963. By looking closely at portraiture during this revolutionary era in Mombasa’s history, Brielmaier profiles varying approaches to studio portraiture in the region and sitters’ agency in framing evolving and diverse identities before the camera’s lens. 

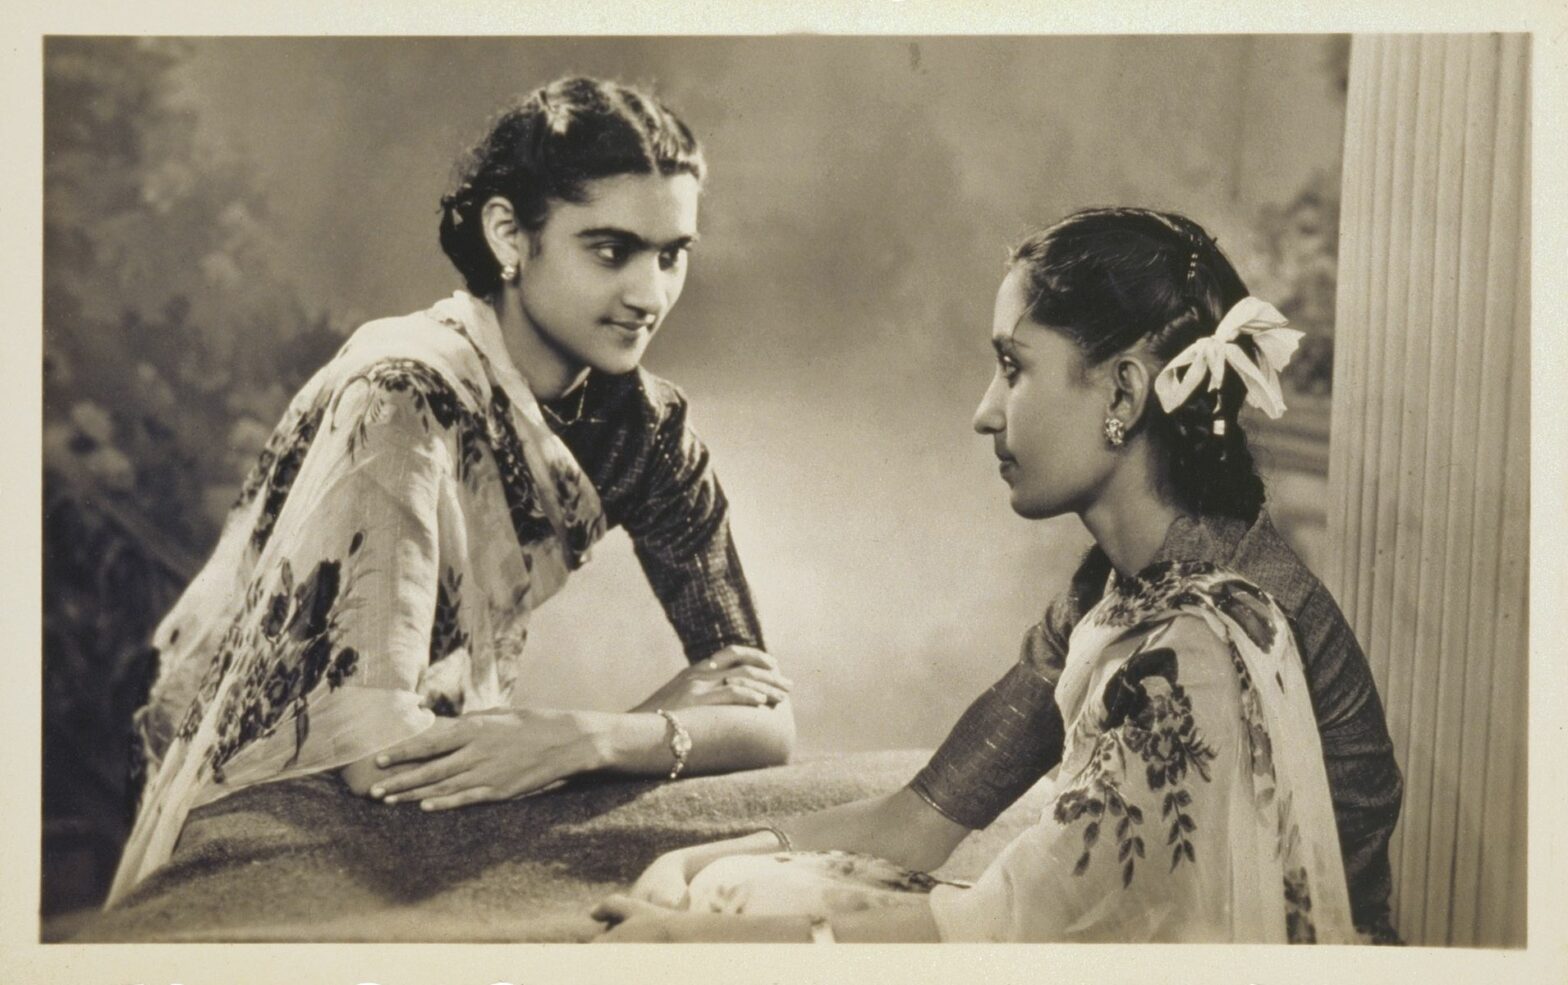
Photograph by N. V. Parekh, from I Am Sparkling: N.V. Parekh and His Portrait Studio Clients, published by Damiani

The advent of photography in Africa is often attributed to Europeans, who used photography as a tool not only to capture images of idyllic landscapes and exotic creatures, but as a mechanism to clinically document and violently categorize human beings. As Brielmaier articulates, however, in East Africa in particular the photographic medium also critically evolved through exchanges between migrants from South Asia and the Swahili residents of Mombasa. In the mid-1800s, many South Asian men migrated to East Africa, where they established some of the region’s first photography studios. While these early images often mimicked European photographic norms, as studio audiences changed — particularly amidst the rise of new urban identities in Mombasa — so did studio portraits.

Parekh was one of the most well-known and popular photographers in East Africa. I Am Sparkling is remarkable for its extensive interviews with Parekh and his family, but also for Brielmaier’s deep research on the sitters who would come to Parekh to have their portraits taken. The author identified and spoke with 57 of the photographed individuals discussed in her book; meanwhile, countless others offered descriptions of friends or family members who had solicited Parekh for a portrait. The author’s commitment to understanding and telling individual people’s stories — specifically, what moments in their lives prompted their desire to have their photograph taken — led her to become part of the community in Mombasa, locating Parekh’s subjects often by showing his images to community members. 

N. V. Parekh, left: “Portrait (couple in sunglasses)” (1956) and right: “Portrait (man with cigarette”) (c. 1963) from I Am Sparkling: N.V. Parekh and His Portrait Studio Clients, published by Damiani

It was these conversations that enable Brielmaier to write, for instance, that Mrs. Munyao (many of the figures in Brielmaier’s book are referred to by their last names) came to Parekh to mark the completion of her nursing degree, or that Mzee Ali wanted to commemorate the purchase of a new belt. The book’s title comes from an interview Brielmaier conducted with Mrs. Uweso, who had recently learned she was pregnant. The woman’s face is bathed in soft light as she gazes just outside the photograph’s frame. “Look at the light, the glow,” Uweso told Brielmaier during an interview. “I’m sparkling.”

Brielmaier is fiercely committed to telling her sitters’ stories, and thinking of photography as a collaboration between photographer and subject — a presentation of how a sitter wants to be seen. The studio, in other words, became a place for sitters to search for and define themselves, and assert agency in a changing world — particularly in the independence era. Images taken during this period, as Brielmaier notes, were decidedly less insistent on emphasizing time-honored traditions than on individual identity. As the author states, “The idea that photographs do not merely represent identity; that instead they also work to produce [identity] is central.” Parekh’s clients would arrive with images from magazines to guide the photographer’s choice of studio lighting, for instance, or adopt a particular pose or persona inspired by a Hollywood movie — decisions that align reflect new forms of leisure and new consumption patterns. A number of clients also asked for Parekh to lighten their skin tones during the development process (as a reader, further commentary from Brielmaier would have been welcomed on this subject). These images pose potent questions about the problematic conflation of whiteness and modernity, and the racist colonial ideals that persisted amidst the fanfare of the independence era. 

Photograph by N. V. Parekh, from I Am Sparkling: N.V. Parekh and His Portrait Studio Clients, published by Damiani

Many of these images also were able to derive and sustain their power because they were (or were not) distributed. Brielmaier observes that while some images were displayed publicly in the home — say, in a living room setting — others were arranged in carefully-composed photo albums, and were only shown to trusted individuals. This final example is exemplified by the number of Muslim women who recruited Parekh to take their portraits. While photography was widely understood at the time as forbidden by the Qur’an, Brielmaier explains that many women would only look at their portraits privately, or would keep them to be shown only to close female friends. Photographs, in these instances, became a means of facilitating and deepening female intimacy, friendship, and agency within a broader world that has historically exploited women — in many instances, via the photographic medium itself. Ultimately, Brielmaier’s book upends an often anthropological treatment of photography, casting new light not only on the photographic medium in East Africa, but on the varied lives of its many subjects in mid-century Mombasa. 

Photograph by N. V. Parekh, from I Am Sparkling: N.V. Parekh and His Portrait Studio Clients, published by Damiani

I Am Sparkling: N.V. Parekh and His Portrait Studio Clients by Isolde Brielmaier (2022) is published by Damiani and is available online and at independent booksellers.

[ad_2]

Guide to fine art landscape photography

[ad_1]

November 3, 2022

Connect with the landscape and your images will be all the better for it, as Paul Sanders explains in his article on fine art landscape photography. He shares more about his long exposure work below…


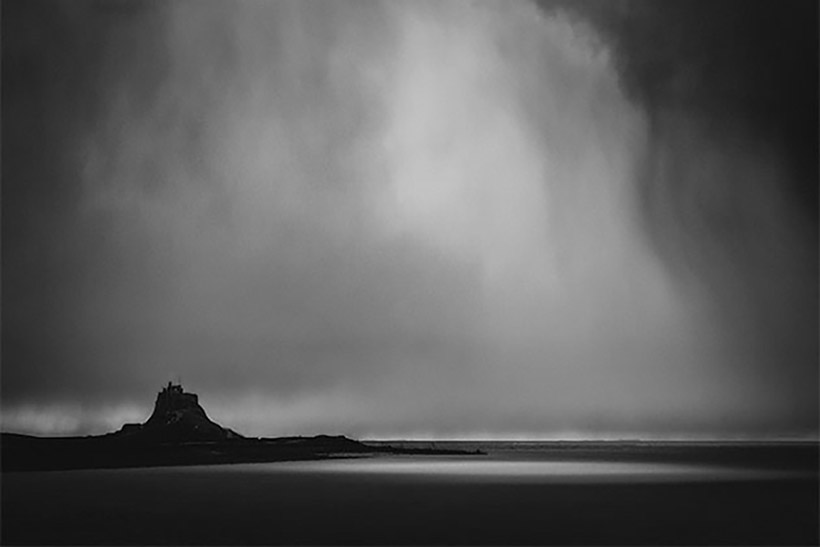
It took me a long time to discover the style of photography that matched my emotional and spiritual responses to what I was seeing, as I stood in the wind and rain that usually accompanied my expeditions. Many people see long-exposure work as a bit of a cliché: misty water and a few sticks in the sea; drifting clouds and an overly light high-key look. Yes, it can be, but the same can be said of many aspects of photography.

Personally, long-exposure photography allows me to explore a sense of calm; a visual relaxation that matches the way I feel when I look at the landscape. In my previous job as picture editor of The Times, I used to look through somewhere in excess of 20,000 images a day trying to find the perfect one for the front page. I lived my life at break-neck speed, barely taking a breath. When I left The Times at the end of 2011, I was convinced there must be more to life than what I had. I needed to get more out of myself photographically and that’s where long-exposure work came to the rescue.

Long Exposure for fine art landscape photography

Long-exposure photography can allow you to explore a sense of calm.

Get started with fine art landscape photography

Have a connection

Before we get into the technical side of long-exposure photography and counting exposure increase, there is something far more important than the technical issues – it’s vision, interpretation and connection with your subject.

I love what Ansel Adams said: ‘A great photograph is a full expression of what one feels about what is being photographed in the deepest sense and is, thereby, a true expression of what one feels about life in its entirety.’

You have to be able to connect your emotions to the landscape around you. It’s no good just shooting lots of images in the hope of getting a good one. Instead, shoot a picture that really captures how you feel at the time, and perhaps shoot a second image. If nothing else, long-exposure work will stop you shooting lots of needless images. The one thing you’ll need in abundance is patience, not memory cards.

Meadford

Think about what mood you want your images to reflect.

My very first long-exposure image was a mistake. I set up my Horseman SW612 medium-format camera in my bedroom window one Christmas night to take a picture of the snow under moonlight over the Pennines. I’d had a glass or two of wine – probably slightly more – and wasn’t in the sharpest of mind frames. I vaguely remember taking a meter reading off the snow with my spotter and thinking it was darker than it looked. So I set the aperture to f/11 and thought five minutes would do it. Four hours later I returned to the bedroom and saw the camera, remembered what I had tried to do, laughed drunkenly and closed the shutter.

Thankfully, now my images are somewhat more considered and a lot less wine is consumed in making them!

Filters

For me, long exposures are anything over 30secs, although most Facebook groups argue that it should be anything over 1sec.

The filters are the key bit of equipment that you should pay attention to. They will depend on your budget, but – and it’s a big but – more expensive brands like Lee and Formatt Hitech are without a doubt better in manufacture, consistency of colour and density.

So when it comes to filters, buy a system with a holder and adapter rings. You can mix filters with systems too. I use Lee adapter rings and holders, and some of their filters, but I also use Formatt Hitech. They are all 100mm and are interchangeable. Don’t buy the variable screw-in filters as you can’t accurately predict what density you are shooting through, and don’t buy cheap brands of filters because the colour of a ND filter is meant to be neutral, not pink or green.

Wales Landscape fine art photography

Filters are key to this kind of photography, so make sure to invest in a system with a holder and adapter rings.

Locations and subject for your fine art landscape photography

You can shoot any subject with a long exposure, but before you invest five to ten minutes of your time you have to ask yourself what is moving and what is stationary. Are you trying to capture a fast-moving sky over a city skyscraper, water swirling through a series of rocks or the incoming tide?

As a starting point, most people begin with groynes on beaches, with the tide breaking around them. This right-of-passage shot allows you to experiment and learn your craft, as everything apart from the groyne – like the clouds and tide – moves, giving you a quick positive result.

Composition is still very important. Many people seem to think that milky water or a blurry cloud will replace a well-executed image, but it won’t. So think about how you would normally compose your pictures and work with that, or allow yourself to start from the beginning and use very basic compositional rules to help.

I always work in the same way. I’ve made many mistakes and probably still have many to make, but as a result I have a workflow that works for me.

Winchelsea Camber fine art landscape photography

Groynes are a good starting point to hone your skills.

I find my location, spend a great deal of time seeing how things are, then I start to form an image in my head. Once I know what I want to achieve, I set up my tripod and I always make sure it’s level. Good tripod craft is essential. So many people don’t bother to extend the tripod legs correctly or get the tripod level and they make life hard for themselves from the outset.

I place the camera and lens on the tripod, then attach the cable release and the filter holder. At this point I turn the camera on, and make sure the ISO sensitivity is nice and low. One very important thing to check before you start shooting is in the menu. Find the ‘Long Exposure noise reduction’ and turn it off. If you leave it on, the camera will shoot a second exposure that is essentially a black frame to eliminate any noise generated during the exposure.

This will take as long as the first exposure, but will render your camera useless for the duration, meaning you can’t take as many images as you may want to.

Water Exposure

Once you’ve found your location, take the time to study it before shooting.

Framing

Fine-tune your composition. Make sure that only the things you want are in the frame and they are where you want them. When shooting long-exposure images, errors in composition stand out like a sore thumb. If you’re trying for the minimalist look, make sure there is no clutter around the edges of the frame. Place the elements deliberately where you want them and think and see the image in your mind’s eye before you press the shutter.

You can then think about taking your image. Using a heavy-density ND filter means that it’s a little more complex than simply firing the shutter. See my step-by-step guide below on how to calculate the exposure.

Remember, though, that the key to success is practice, practice, practice – but also to enjoy using the technique. Hopefully, you’ll persevere through the learning curve and produce some beautiful images that reflect a sense of space and calm.

Framing long exposure of water fine art landscape photography

Make sure there’s no clutter around the edges of the frame.

Fine art landscape photography: Common mistakes

Some ND filters have a slight blue cast, but you can easily remove this by shooting raw and adjusting in post-processing. Alternatively, you can adjust the white balance at the time of shooting. Use the custom white balance setting and set it to between 8,000K and 10,000K, and the blue cast will disappear.

You may have flare down one side of the image, as the sun can cause flare if it’s to the side of the camera and reflects through the edges of the filters. On a sunny day I often shield the filters either with a cloth over the edge, gaffer tape or even just my hand.

If you use very strong ND filters – 10-stop and above – you may notice the subtle branding from the front of your lens is reflected onto the back of the filter. This normally occurs when using very wide-angle lenses. So I use black tape or paint to cover the white writing on the front of my lenses.

Babbacombe fine art landscape photography

Use the rules of composition for strong results.

Need some more fine art photography advice? Check out our guide here.


Paul’s step-by-step guide for calculating exposure

Base exposure

Sanders Base Exposure use a filter for fine art landscape photography

I usually do a test exposure to establish what the image will look like without any filters. I expose for the shadow areas, aiming to get detail in them, which pushes the histogram to the right. Then I add an ND graduated filter to control the contrast from the sky or brighter areas of the scene.

Note exposure

Note Exposure

Once I am happy with the addition of the graduated filter (if I have a straight horizon I’ll use a hard grad, otherwise I use soft grad), I re-check the exposure – this becomes your base exposure. For the sake of argument, let’s say the exposure is 1/4sec at f/16 – make a note of this or remember it.

Focusing

Focusing focus your photo for fine art landscape photography

Before you add your ND filter, double-check your focusing. Then turn off the AF and just check again to see if your image is sharp. Most AF systems can’t see through the dark glass of a 10-stop ND filter, so if you leave the AF on and try to take the picture, the AF will hunt and your image will be out of focus.

Set to bulb

Set to bulb

Add your ND filter and turn your camera to its bulb or ‘B’ setting. Check that your aperture hasn’t changed. On some Canon models the aperture doesn’t carry over to B and you have to reset it, so please double check! You now have to recalculate the exposure to allow for the 10-stop ND filter in front of the lens.

Calculate

Calculate

Some filters come with a piece of paper that gives you approximate conversions. Or you can – as I do – use one of the many apps available. I use ND Timer, but there are lots available. Some have a countdown timer too, which is very useful if you haven’t got a timer on your cable release or camera.

Shoot

Shooting

On the app, input your base shutter speed and the strength of filter. Here, a shutter speed of 1/4sec becomes 4mins 16secs with a 10-stop filter. If you have an eyepiece blind, use it to prevent stray light entering and causing strange flare. Now press the button on the cable release and lock it, start your timer and wait.


Kit List for Fine art landscape photography

Camera

Although most cameras have built-in timers, a camera with a bulb (B) is very useful. Plus either an electronic or screw-in cable release with a lock.

See our buyers advice and reviews for the best options.

Filters

A 0.6 (2-stop) graduated ND filter, a 10-stop ND filter and a 3-stop ND filter should get you started.

Lenses

Lens for fine art landscape photography nikon 24-70mm

Don’t always choose a wide-angle lens and think it will make the best focal length. Lens choice for is personal and entirely related to the subject. The lens I use most is my Fujinon XF 35mm f/1.4 R.

See our lens reviews and buying advice here for guidance.

Tripod

Give your camera that extra support and use a tripod to keep the camera steady. Especially when experimenting with long exposures in your fine art landscape photography.

The ultimate guide to tripods

Protection

Umbrella

If it’s windy you may have camera shake, so try shielding the camera with your body or an umbrella.


Further reading:

Fine art photography and how to do it

Top fine art portrait photography tips

World’s best fine art photography revealed

Improve Your Photography


Follow AP on Facebook, Twitter, Instagram, and YouTube.

SubscribeSubscribe


[ad_2]

SETI & Milky Way Galaxy

[ad_1]

For you who might’ve not been aware, Milky Way is the name of our very own galaxy where our solar system and subsequently ourselves live within. It is our galactic home filled by a vast amounts of stars, interstellar dust, energy, old star clusters, black holes, our very own supermassive black hole in the center and other wonders. Our very own star, the sun is a modest little star in comparison to other giants out there.
Every single star that appears in the night sky is our neighbor that belongs to our immediate galactic neighborhood. When we look at the night sky from the northern hemisphere we tend to look towards the outer regions of our galaxy, and when we move to our southern hemisphere we look inwards towards our galactic center. It makes sense then that the night sky is rich in stars in the southern hemisphere as everything is more dense. We can’t see individual stars that belong to other neighboring galaxies. Everything starts to become fuzzy and dim; occasionally we might see a big supernova (a star that dies) in a massive explosion, but that’s pretty much it. Without powerful telescopes we can’t distinguish these stars.
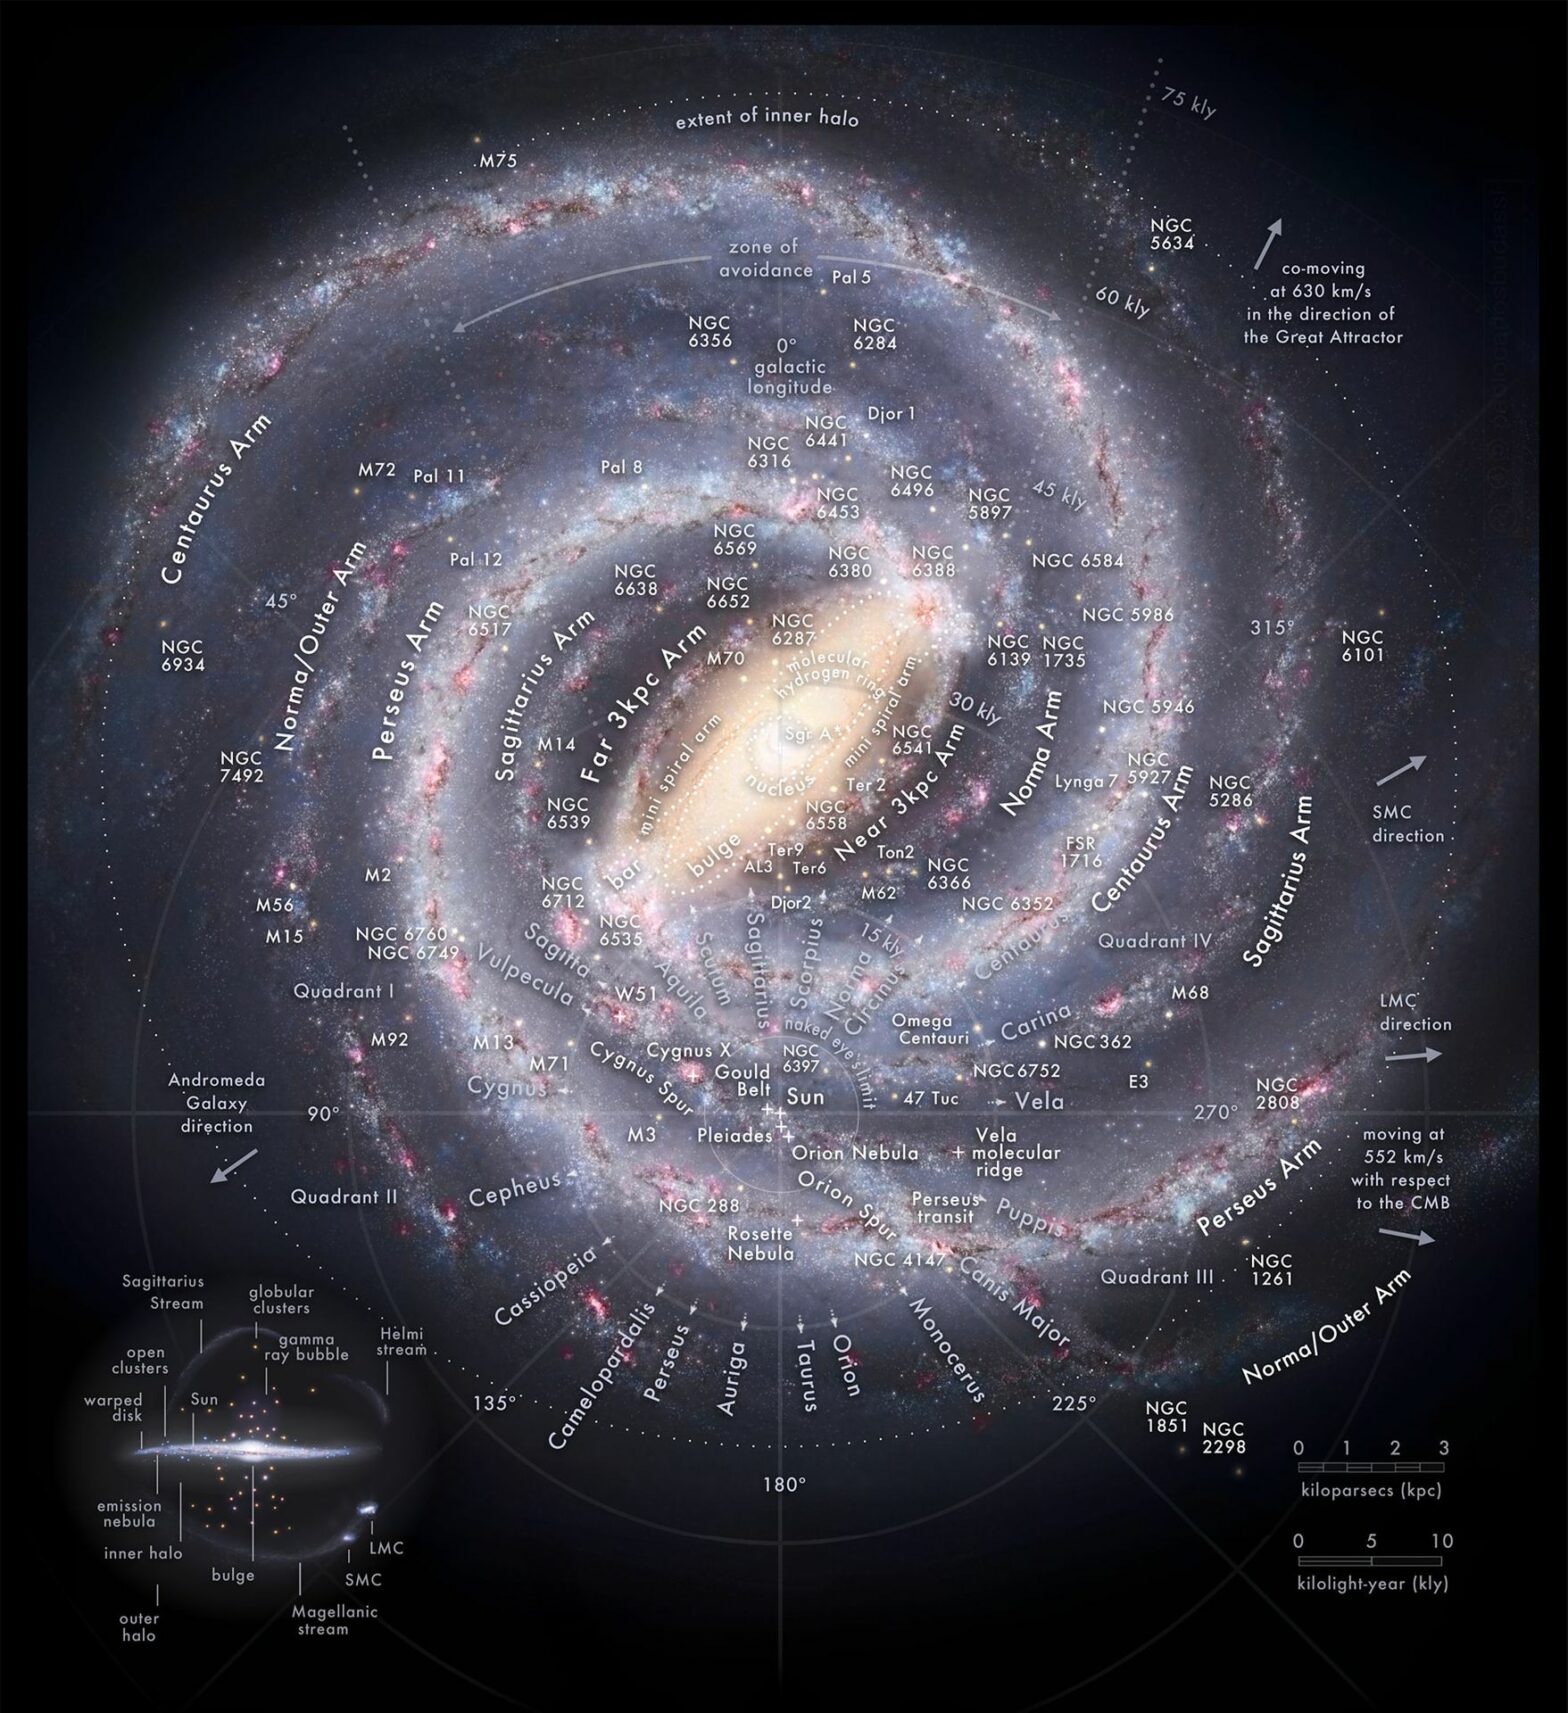
Below is a map of our Milky Way galaxy (made by SETI) that is mapping the most interesting regions of our galaxy from our perspective (solar system).

SETI stands for Search for Extra Terrestrial Intelligence. It is a branch in the astronomy science that pursues the question; are we truly alone in this galaxy, how about other neighboring star systems and their planets? And even more importantly, what about intelligent life and how could we communicate with them? Or should we avoid communicating with anyone at all, in the event these extra terrestrial civilizations are hostile, just like the warrior like beings Clingon from Star Trek? These and many more questions and studies and powerful telescopes is what SETI is all about.

Some of you might even remember the SETI @ Home program where you could download an app at your computer and help SETI scientists analyze recorded data from their radio telescopes.

In any case, the map above is intriguing and a reminder to us, there are much bigger things and questions to be answered by humanity, if we ever decide to stay around long enough to deal with them. After all, our very existence as a human race in a cosmological standpoint, is insignificantly small. We’ve barely been around for a fraction of a second in this enormous vastness of the cosmos.

[ad_2]