[ad_1]
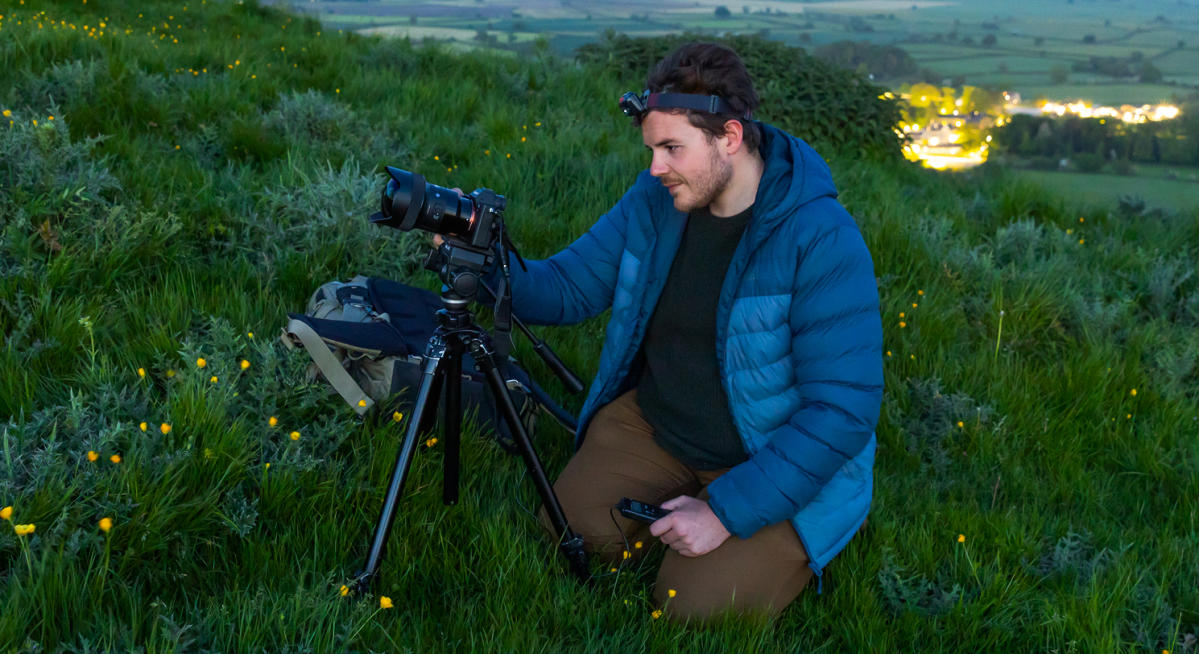
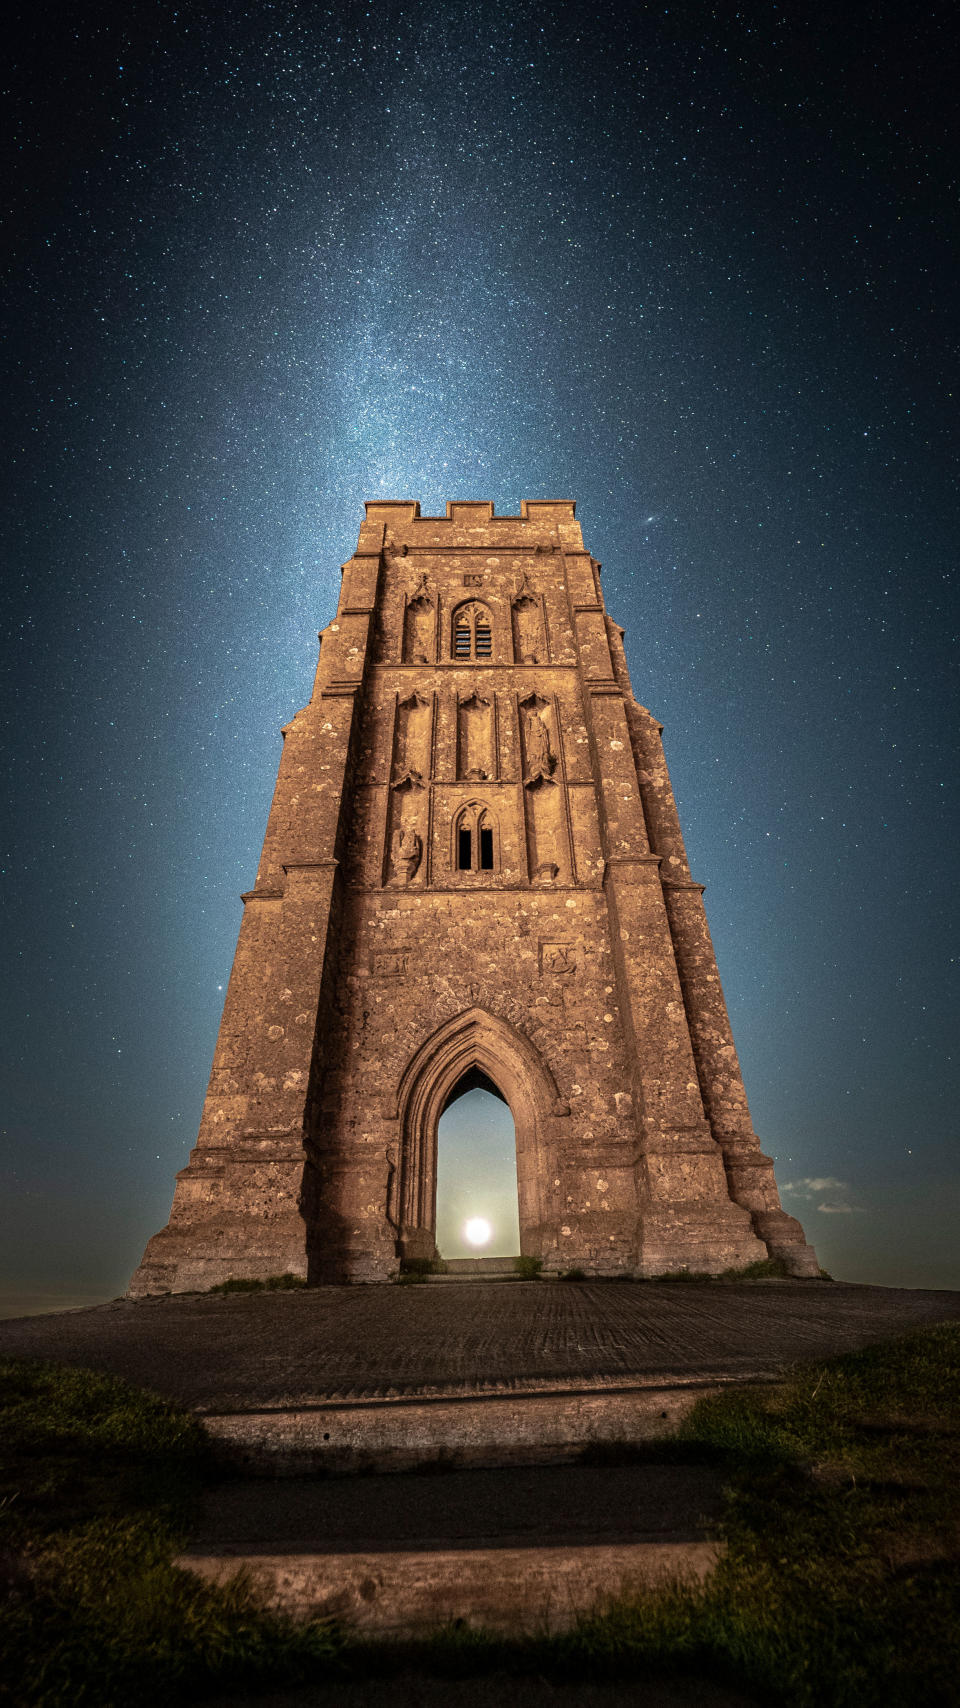
Astrophotographer, film-maker and night-sky conservationist Josh Dury uses photography and film-making as a way to promote conservation and highlight the effects of light pollution.
Based in south-west England, Dury has traveled across the world taking photos of dark skies, with favorite subjects including the Milky Way, the Northern Lights, meteor showers and the Winter Circle – Orion, Taurus and Gemini.
Pro techniques for super astro shots
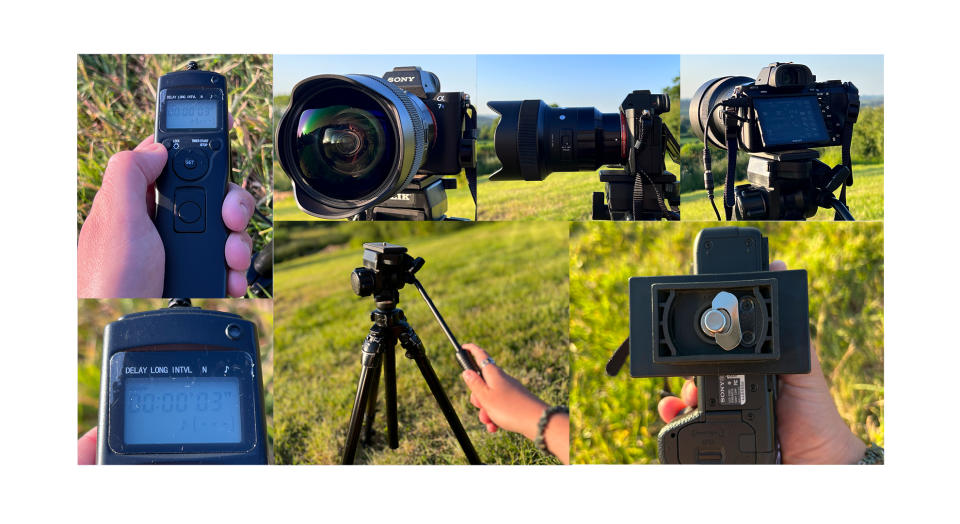
“Firstly,” says Dury, “set up your camera on a tripod with a geared head, so you can easily adjust for right ascension [which corresponds to longitude] or declination [latitude] – with astrophotography, you don’t want to consider a particular angle only to find that your equipment limits you.
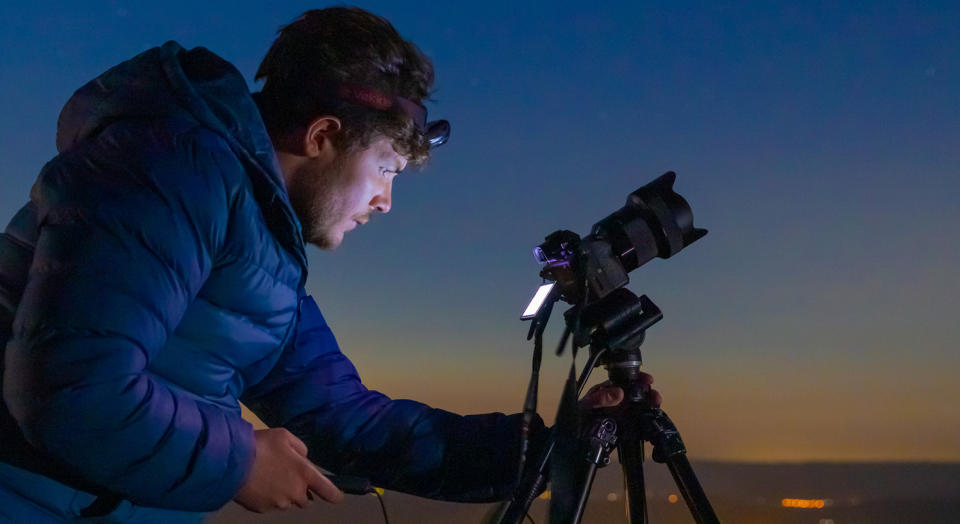
“Next, look at the camera’s rear screen and check that it reflects the image you have projected in your mind.
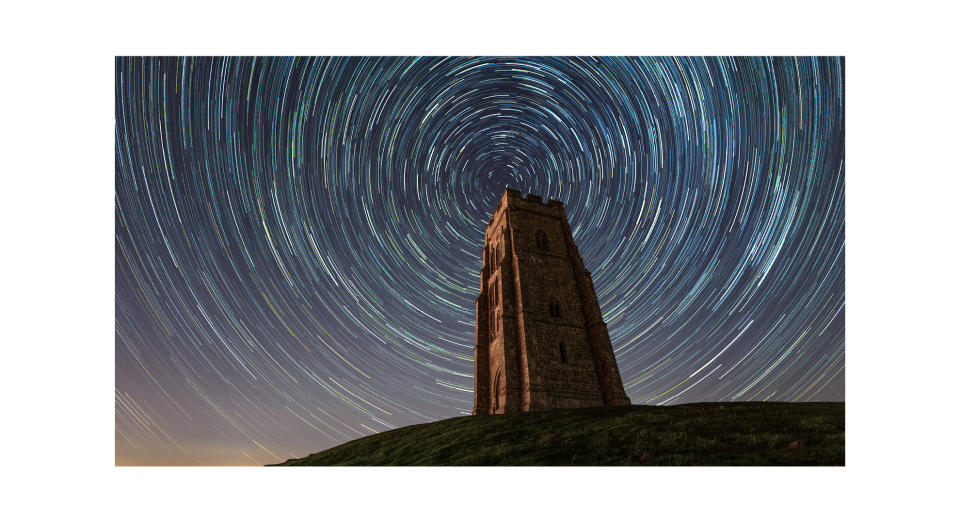
“Now, using an intervalometer, take an interval image every three or four seconds – the amount of images required depends on the nature of the shot: for a Milky Way, you will need at least 20-30 frames to stack during editing.
“One of the most vital things to do is to balance out the signal-to-noise ratio; that’s why a camera that works well at higher ISO values, coupled with a wide-angle lens with a large aperture to let lots of light in, is essential.
“Depending on the nature of the shot, an acceptable ISO range is 800-21,000.”
You won’t go wrong if you…
“Plan ahead and know what your subject is going to be. If you want to take lots of different shots on the night – of the Milky Way, star trails and the moon – then you need to plan carefully for every scenario.”
“The most important aspect of landscape astrophotography is the weather. You need a clear sky, otherwise you won’t get the detailed shots you need. There must be no cloud interference whatsoever.”
“Allow for an appropriate amount of time to capture what you need. At least a couple of hours will be fine for the Milky Way but for star trails with definition, you’re looking at up to three hours or longer.”
“Be aware of light pollution. Shooting anywhere near towns or cities is a no-go because of all the light shining up. Check light pollution maps – you need to be anywhere between five and 10 miles away.”
“Take plenty of layers of clothing. You want astrophotography to be fun, and not have to struggle when the temperatures drop at night. Pack coats, hats and plenty of pairs of socks, because your feet will feel it first.”
“Recce the routes to your location so you can plan them beforehand and know what you’ll need to put up with along the way. Be conscious of health and safety and let someone know where you’re going and when – just in case.”

Digital Camera World is the world’s favorite photography magazine and is packed with the latest news, reviews, tutorials, expert buying advice, tips and inspiring images. Plus, every issue comes with a selection of bonus gifts of interest to photographers of all abilities.
Subscribe now with our latest subscription deal! View Deal
[ad_2]